Casting Supplies and everything you need to turn a pen, all in one place
Penblanks.ca
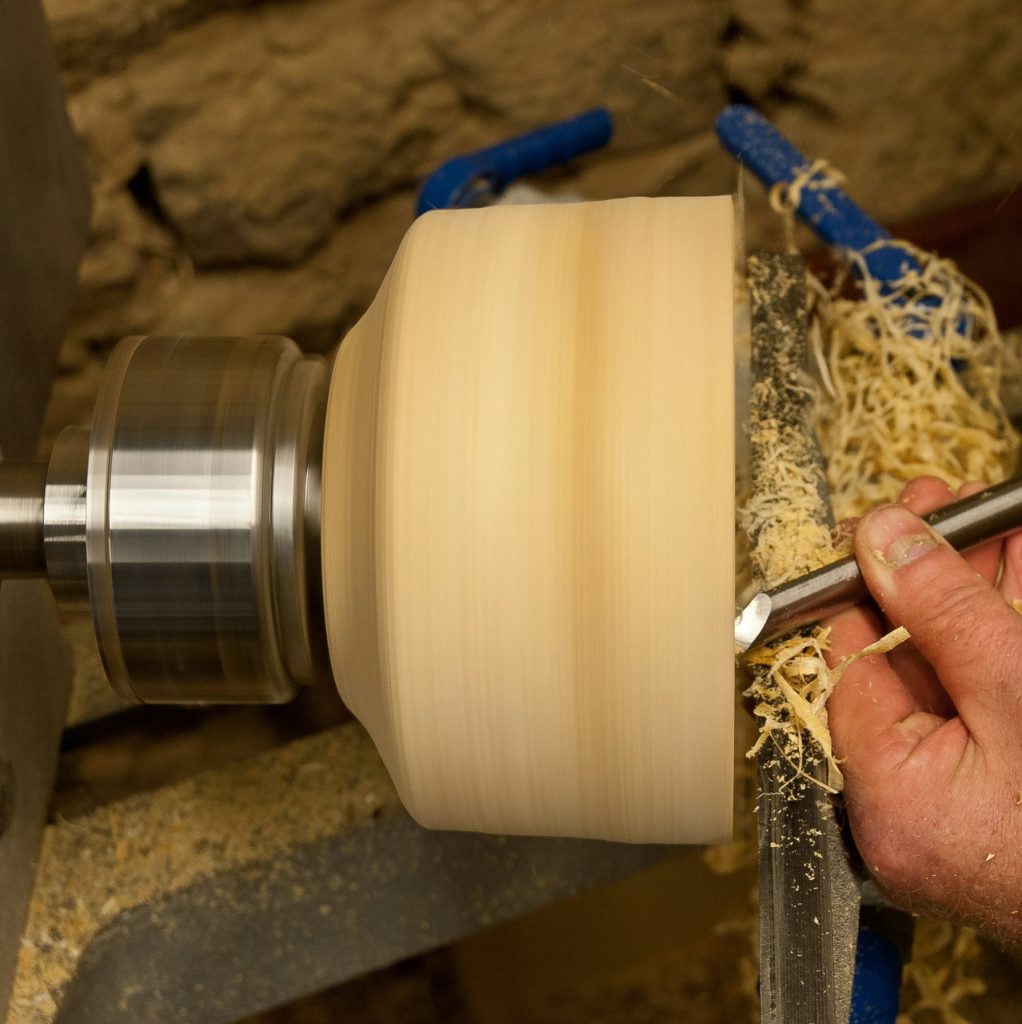
Pen turners are makers at heart, so it’s not a surprise we also want to cast our own pen blanks. Creating a pen blank that’s one of a kind is alluring, offering unlimited possibilities when it comes to colour and material combinations.
The process may seem intimidating, but the required materials are quite minimal. Pouring your first epoxy pen blank or casting a hybrid pen blank is much easier than you may think! And no, you don’t need a pressure pot. (Though they will speed up the process).
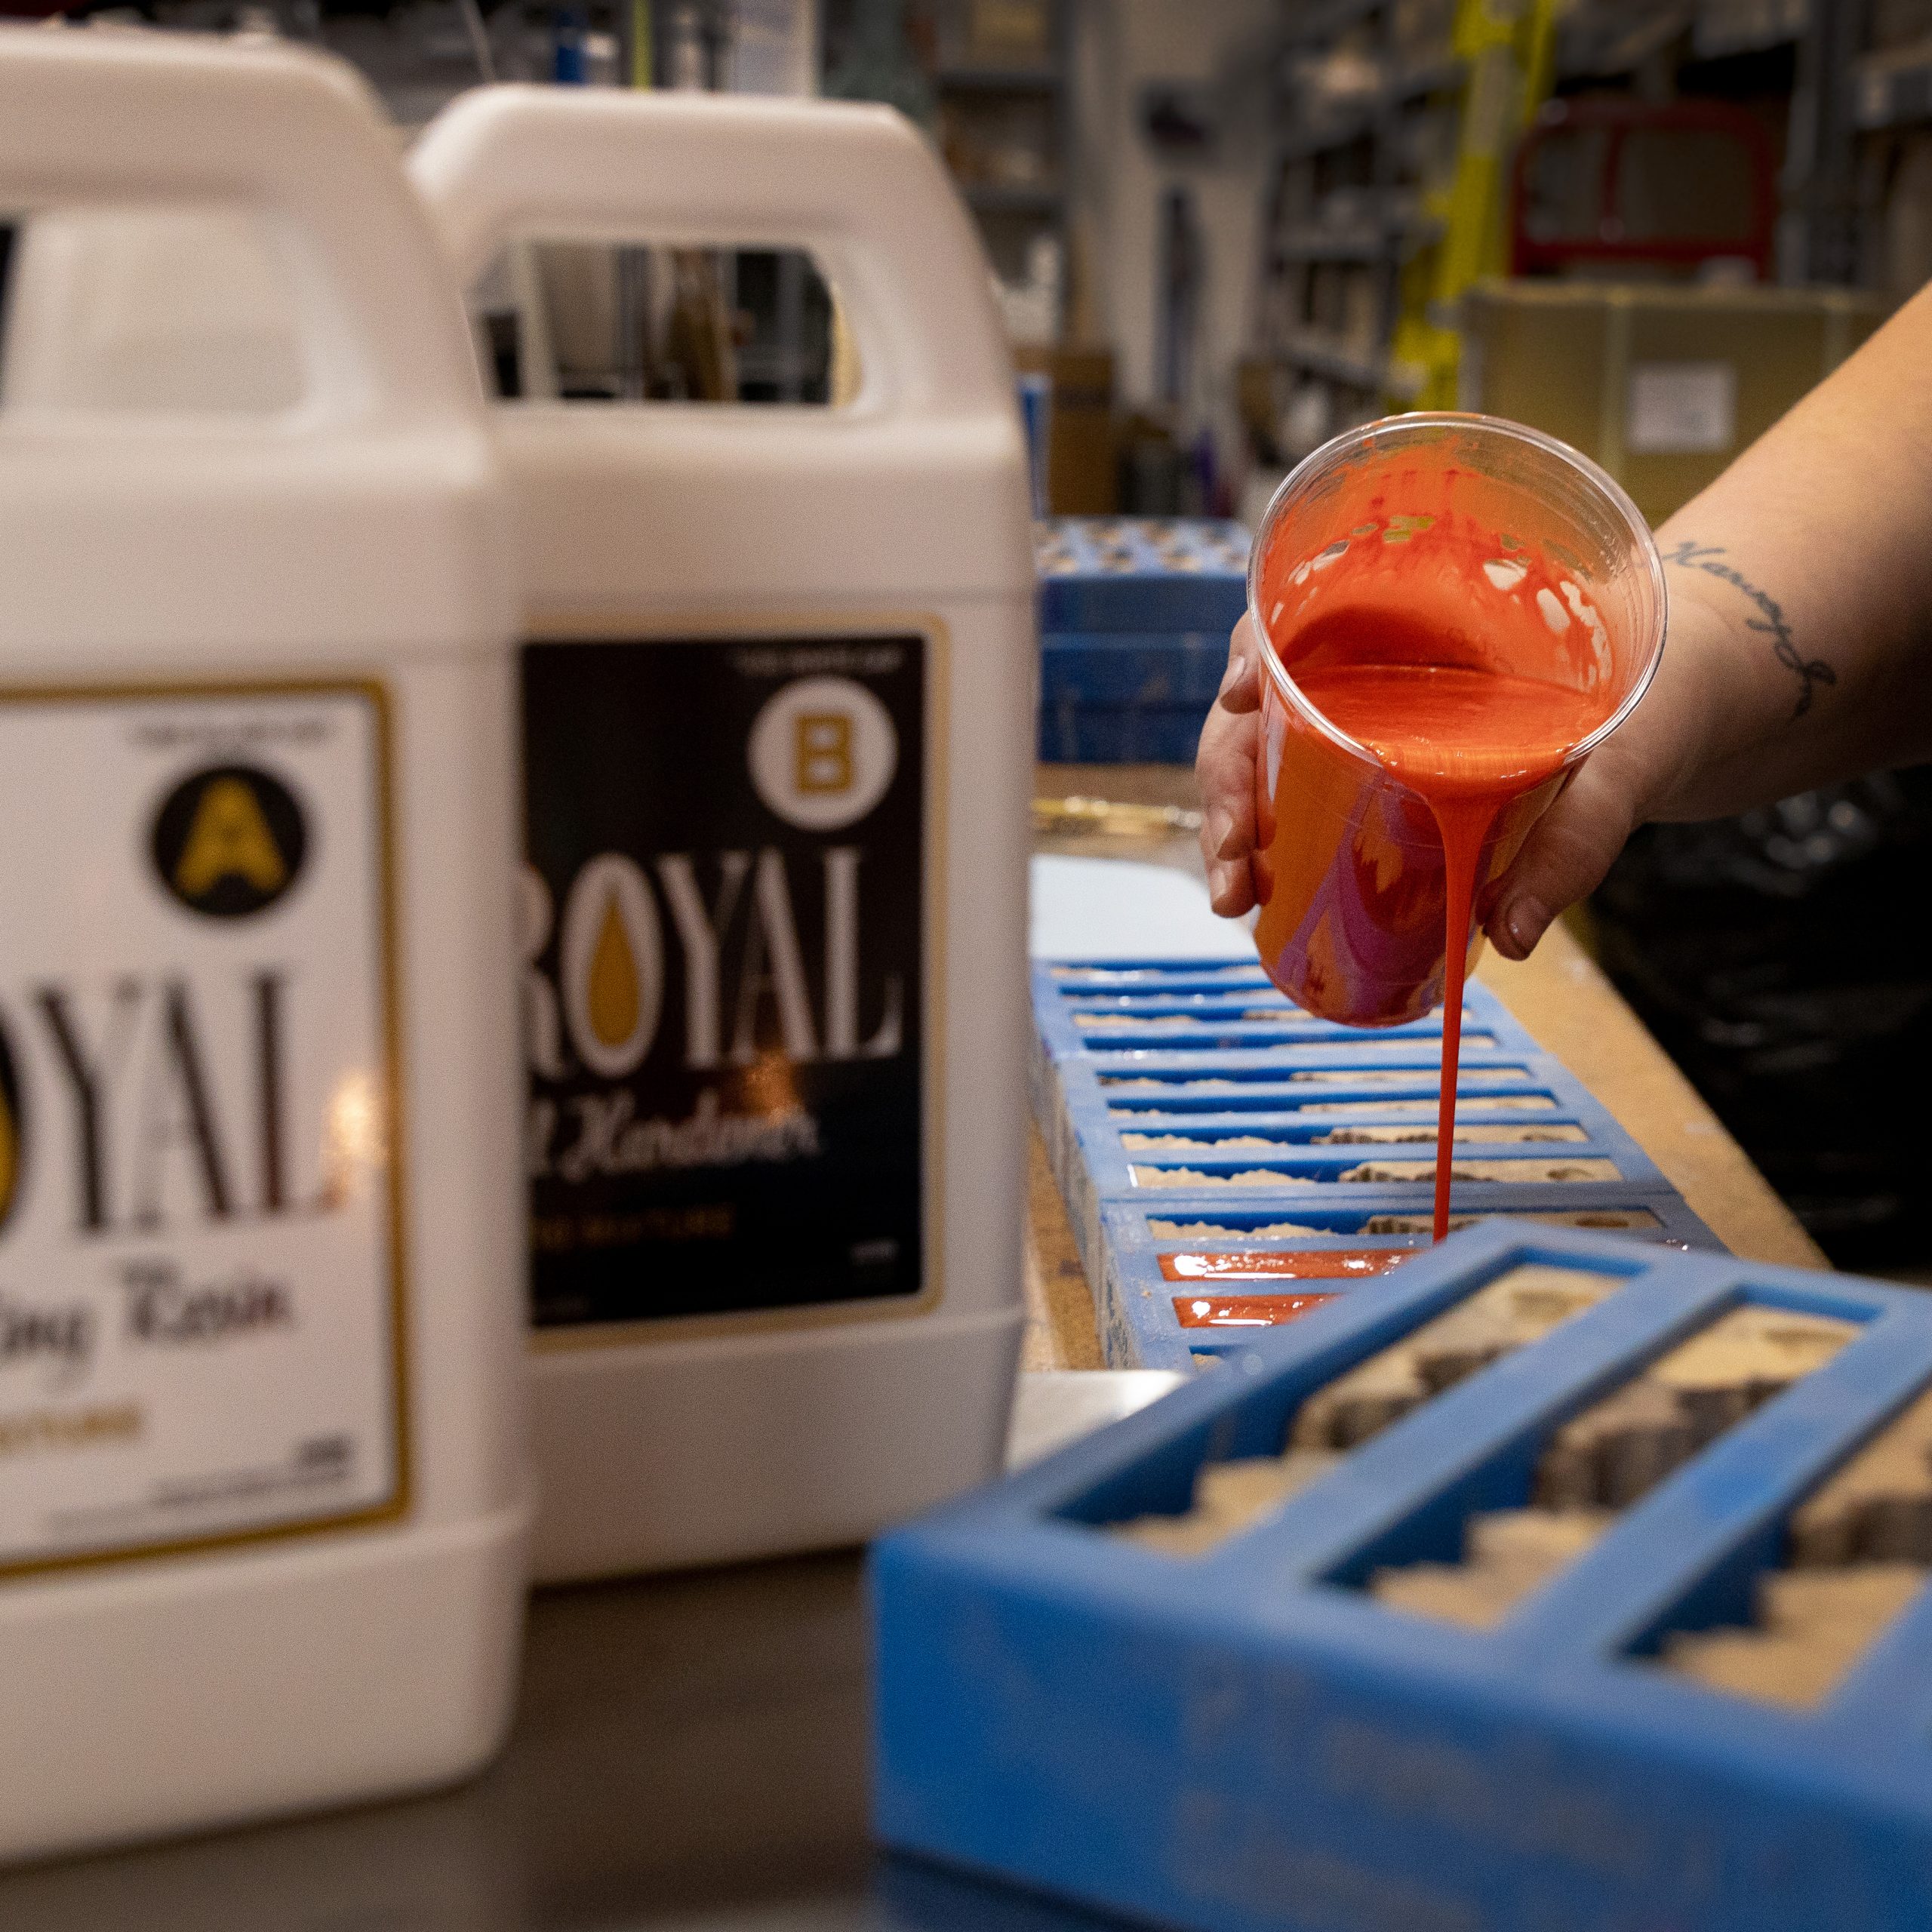
We’re here to give you a run through of what you should do to cast the best epoxy pen blanks possible using JB Royal casting resin and our exclusive line of Mica Powders, along with the things you’re going to want to avoid.
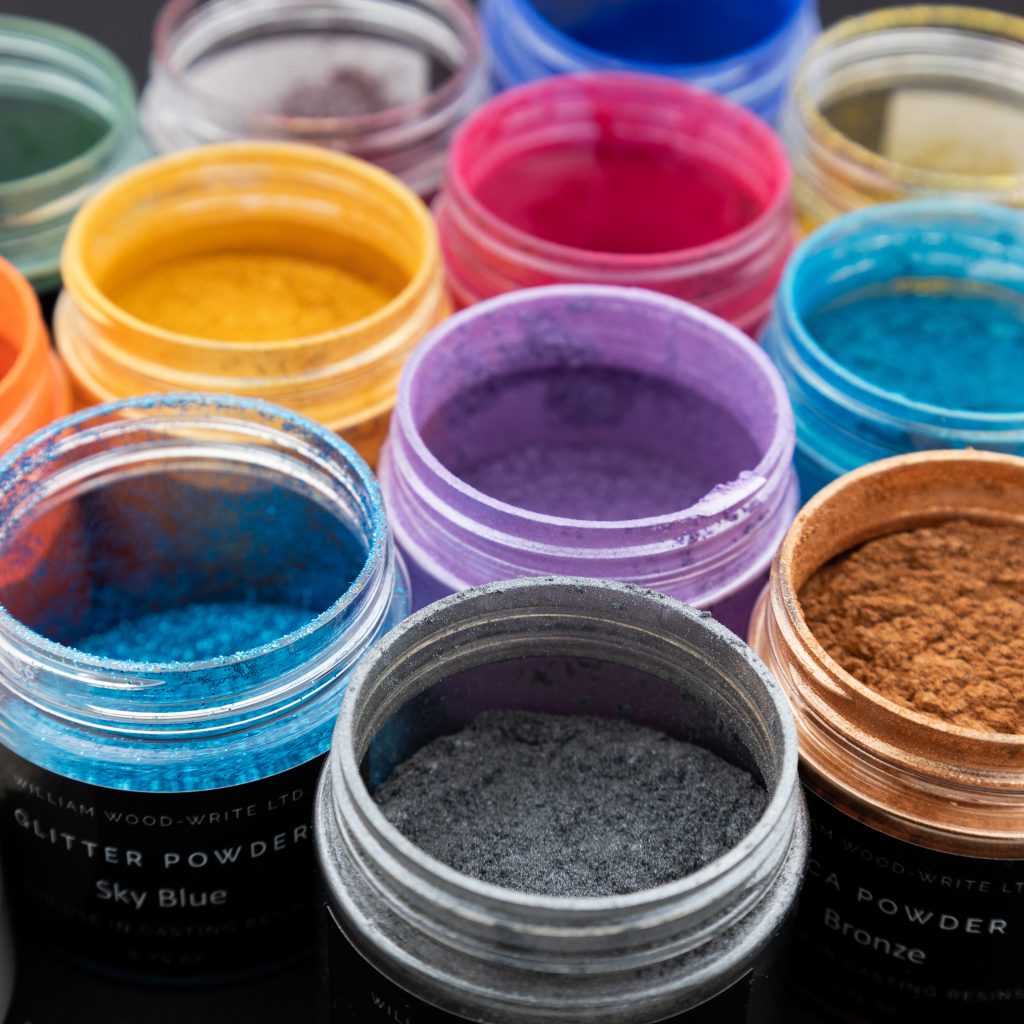
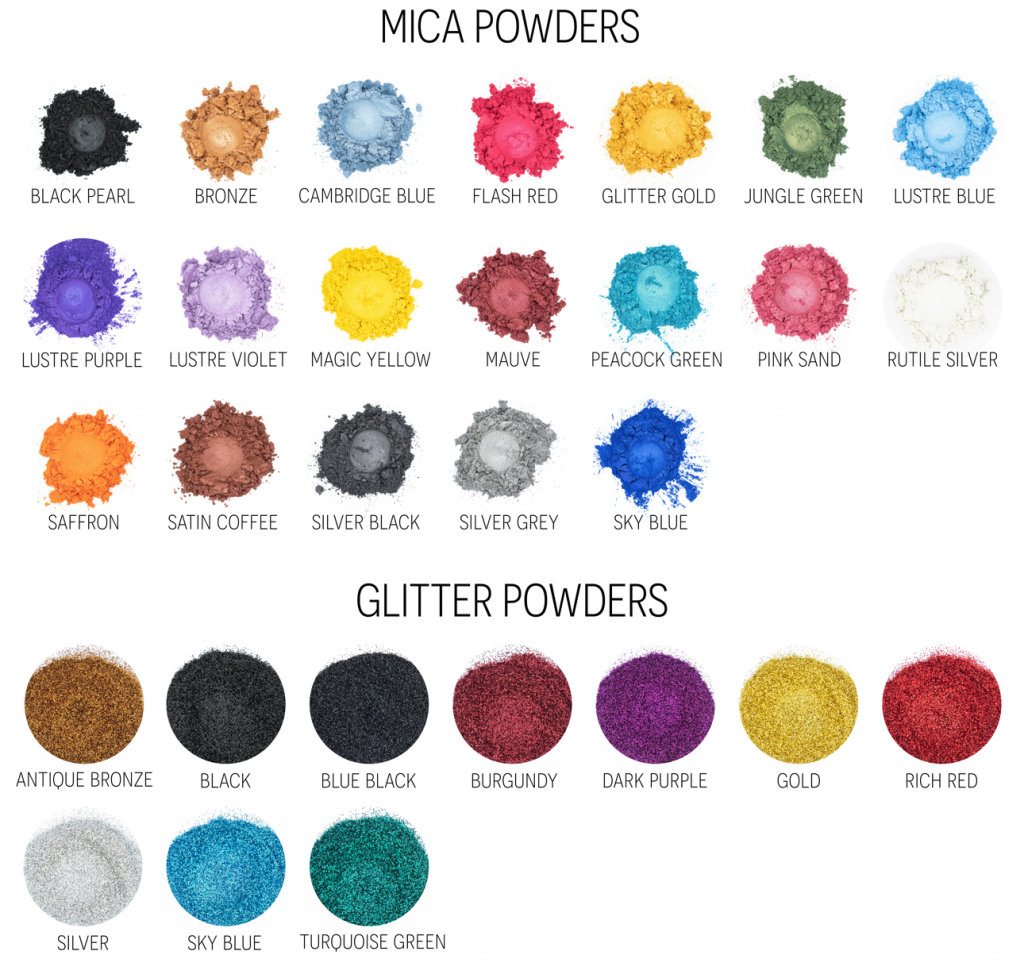
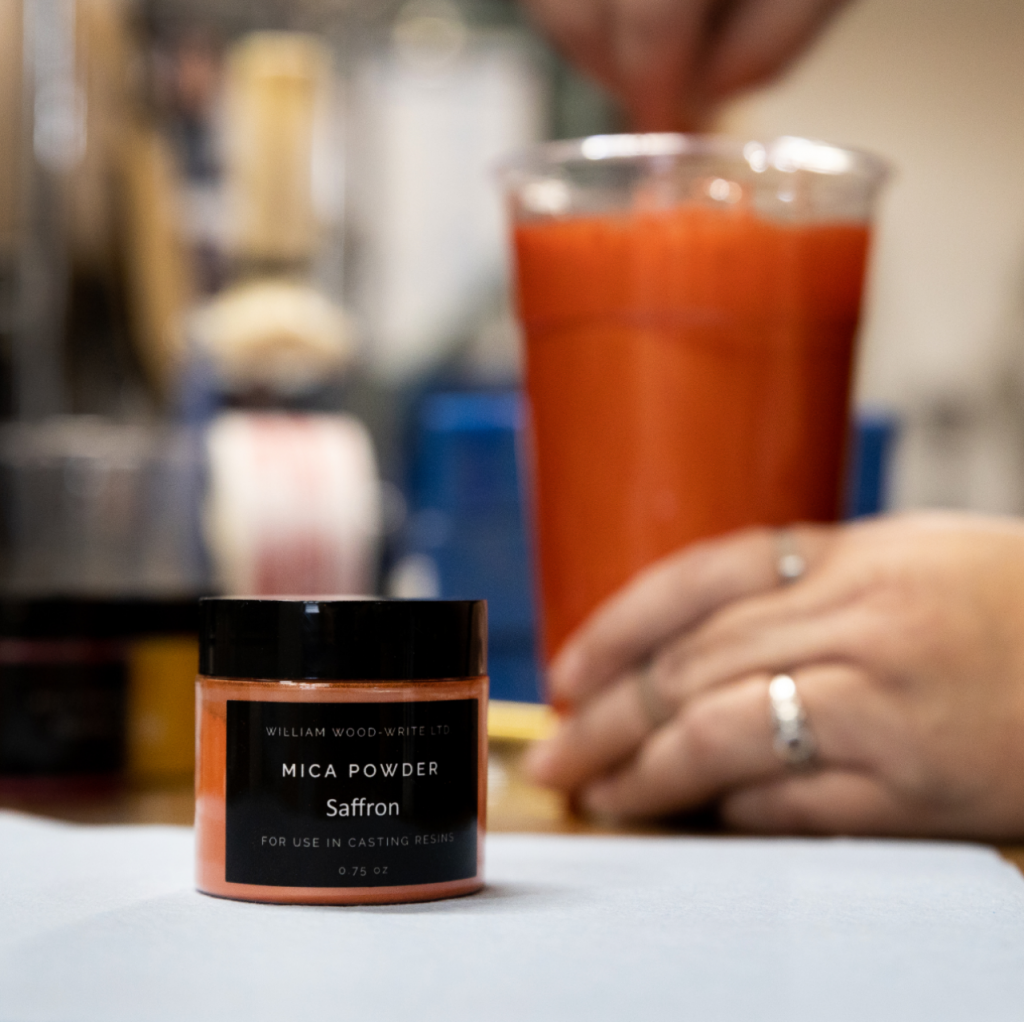
DO use Mica Powder for colouring
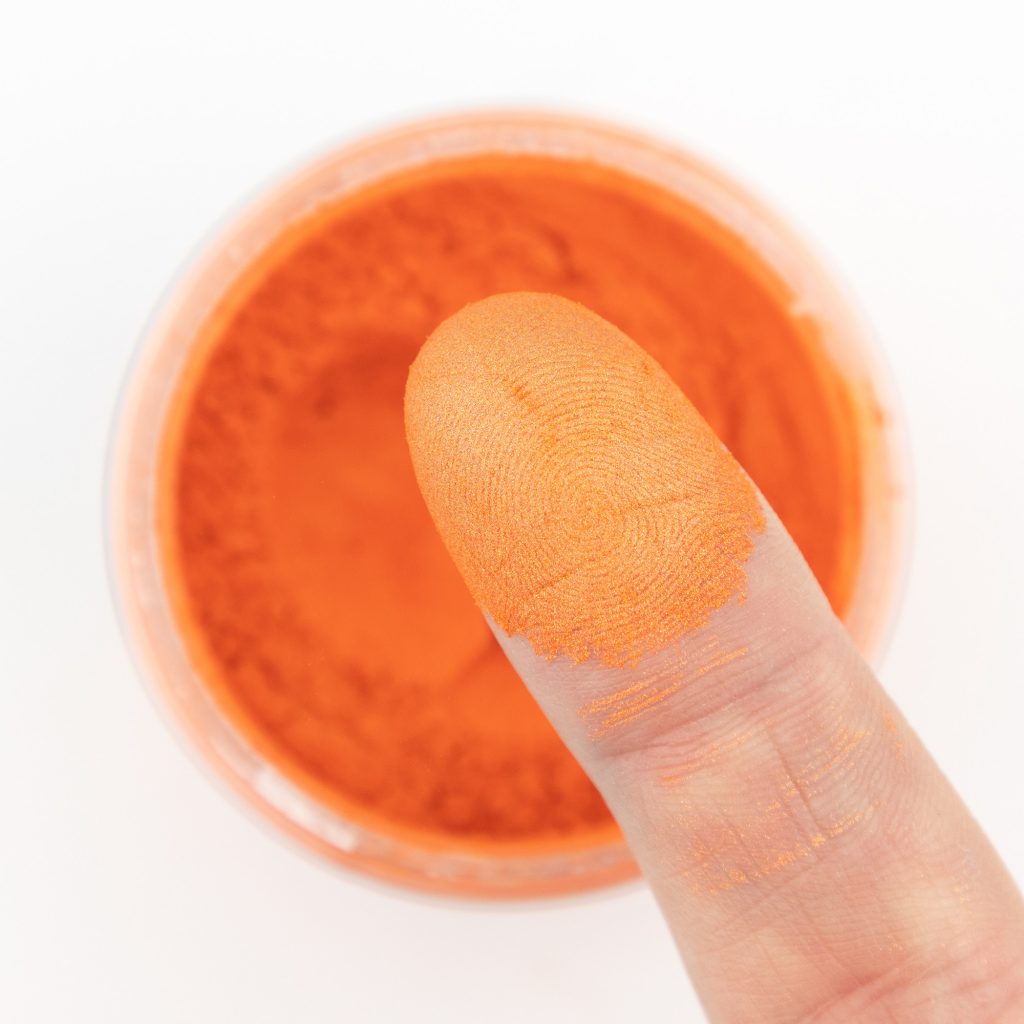
Pigmented mica powders will give you the shimmering finished product turners are most often looking for. We recommend to use two teaspoons of mica powder to pour four standard sized (7/8” square by 5” long) pen blanks- the perfect size for typical pen turning kits. Then there’s glitter!
What’s the difference between mica and glitter powder? Mica powder is finer and will stay more suspended in the resin, creating intriguing patterns and swirls. The glitter is more granular and heavier than mica. You will need at least double the amount of glitter compared to mica powder to create a solid colour effect using only glitter; the less glitter you use, the more of the clear resin you will see in your poured blank. If you’re looking for a diamond “flecked” look, try adding small amounts of glitter in to compliment your chosen mica powder!
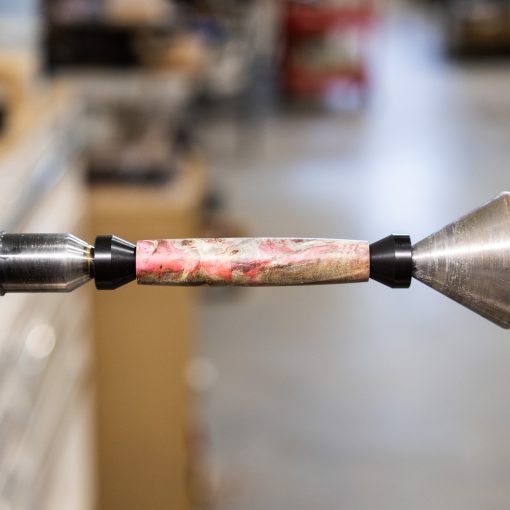
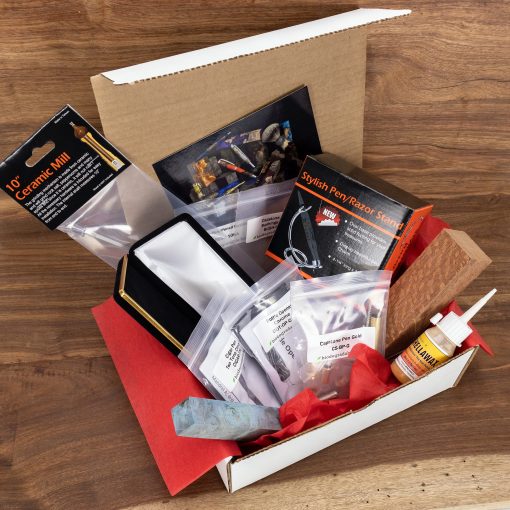
Mica powders also allow you to create different effects when using two colours. Mixing your colours in one cup before pouring will create a more subtle melting of the colours, where as pouring your pigmented epoxy one at a time in your pen blank mold will allow the colours to remain more true and bold. Penblanks.ca has all these materials available separately, or in a bundle to save you some coin on your pen making supplies.
DO opt for silicone pen blank molds
We can’t emphasize this one enough! Although it may seem temping to rig up your own casting mold from plastics, a silicone mold makes the pen blank casting process 100% more enjoyable. Our silicone pen blank molds are made with a sturdy enough material that you don’t ever need to worry about warping, but remain flexible enough that you can easily pop your blanks out once they’re cured. No need to use mold release. No unscrewing necessary. No need to slam the mold on the table to crack your blanks free.
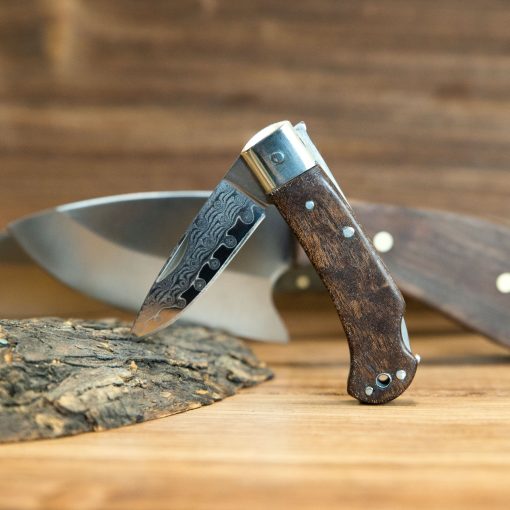
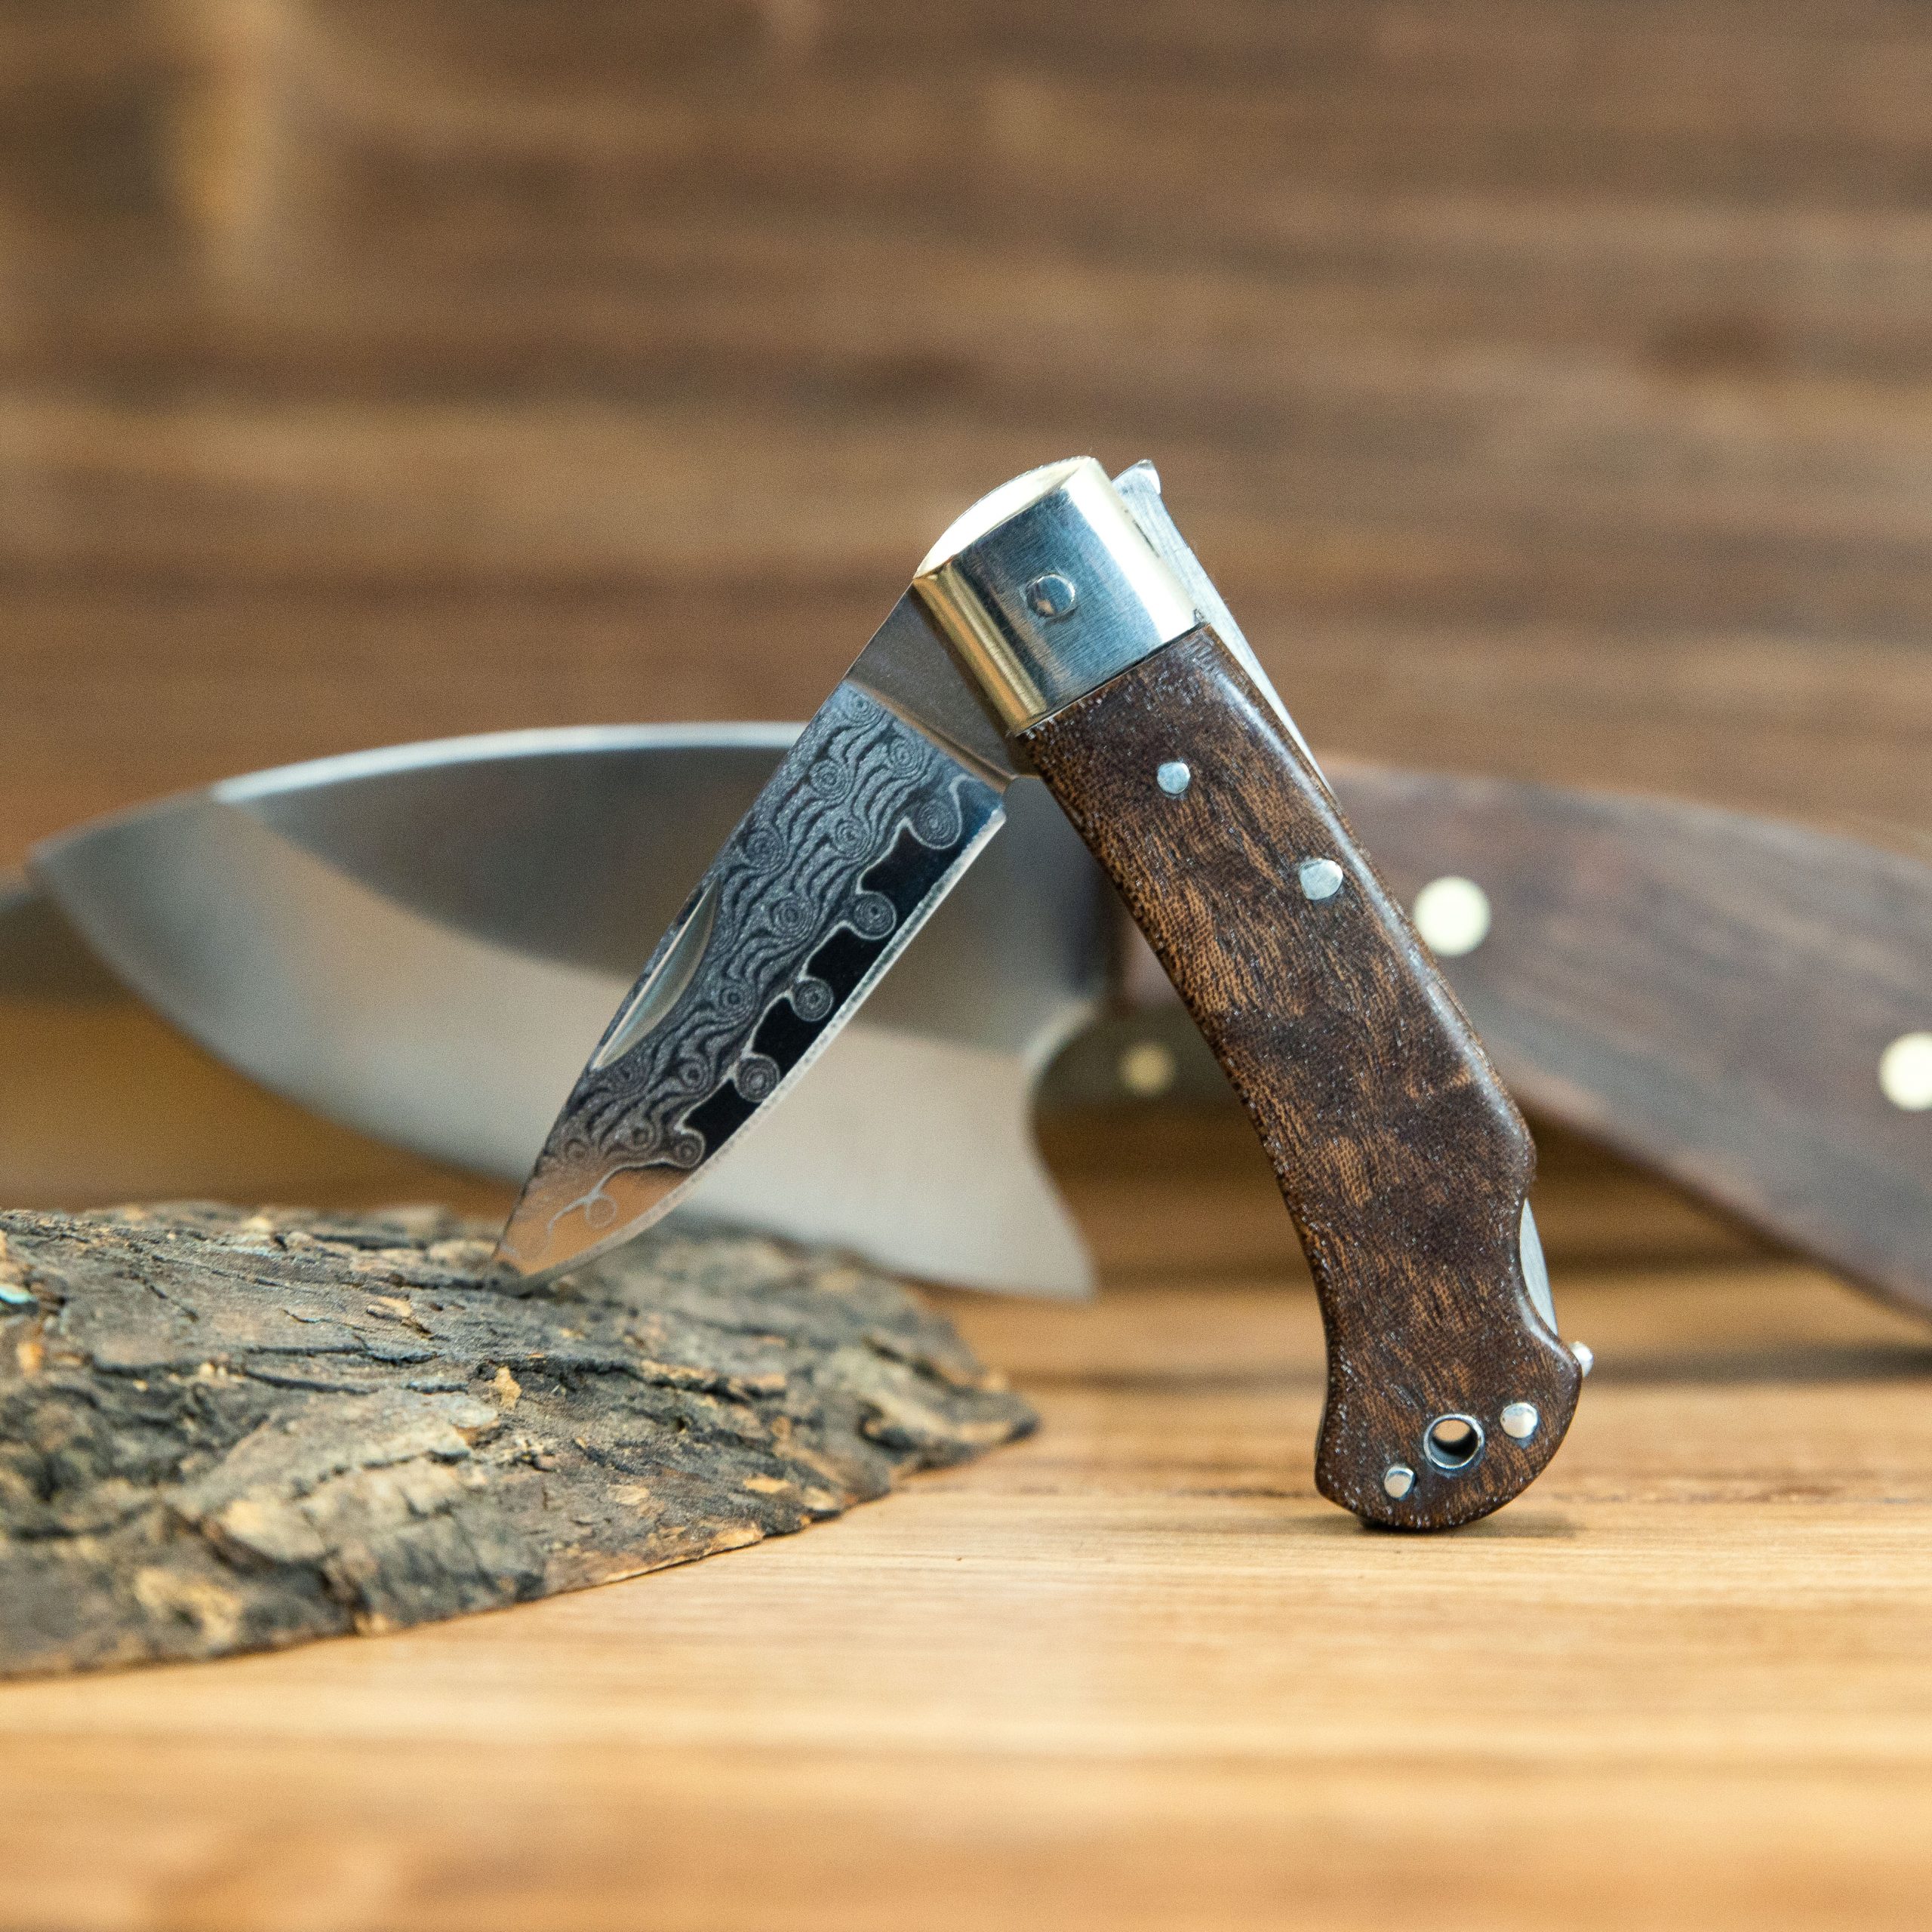
Clean up is much easier too. If any excess epoxy lands on the top of your molds, it will pop right off once cured! Unlike a plastic mold- which may need some scraping away with a screw driver and some serious elbow grease. We’ve got these guys in 2 and 4 pen blank molds to pour 7/8″ x 7/8″ x 5 1/4″ pen blanks, and a project block option that measures 6″ x 5 1/4″ x 1″– perfect for knife scales, knife blocks, ring blanks and any other lathe turning project!
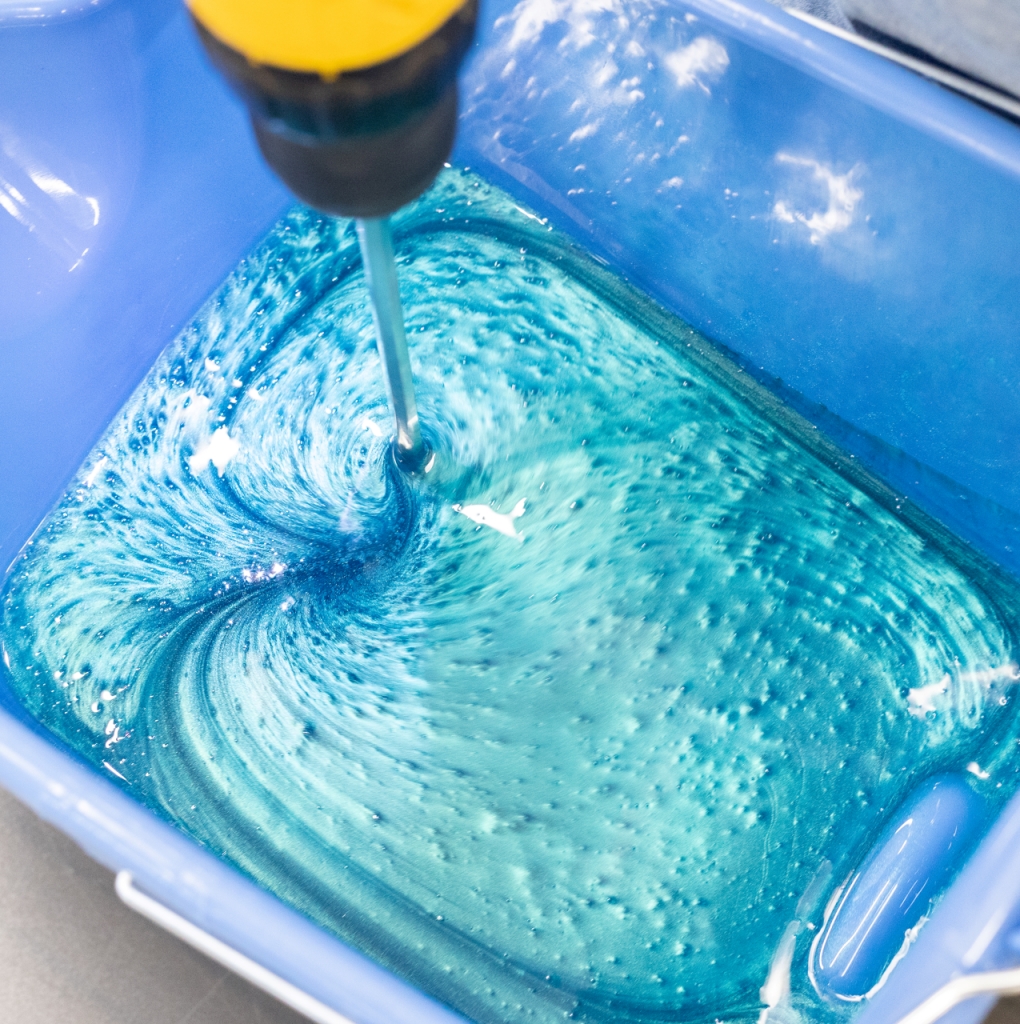
DO take advantage of heat
Heat is your friend when you’re casting with epoxy resin! Warming casting molds will make your resin more workable. Warming your resin mix gently with a heat gun or warming plate will thin your epoxy making it more fluid, allowing pigments to mix easier while creating pressure to keep out as many air bubbles as possible.
If using the casting resin with stabilized wood or other materials, warming the resin to 90-95F (32-35C) before mixing will allow it penetrate small cracks and crevices more easily.
DO try to work out bubbles early
You’ll have approximately 1 hour of working time once you’ve mixed your epoxy. Like we mentioned, heat will help you remove unwanted bubbles but it will also shorten your working time, so go into the project with a plan.
You can reduce bubbles by pouring resin “high and thin”. Holding your mixed cup 6″ or more above the mold and pouring resin in a very thin stream into the corner of your mold will help air bubbles escape. If there are still bubbles after a several passes with a heat gun, placing your molds next to an orbital disk sander with no paper can help vibrate out any potential stragglers.
And of course, if you’re using a pressure pot any last sign of these imperfections will be forced out while your pen blanks are under pressure.

DO NOT overheat your resin!
There’s a fine line between making the resin more workable and “cooking” it. Over heating will cause your epoxy mix to smoke, so make sure you’re keeping your heat gun on low and never stop moving the heat back and forth across your mold or resin. Your resin shouldn’t get so hot that you can’t hold the mixing cup in your hand.
DO NOT forget to re-read
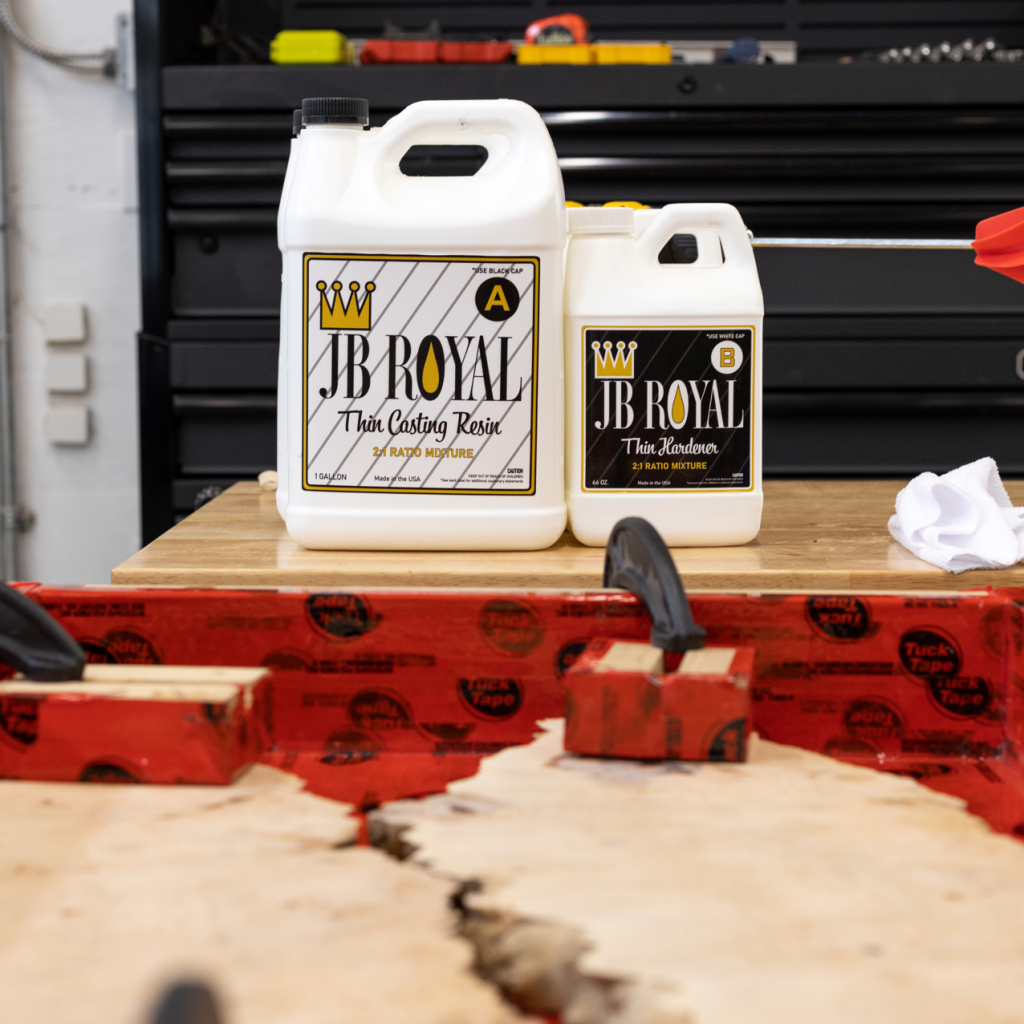
You’ve heard “Measure twice, cut once” a million times in the pen turning and wood turning world. The same rule applies for measuring and pouring resin. JB Royal casting resins are measured by volume, NOT by weight. When you measure separate cups of part A and part B, this means each needs to be filled to the same line on your cups, no matter the weight of each on a scale.
Double check if you’re working with Original or Thin JB Royal. JB Royal Original epoxy casting resin calls for a 1:1 mix. JB Royal Original resin is a two-part 1:1 epoxy casting resin which is viscous and will flow like thick syrup or honey. It works great for casting, jewelry making, laminating, and encapsulating.
JB Royal THIN calls for a 2:1 ratio of resin to hardener. This Thin epoxy resin has a very low viscosity, making it great for use when good penetration or high flow of resin is needed. This Thin epoxy resin is recommended for thicker pours up to 10″ deep. It’s great for great for river tables and tabletops, as well as casting with pieces of wood and other materials with crevices and small cracks.
DO NOT rush the process
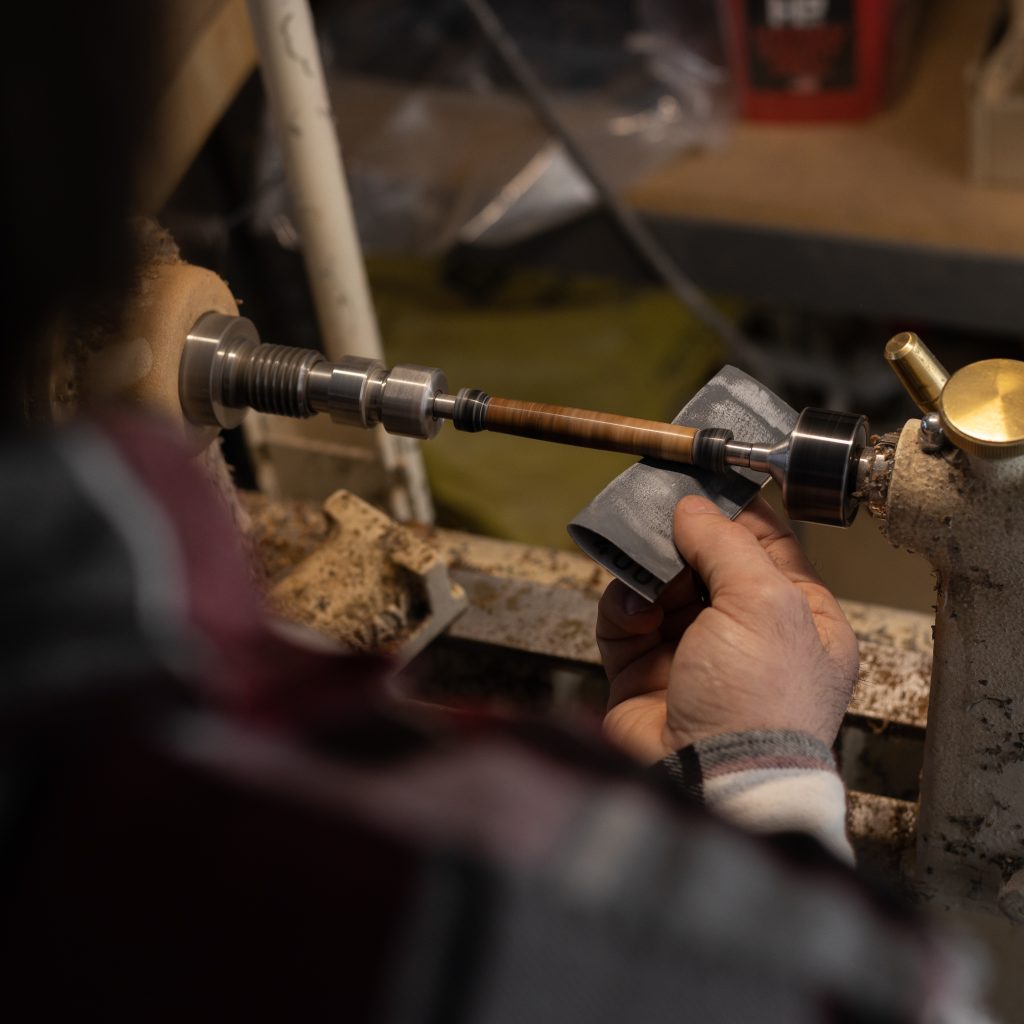
Although casting your own pen blanks can be done without a pressure pot, using one will expedite the process. This casting resin will require 10 days to reach a full cure before your pen blanks are workable. This is reduced to 24hrs when a pressure pot is used at 40 PSI or higher.
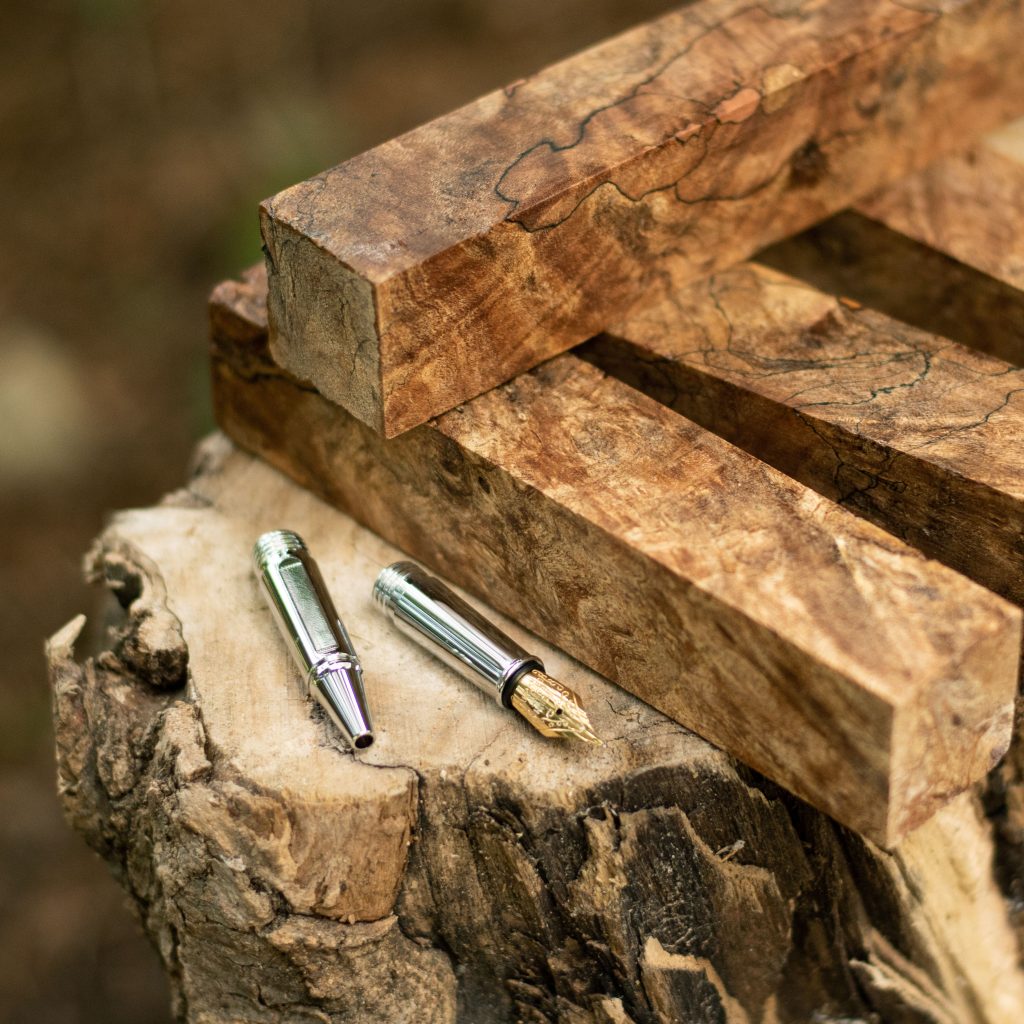
If the full 10 day cure time is not allowed, resin will warp during turning and drilling. Take the time to allow your new masterpieces to come to full cure, pair them with a carefully chosen pen kit, and you’ll have a one-of-a-kind turned pen.
If you’re looking for more information about starting into casting, pen blank molds, mica powders and other supplies you can find that right here, or by clicking on the “Stabilizing and Casting” tab in the red banner at Penblanks.ca
Subscribe to our newsletter to get all the deals! We promise we won’t bother you – only our weekly specials on Sundays to enjoy with your morning coffee and our turning tips newsletter for pen turners every Wednesday.