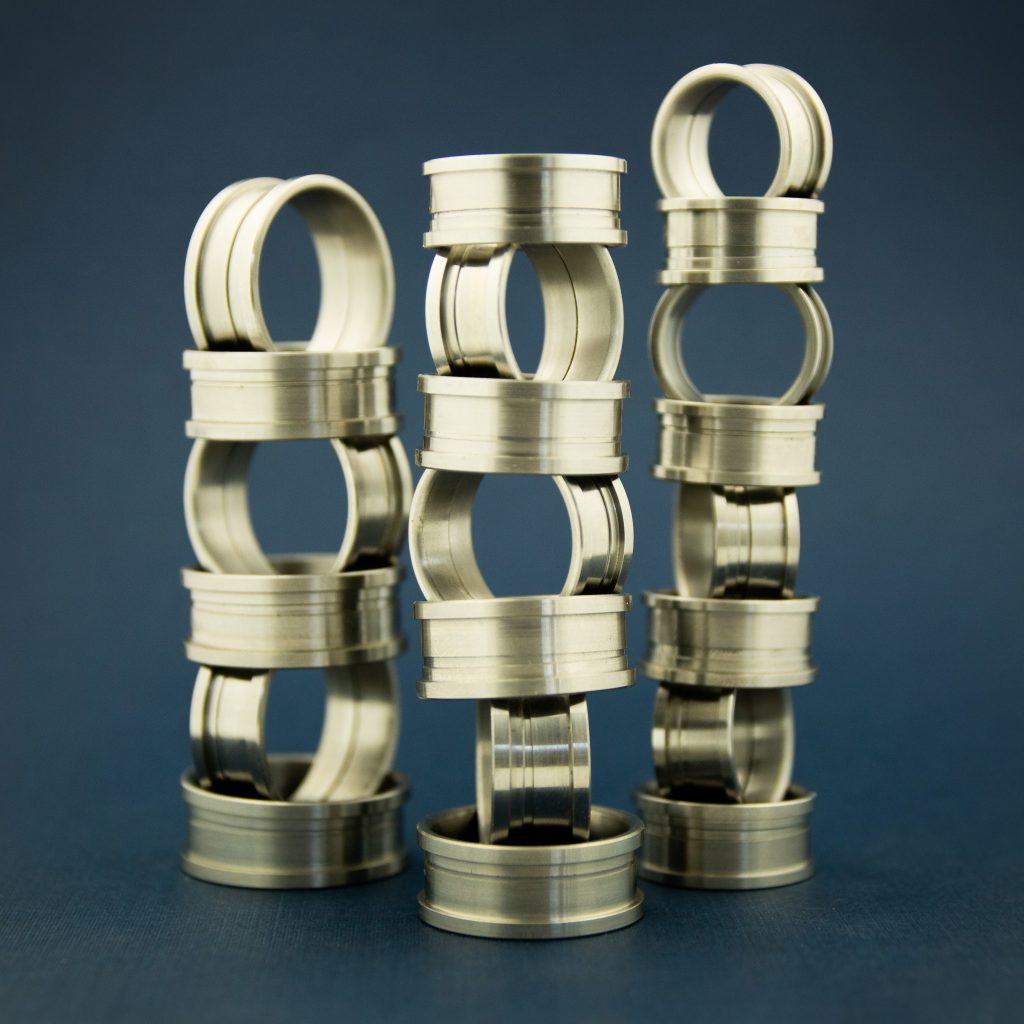
It’s an easy transition from pen turning to ring making, with only a few differences between the two projects. Even those experienced in wood turning will notice similarities between past lathe projects when diving into ring turning.
Just follow these easy steps and you’ll have ring turning aced before you know it!

Find Ring Making Supplies in Canada at Penblanks.ca
What You Need to Start Ring Turning
Here’s a quick checklist of what you’ll need to start your first ring turning project. All these ring turning supplies are available in Canada at Penblanks.ca!
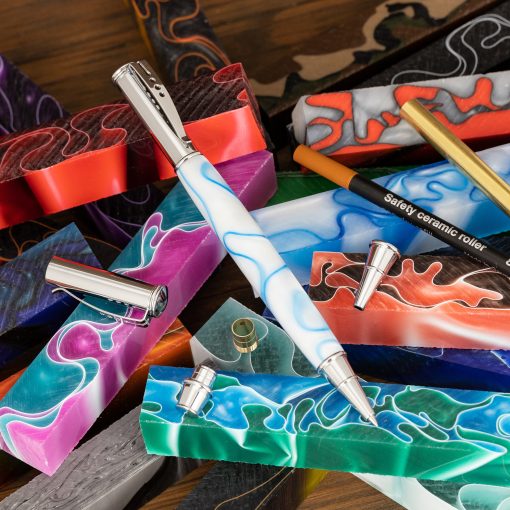
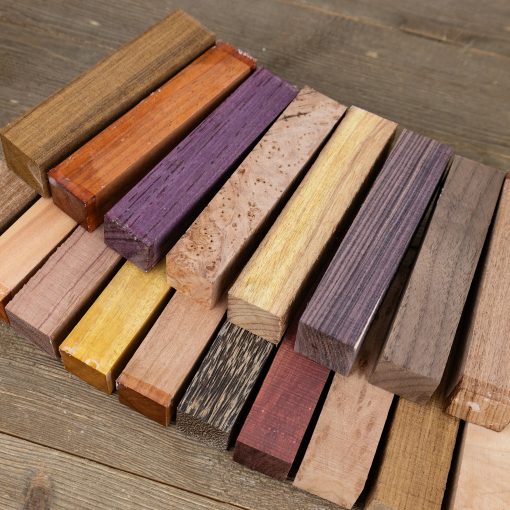
- Ring blanks– you can opt for acrylic ring blanks, stabilized wood ring blanks or cut a piece to size from a ring block
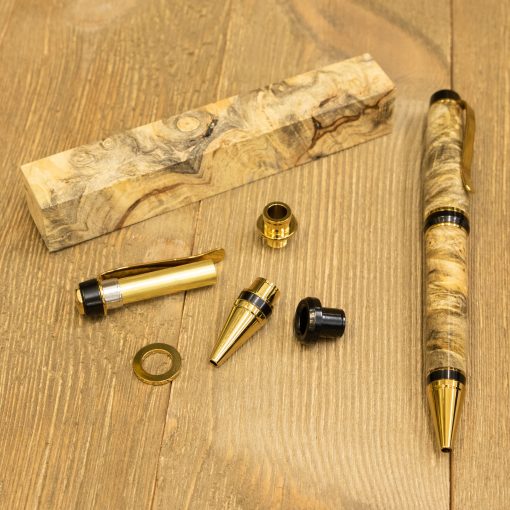
- Ring bushings
- Digital calipers
- Double-sided tape
- Chuck capable of holding 2” square block of scrap wood
- Scrap wood block 2” square x 2 ½” long
- Live centre + 7mm mandrel
- Drill chuck or collet chuck
- Twist or brad point drill

Ring Making Starter Kits + Ring Supplies in Canada
We’ve made it even easier by offering ring starter kits that include our most popular stainless steel ring core sizes along with ring bushings and wood turning ring blanks you’ll need to get started.
Each ring turning starter kit includes an acrylic ring blank, stabilized wood ring blank and exotic wood ring blank. If you want full control, you can checkout our ring blank offering and choose your own unique ring blank here.
Instructions: How to Turn Your First One-Piece Ring Core
Preparing the ring blank:
1. Use a blank that is approximately 40 mm x 40 mm square and at least 3 to 4 mm thicker than the ring you are making.
2. Mount a 2” x 2” x 2 ½” softwood scrap block of wood on a chuck and true up/ square the face of the block.

3. To ensure the ring blank is flat, place the ring blank face down on a sheet of 220 grit sandpaper and sand in a figure eight motion until smooth. This will give a good bonding surface to the tape between the ring blank and the waste block.
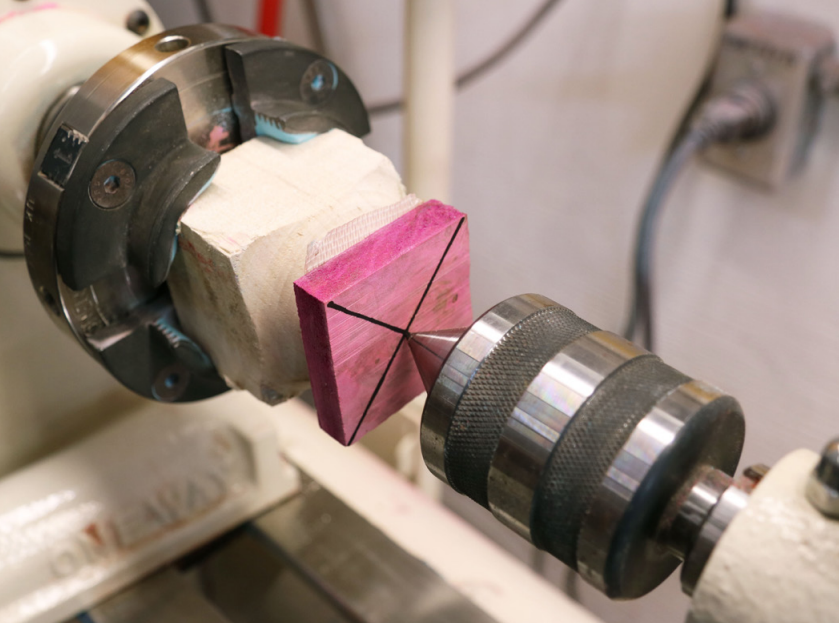
4. Apply 1 ½” double-sided tape to the flat surface of the ring blank and attach it to centre of the end of the trued face of the waste block.
5. Install a live centre in the lathe tailstock and advance it to press against the ring blank. This will strengthen the bond between the ring blank and the waste block.
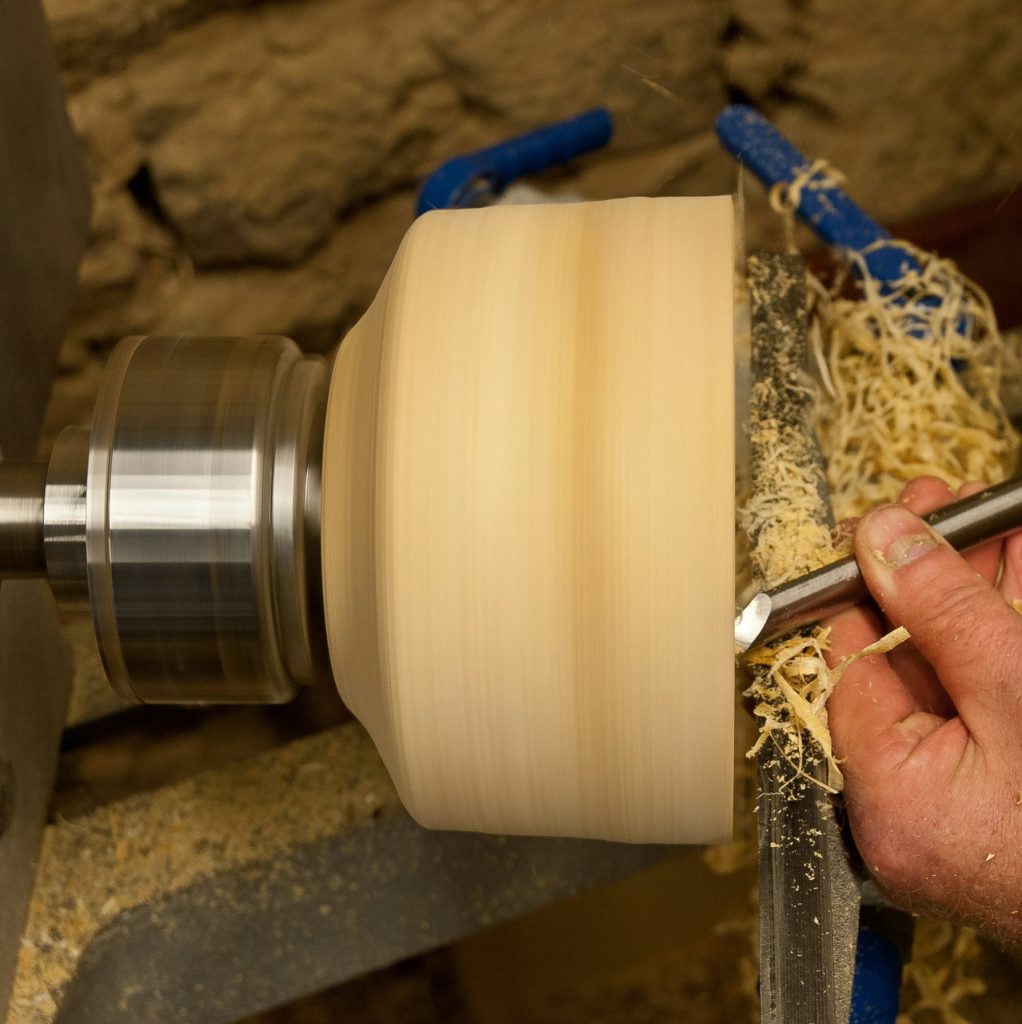
Turning the ring blank:
1.Rough-turn the ring blank round and then back off the tailstock.
2. Square up the face of the ring blank until the blank is 0.5mm wider than the ring core you are making (3mm, 5mm, or 8mm).
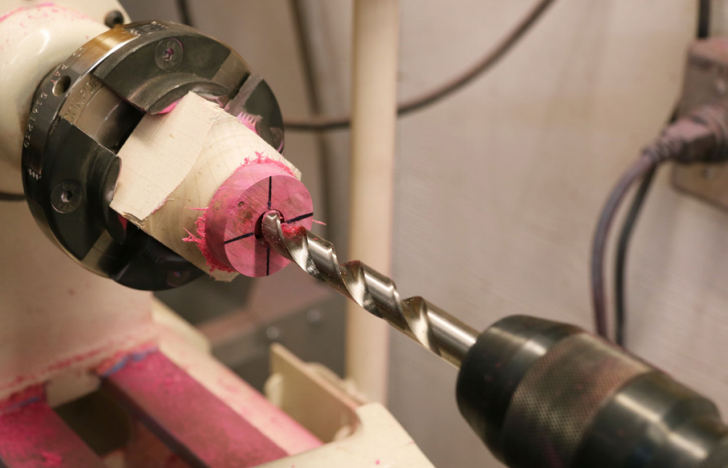
3. Mount a drill bit that is approximately half the size of the ring into the lathe tailstock. Drill though the ring blank.
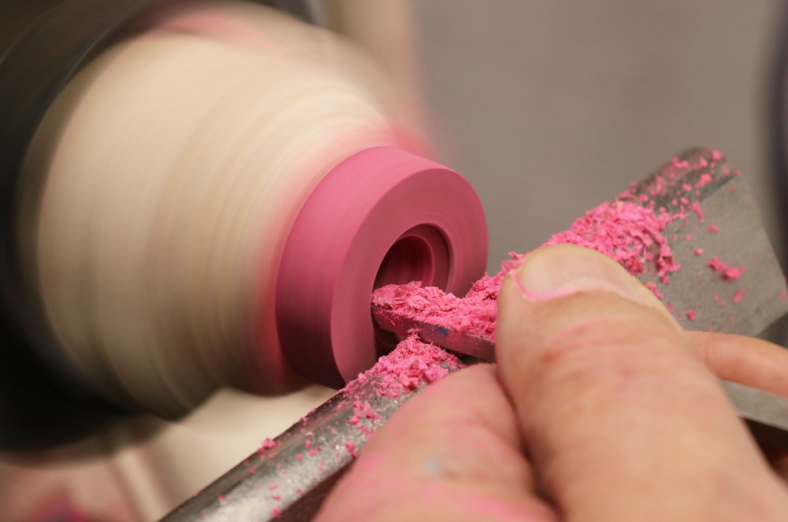
4. Using a small scraper or skew, enlarge the hole until the ring core fits snugly into the hole. Stop and check the size often to avoid making the hole too big.
5. Carefully (to avoid breaking the ring blank) remove the ring blank from the waste block. One way to do this is to take the sharp edge of the skew and insert the tip into the seam between the scrap block and the ring blank. Twist it gently from side to side to separate. Move around the ring blank repeating this motion. Be sure to be gentle or you risk breaking the ring blank – it is fragile.
6. Lay the ring blank down flat on a sheet of 220 grit sandpaper and sand in a figure eight motion until the blank is EXACTLY the width of the ring core. This measurement must be precise.
7. Coat the inside of the ring blank with epoxy and insert the ring core into the blank. Wipe off any excess glue. Wait for glue to cure.
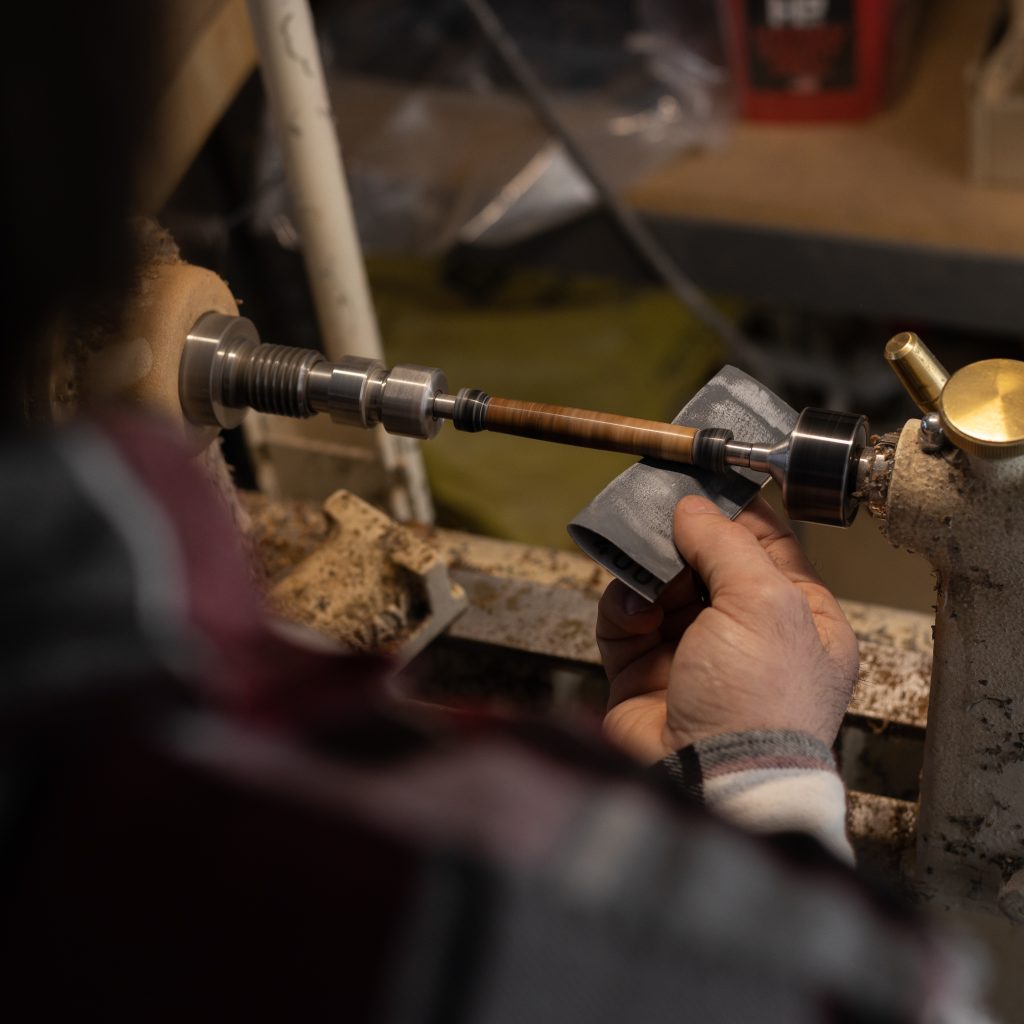
Finishing your turned ring:
1. Mount the blank on a pen mandrel using the ring bushings. Small ring bushings fit ring sizes 4-7.5, Medium bushings fit rings 8-11.5, and Large bushings fit rings 12-16. So use the appropriate bushings for your ring. Note: for 3mm wide cores, sizes 4-7.5 you may need to flip one of the bushings for them to mount securely.
2. Turn the blank to your desired shape. Sand the blank through 600 grit or higher.
3. Finish the blank with your choice of finish. We recommend a CA finish as it will be glossy and resistant to moisture. Here’s a video link of how to achieve a CA finish on a pen. The same technique can be applied to your ring turning project!
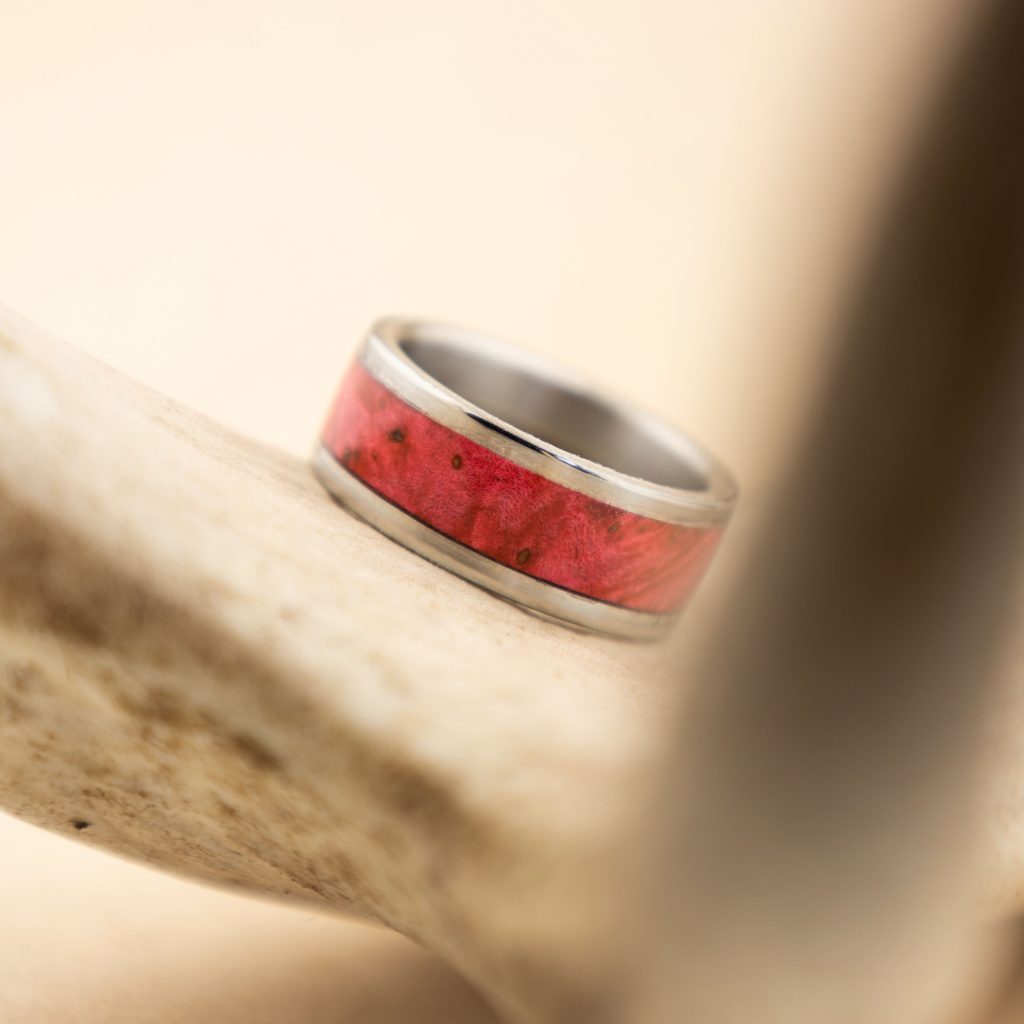
And there you have it! Your first ring turning project is finished. With a surge in popularity of wood wedding rings, this project in particular is a great one to keep your skills modernized and on trend.
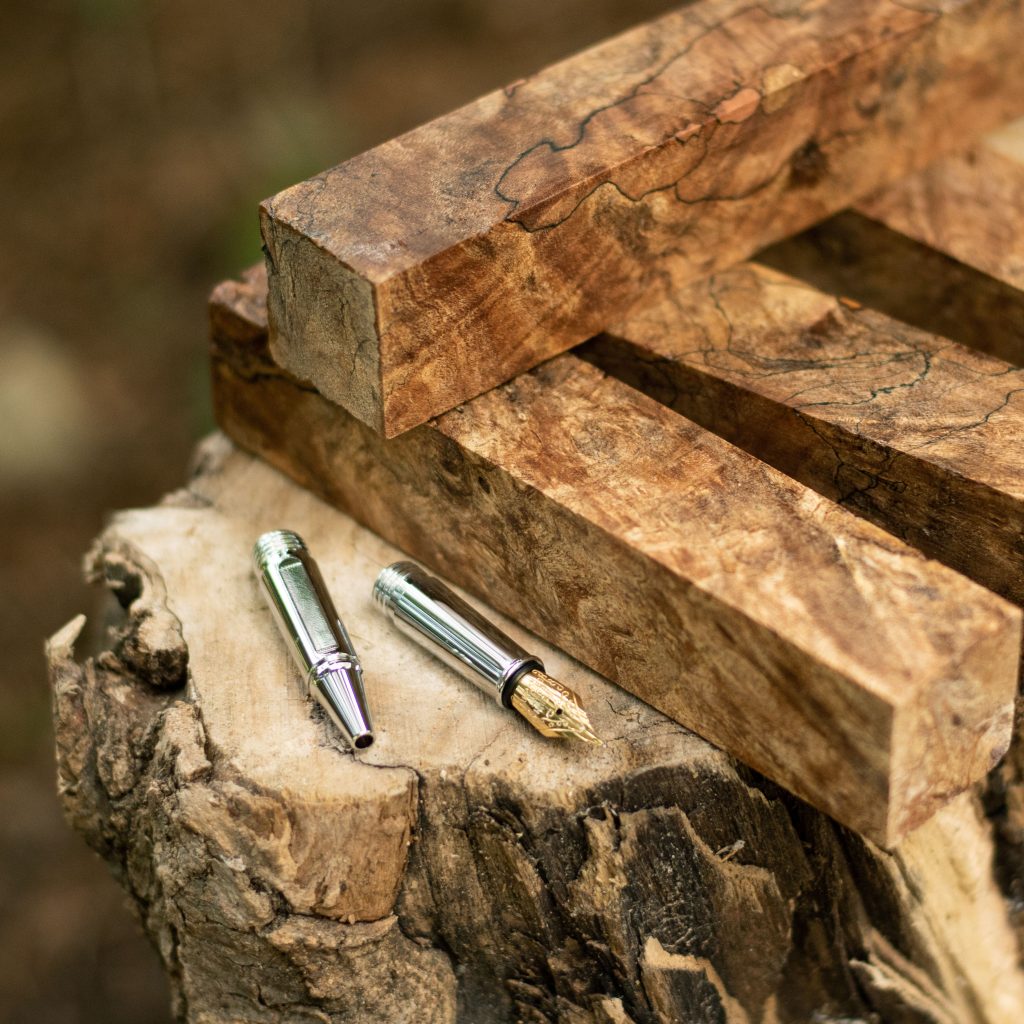
Stabilized Black Palm

Although we touched on how to make a single-piece wood ring here, two-piece ring cores are also a great option! These two-piece ring cores and ring making mandrels are made in Canada and use similar techniques. If you’re interested in exploring that project, you can find the instructions here.
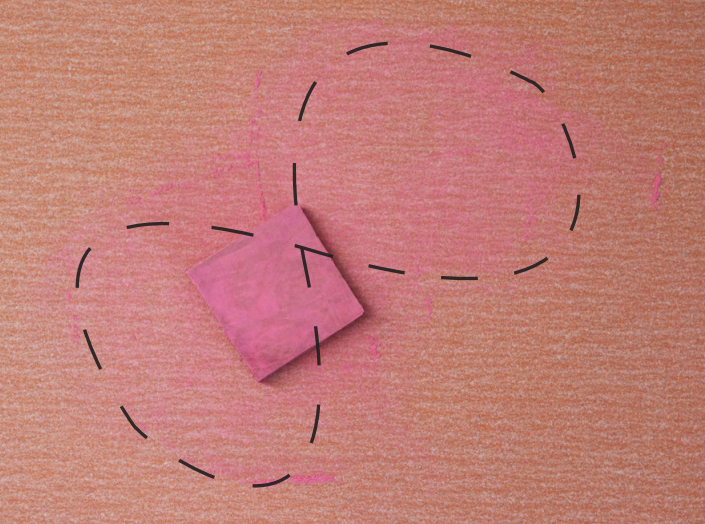
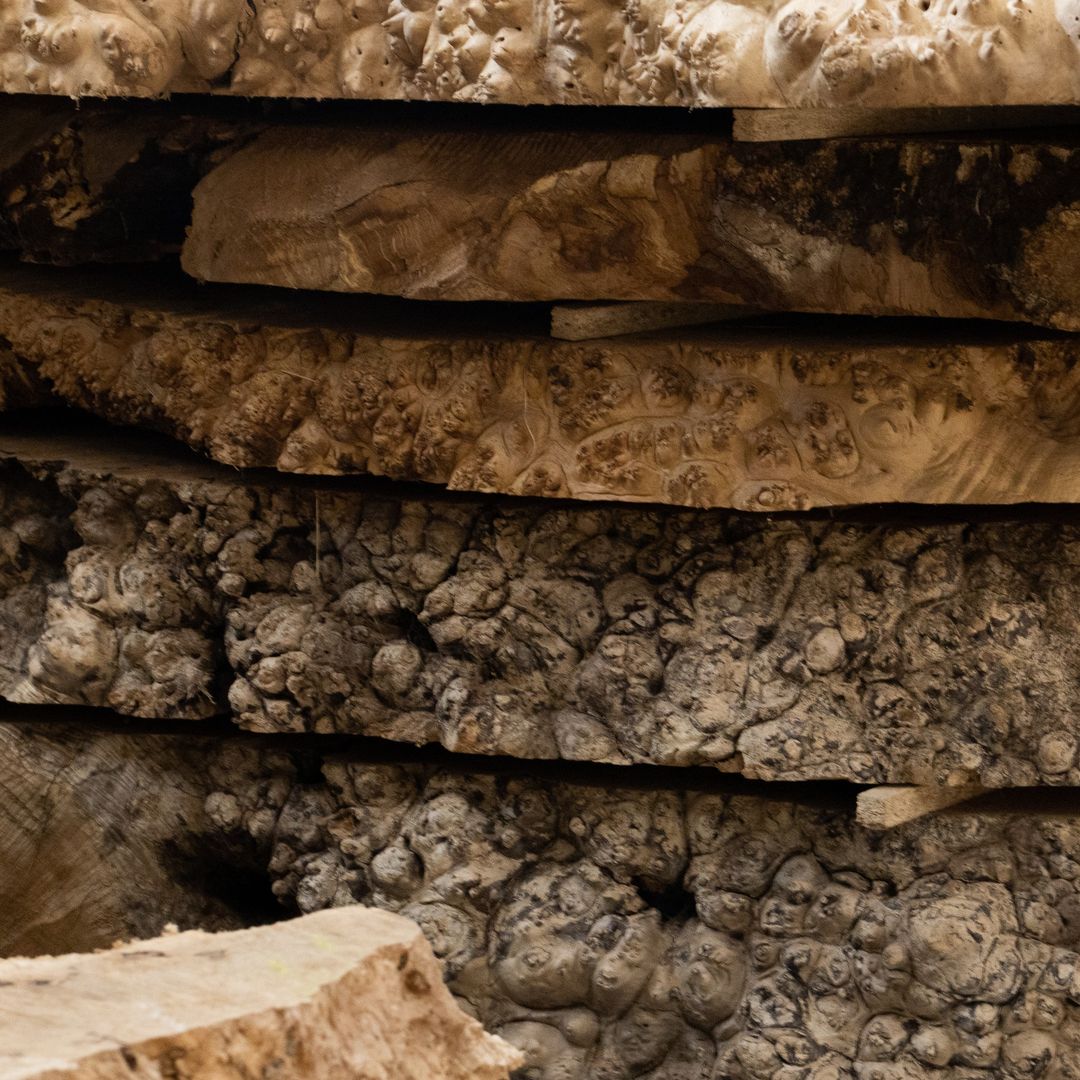
Stabilized Pink Buckeye Burl
We’ve got all the ring turning accessories in Canada you’ll need, so when you’re ready to pull the trigger on this new project, we can have it shipped out to you the same day in most cases.
If you’re unsure about getting into ring turning or have any questions, feel free to give us a shout at 1-877-585-0403.
Subscribe to our newsletter to get all the deals! We promise we won’t bother you – only our weekly specials on Sundays to enjoy with your morning coffee and our turning tips newsletter for pen turners every Wednesday.
