6 of The Most Common Errors Penturners Make and The Best Ways to Avoid Them
Mistake #1 : Improperly Squaring Up Pen Blanks
Why is there a gap between my pen kit and barrel?
One of the most common mistakes when it comes to turning pens is improperly squaring up the ends of your pen blanks. There are a few ways that a pen blank can be squared up that will impact the final outcome of your pen;
Most commonly, penturners squaring up blanks with a drill press often square up the blank too hastily and end up pressing too far down, thus removing some of the length of the brass tube inside the blank. This will lead to malfunctioning click mechanisms, ink refills that extend past the nib and gaps between hardware.
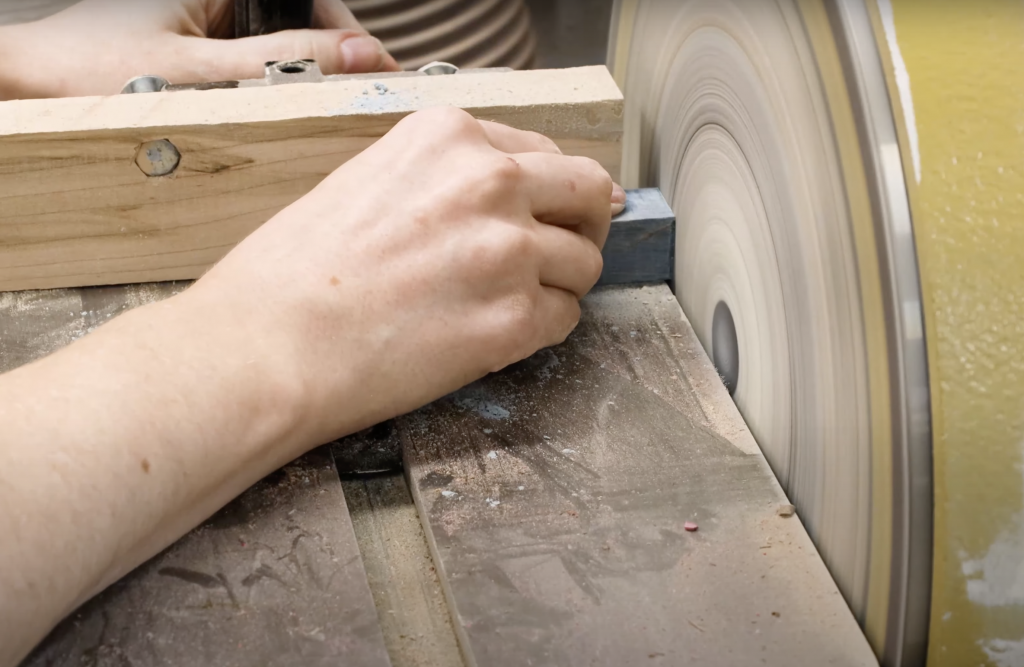
Another common way that pen blanks are incorrectly squared up is when blanks are squared up manually using a sanding disc and jig. By squaring up blanks by manually pushing them into your sanding disc, you may not be achieving a perfect 90° end on your blank, which can lead to a gap on one side caused by uneven pressure.
Should your blank be squared up incorrectly, your final pen may not work correctly when assembled. Pen kits are designed with very specific parameters in mind, and if there is a gap between your pen blank and the pen kit parts, not only will your pen look a little odd, the mechanics of the pen may not function correctly. Typically, there is a bit more forgiveness with twist pens than with click pens, which are designed with exact specifications.
How to Fix it uneven pen barrels:
If you frequently find yourself squaring your blanks up unevenly, worry not! There are a few steps we take, here at Wood-Write, to square up pen blanks perfectly every time:
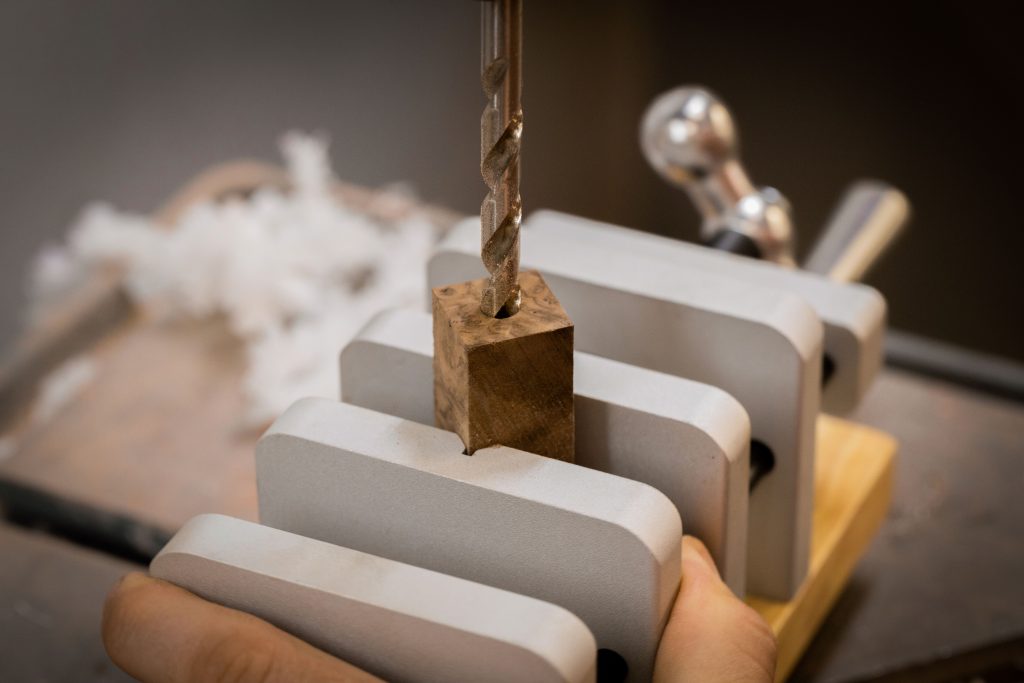
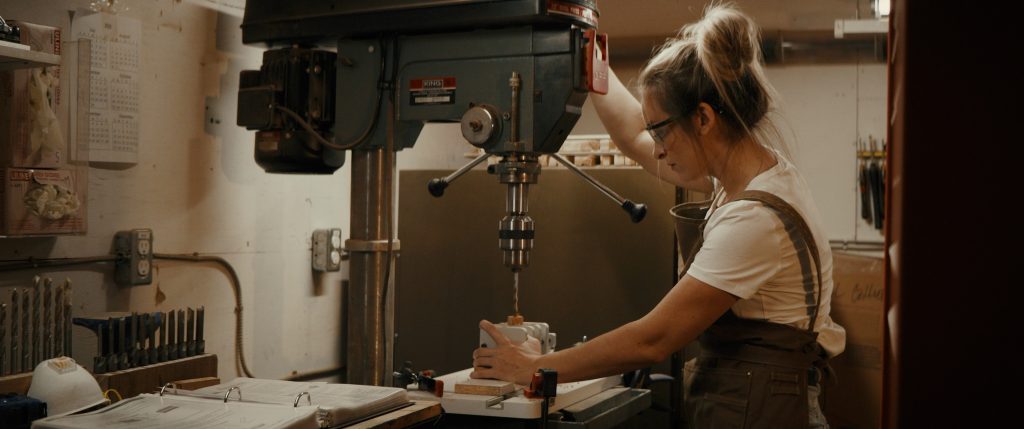
We highly recommend squaring up your pen blanks using a Premium Pen Mill and Premium 3/4 Cutterhead combination mounted on a drill press. The Premium 3/4 Cutterhead simply locks into the pen mill, which is then mounted onto a drill press, and can be interchanged for any pen mill size you may require.
By using a Premium Pen Mill and Premium 3/4 Cutterhead combo on a drill press to square up your pen blanks, you eliminate the possibility of human error. This means that, should your blank be centred correctly in your Drilling Centre Vise, you will get a perfect 90° end on your squared blank every single time!
However, it it essential to work very slowly and carefully when squaring up pen blanks with a drill press. Moving too hastily or being heavy-handed when drilling often results in some of the brass tube inside your blank being shaved off, thus impairing the function of the final pen once it is assembled.
Mistake #2: Overturning Pen Blanks
Why isn’t my pen barrel flush with the pen kit parts?
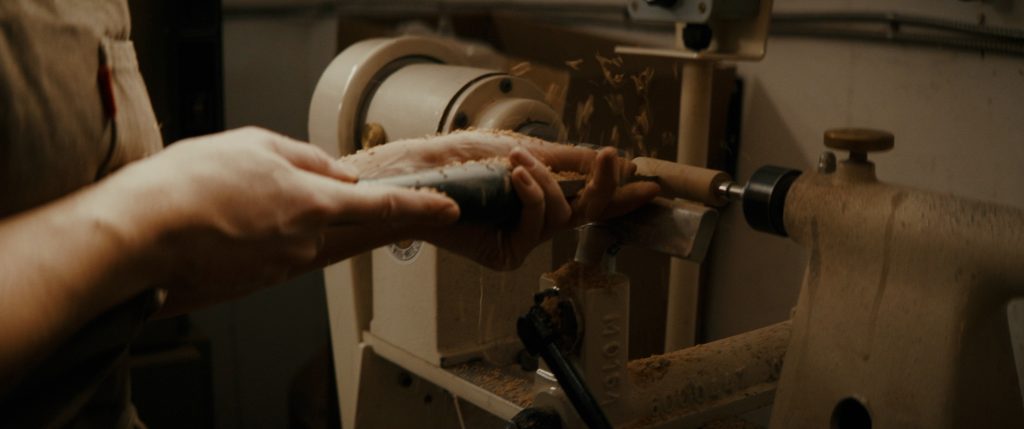
Have you ever gotten a little too into the zone while turning a pen blank and stopped your lathe only to realize you’ve overturned your blank? Look no further!

We’ve made this mistake enough times to have perfected a solution using one of our all time favourite products: CA Glue!
CA glue has a multitude of uses, and one of its lesser known uses is for re-building up overturned pen blanks. The process of using CA Glue to build up overturned blanks is very similar to the process of using CA Glue as a finish, and the steps to re-building the diameter of an overturned pen blank just as easy as finishing a pen!
How to Fix an Overturned Pen Barrel:
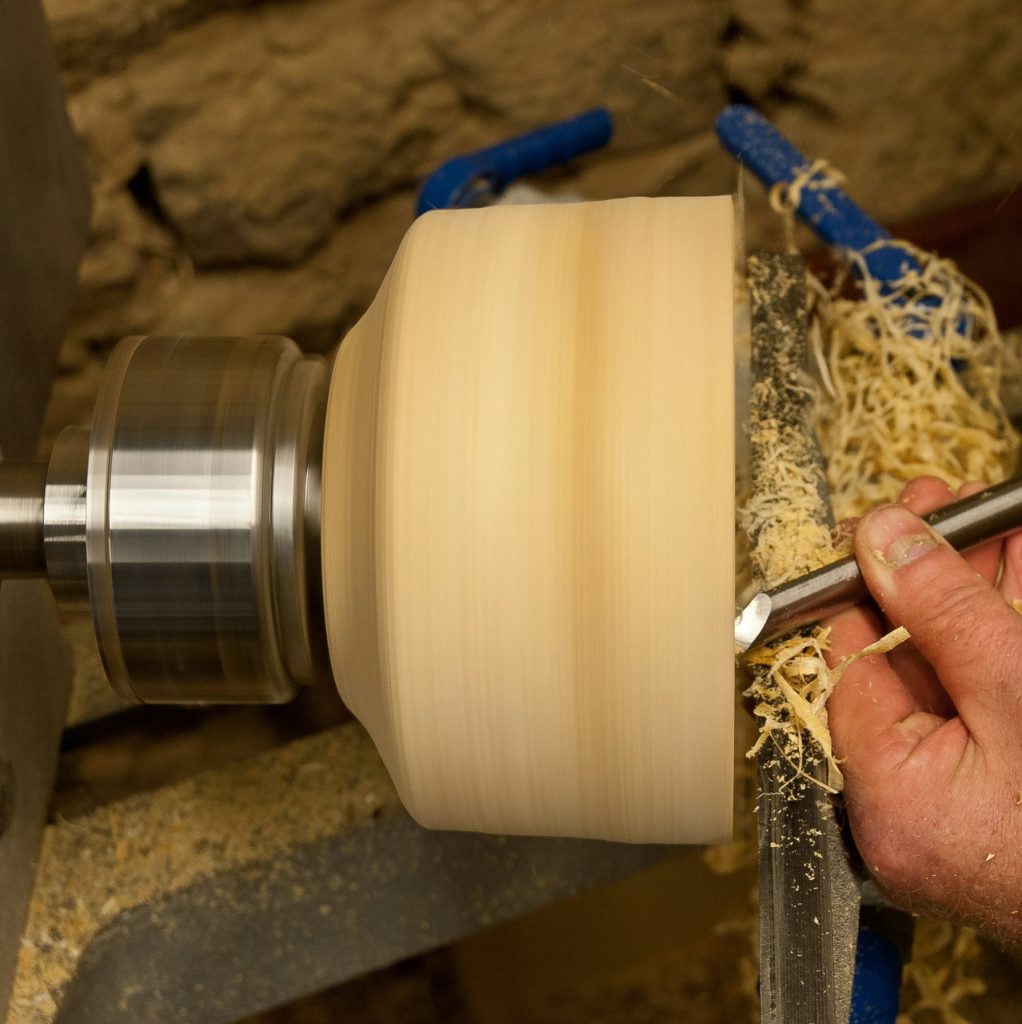
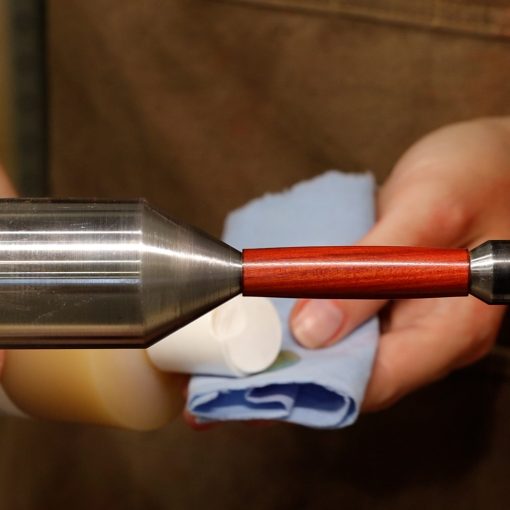
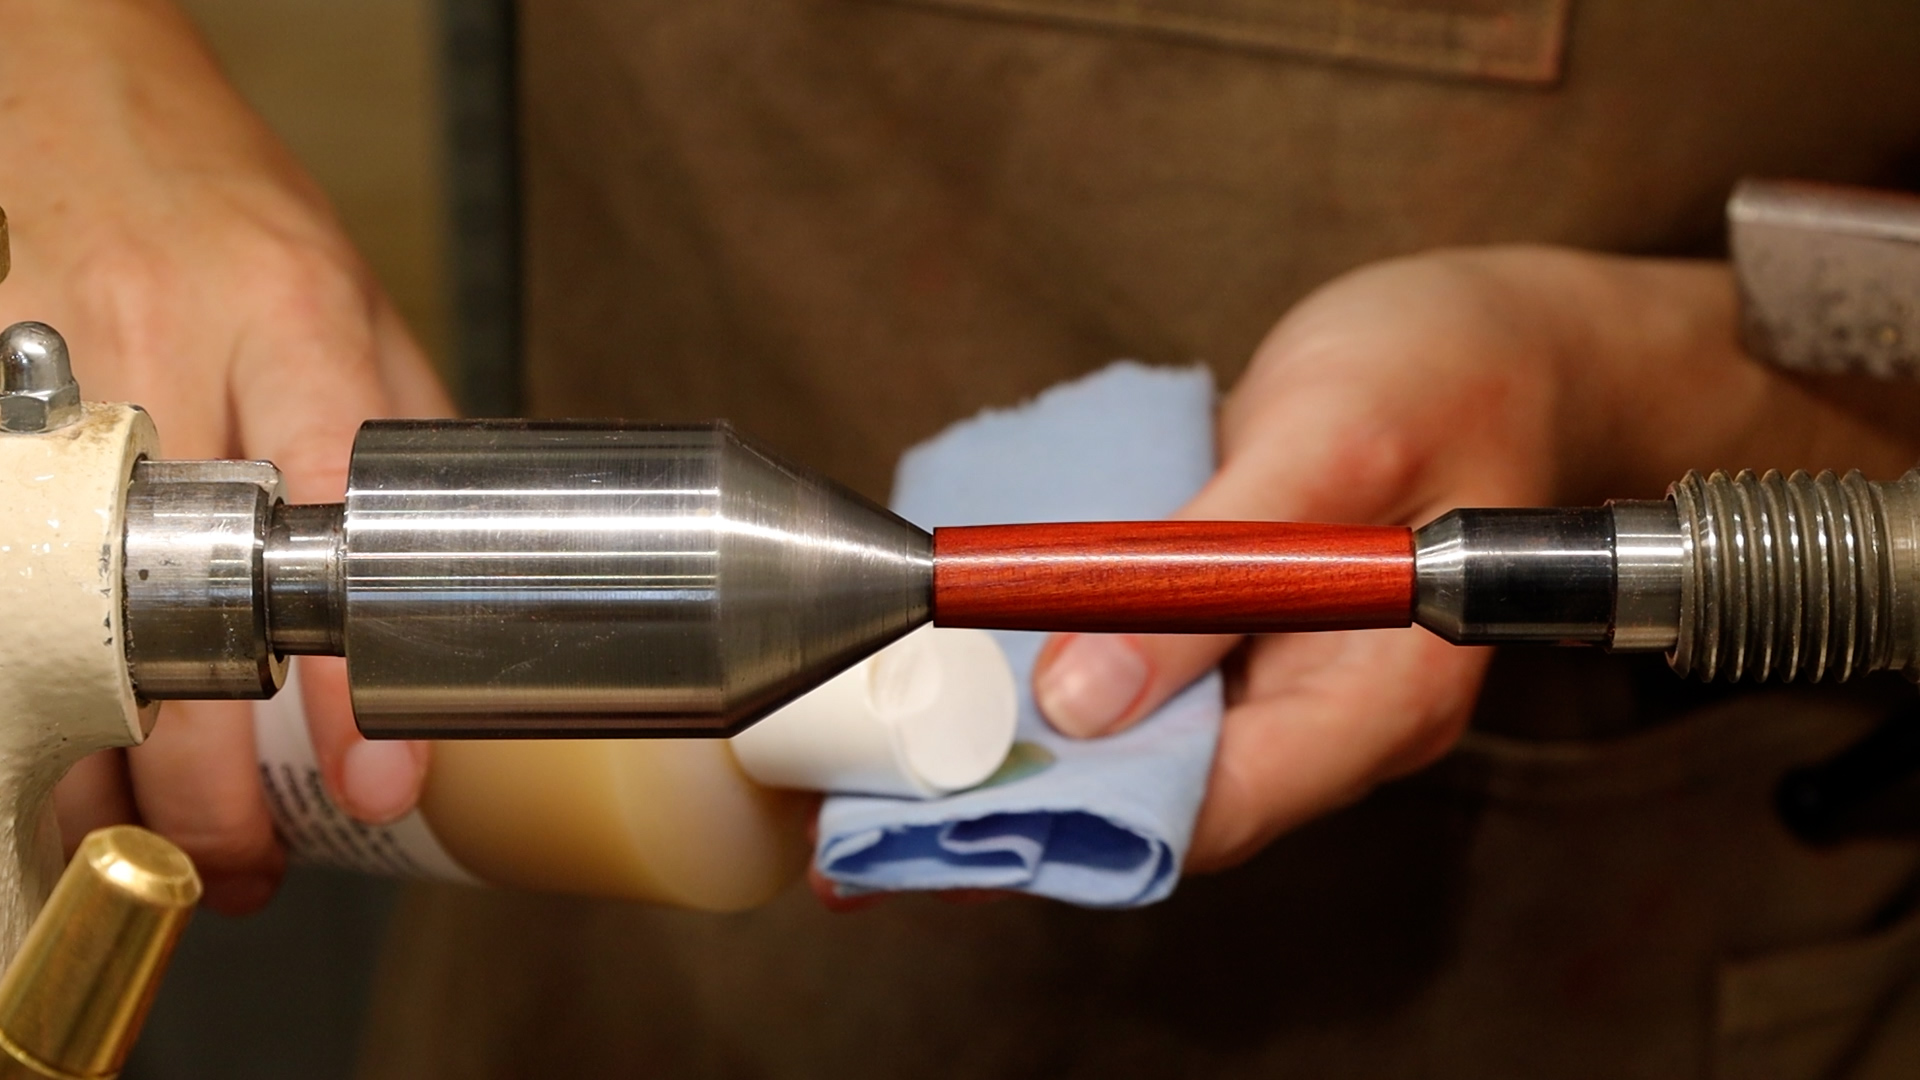
Begin to apply layers of Thin CA Glue, we love C-Bond Thin CA Glue, to the concave area of your pen blank using a clean shop towel. Make sure to follow each layer of glue with 1-3 spritzes of accelerator, we love C-Set CA Accelerator, to set each layer of glue instantly.
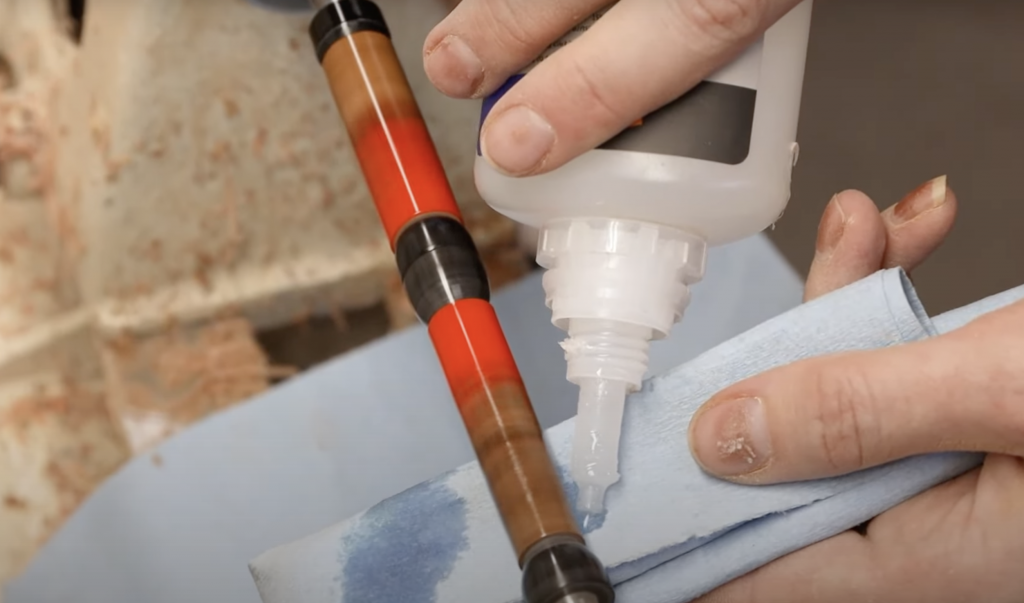
Continue building up layers of CA Glue using the above technique until you are happy with the new profile of your pen blank.
Then, use a sanding sheet, like Abranet Mesh, to sand down any high spots of glue, if necessary.

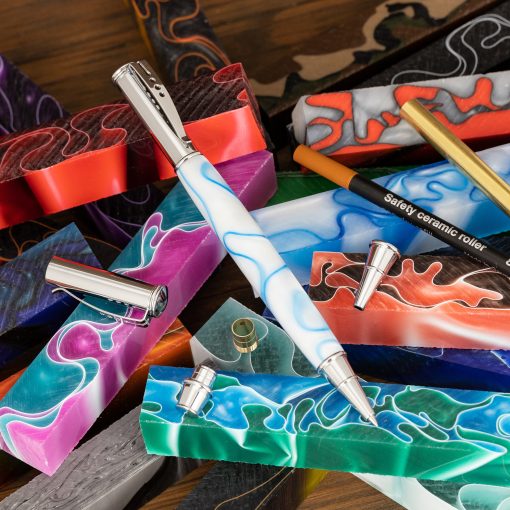
Finally, continue the sanding and finishing process as you normally would. We prefer Micro Mesh Cushioned Pads and HUT Ultragloss Polish for finishing fusion blanks, like the Orange Divine fusion blank pictured below, with the highest possible shine.
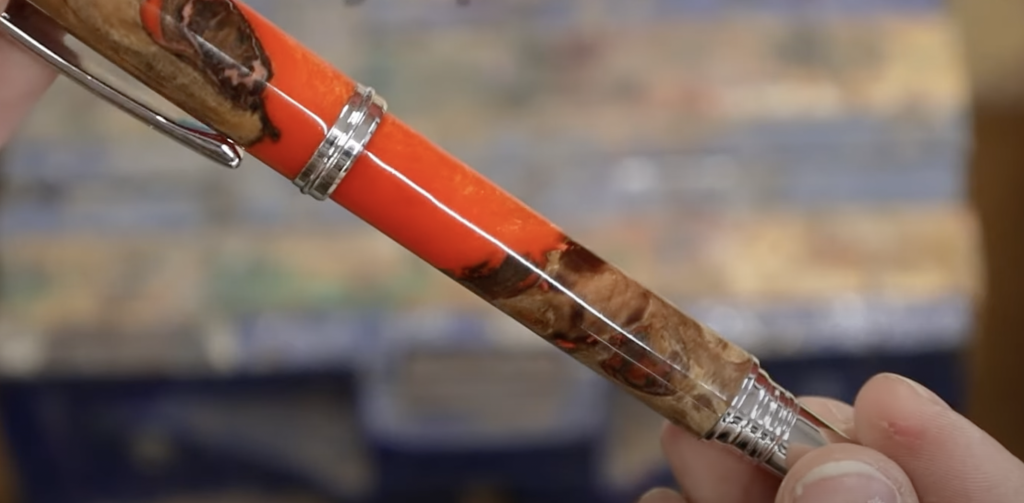
And, there you have it! The concave shape is no more!
Never again will you chuck aside a perfectly good pen blank just because it’s been over-turned with this neat CA Glue fix!
Mistake #3: Splitting Blanks
Another common mishap that occurs among penturners is the infamous blank splitting, wherein your pen blank is cracked or split along it’s length due to too much pressure being put on the blank while either securing the blank in your lathe or while assembling your final project with a Pen Press.
How to Fix a Cracked Pen Blank:
While many simply scrap pen blanks after they’ve cracked, there is a solution: Coloured CA Glue!
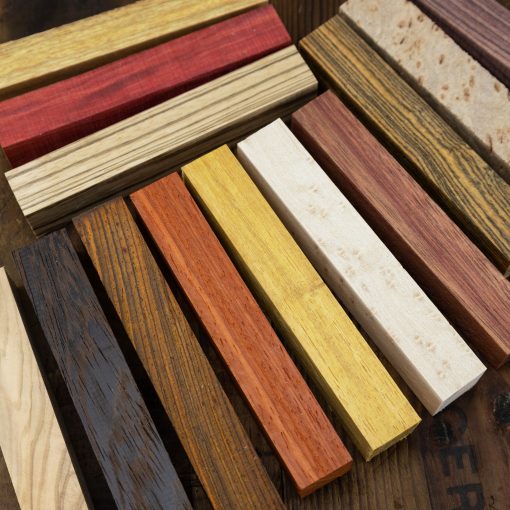
As we love to remind you, CA Glue has a million and one uses. One we’ve had a lot of fun with is using coloured glue to fill cracks in split blanks! Depending on the colour of your blank, there are a variety of coloured glues to choose from to either enhance the split or blend it in, while saving the integrity of your blank.
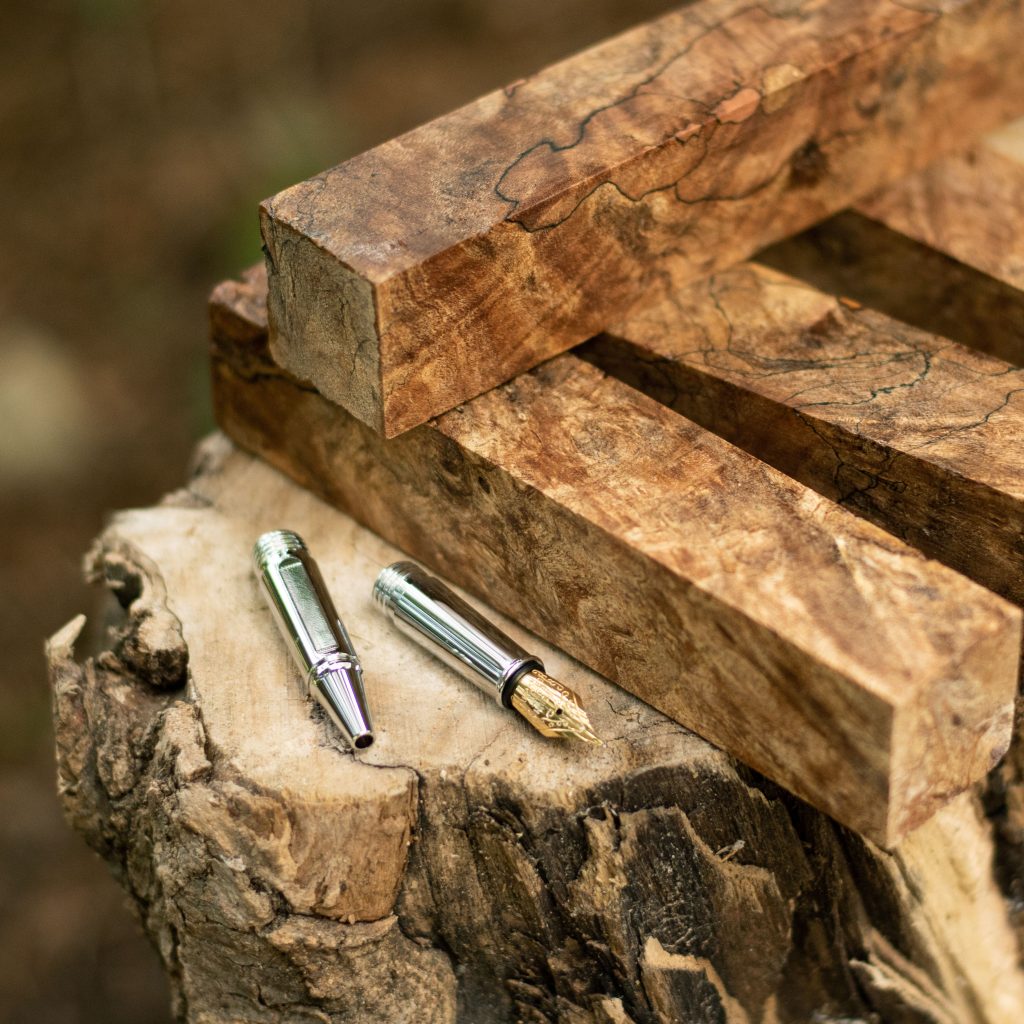
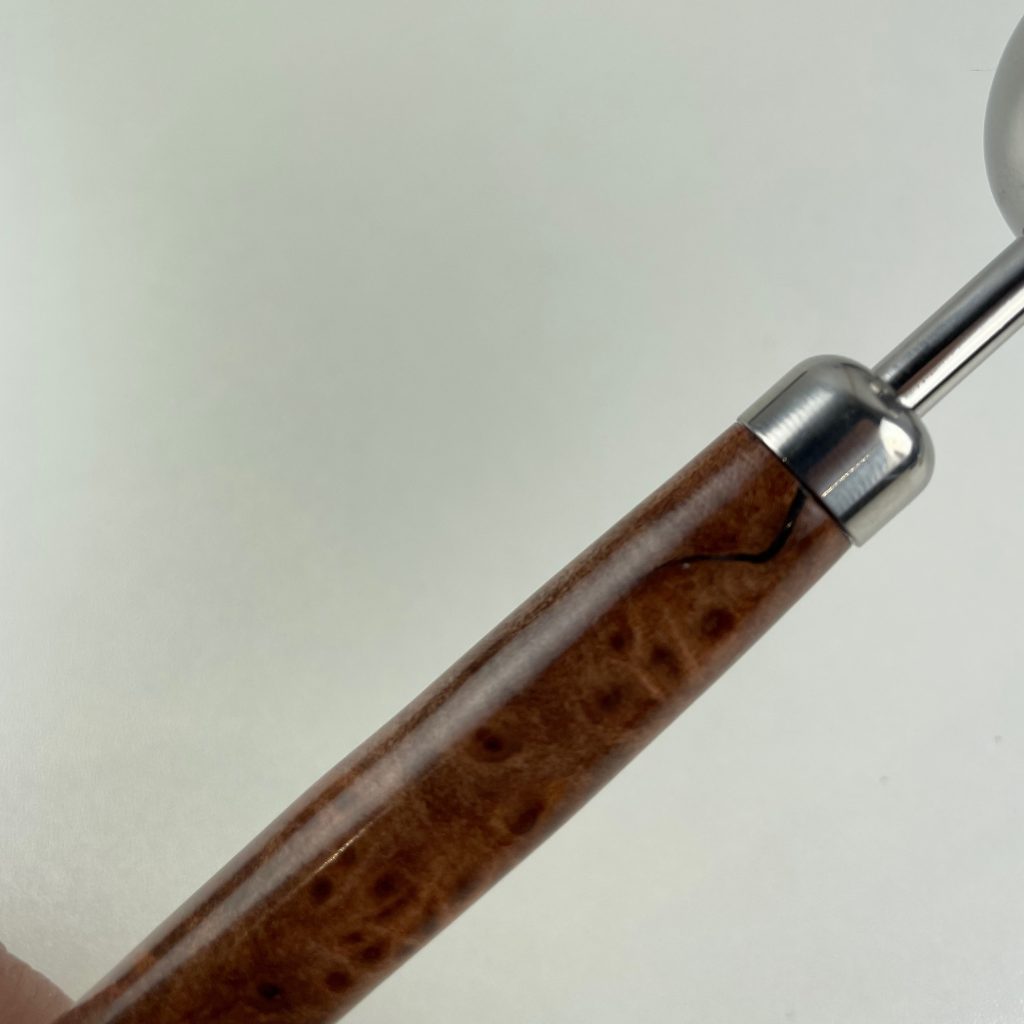
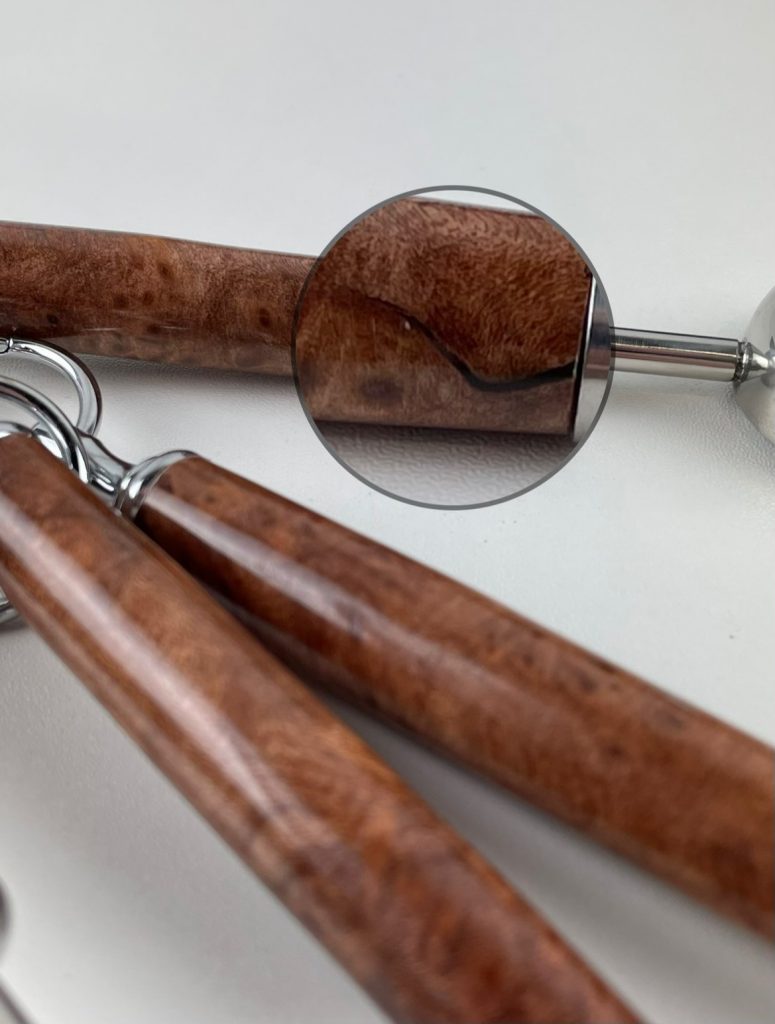
Enhance the unique pattern created by a split in a light-coloured blank using C-BOND Medium Black CA Glue! Or, seamlessly blend a crack in a split blank using Starbond Brown CA glue, available in Medium Light Brown and Medium-Thick Dark Brown to accommodate different coloured blanks!
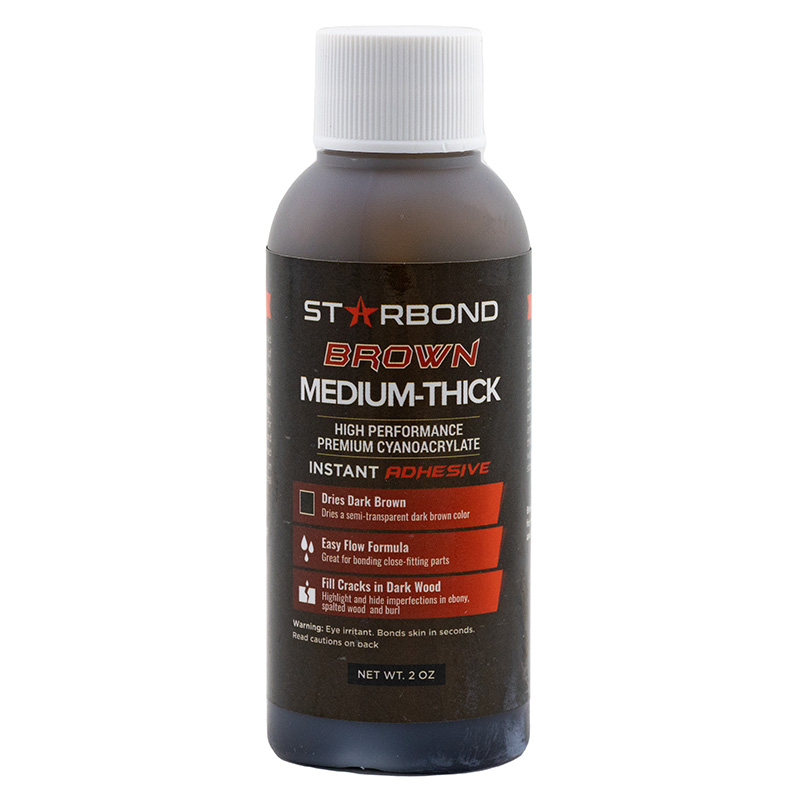

Check out this Redwood Lace Burl Pen Blank that we managed to salvage recently using Dark Brown CA Glue! This blank split due to too much pressure being put on the lathe when securing the blank in between non-stick CA bushings for finishing. Luckily, using Starbond Medium-Thick Dark Brown CA Glue and the included fine tip attachment, the cracks were able to be completely filled, and even added a unique flare to these measuring spoons!
Mistake #4: Blowing Out Pen Blanks
Blow outs are many penturners’ downfall, occurring seemingly randomly and without warning. You think you’re just about finished turning your pen blank and decide to do one last pass with your chisel, only for your blank to explode and a chunk of blank to separate from your brass tube.
We, here at Wood-Write, know how frustrating it can be to blow out a pen blank, so we’re here to show you the reasons your blanks may be exploding, and how to prevent it from happening!
How to Avoid Pen Blank Blowout:
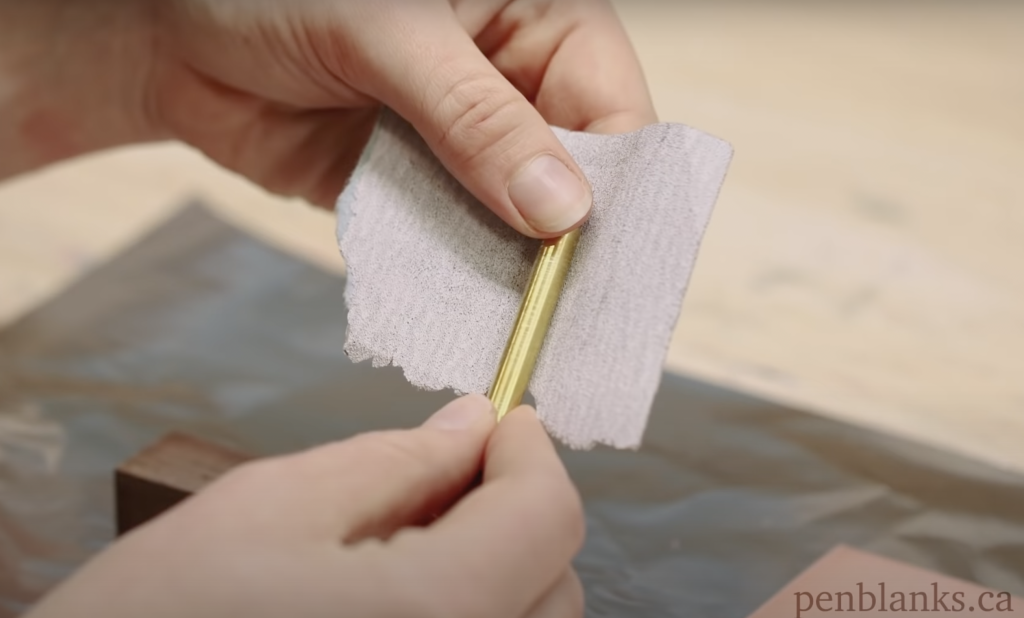
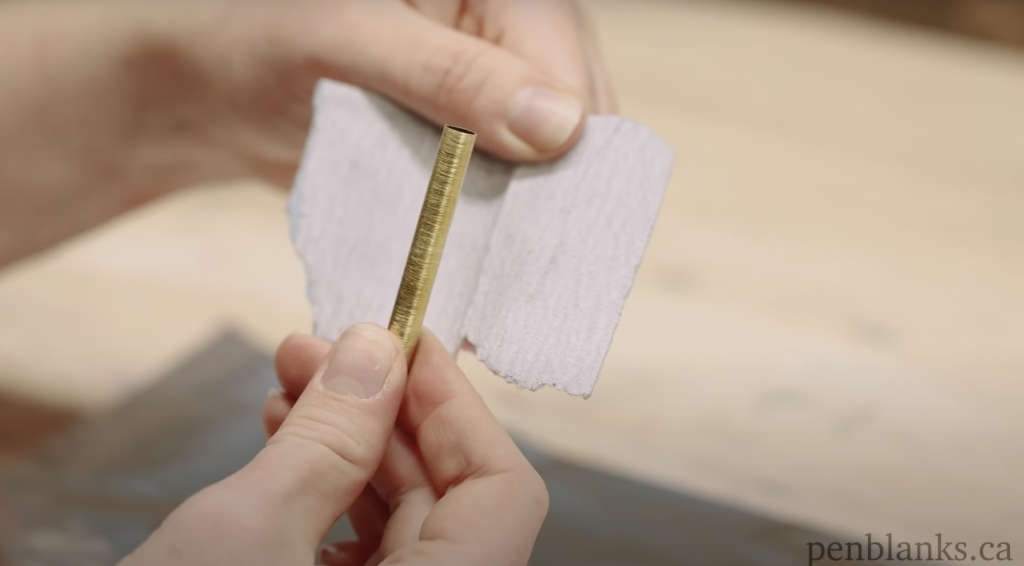
Rough up Your Tubes!
Pen blank blowouts often occur when the brass tube of a pen kit is glued into a pen blank without being roughed up adequately with a sanding sheet, lacking a surface for the glue to adhere to.
Using an aggressive sanding sheet such as Abranet Mesh or sandpaper to scratch up the outside surface of your brass tubes prior to gluing them into your blanks gives the glue ridges to stick to on the tube, creating an extremely strong bond between the two.
Use Lots of Thick Glue!
Another culprit that may be responsible for your pen blank blowing out is not using enough glue, or not using the correct consistency glue.
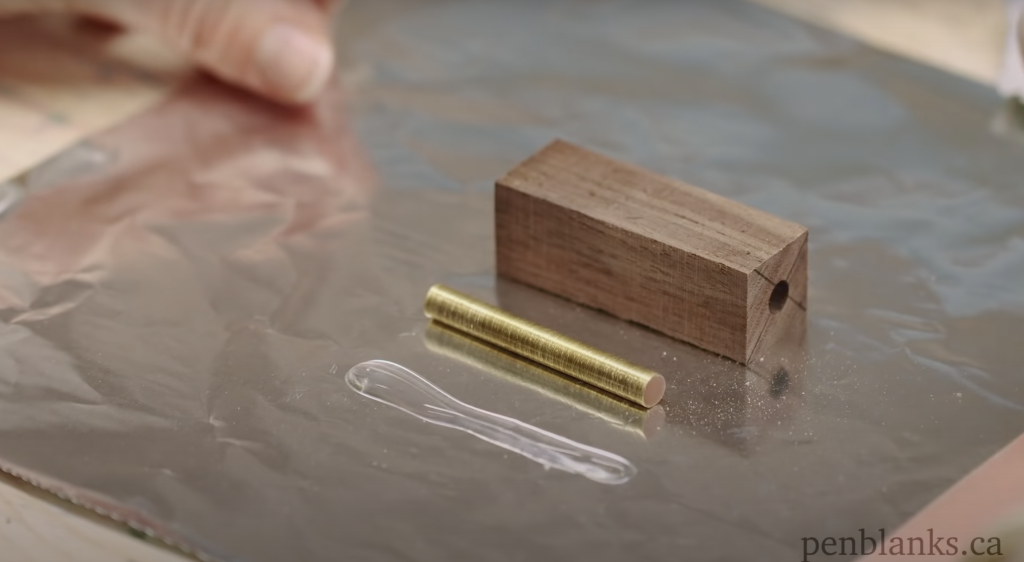
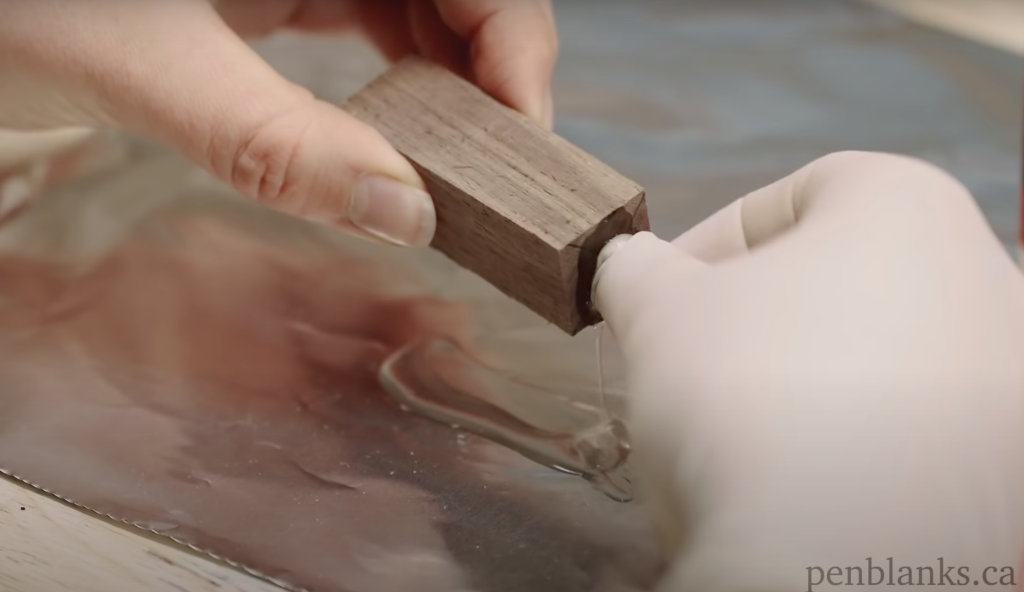
We recommend using a thick CA Glue, such as our C-BOND Thick CA Glue, to glue brass tubes into pen blanks, as it allows more glue to coat your tube and, therefore, ensures that your tube is completely covered and will adhere to the entire inner surface of your pen blank.
It is also very important to use a lot of glue when gluing tubes into pen blanks! It is a good rule of thumb to pour a puddle of glue for yourself that is more glue than you’ll need and roll your brass tube in this puddle to completely coat the tube before inserting it into your pen blank.
A sign that you’re using the correct amount of glue is if a glop of excess glue squeezes out once your tube is secured in your blank, as displayed in the photos below.
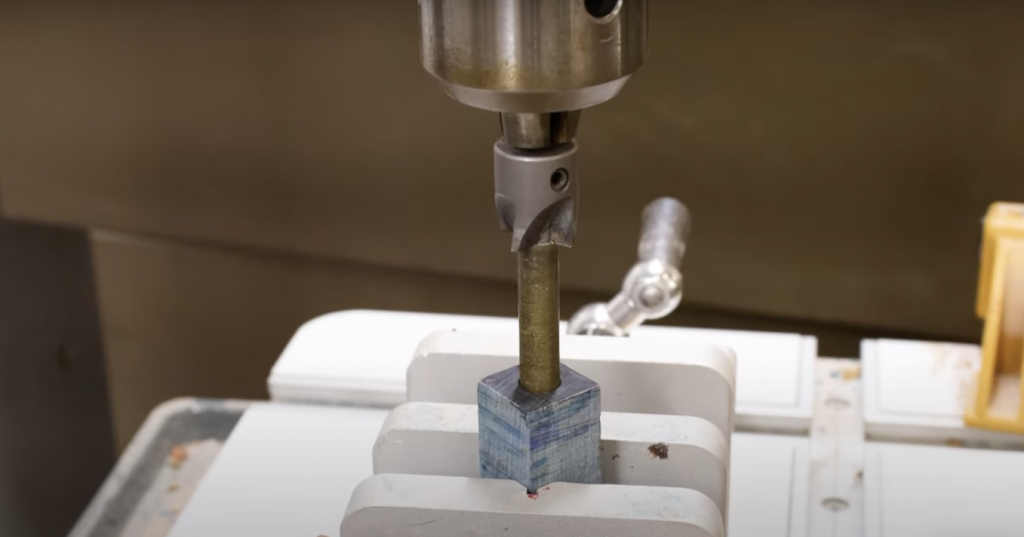
Use The Right Size Drill!
While you may think you are able to eyeball what size drill you’ll need for a certain pen kit project, gluing a brass tube inside a hole that was drilled even a little bit too large can result in massive blowouts during turning. If there is space in between your brass tube and your pen blank, it makes your blank much more likely to separate from the tube and go flying during the turning process.
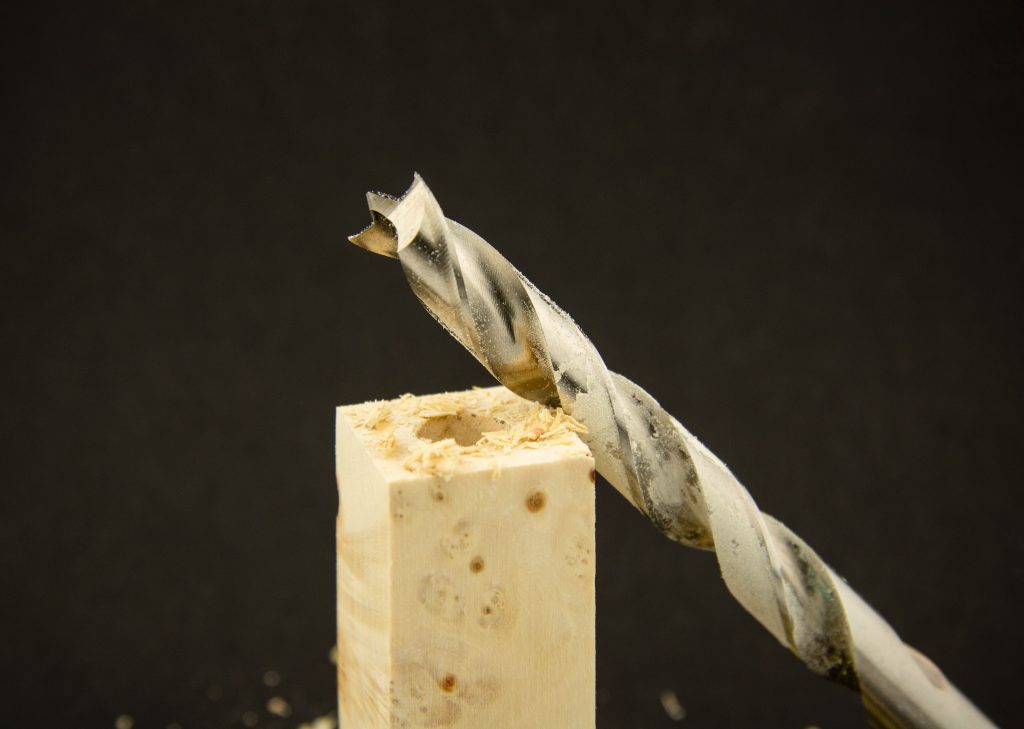
It is very important, when looking to prevent blowouts, that you are using the correct drill for the pen kit you are making, as outlined in the kit’s instructions.
If you’re not sure which drill you need for the pen kit you have, all of the instructions for all of our pen and project kits can be found in the “Instructions & Resources” tab on penblanks.ca, or by following the link below:
Mistake #5: Pressing Pen Parts Together Incorrectly
Assembling your pen only to discover you’ve pressed a part of the pen kit into the wrong end of the blank, or the wrong part altogether, is a right of passage for pen turners. We’ve all done it.
But, worry not! No more will you have to chuck aside a pen kit just because you’ve pressed parts together incorrectly.
How to Fix an incorrectly assembled pen kit:
Disassemble it! While parts may seem permanently secured once pressed into a blank using a pen press, there are a few methods that you can use to take apart a pen kit that has been pressed together incorrectly.
Disassembly Transfer Punch Set
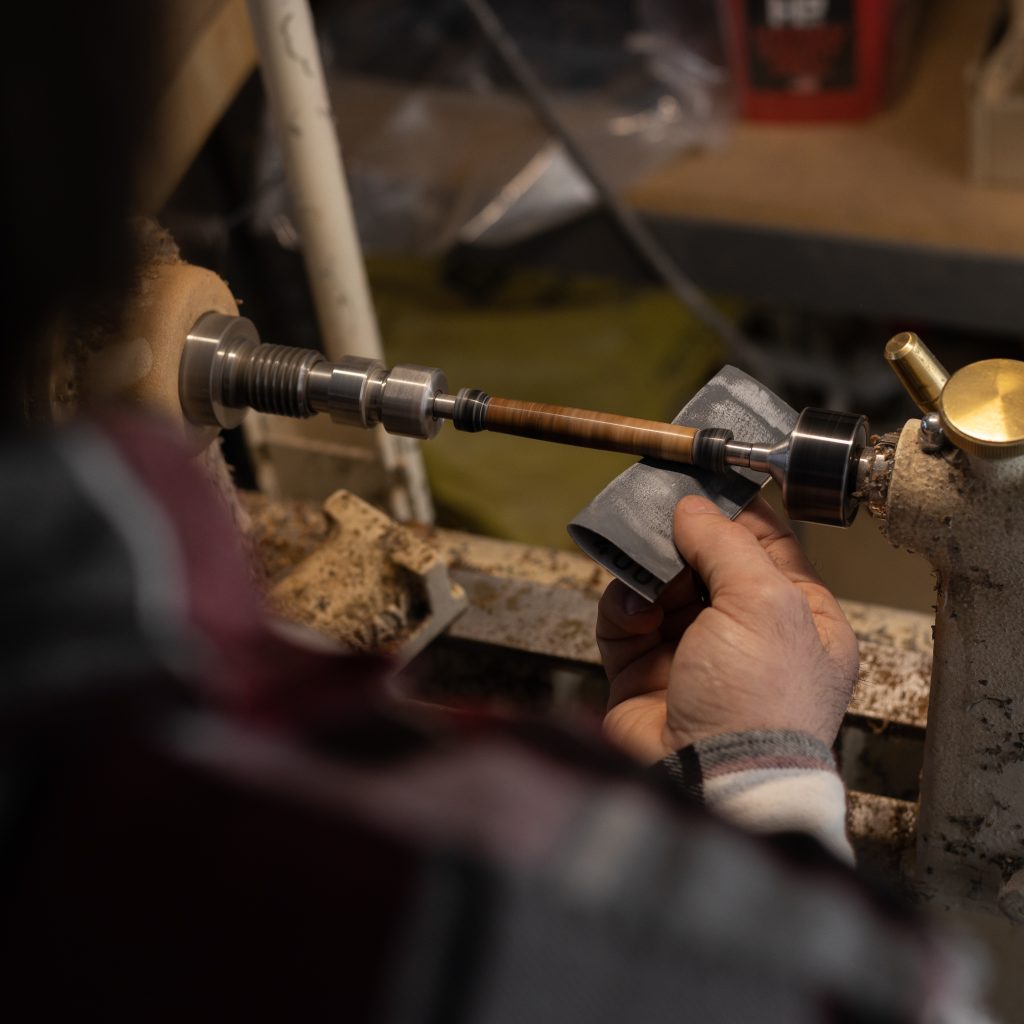
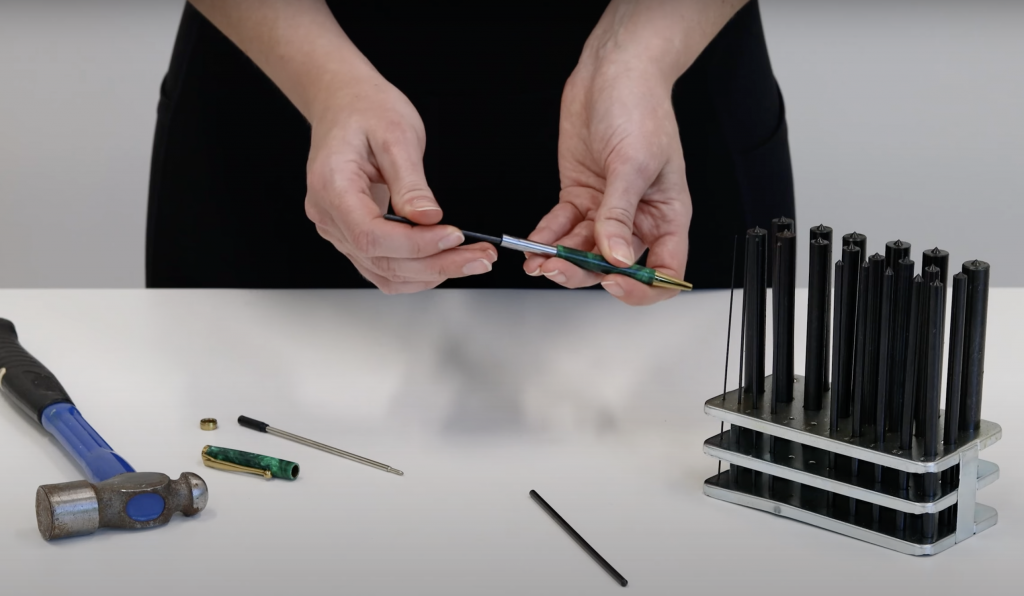
One method that comes in very handy for taking apart pen kits that have already been pressed together is by using a Disassembly Transfer Punch Set, which we will use for disassembling this Gold Budget Fancy Slimline Pen Kit as our demonstration.
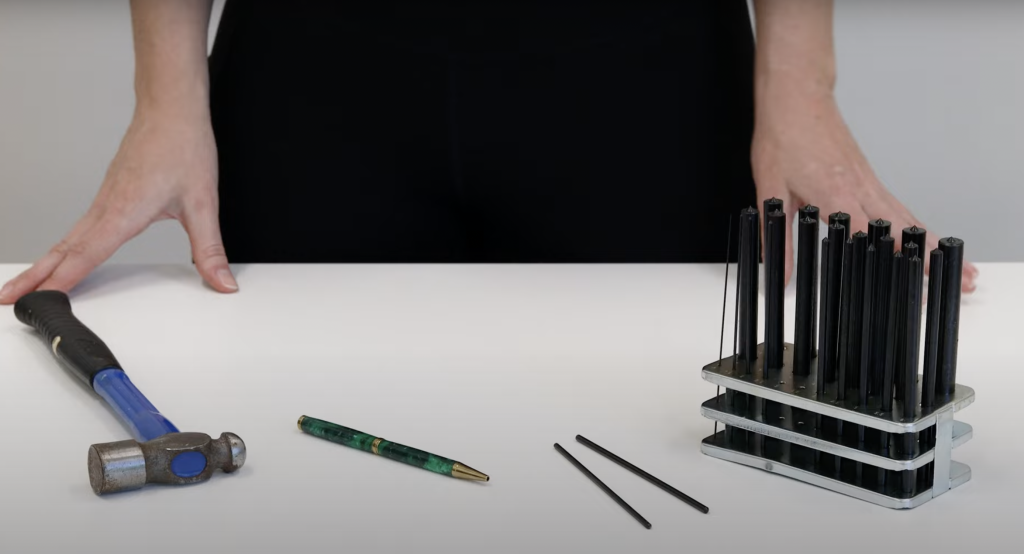
The first step is to remove the entire upper barrel of the pen by hand, unscrew and remove the ink refill and centre band and set these pieces aside, so that you have access to the inside of your pen blank.
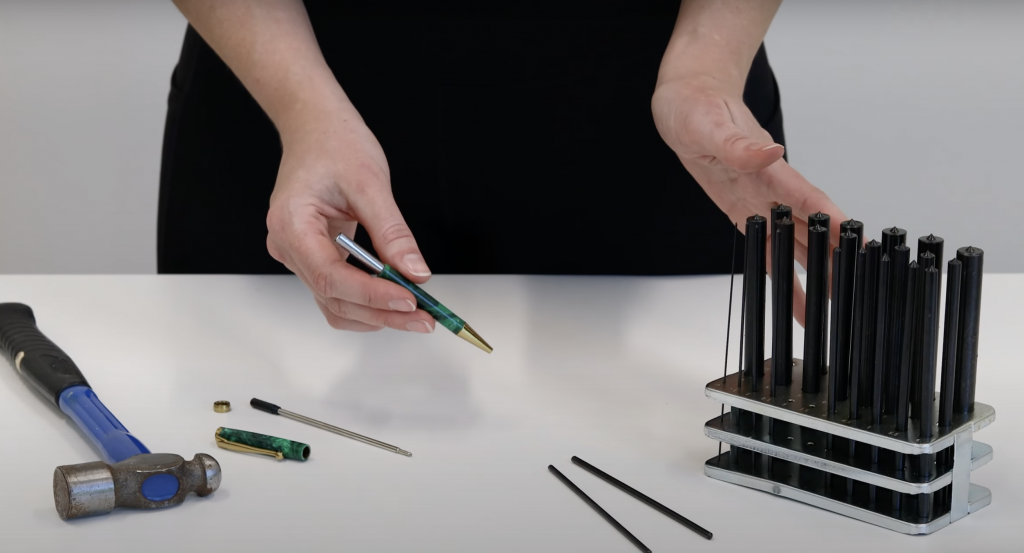
Next, choose your transfer punch rod. Our Pen Disassembly Transfer Punch Set includes 25 different sizes of rods, so you’ll always be able to find the appropriate sized transfer punch rod for your project. For this fancy slimline disassembly, we used the 6.5mm rod.
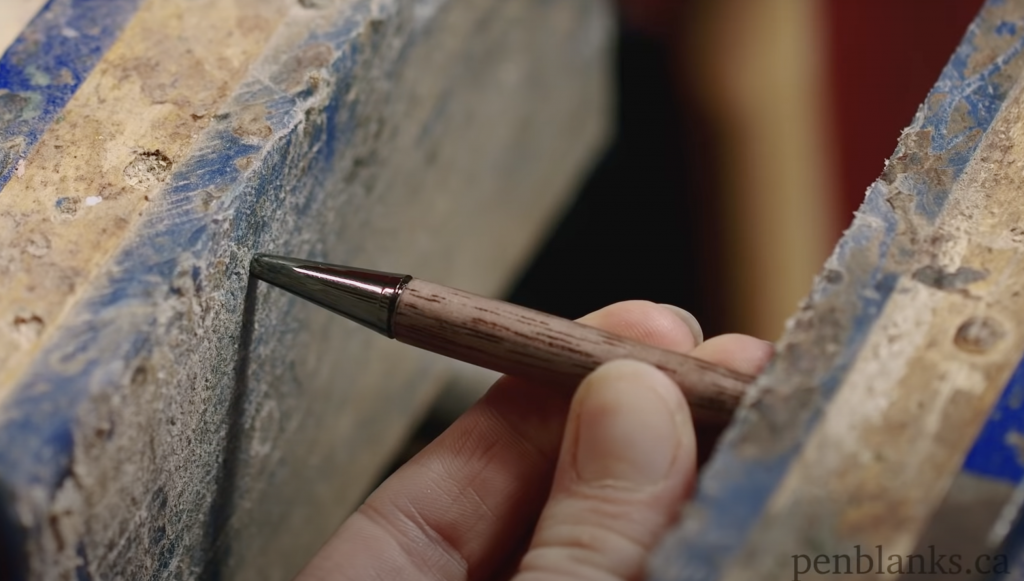
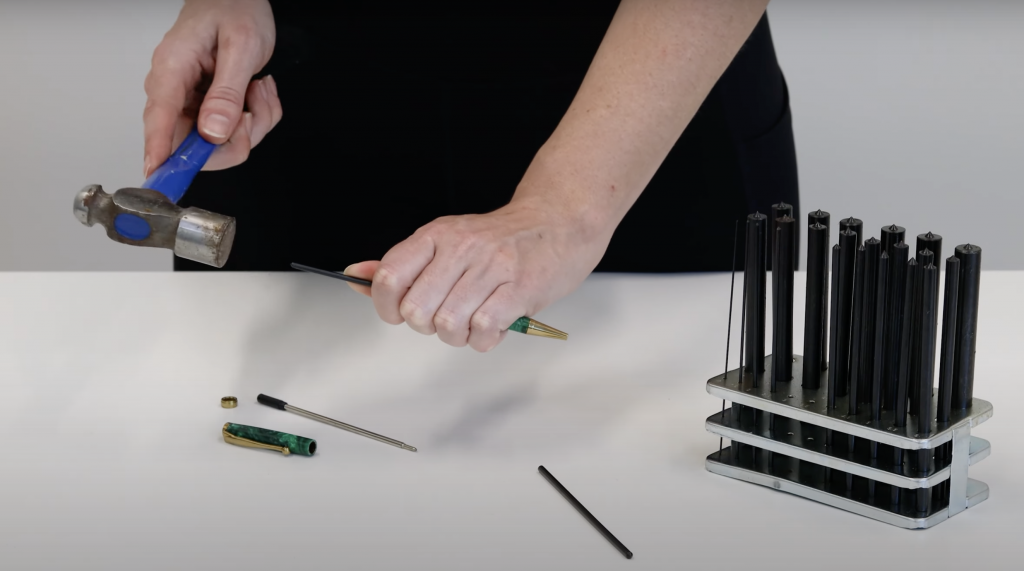
Next, we’ll begin disassembly by removing the nib from the assembled pen.
To do this, simply insert the transfer punch rod into your barrel until you feel it catch on the inner edge of the nib inside, preventing it from going any further in.
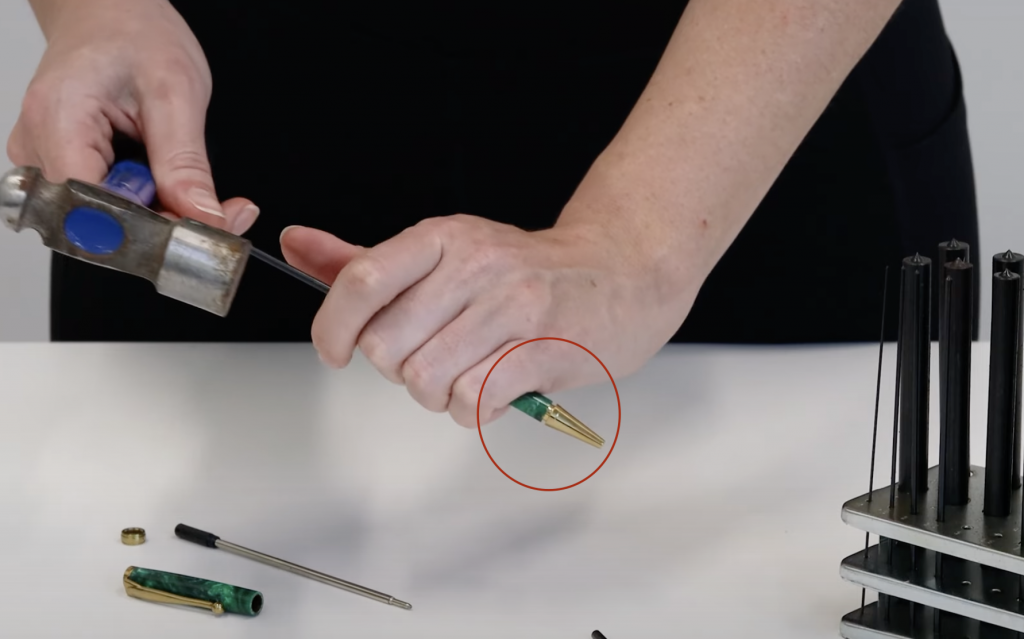
Then, gently and slowly, tap the other end of the transfer punch rod to slowly but surely push the nib out of the barrel, as shown in the photo below.
Eventually the part will loosen within the barrel and pop right out!
Pen Disassembly Vise Grip
Sometimes your pen is a little more stuck and popping pieces out by hand isn’t working. For these situations, our Pen Disassembly Vise Grip is perfect!
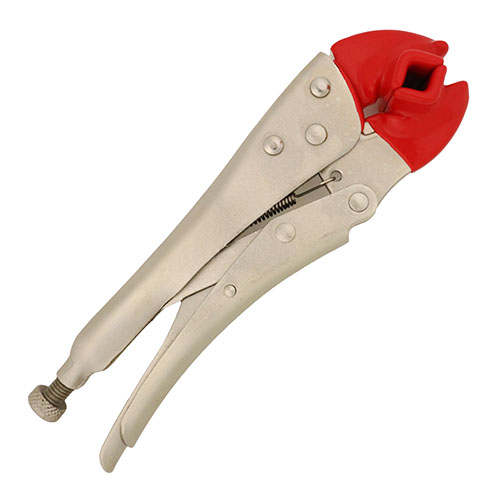
The non-marring soft grip securely grasps finished tubes from .35″ (like the slimline pen kit!) through 1″ diameter. The 7″ pliers locks and holds your tube securely while you punch out the internal components using a transfer punch set!
This tool is extremely handy when it comes to stubborn pen kits that just don’t want to come apart, helping you dislodge even the tightest and most difficult to remove parts.
Mistake #6: Getting a Flying Chunk of Wood to the Eye
An important part of the penturning process is often forgotten by seasoned turners: Safety!
Have you ever turned your lathe on and began to turn only to discover you never put your safety glasses on? Hopefully you haven’t!
If you’ve been penturning for a while, it’s always a good idea to brush up on your safety precautions so you can keep protected and keep turning!
How to Fix it:
Proper PPE!
The most important step in keeping yourself safe while turning a pen is Personal Protective Equipment!
First and foremost, it is recommended to wear a good pair of safety googles or glasses to protect your eyes from any debris that may fly off of your blank, or chunks of the blank itself.
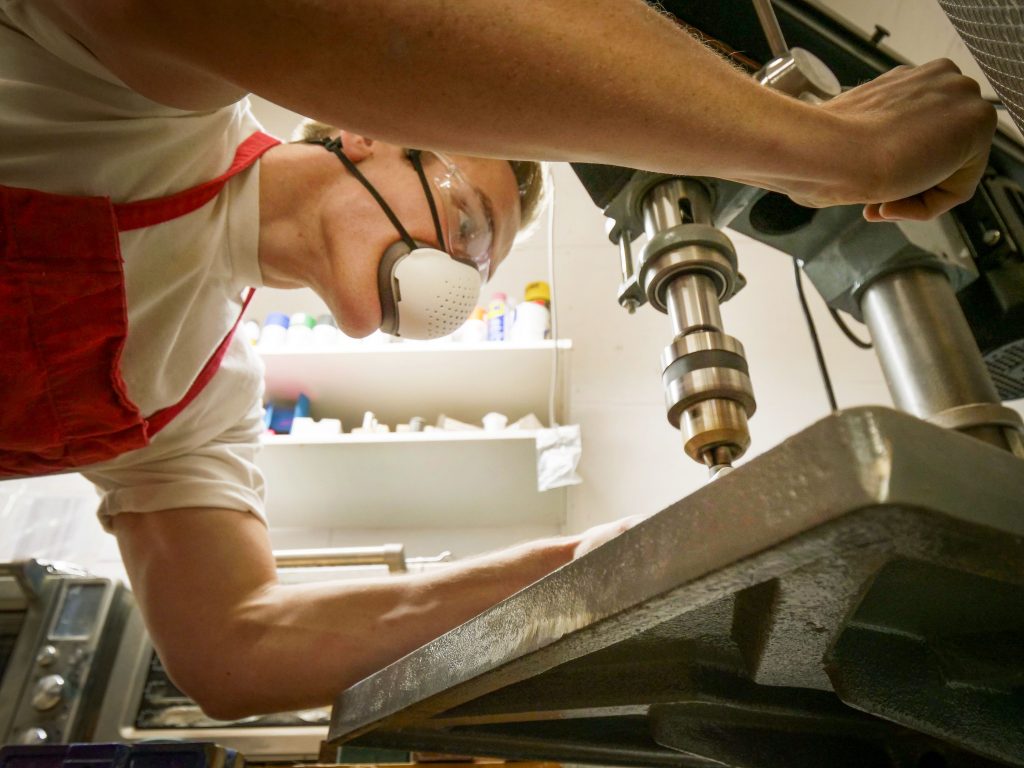
In addition to proper eye protection, we also recommend wearing a respirator or breathable mask to protect your airway from microscopic dust and wood particles. Not to mention, it keeps you from collecting sawdust inside your nose while you work!
One product we absolutely love when it comes to PPE is the BLOCC Anti-Fog Face Shield, available in-store or at penblanks.ca!

This high-quality face shield is made with high-grade polycarbonate for glass-like clarity as well as extreme durability.
The BLOCC face shield is also fog-resistant, meaning that no matter how much you huff and puff while turning, you’ll never fog it up!
Maintaining proper safety practices while turning any pen or project on the lathe, beginning with good PPE, is the key in not only keeping your equipment functional and in good condition, but it may just save your life (or eye) one day!
Practicing these tips and tricks can help you solve even your trickiest penturning problems!
The tips and tricks outlined in this article are some of our most used and most loved when it comes to avoiding easily-made penturning errors.
Shop in-store or at penblanks.ca for all of the products mentioned, and start fixing the pen kits in your dreaded “oopsies” pile today!
Happy turning!
Subscribe to our newsletter to get all the deals! We promise we won’t bother you, only two emails a week on Wednesday & Sunday to enjoy with that morning coffee.
