Step-By-Step Instructions for Inlaying Woodworking Projects!
Have you ever come into possession of an absolutely stunning and unique piece of wood and thought of the perfect project to use it for, only to discover there is a crack, gap or hole in the worst possible place?
Worry not! This is where inlaying comes to the rescue!
In this article, we will break down the steps involved in inlaying foreign materials, like Synthetic Opal and Paua Abalone, into your woodworking projects, as well as our favourite methods and techniques for making your inlays last!
Step 1: Select Your Inlay Materials
The first step in inlaying is determining what exactly you will be inlaying material into, and what inlay material you would like to use.
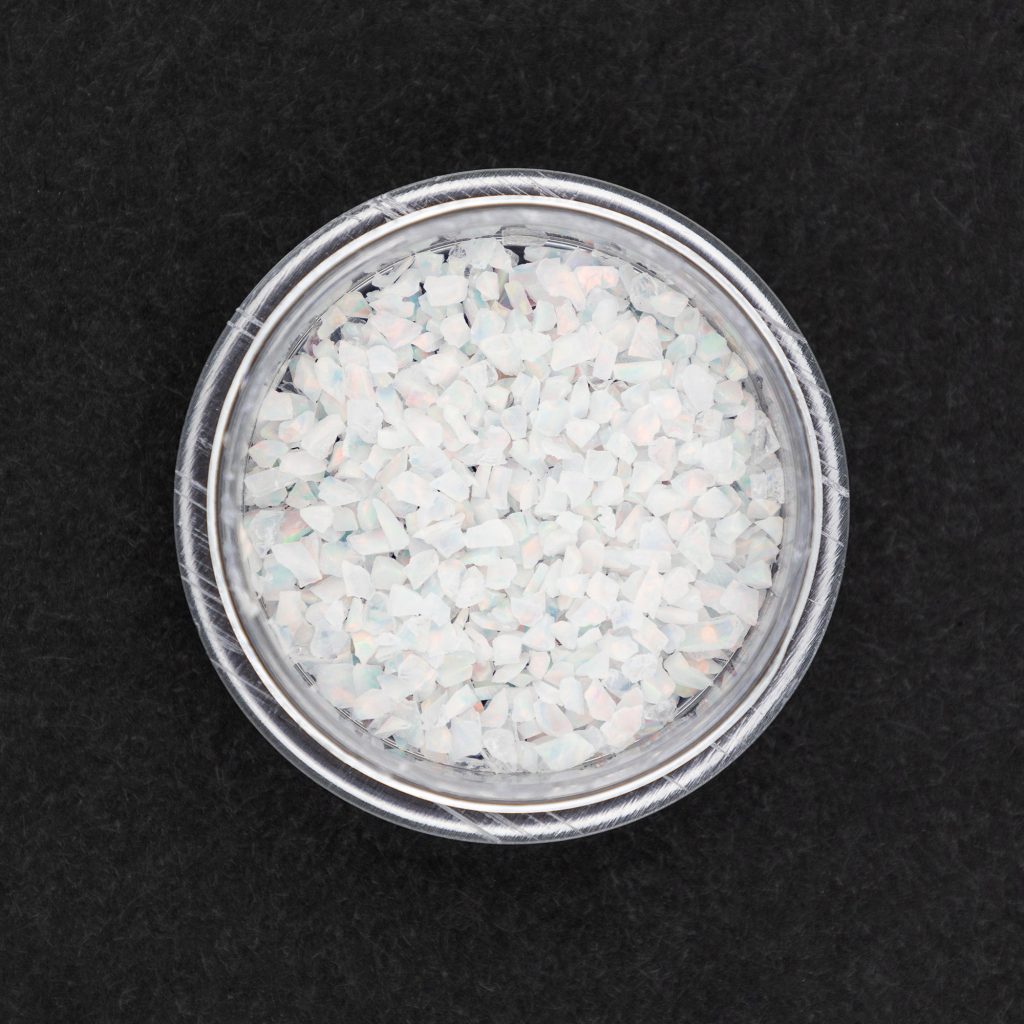
We’ve had a lot of fun recently with inlaying Opal Inlay Material into cracks and grooves in flatter projects like Charcuterie Boards, so that’s exactly what we’ll be showing you today!
If you end up wanting to try this particular project out for yourself, visit William Wood-Write in-store or online at penblanks.ca to choose from our huge selection of Inlay Materials and Charcuterie Boards!
Today, we will be inlaying Synthetic Opal Inlay Material in the colour “Fire and Snow” into a small crack in a Live Edge Black Walnut Charcuterie Board, which will eventually be made into a hanging coat rack!
Step 2: Planing
The next step in preparing your piece for inlaying is to remove any and all high spots and create a level surface using a wood planer, should the project you are working on require it.
If you’re making something like a Charcuterie or Cutting Board, as we are today, this step is important in ensuring your final product is smooth and level.

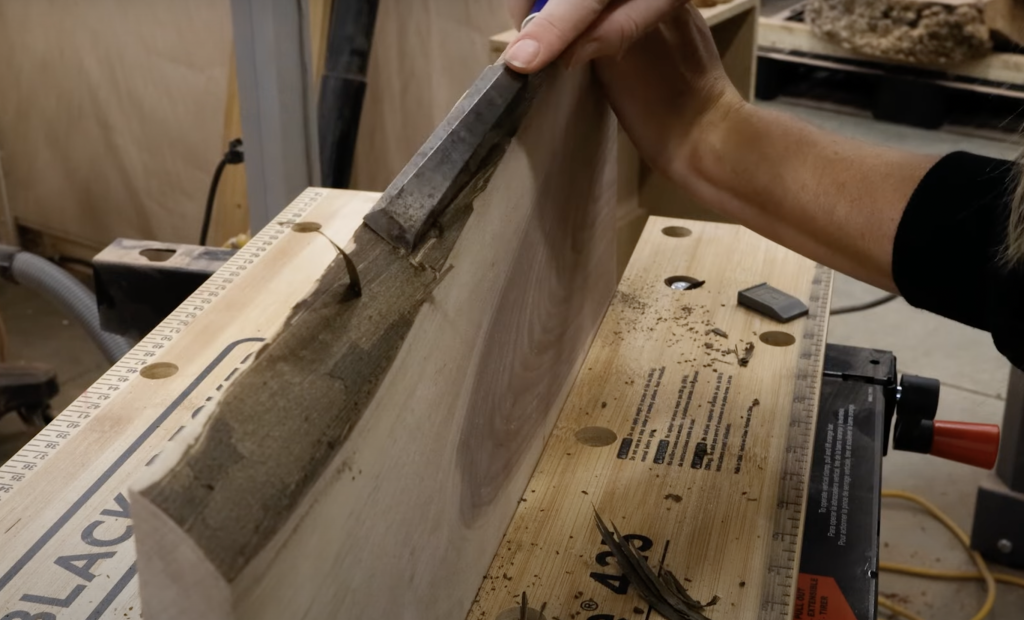
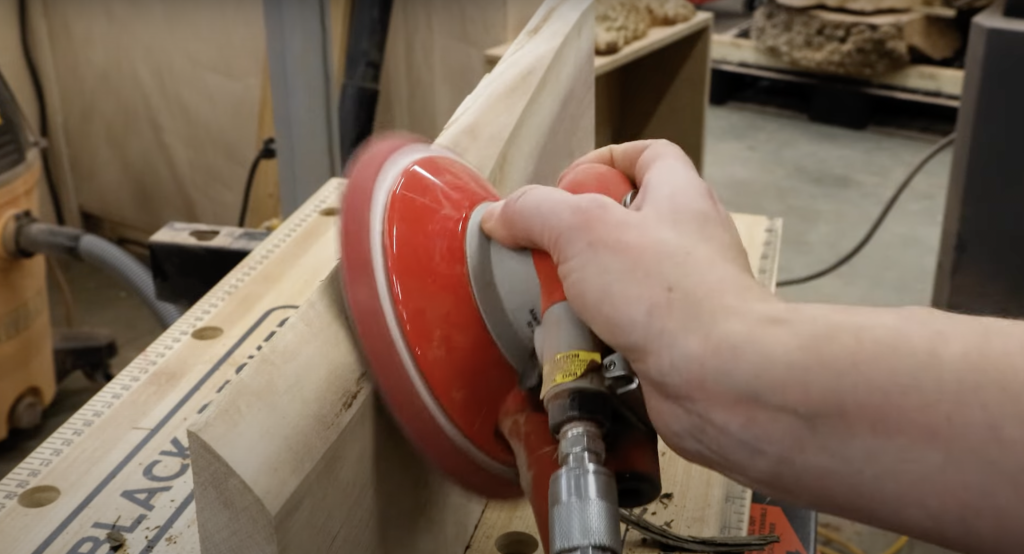
Step 3: Remove Bark
Since the black walnut board we are working with today contains a live edge, meaning that one edge of the board is unfinished and natural, we must now remove any and all of the bark on the board.
This is most easily done using your hands or an old chisel for the larger pieces, and a handheld orbital sander for the smaller bits of bark, as shown below.
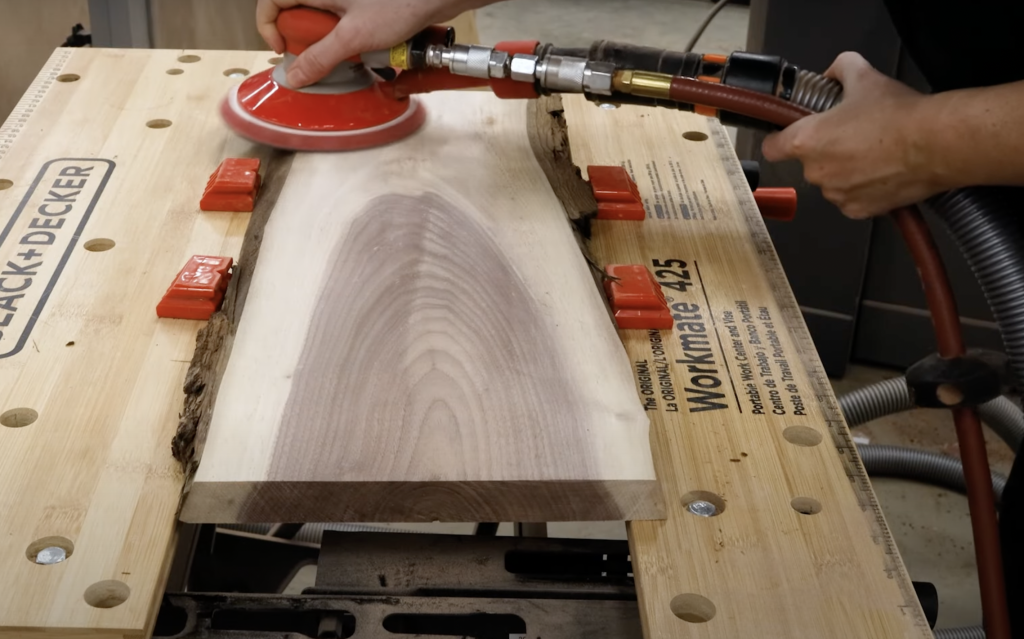
Step 4: Sanding
The next step is sanding!
Now is the time to sand away at your surface and prepare the rest of the piece, that will not be touched with inlay material, for finishing.
Due to the size of our Charcuterie Board, we chose to sand it down with a handheld sander, but this can also be done using a belt sander.
Step 5: Remove The Pith
Now it’s time for the fun to begin: Preparing the actual area we will be inlaying material into!
But before we inlay anything, we need to remove the pith, or the tree tissue, inside the crack itself. To do this, we found it easiest to use a small metal tool or utensil- our Stainless Steel Inlay Tool works wonders to remove pith and will be helpful during the inlay process later on.
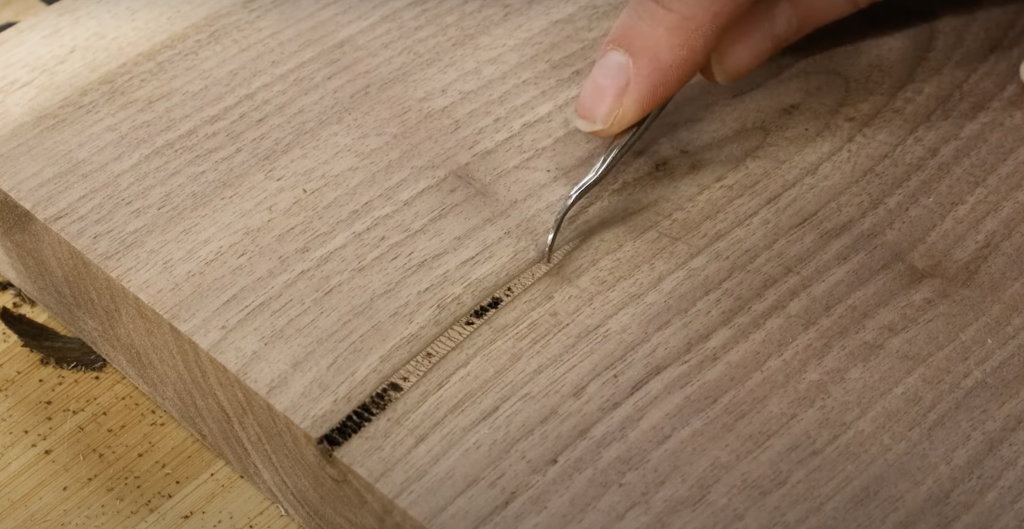
Simply scrape the inside of the crack itself with your tool, making sure to remove and dust/blow away any pith that you dig up, until the entire crack is empty and free of debris or dust.
Leaving any bit of pith in the area will make it much more difficult to place the inlay material, as there will be debris in the way, and it may even cause your inlay to be unstable and prone to cracking or falling out altogether.
Step 6: Prep Inlay Area
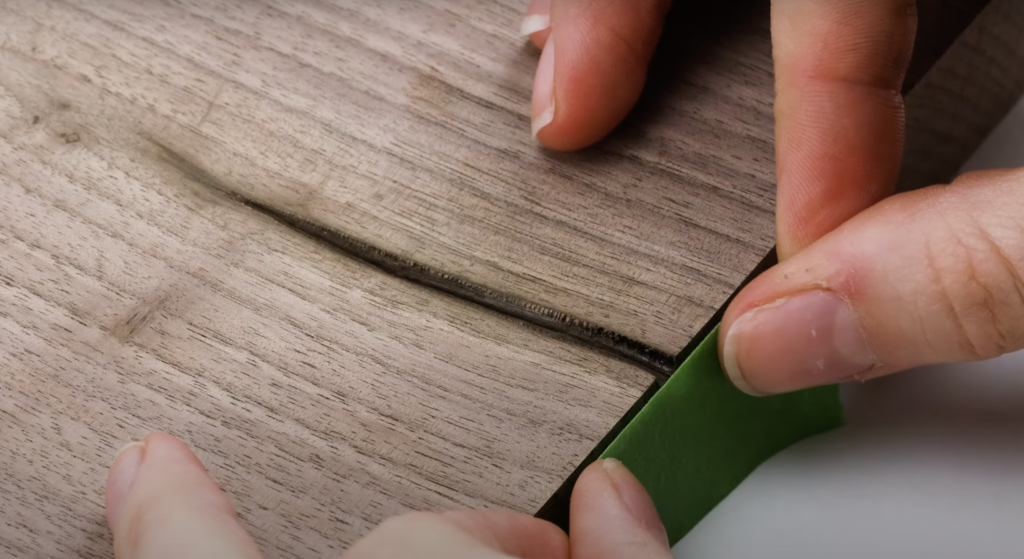
The final step involved in prepping your piece for inlay material is to section off the area you will be working with, so that your inlay material stays exactly where you want it.
Since the crack in our Walnut board is fairly small, we were able to use a piece of painter’s tape to block off the crack and ensure that the inlay material stays flush with the end of the board itself.
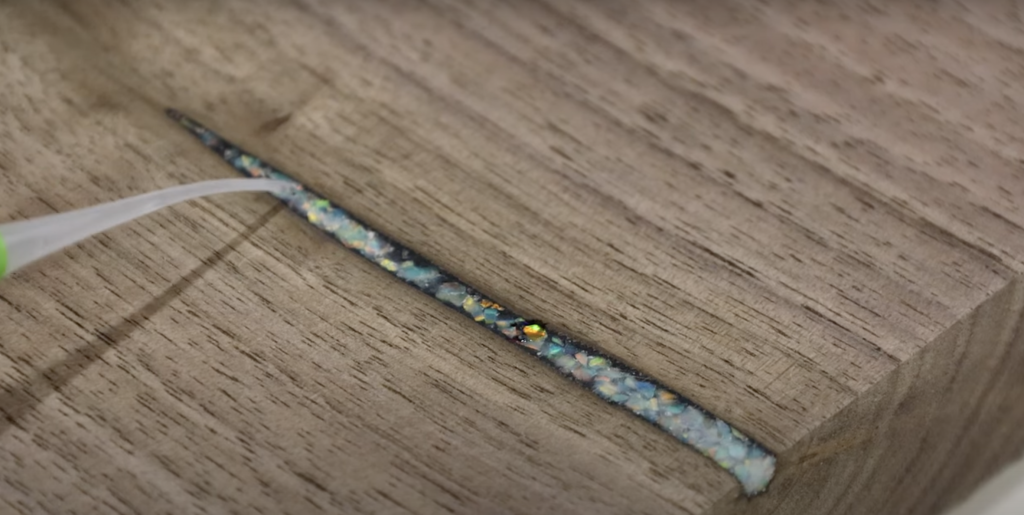
Step 7: Inlay!
Now, for the fun part: Inlaying the material into your piece!
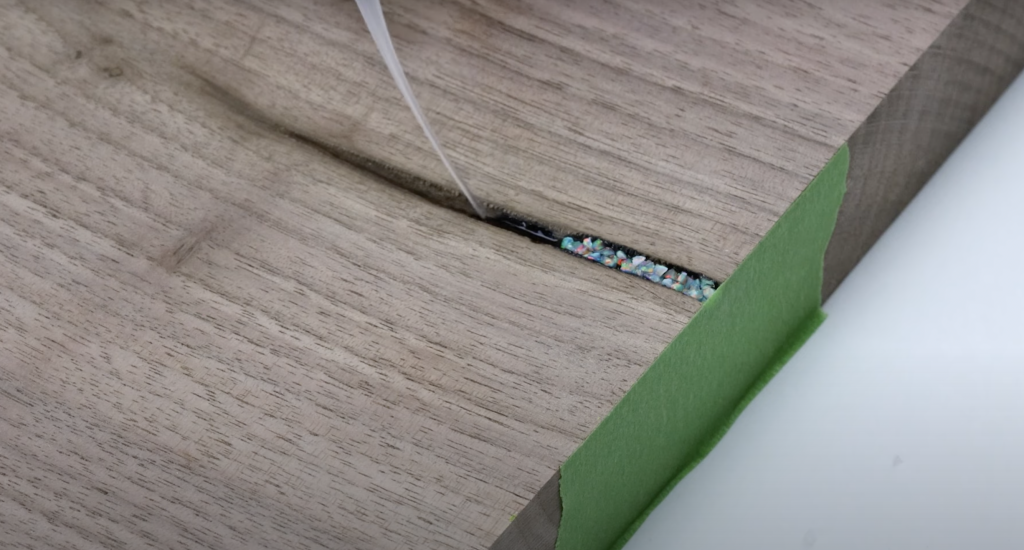
First thing’s first: We have to lay a thin layer of Thin CA Glue into the crack itself, followed by a layer of inlay material.
By inlaying the material between layers of CA Glue, we are ensuring that the inlay material is entirely encased and will not chip or break away over time.
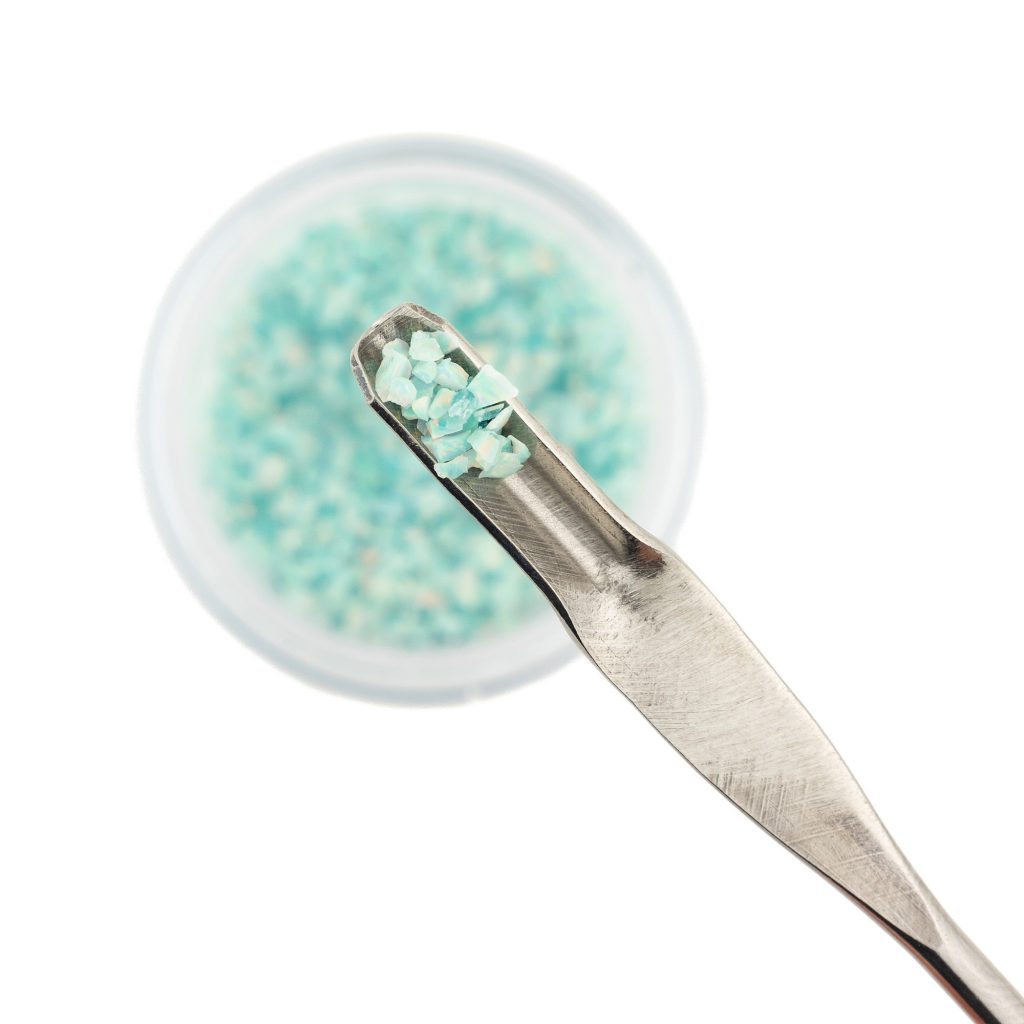
Due to the fact that we are inlaying material into quite a small crack, we decided to use our Stainless Steel Inlay Tool to place our inlay material exactly where we want it.
This multi-tip inlay tool, available at William Wood-Write, has one end shaped like a “U”, to allow easy application of inlay material, and the other end flat to allow makers to easily pack inlay material into rings and voids!
Step 8: Seal and Cure
Once you’ve laid the amount of inlay material that you want into the crack or void in your project, it’s time to seal and cure the inlayed area. Without sealing the inlayed area, you run the risk of inlay material coming loose or falling out over time.
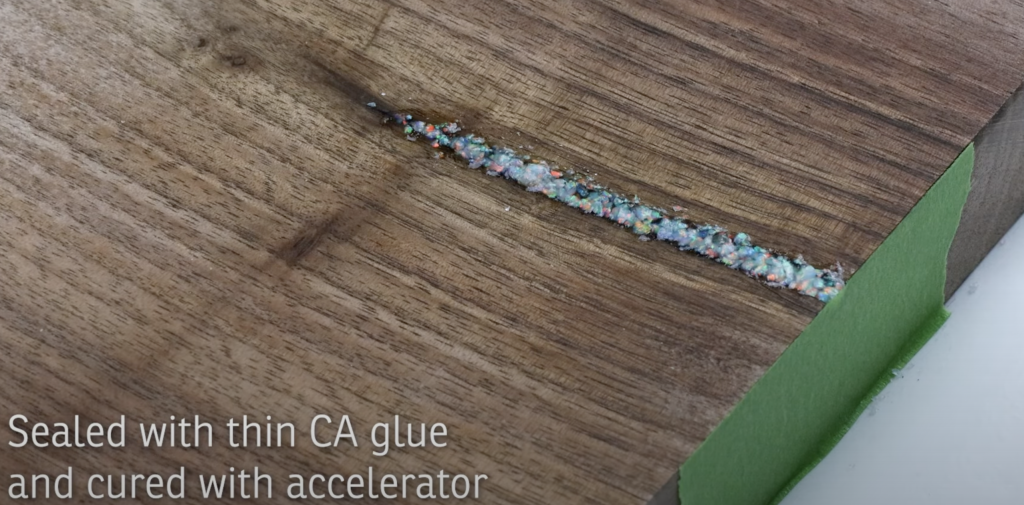
Apply a good amount of Thin CA Glue over the inlay material you’ve just laid down, and instantly cure the area using Accelerator Spray.
Now your inlaid area is completely sealed and protected against wear, tear, water damage and anything else you may throw at it!
Step 9: Sand Inlay Down
The next step is to sand down the excess CA Glue you’ve just sealed the area with in order to make your inlaid area flush and uniform with the rest of your project.
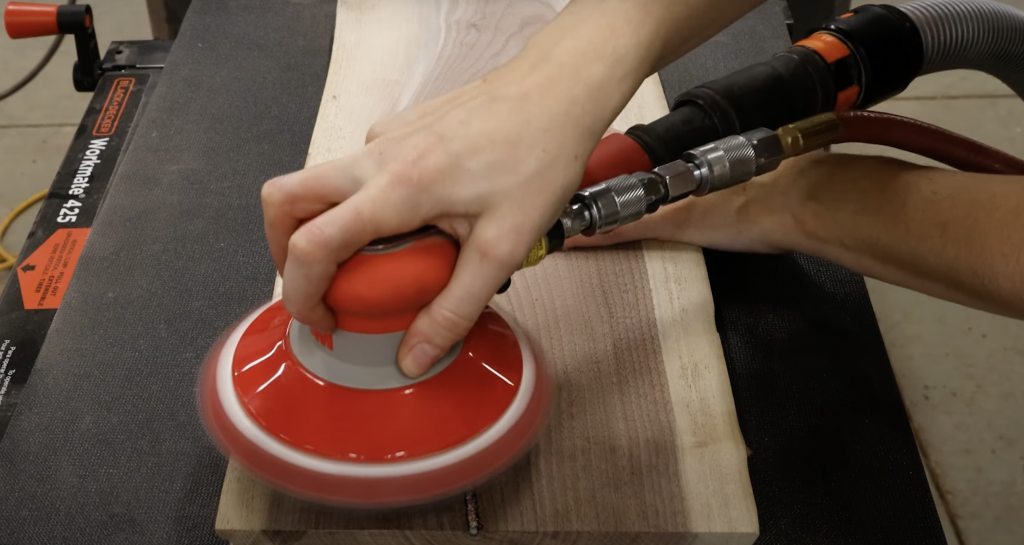
Just as we did in step 4, we chose to use a handheld sander for this final round of sanding, but this time we will focus mostly on the inlaid area of our board, making sure that the inlay is completely flush with the wood.
Step 10: Fill Holes
Sometimes the final sanding process causes small bits of inlay material and/or CA Glue to chip away, leaving a small hole. Now is the time to use our trusty Thin CA Glue to fill any and all last little holes in your inlay, ensuring to cure any final layers of glue with Accelerator Spray.
If necessary, you can manually sand down the areas you’ve just touched up by hand.
We like to use Abranet Mesh Sheets grits 120-600 for this purpose, as the size and flexibility of these sheets allow you more control during sanding.
Step 11: Finish!
If you’ve been following along and making your own inlaid charcuterie board: Congratulations! You’ve successfully inlaid opal inlay material!
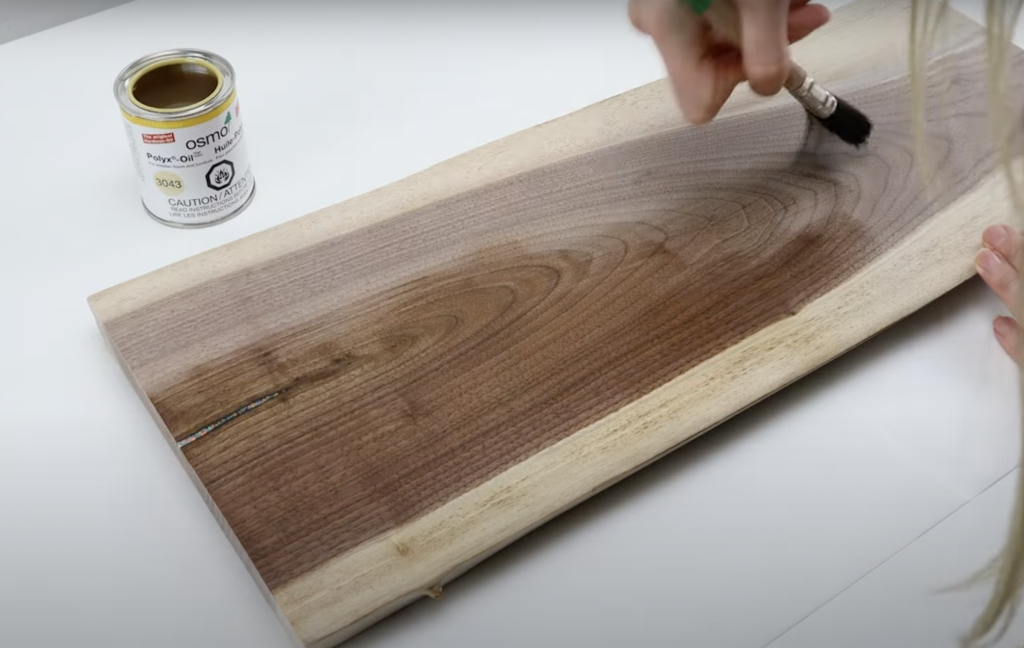
The last, and most exciting step is applying your favourite finish to the entire board.
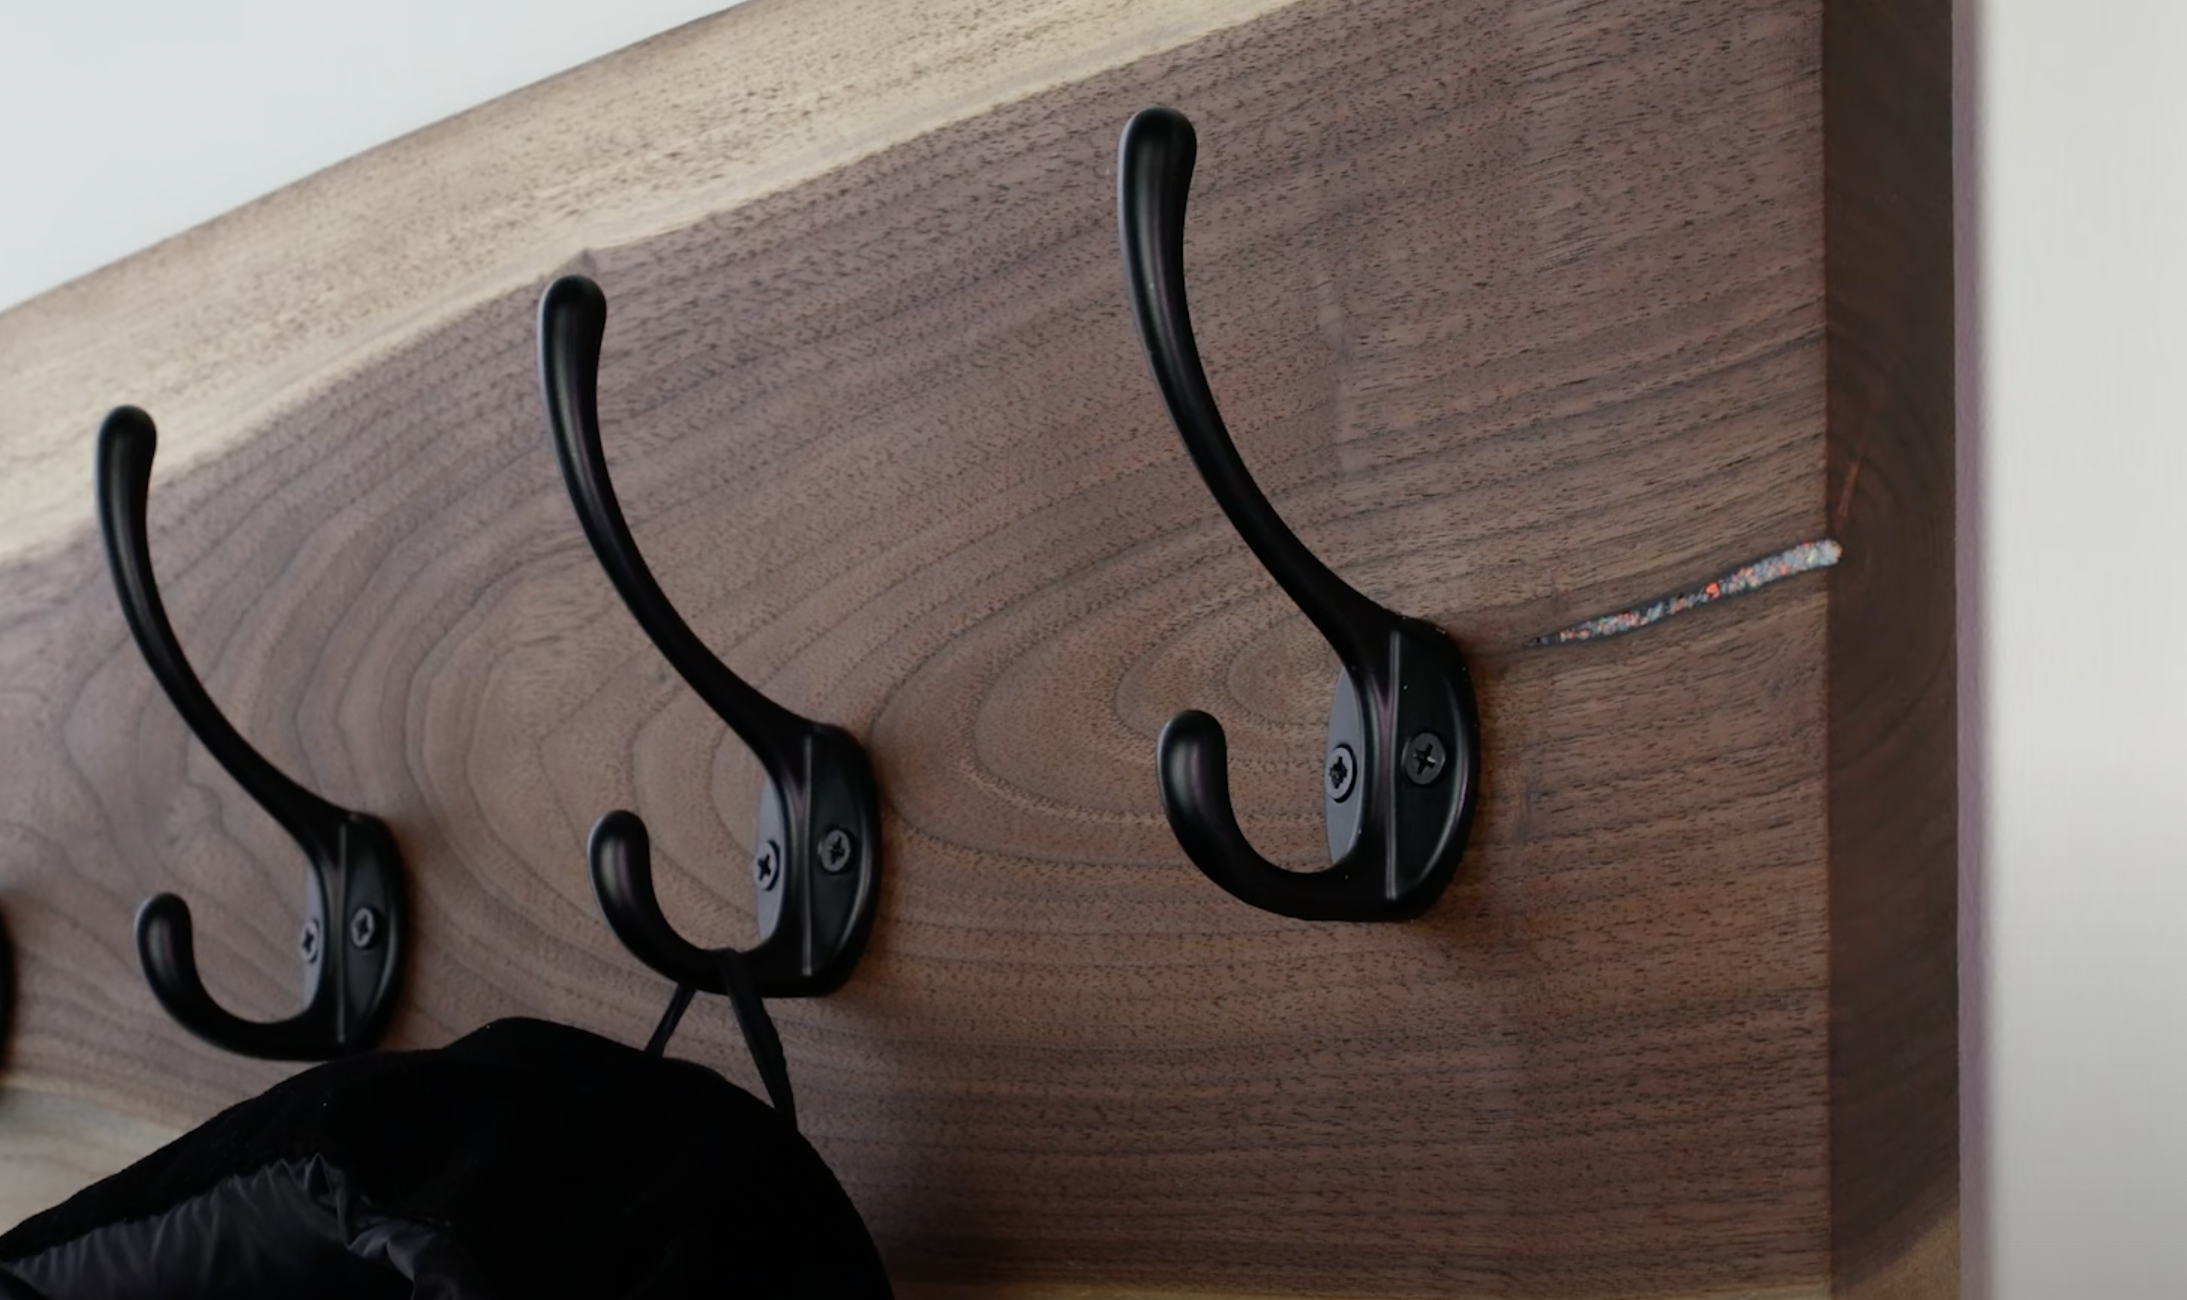
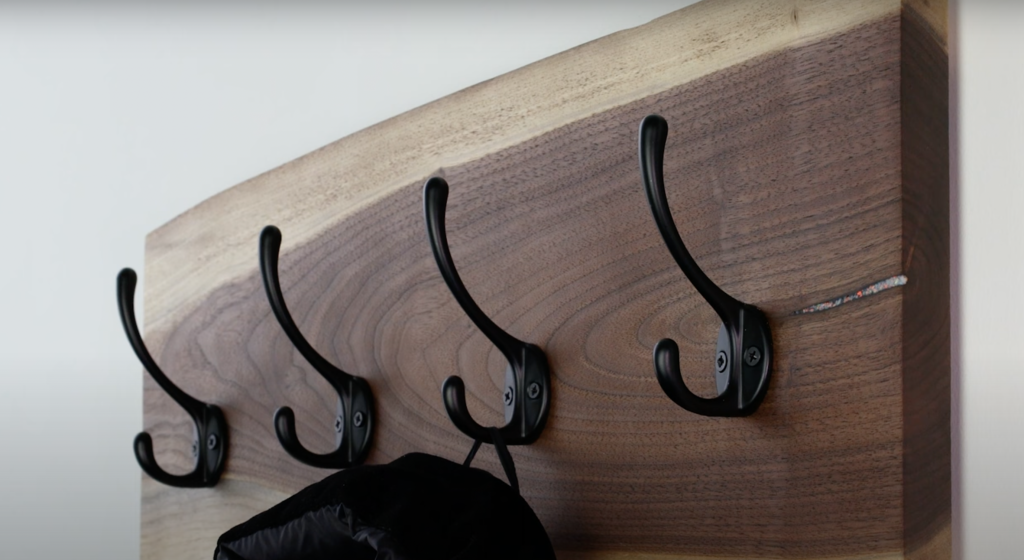
Since we will be using this board as a wall-mounted coat hanger, we chose to use Osmo Polyx-Oil Clear Satin to bring out the figuring of the black walnut as well as seal and protect against wear and tear, water damage, and more!
Check out the wall-mounted coat hanger we’ve turned this inlaid charcuterie board into!
If you’re more of a visual learner, check out our Youtube video documenting the entire process of inlaying synthetic opal material into a woodworking project, linked below!
Check us out on Facebook or Instagram to see more projects we’re working on, as well as share photos with us of what you are working on! We can’t wait to see the projects our loyal customers manage to think of, happy turning!
Subscribe to our newsletter to get all the deals! We promise we won’t bother you, only two emails a week on Wednesday & Sunday to enjoy with your morning coffee.

