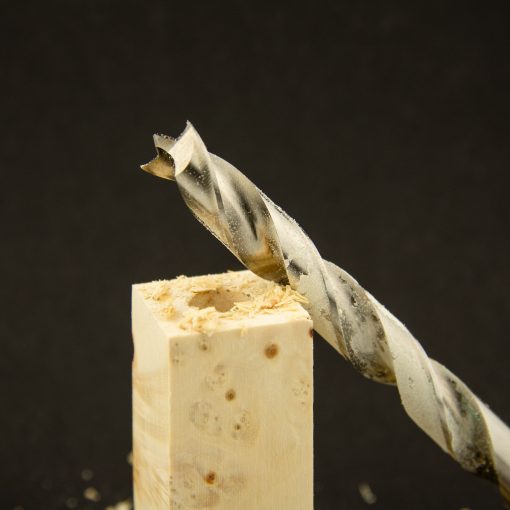
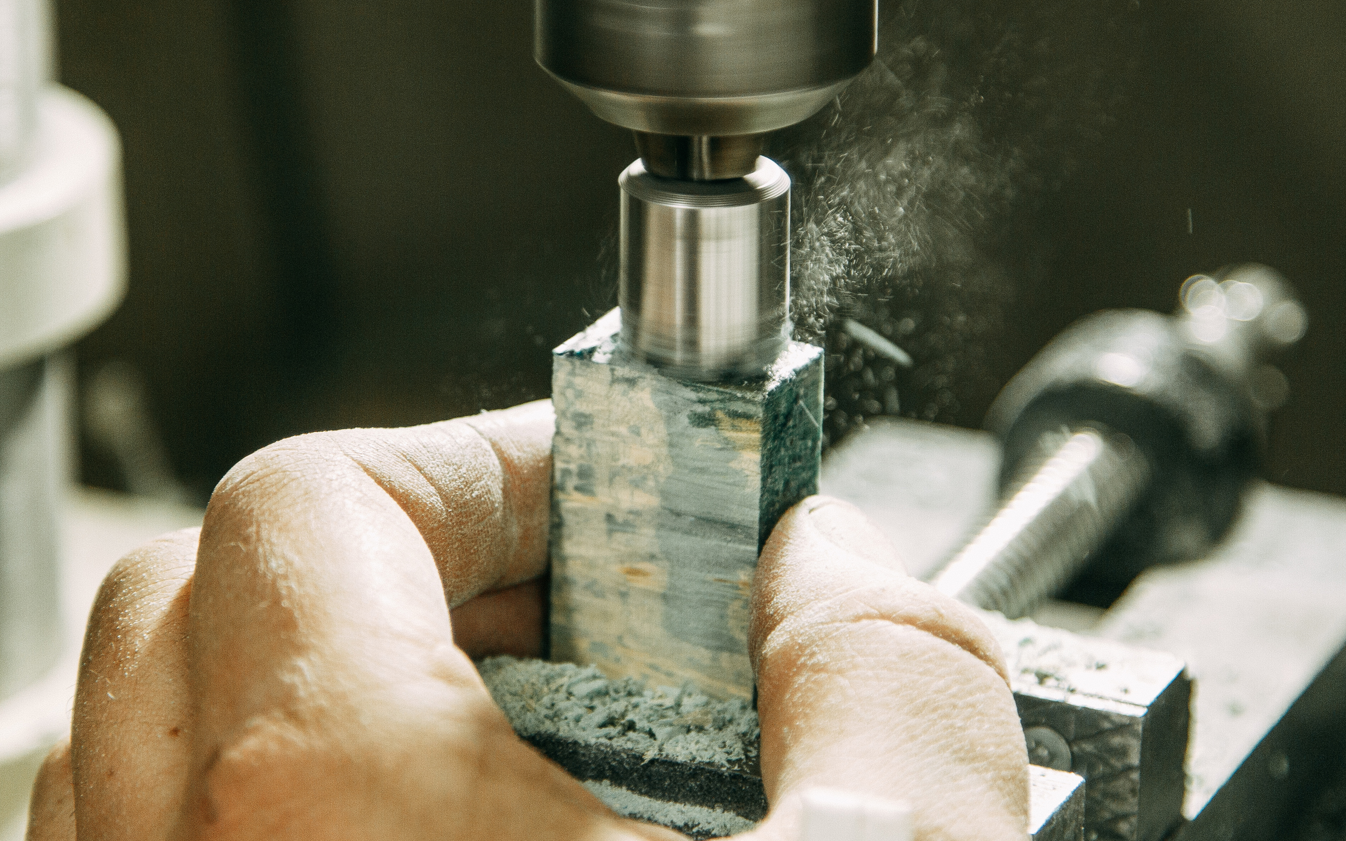
One of the most common questions among beginner woodturners is how to sharpen chisels. There are lots of things to consider, such as the recommended angle for different chisels or what kind of grinding wheels and equipment is needed. Seasoned woodturners each have their own specific preferences for exactly how they like their tools to feel and perform while turning wood on a lathe, but there are some basic starting points to guide you. From there, in time, you’ll have your own preferences too.
How often should you sharpen tools for pen turning?
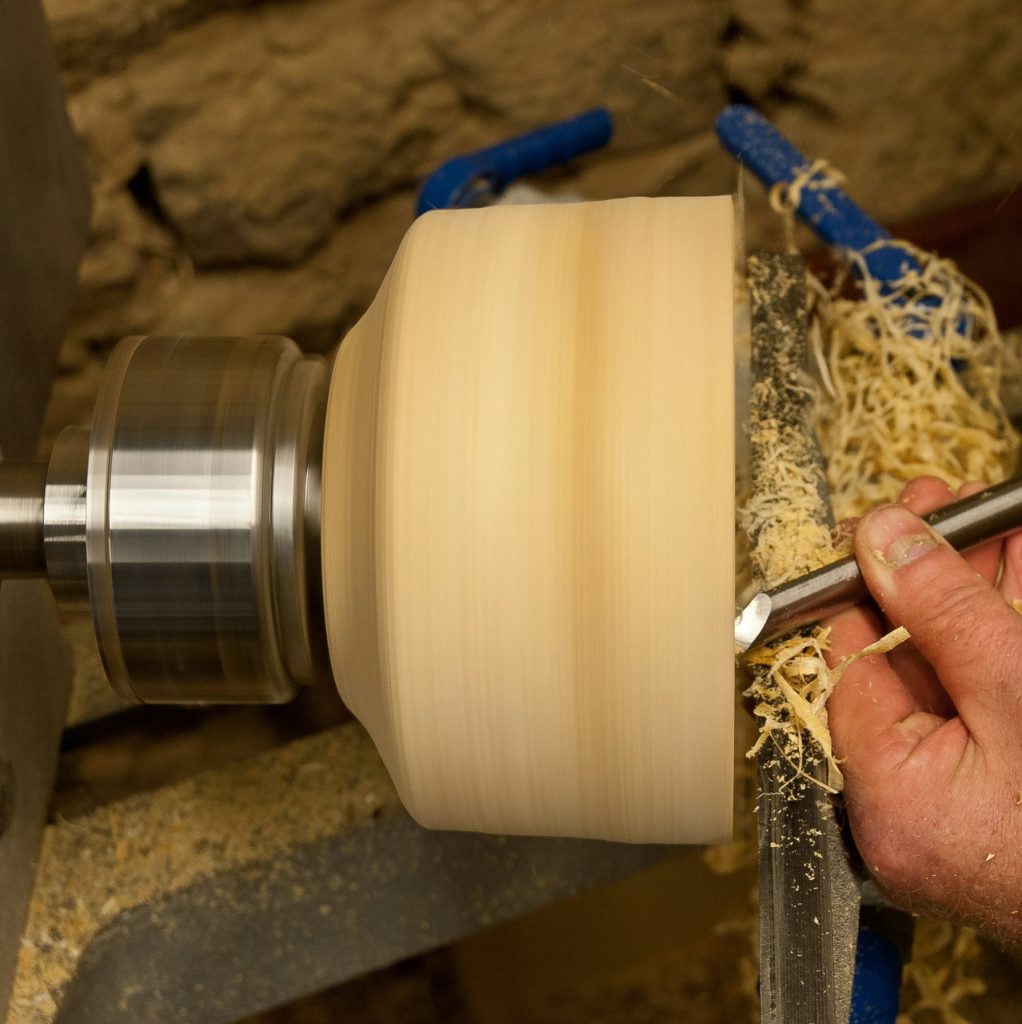
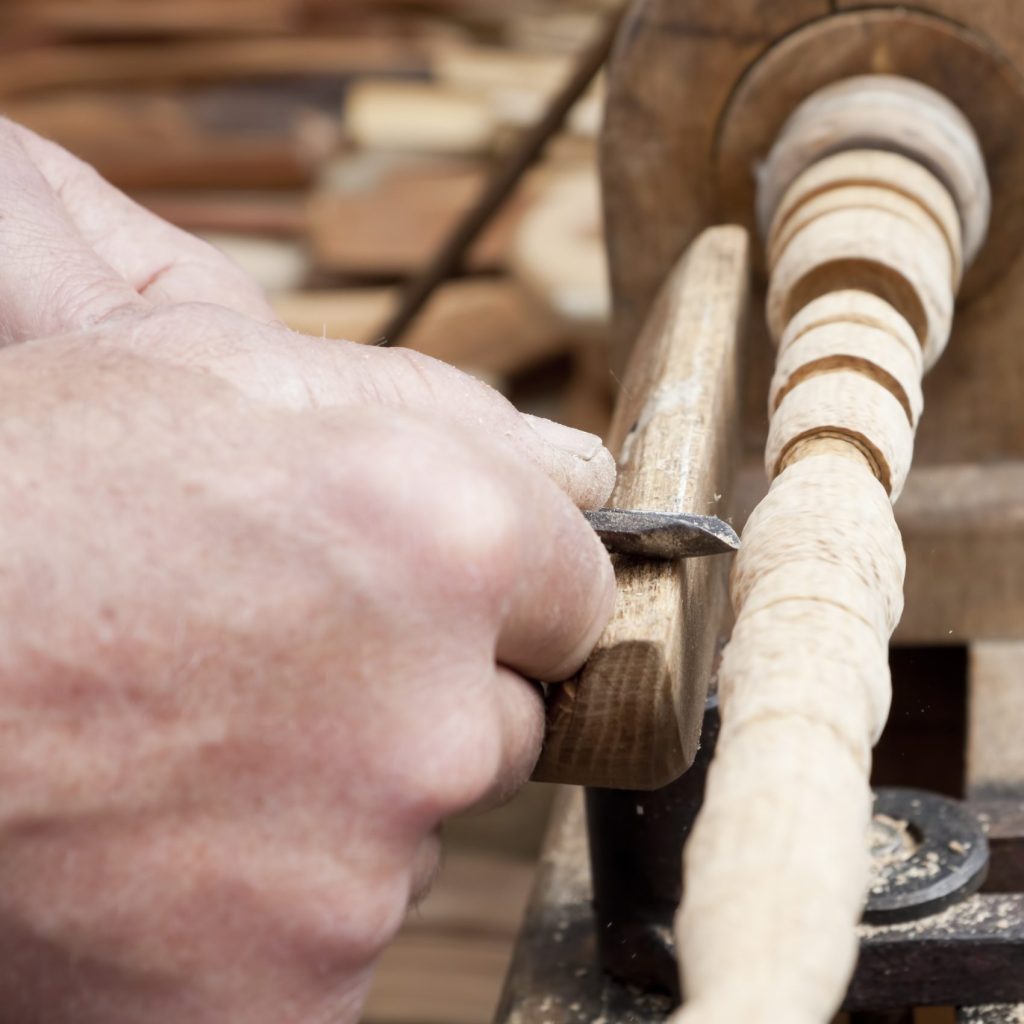
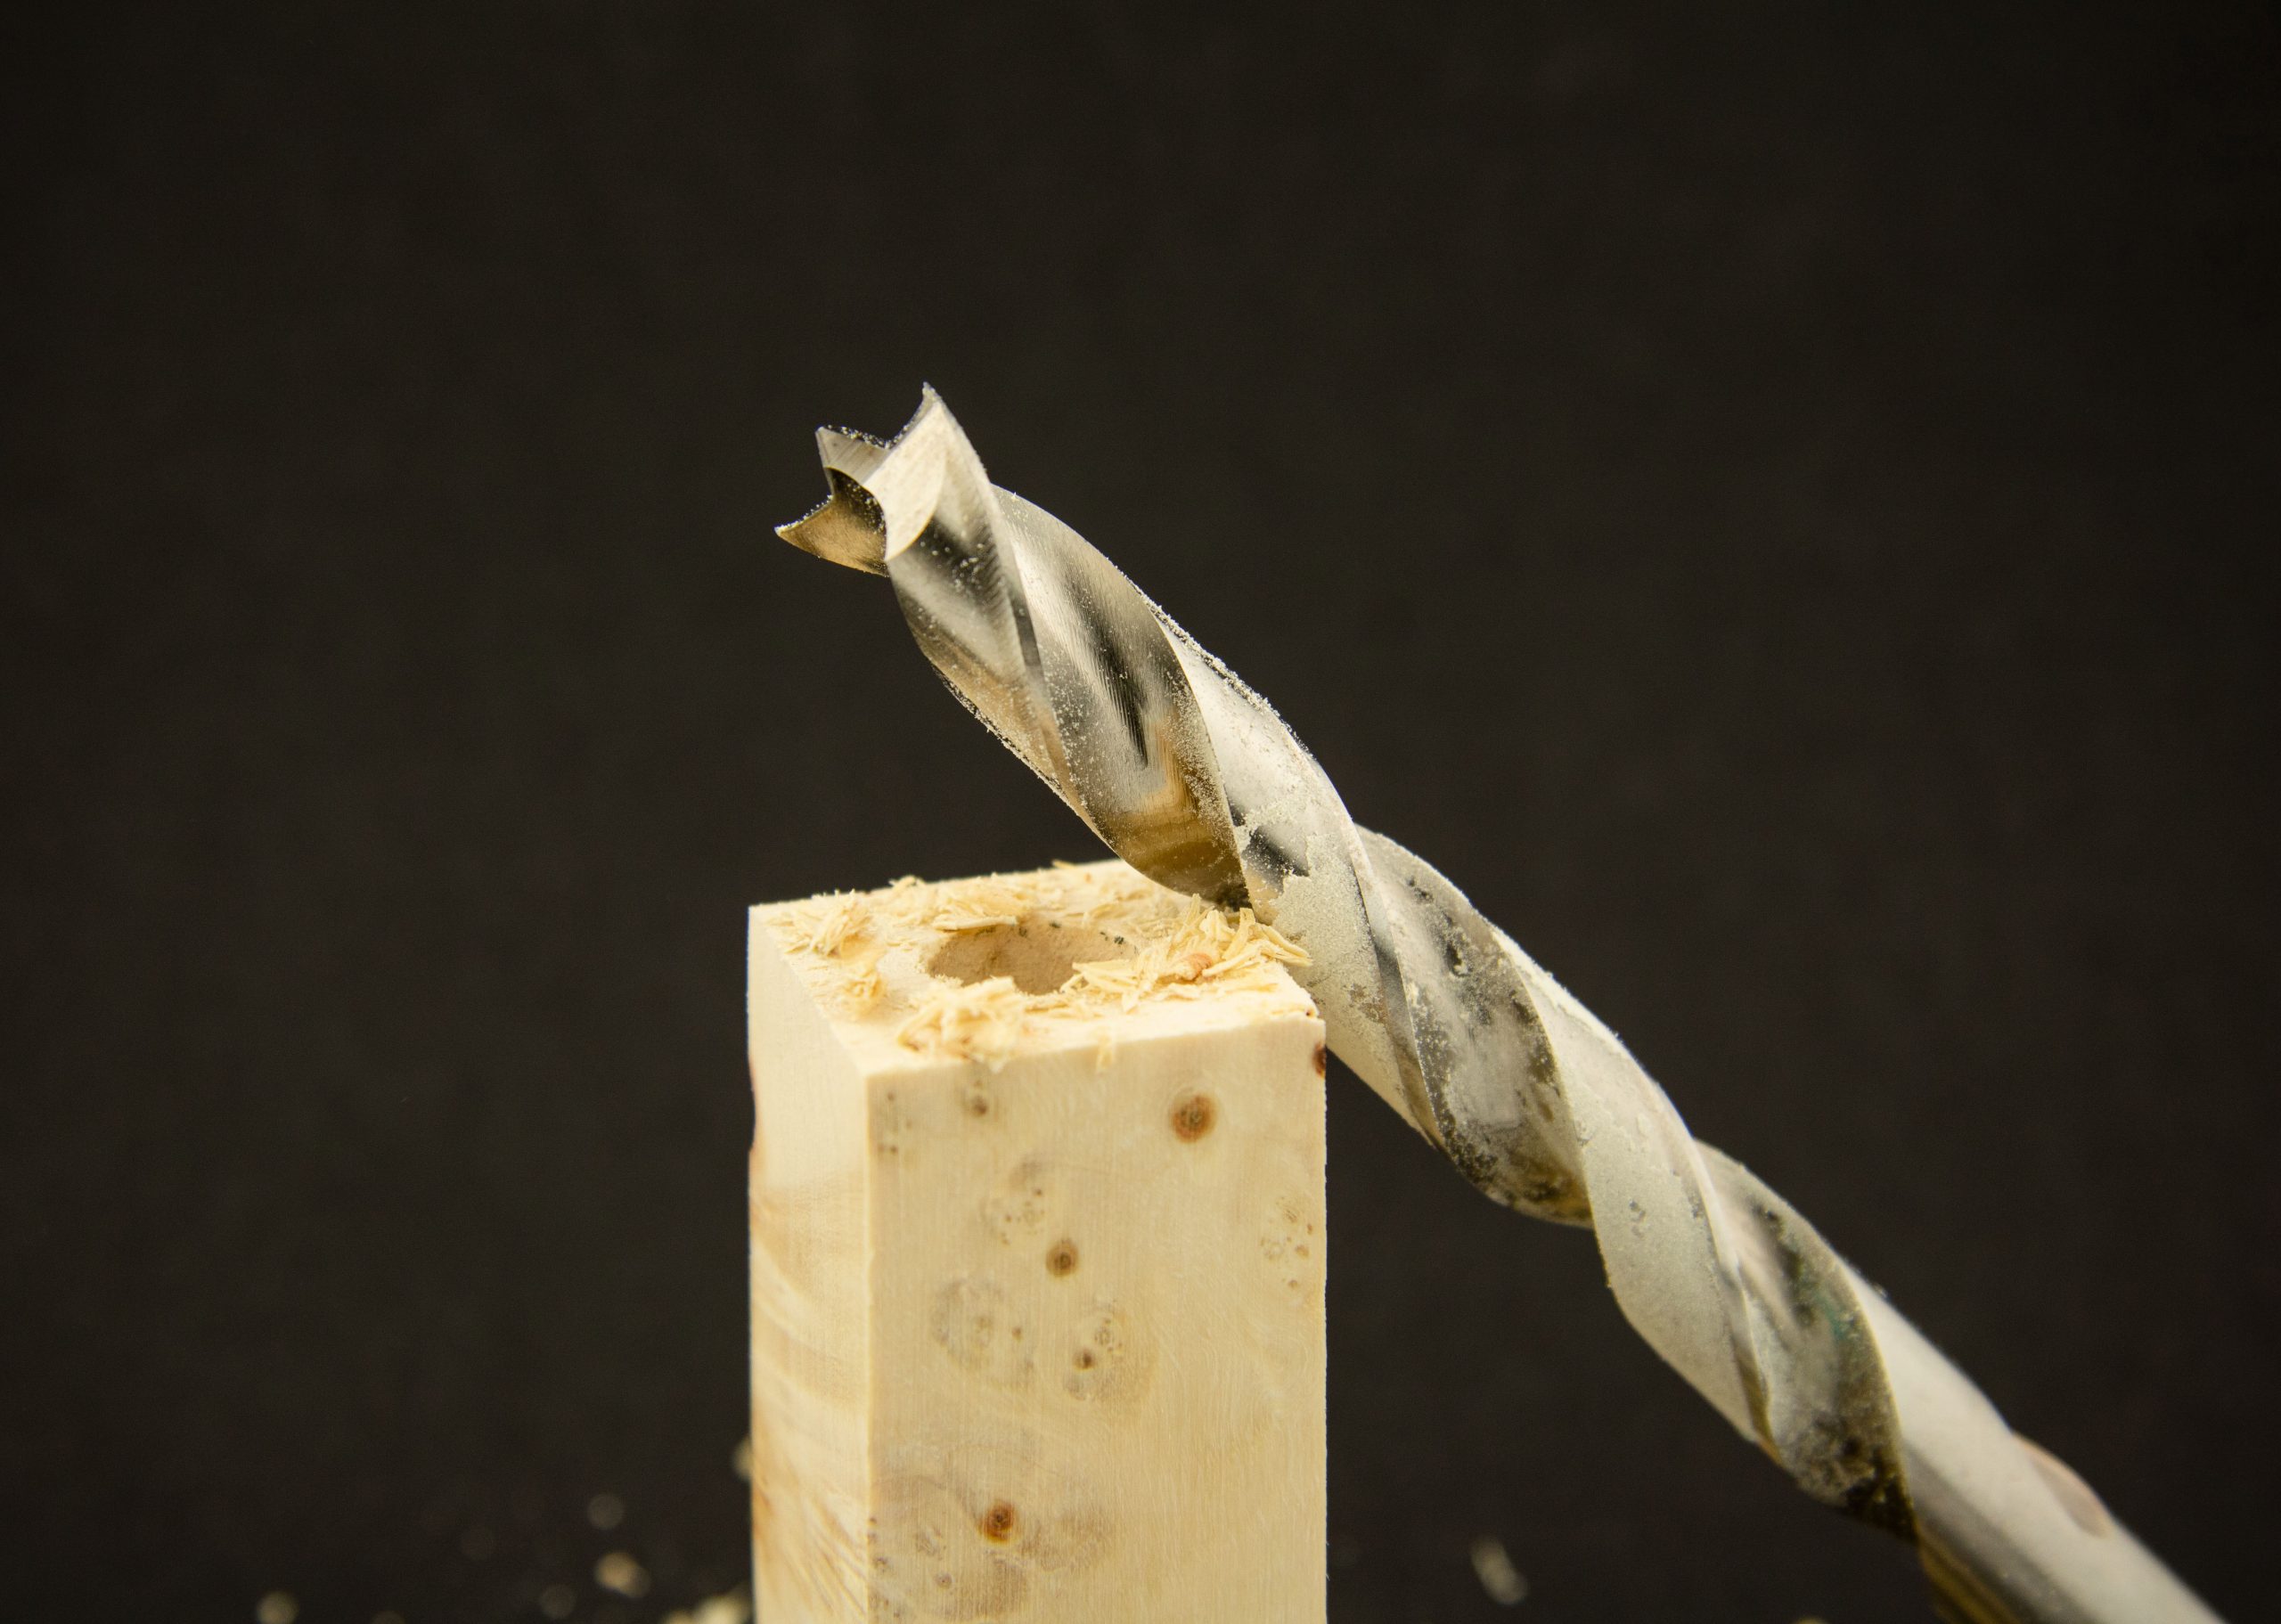
The frequency with which you sharpen your chisels of course depends on how often and for how long you use them and what kind of materials you’re turning. Regardless, when your chisel is getting dull, you’ll notice subtle changes in how turning feels, sounds and looks.
- The sound changes. While working on any project, you’ll get accustomed to a certain type of smooth sound while turning without even noticing. When your chisel gets dull, this sound will change, making grinding or scraping sounds when you press the chisel to the wood.
- You need to apply more pressure. As your chisel wears down, you may notice that you have to apply more pressure than usual while turning to get the same results. This is a good indicator that it’s time for a sharpening.
- Tearout and grabbing. Tearout and grabbing can happen any time, but if you notice it’s occurring more than usual, the chisel may be to blame. The same can be said if you’re struggling to create a smooth surface using a chisel that has worked previously.
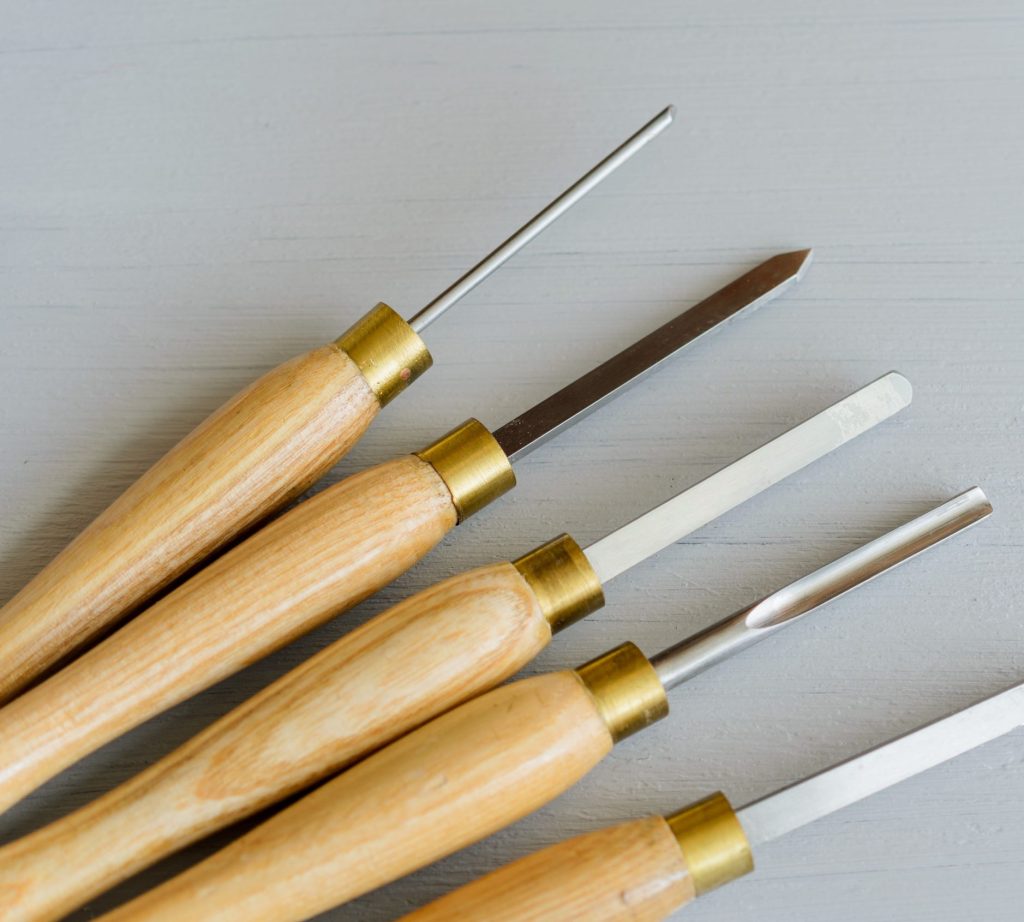
Sharpening traditional woodturning chisels
Traditional woodturning chisels are usually made of high speed steel and need to be sharpened intermittently depending on the project and the hardness of the wood your turning. There are general guidelines for what angle each tool should have, but again, woodturners tend to develop their own ideas! A good chisel can be ground down to exactly the angle and sharpness you prefer once you get the hang of it.
- Skew chisel. 70 degree angle across. For hard wood, the side angles should be 55 to 40 degrees and for softwood, 40 to 25 degrees.
- Scraper: 60 degrees roughly. The smaller the angle the more aggressive the cut. The bigger the angle, the better the support while turning.
- Parting tool: A sharp point is good enough, the angles don’t have to be perfectly even.
- Spindle roughing gouge: Flat across the top with a bevel at about a 40-degree angle.
- Bowl gouge: The angle of the bevel ranges from 40 to 70 degrees, depending on the style of bowl you’re turning. It’s most commonly sharpened at 40 to 45 degrees. Many turners prefer a 40/40 angle, meaning the front bevel is sharpened at a 40-degree angle and both sides are also ground down to 40 degrees.
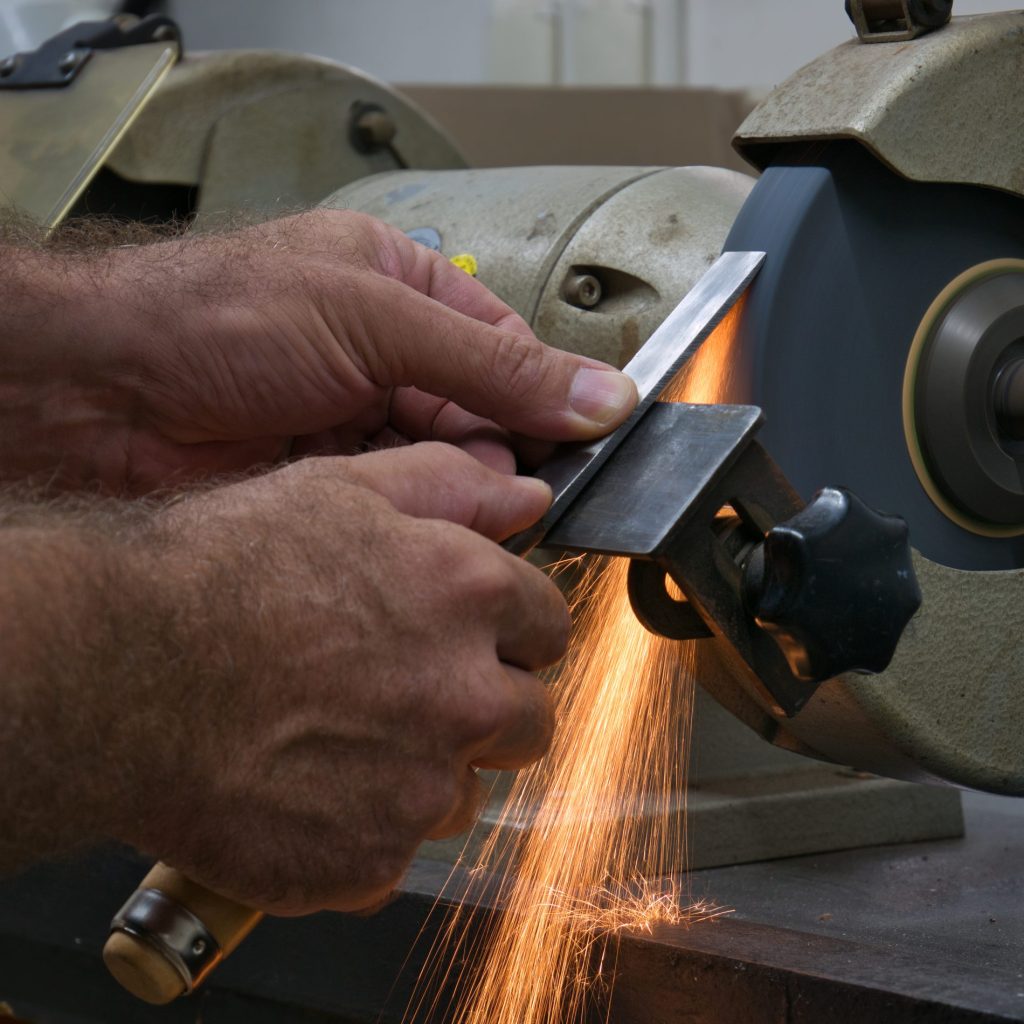
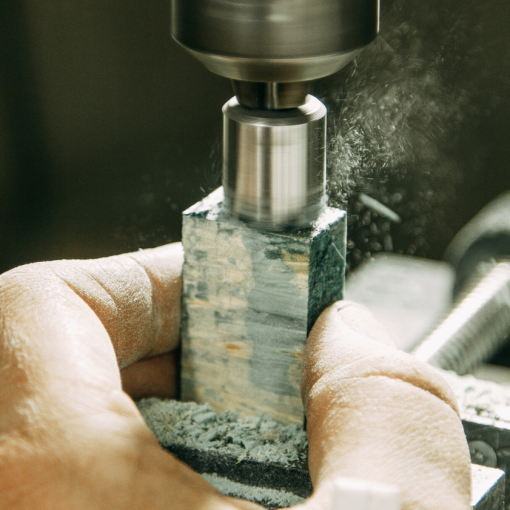
You can sharpen your woodturning tools with a bench grinder and sharpening jig or purchase a full wood lathe tool sharpening system. Generally, a CBN (cubic boron nitride) wheel is recommended for sharpening tools. CBN is especially hard, second only to diamonds. It produces less heat and lasts longer than traditional grinding wheels. Ideally, use a wheel with around 80 to 120 grit at a slow speed (about 1,750 RPM) to reduce heat build-up and prevent damage to the steel.
Sharpening your wood lathe chisel in three steps
1. Set the Correct Angle with the sharpening jig
- Adjust the sharpening jig to the angle needed for your turning preference or type of chisel. If you’re working with a particularly soft wood, you might prefer a steeper angle (around 50-55°), while a shallower angle (45°) is ideal for finer detail work.
- If you’re sharpening a gouge, always ensure that the flute, which is the hollowed-out part of the steel, is facing up.
2. Grind the Bevel
- Turn the grinder on low and gently push the chisel onto the wheel.
- Work on both sides of the bevel (if applicable) evenly to maintain symmetry.
- Let the wheel do the work and don’t press too hard. Maintain constant side-to-side motion to prevent uneven grinding or heat buildup. If your chisel looks blue, there is too much heat!
- Regularly check the angle to ensure it’s even and consistent.
3. Check for a Consistent Edge
- After grinding, check for a clean edge with no nicks or burrs. Hone the edge with a fine honing stone to remove any small bits. For a gouge, you can also put some very fine grit sandpaper around a dowel and run it through the flute.
- Wipe the tool with a clean cloth to remove any debris or metal filings.
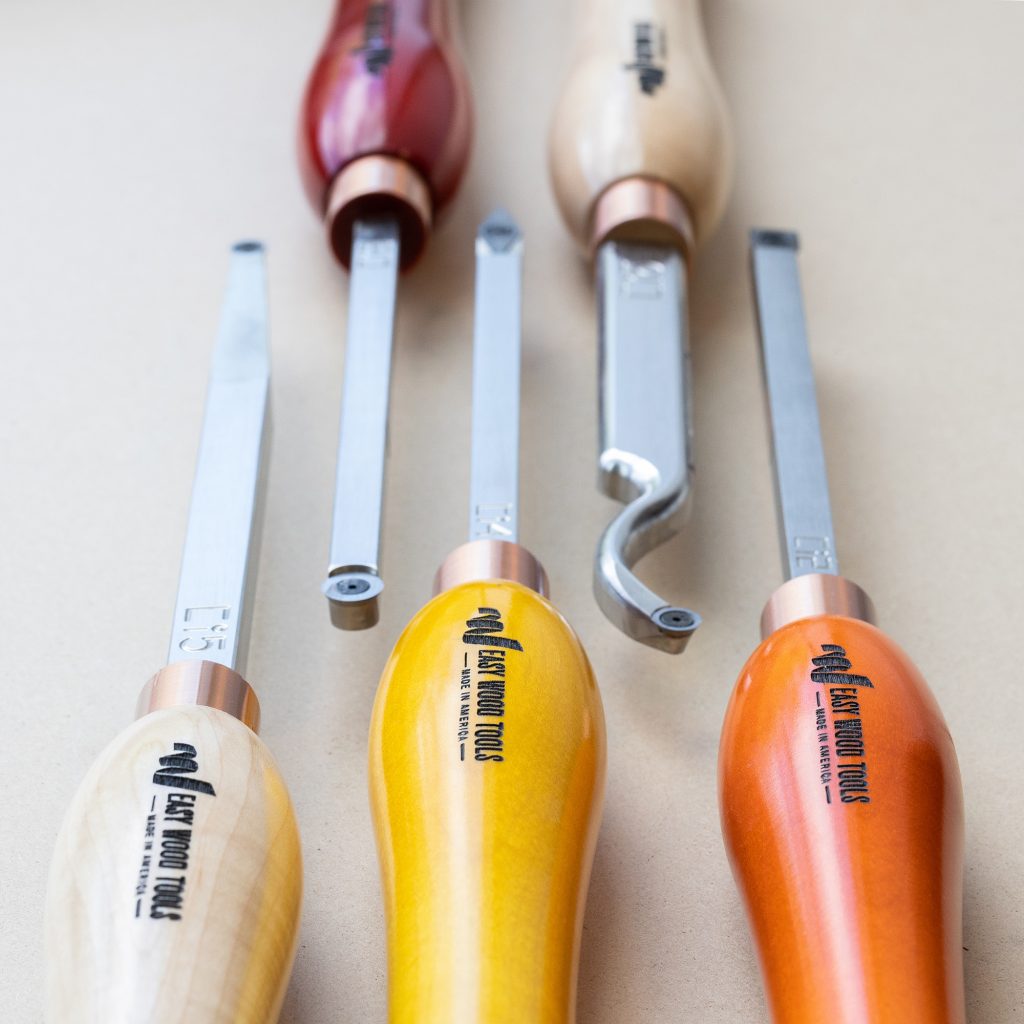
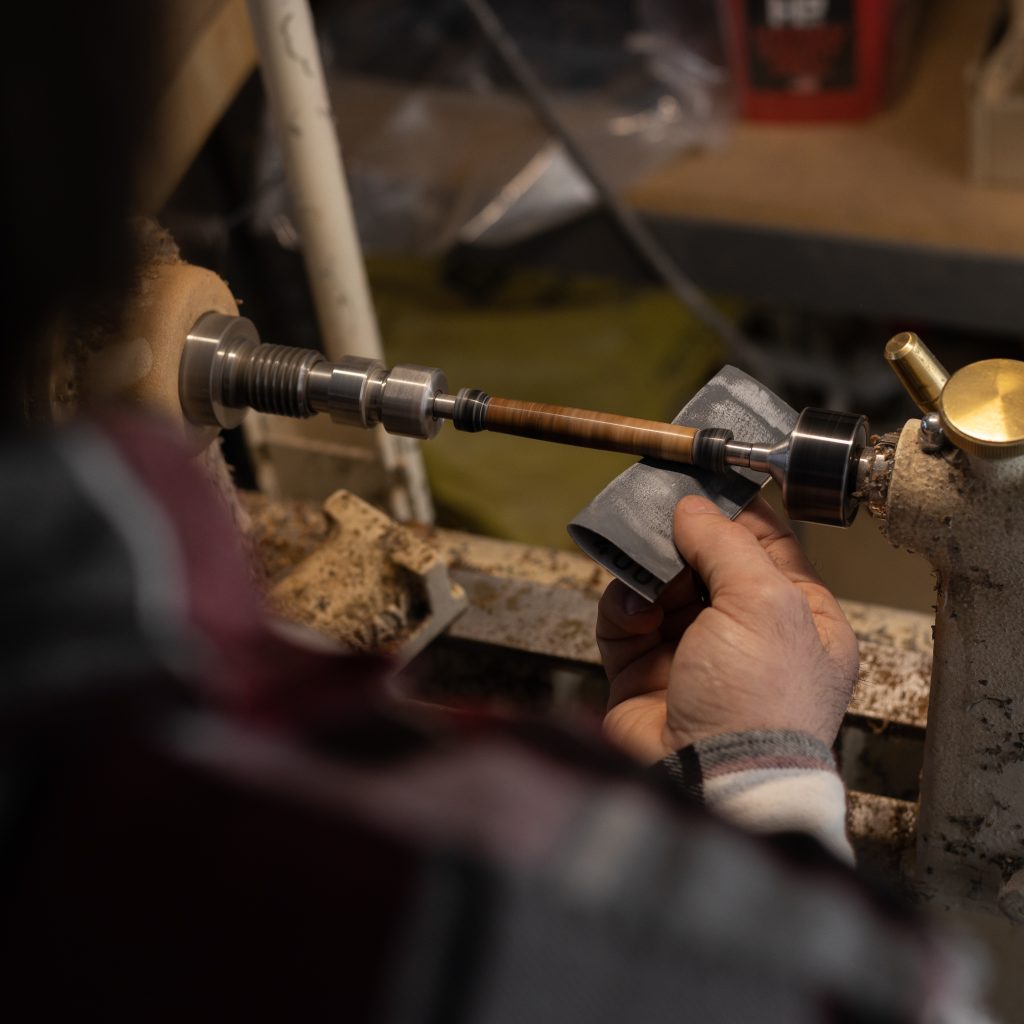
How to sharpen carbide chisels
Carbide chisels are efficient and easy to sharpen. No grinding wheels are needed. While carbide tends to be expensive, it’s absolutely worth it for pen turning which requires very fine details and uniform smoothness.
Carbide cutters attach to the chisel with a screw and can be swapped or removed allowing for a long turning life.
To sharpen your carbide cutter you will need abrasive lapping fluid and a sharpening stone. We like the Trend diamond lapping fluid and sharpening stone.
- Remove the cutter from your chisel and double-check that it’s clean.
- Put a drop of lapping fluid on the 600-grit side of the sharpening stone.
- Place your cutter in the liquid with the flat side down, and gently move it in a circular motion. You’ll be able to feel when it smooths out. Don’t press too hard and let the stone do the work. A slurry will start to build up as the metal comes off of the cutter.
- Flip the stone over to the 1000-grit side and repeat the process. The 1000 grit will burnish the cutter and create a nice sharp edge.
- Wipe the carbide tip clean and screw it back onto your chisel.
Woodturning supplies in Canada
William Wood-Write is proudly Canadian! Our small family business prides itself on having the most extensive selection of specialized pen turning tools and materials available, with tons of kits and blanks to choose from. We also carry everything you need for other wood lathe projects from bowls to bottle stoppers to utensils. Not sure where to start? Visit our website for tips and resources or contact us with your questions! We’re happy to help.