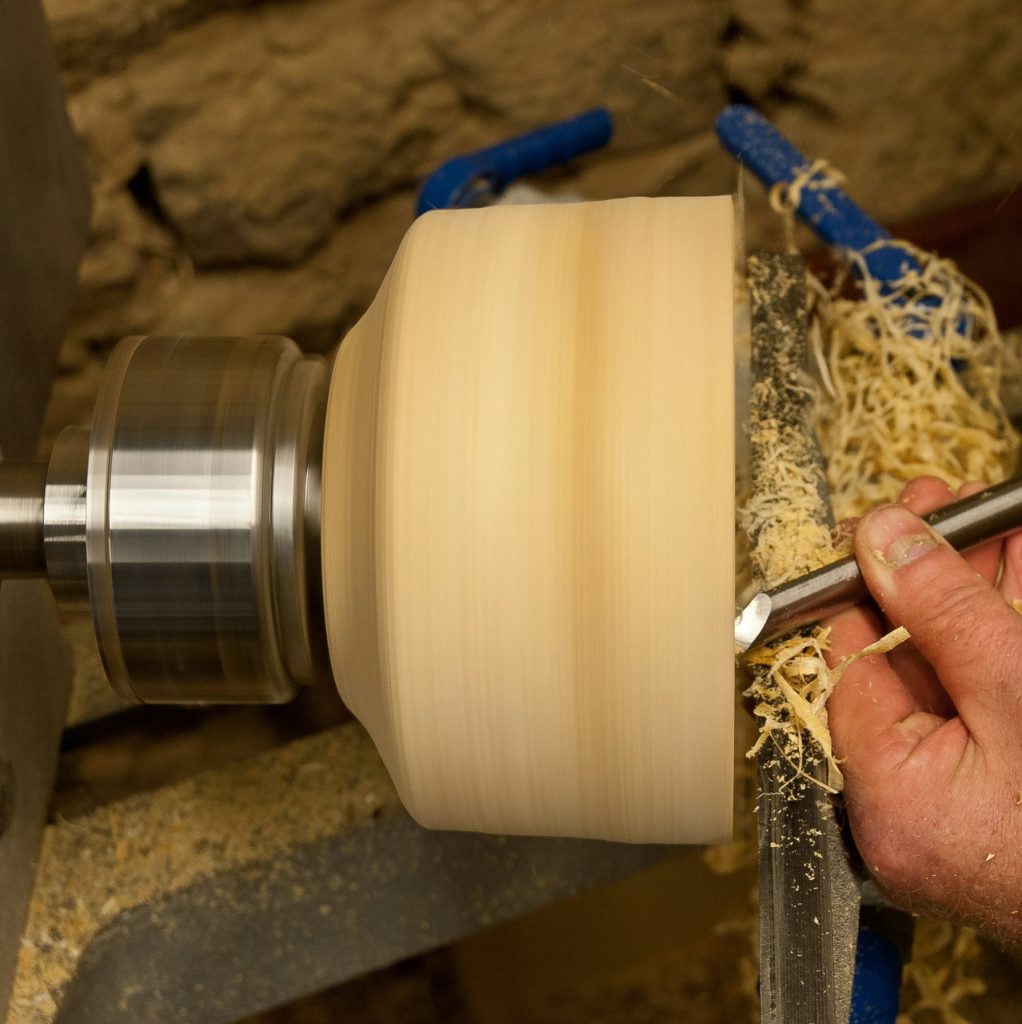
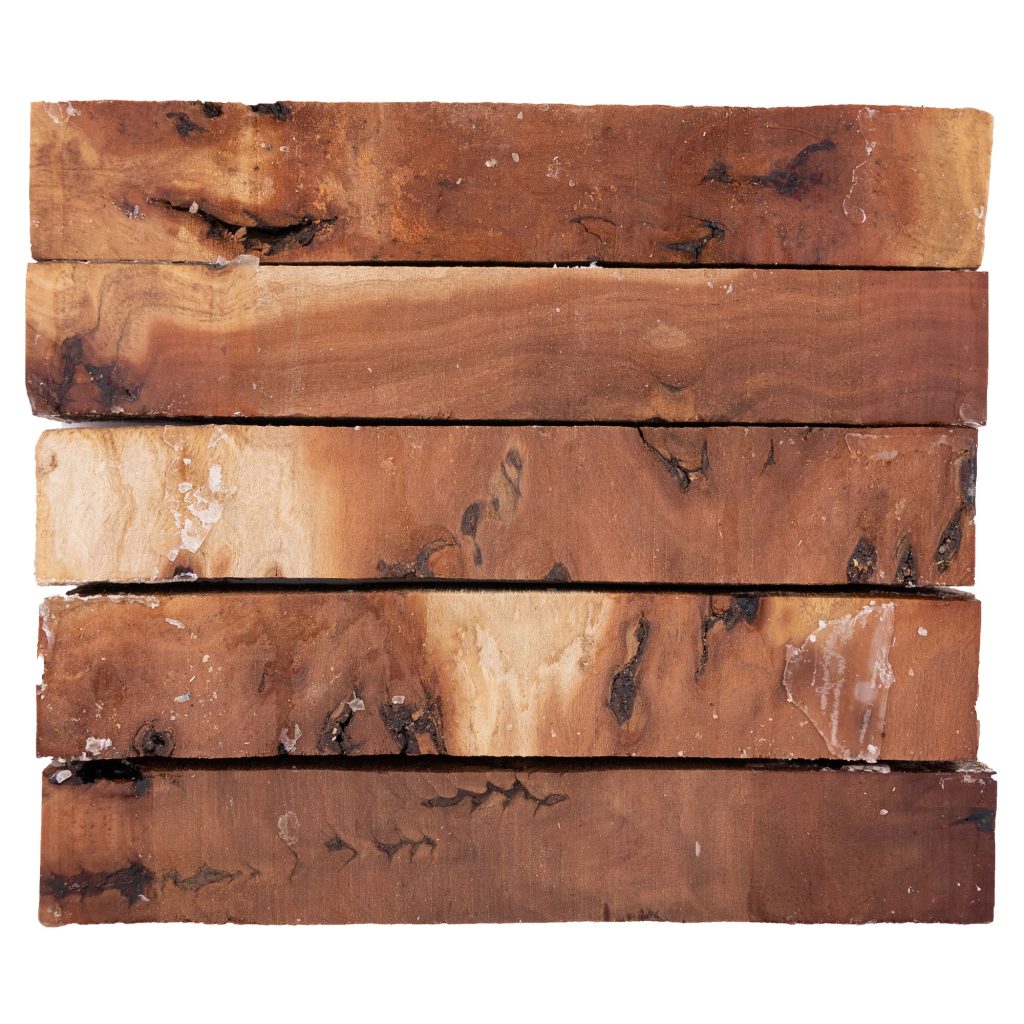
If you’re working away on a wood turning project and discover cracks or holes, don’t panic. When it comes to exotic wood, especially unstabilized burl, you never know what you’re going to get. You might find a range of inclusions, fissures, bark or gaps. These details aren’t necessarily a bad thing. In fact, they’re what give your custom pens personality and are one of the reasons we love burl so much. So here we’ve compiled some ways to embrace these perfect imperfections and integrate them into your unique masterpiece. (And if you happen to accidentally gouge your wood while turning, you can use these techniques to fix that, too!)
Using CA glue to fill cracks in wood
CA glue is often used to give a shiny finish to turned projects but it has many other uses. It’s excellent for is repairing imperfections and disguising those little slip-ups that inevitably occur. CA glue can also help prevent a compromised blank from exploding on the lathe when applied at the right time.
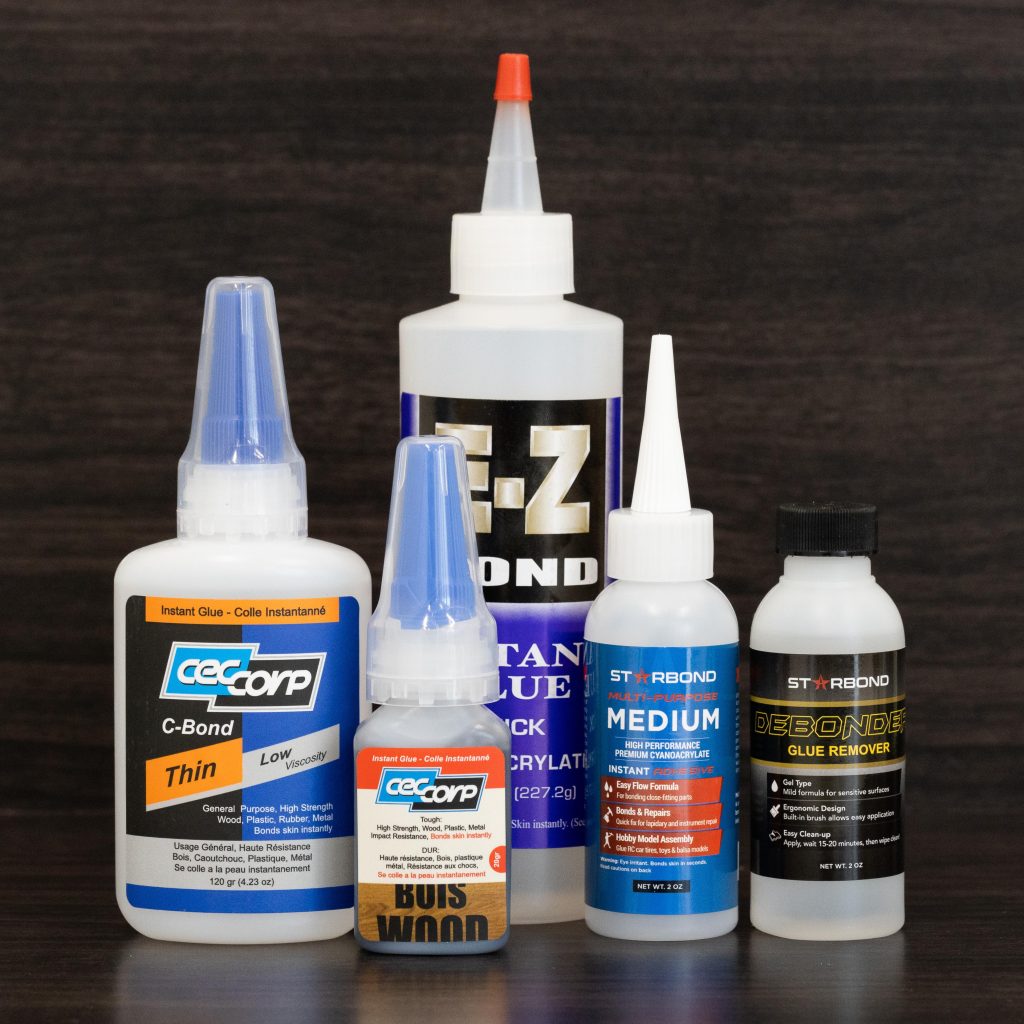
You will need:
- Thin CA glue
- Thick CA glue
- Accelerator spray
- Abranet mesh sheets
- Micromesh sheets
Instructions:
- Turn your pen blank down to size.
- Locate any cracks, holes or weak spots that could cause the wood to break, and carefully apply the thin CA glue to the area. It’s important to use thin glue so that it will really soak into the wood. Inlay tips can be useful if your holes are very small.
- Mist the blank with accelerator spray to quicken the drying time.
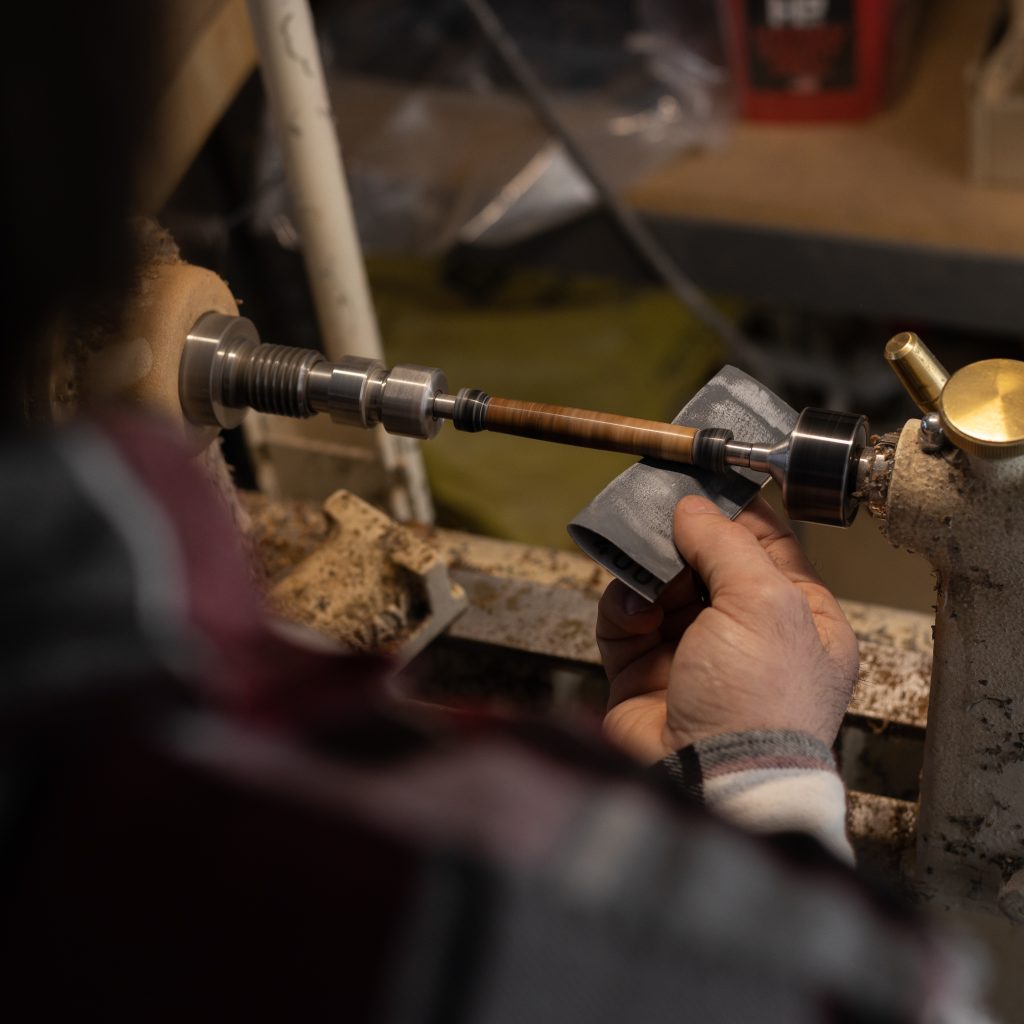
- Use an Abranet mesh sheet to smooth down any high spots created by the glue, with your lathe on at a low speed.
- Use the thick CA glue to fill any remaining holes and cracks, using the accelerator as needed while you work.
- Smooth with Abranet mesh again.
- Once you’re sure that all the weak spots have been treated, switch to the micromesh sheets. Start with the 1500 grit and work your way up to 12000 grit for the smoothest possible finish.
- To create a durable, shiny finish on your pen, patiently apply alternating layers of thin CA glue and accelerator. After 8-10 coats, sand down with micromesh until you achieve the desired sheen.
Watch a video of the process on our YouTube channel.
Creative ways to work with holes in lathe projects
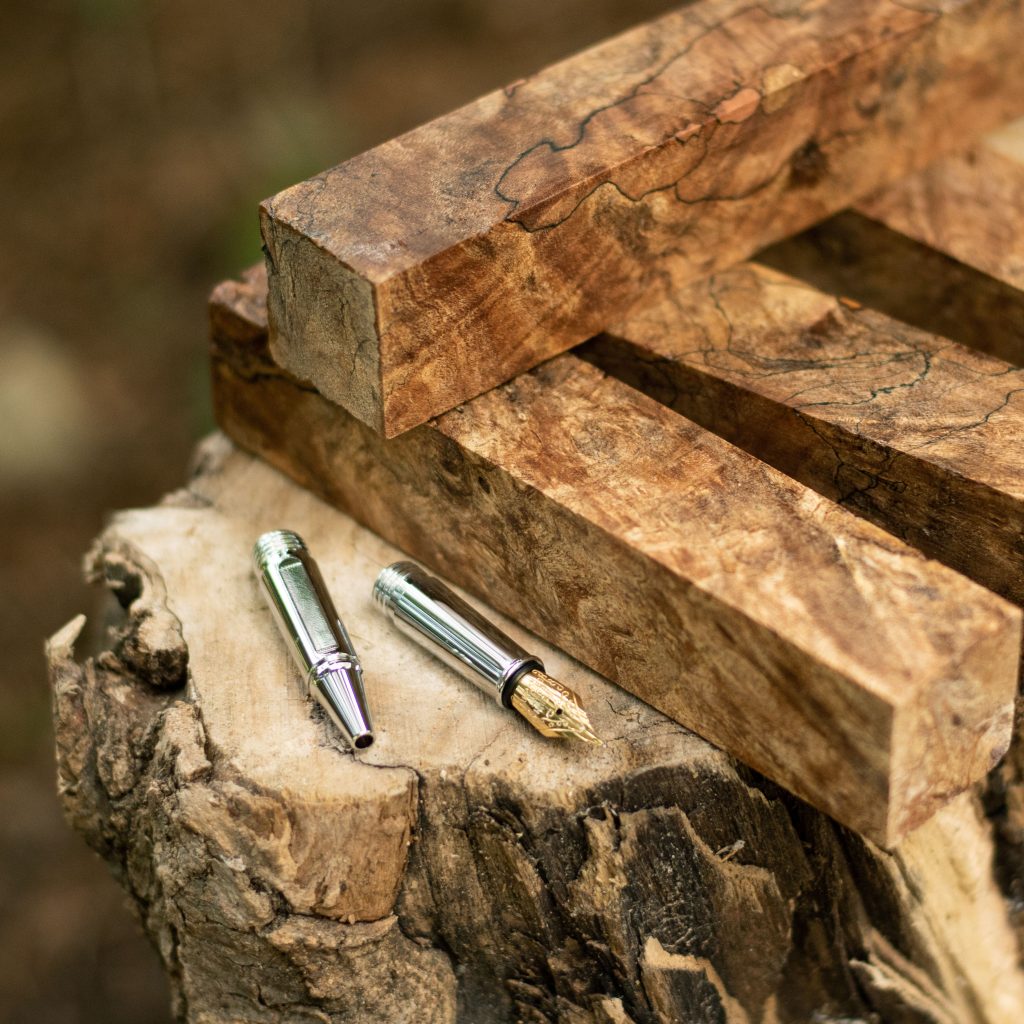
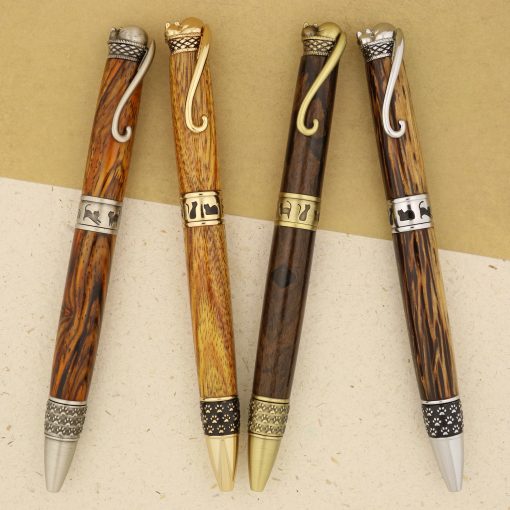
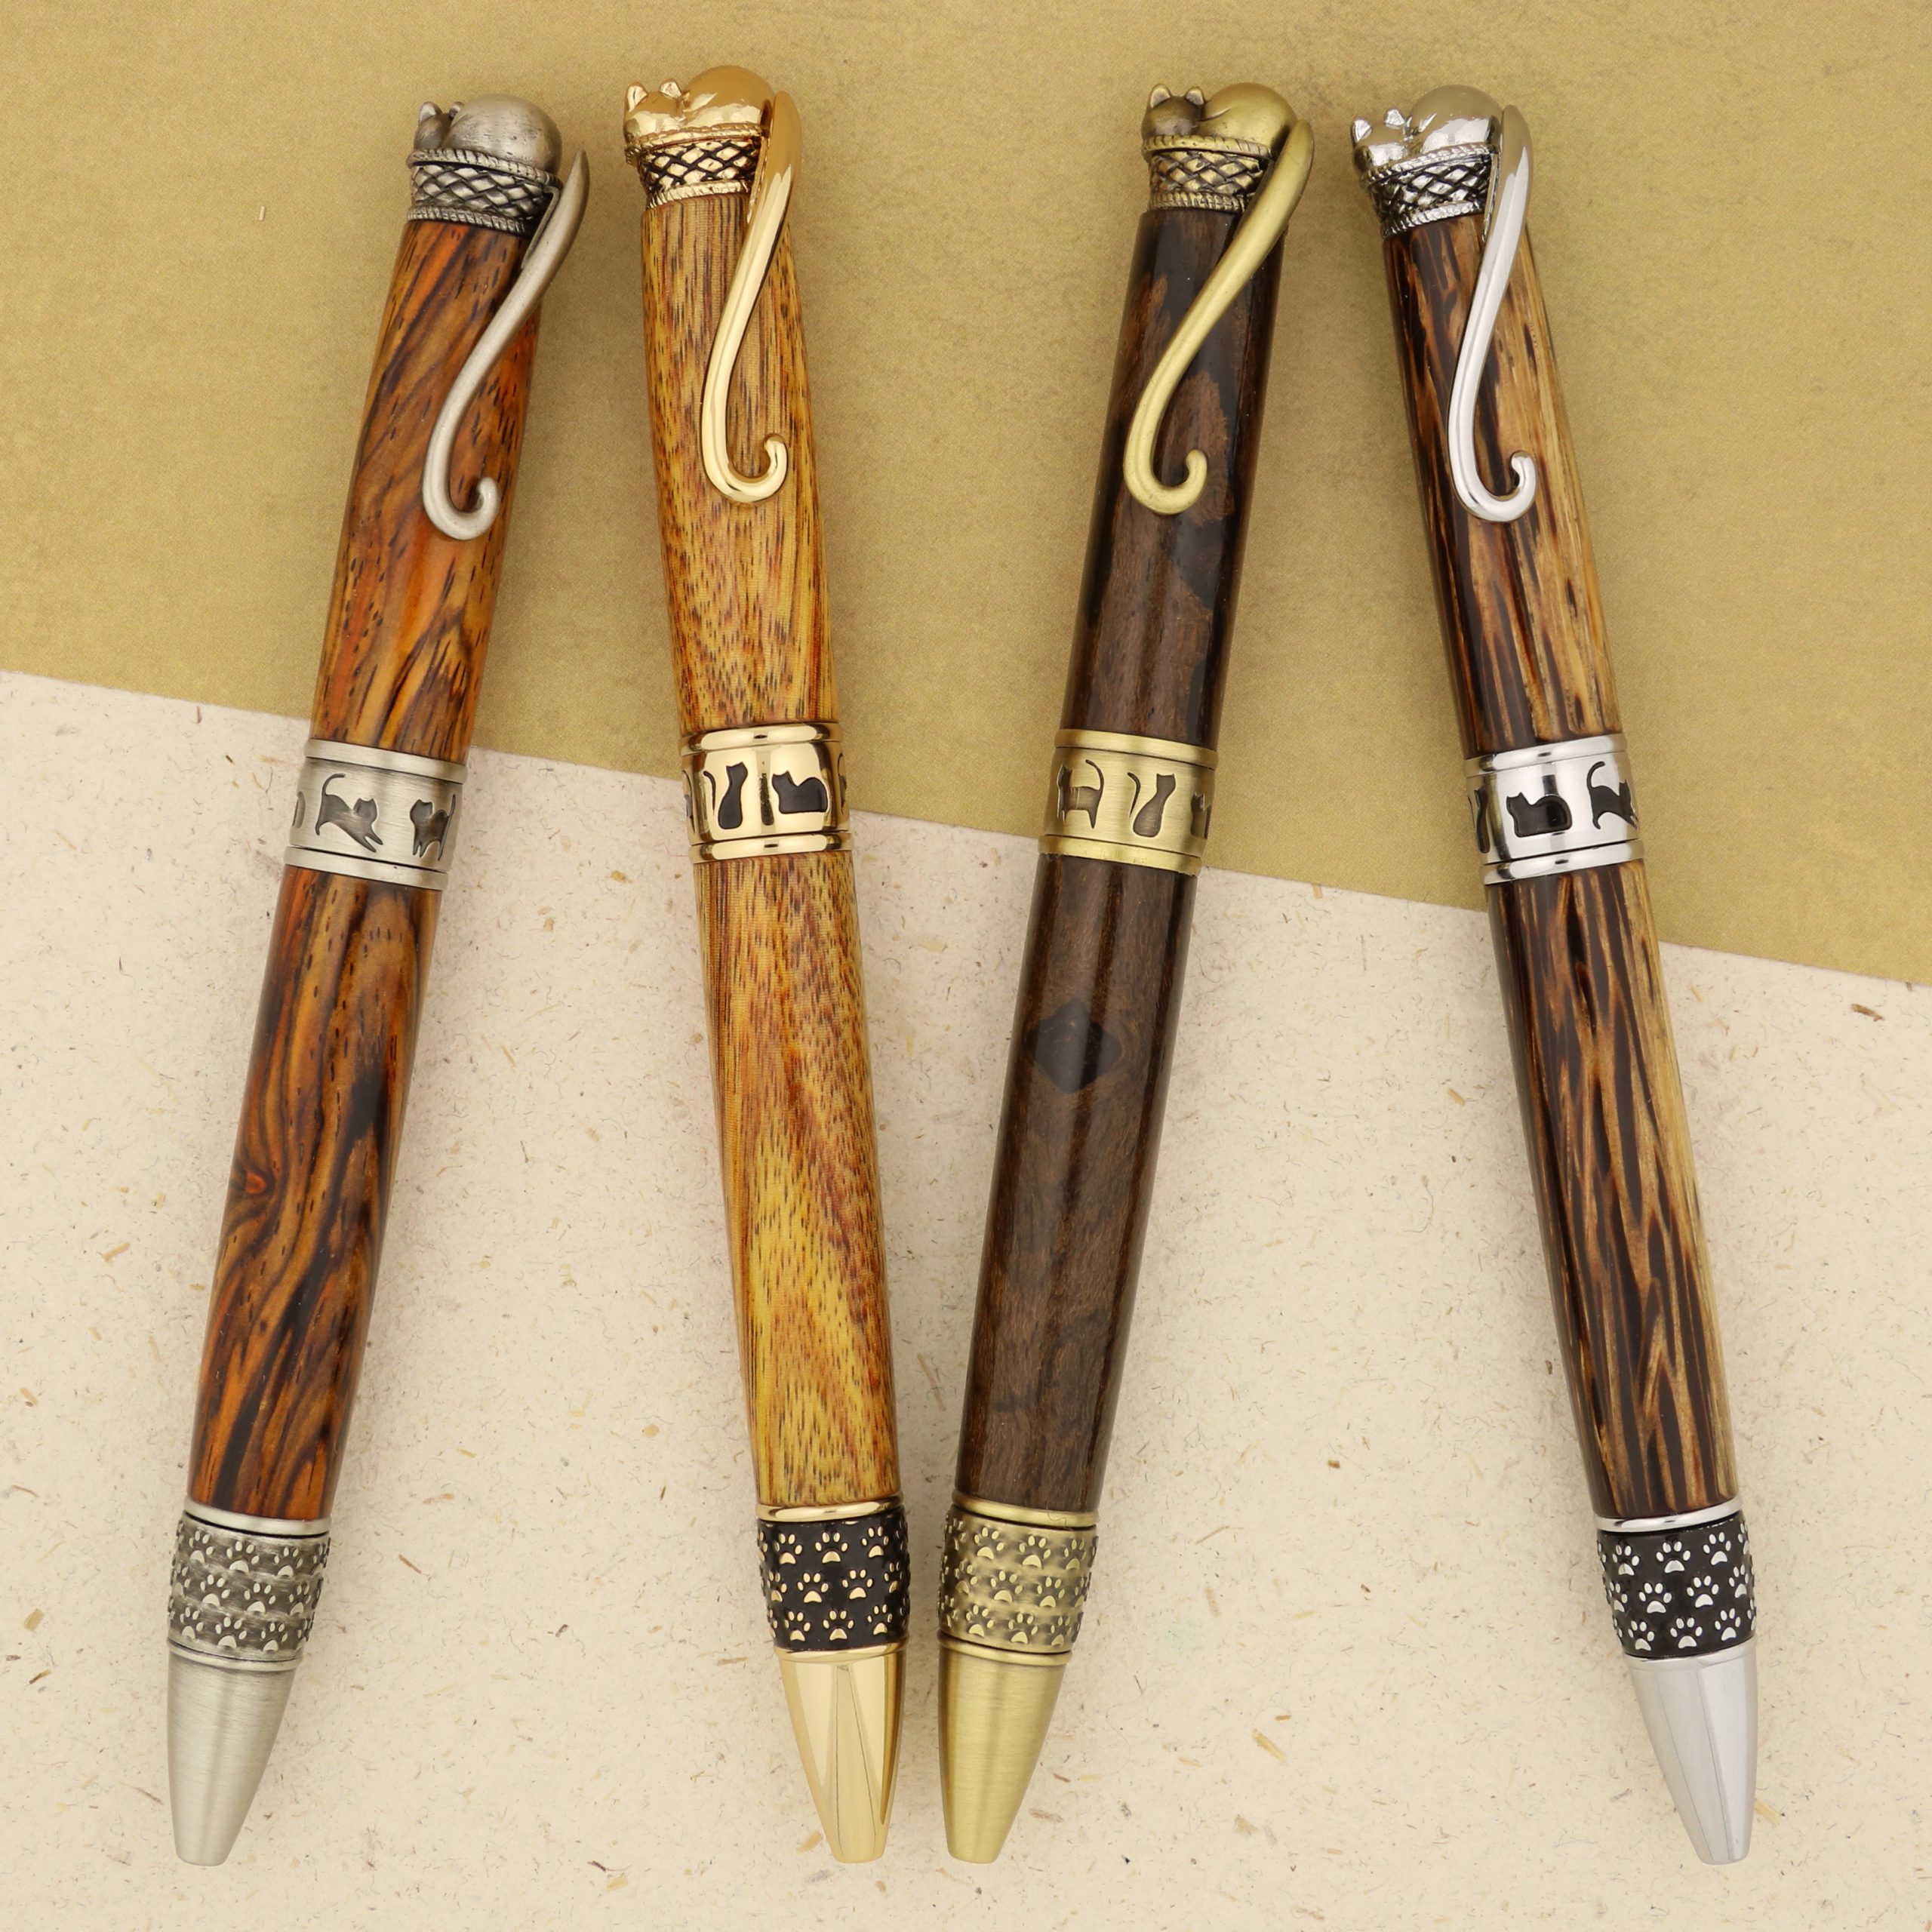
The best part about making pens from wood with inclusions is that you can integrate them into the piece you’re making in endless creative ways. Your handmade gifts will be extra special or, if you sell your goods, they will stand out from the competition.
Use tinted glue: Try using black or dark brown CA glue. This will highlight the interesting patterns on your blank and compliment the existing figuring. It can also help to disguise the crack if you’re using dark coloured wood, while stabilizing your pen blank.
Add an inlay: If you want to get really creative, consider using an inlay material to fill voids or cracks. There is a full rainbow of colours and textures to choose from, such as opal, gemstones, mica powder and gold foil. This is yet another way that CA glue comes in handy. Place bits of opal or stone into the void, fill it with the glue and let it dry completely. Then put your blank back on the lathe and smooth it out with your chisel and sanding process.
Wood dust: If you want to get an exact match for your chosen wood, try making a paste from wood dust. It’s important to note that wood dust is finer than sawdust, which will not work quite as well. Apply a small blob of CA glue to a clean work surface, and add some of the dust. Mix it in, adding more until you get a paste-like texture. Then, carefully press it into cracks with a tooth pick or similar tool. A different technique is to sprinkle the dust into the hole, add glue, add more dust, and alternate until finished- accelerator is great to have to decrease working time.
Make one-of-a-kind pens
If nothing else, it’s clear that when it comes to filling holes or cracks in a wood turned project, CA glue is your friend! You can use it to seamlessly create a clear filler to showcase the uniqueness of your chosen pen blank, or mix it with other materials to take your skills to the next level. There are no limits on the things you can try to when creating custom made pens. Check out the supplies available at William Wood-Write for everything you need from start to finish.

