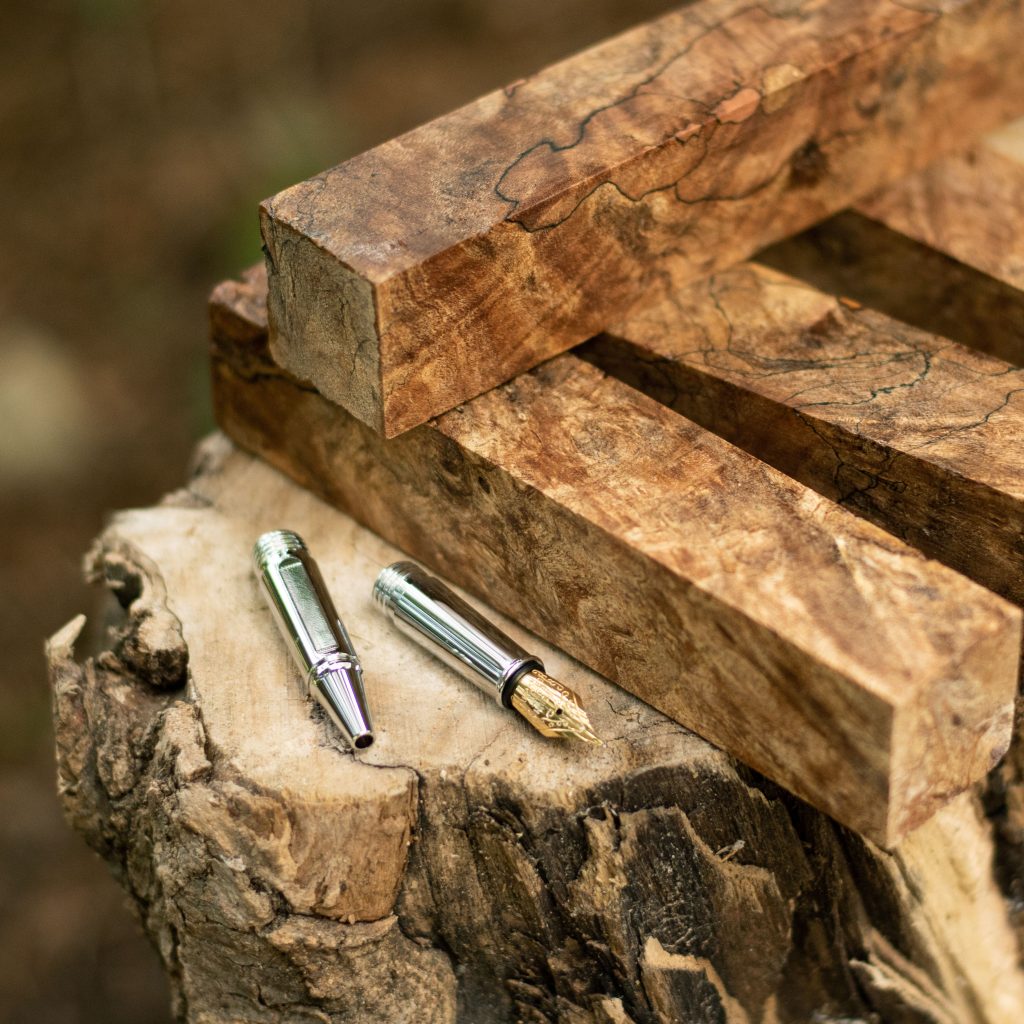
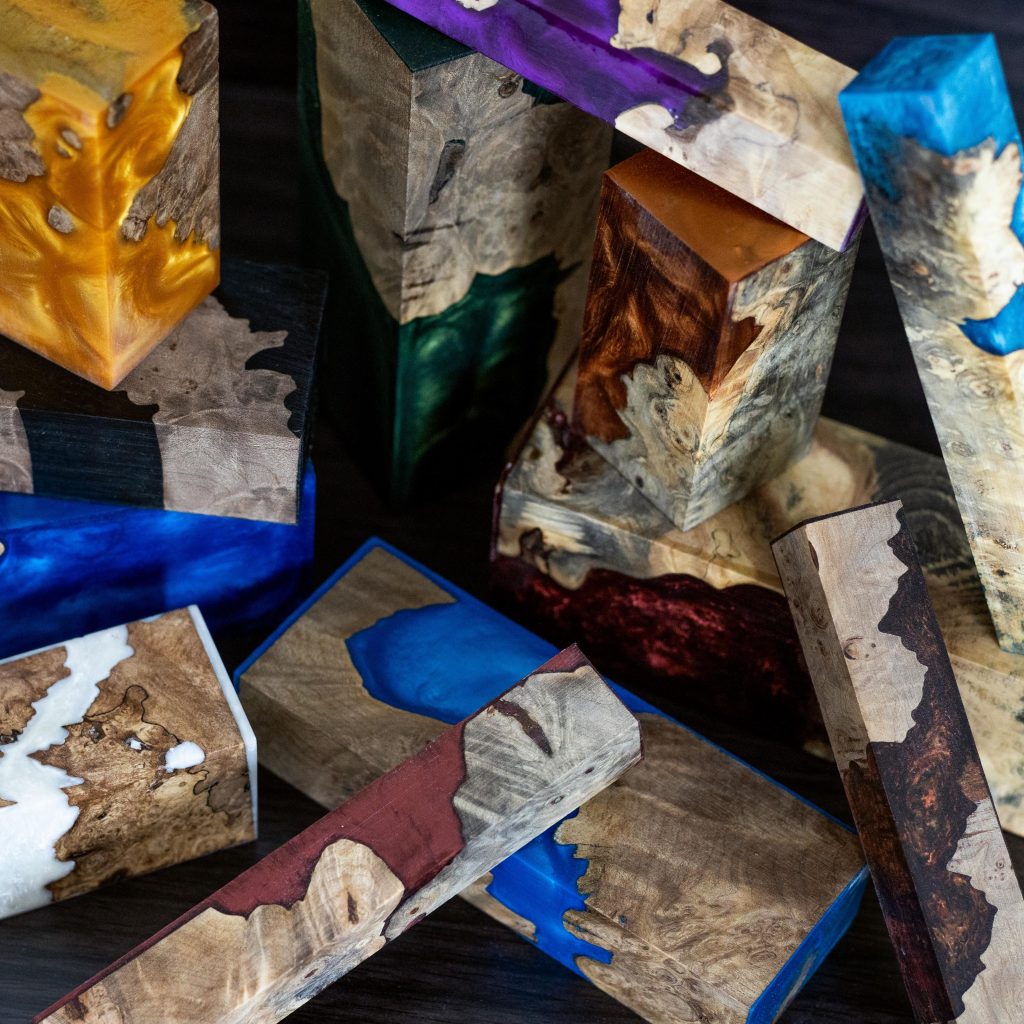
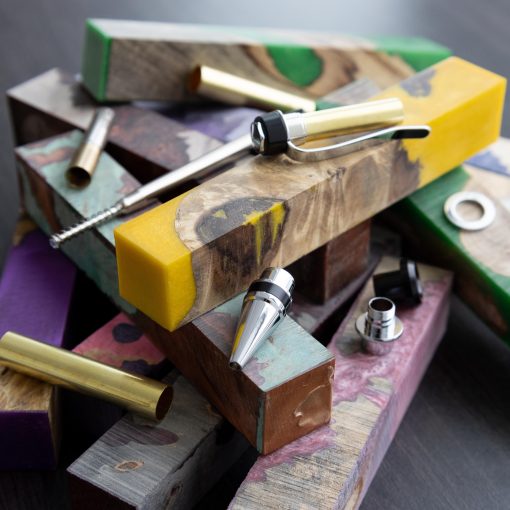
After you’ve been pen turning with for a while, you might want to try making your own unique blanks. This is where casting resin comes in. You can include colours, textures and objects in almost any combination. While the process may seem a little daunting at first, the right tools and techniques make it much easier.
Here are the materials that our in-house artisan at William Wood-Write uses to cast our signature pen blanks:
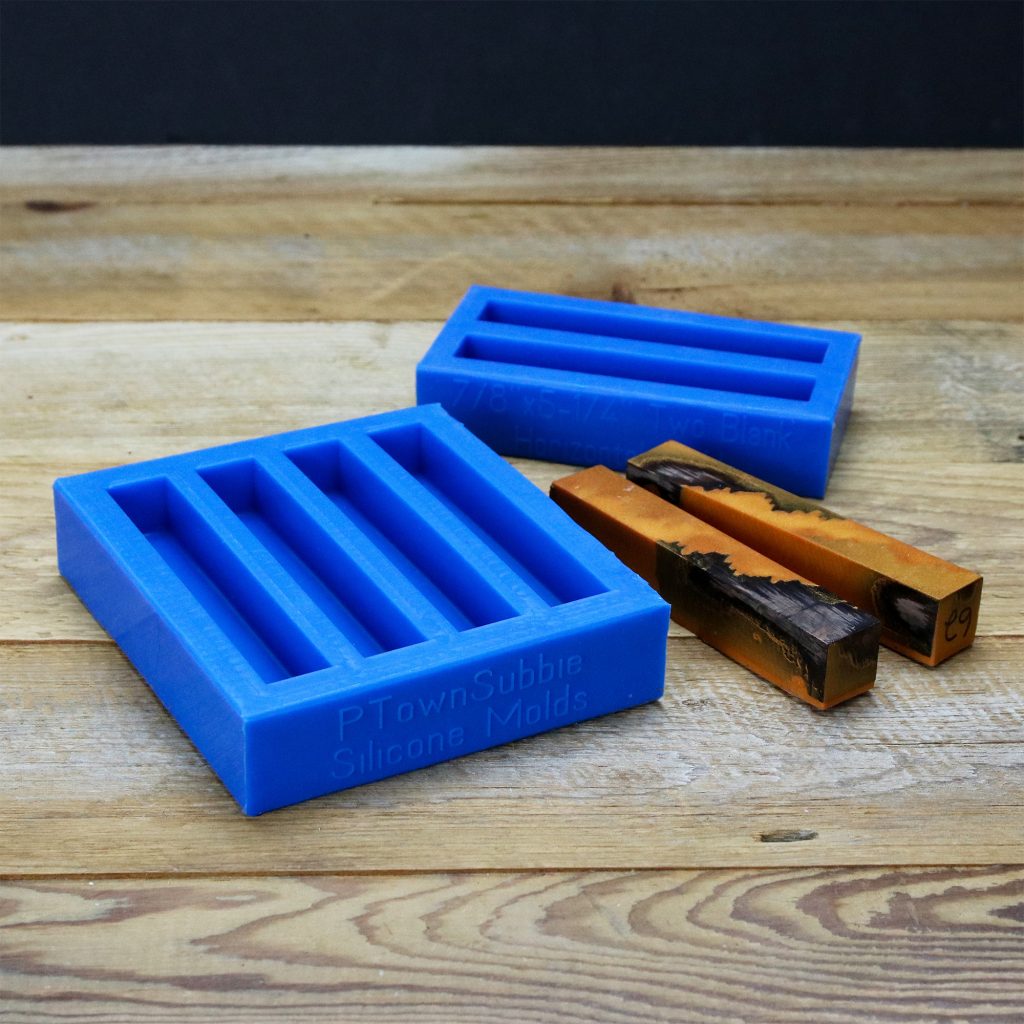
- Silicone molds
- Alumilite Casting Resin
- Mica powder
- Stoner Thermoset Mold Release Spray
- Pressure pot
- A digital scale
- Plastic cups for mixing
- Gloves for hand protection
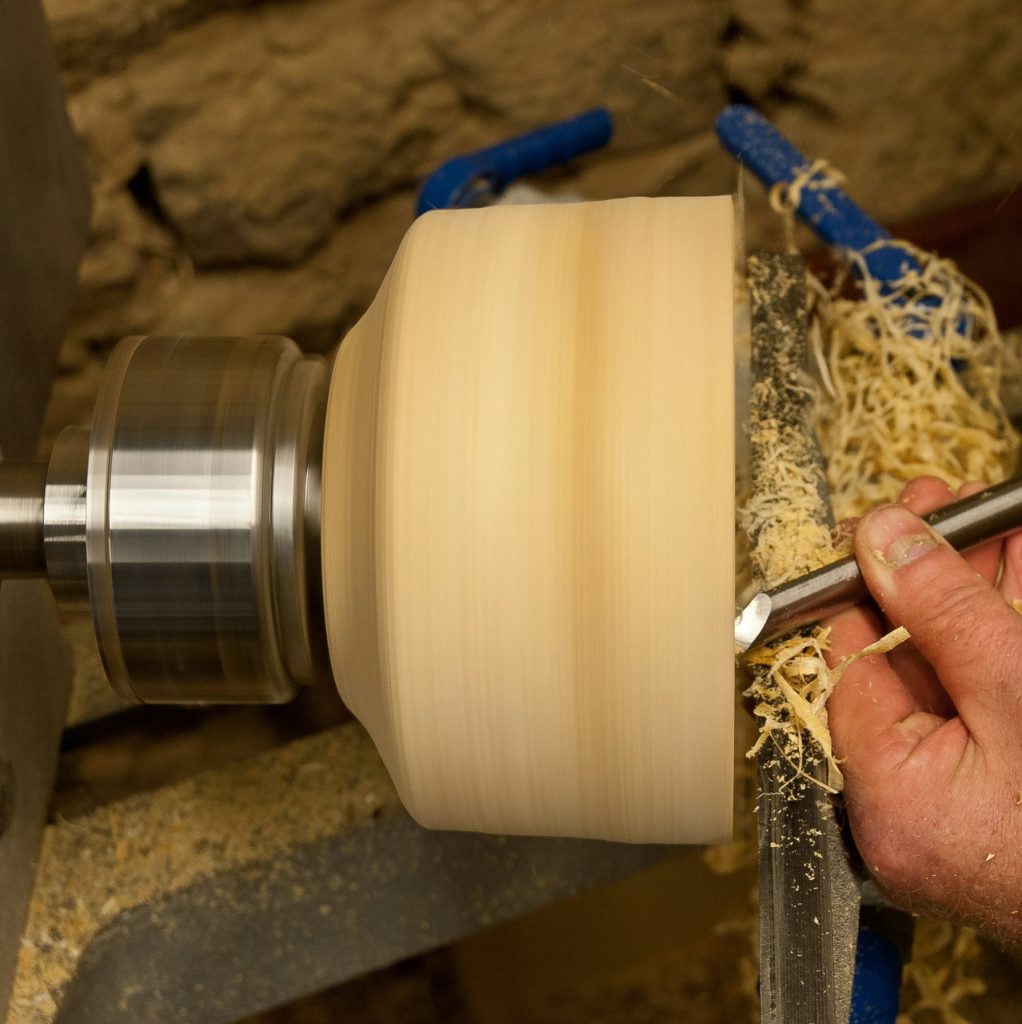
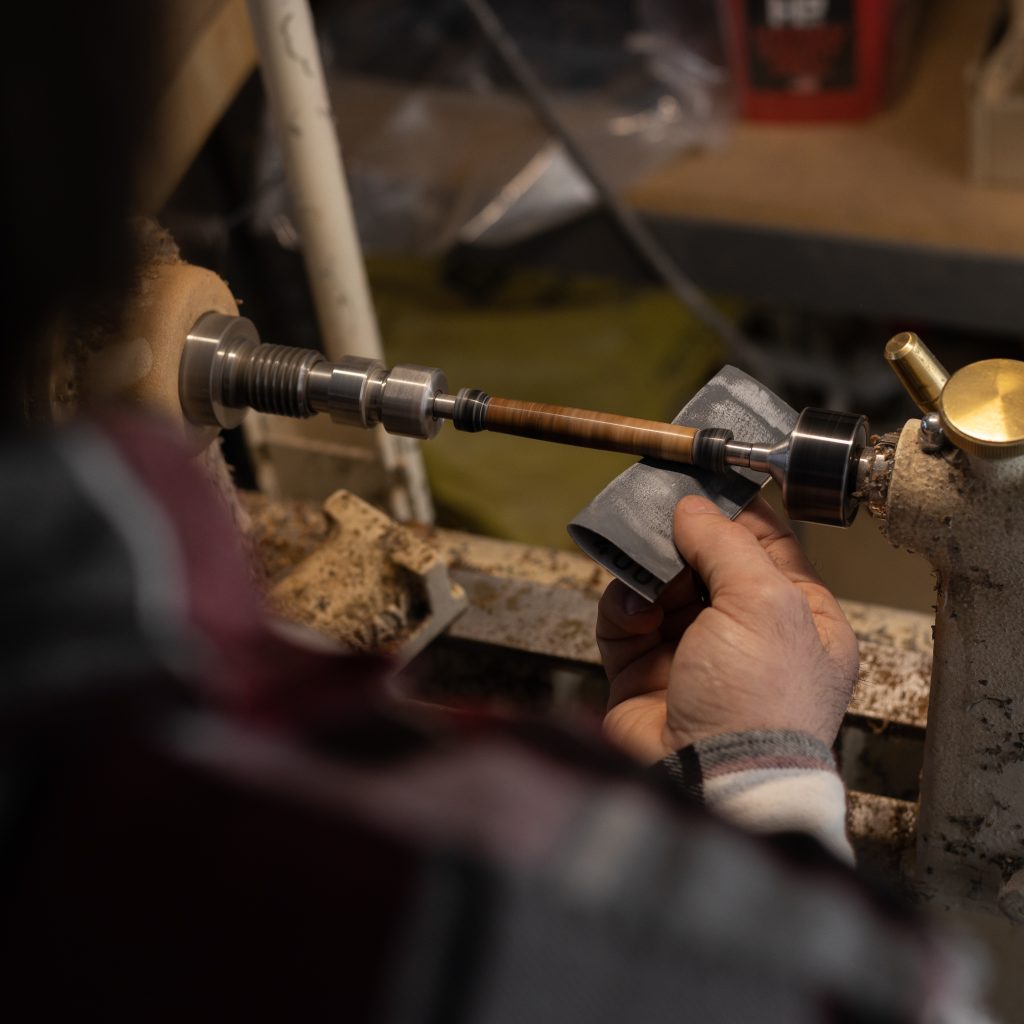
Mixing and pouring resin for turning
Before you start, make sure you are working on a completely level surface.
Alumilite resin consists of two liquid components that are mixed together in a 1:1 ratio. About 90 grams of mixed resin is needed to make a 7/8″ by 7/8″ by 5 1/4″ pen blank, but it doesn’t hurt to make a little extra. Too much is better than not enough.
- Make sure your mold is dry and mist it lightly with mold release spray.
- Place your plastic cup on the scale and set it to zero. Pour part A of the Alumilite into the cup to the weight needed, then add an equal amount of part B.
- You have roughly 15 minutes until the resin hardens. The clock is ticking!
- Stir the mixture slowly and thoroughly, being sure to scrape the sides and bottom corners of the container. The Alumilite must be completely mixed to cure properly.
- If you’re using multiple colours, split the prepared resin into several cups. For example, for three colours you’ll need three separate cups.
- Scoop a small amount of Mica powder into each container and stir.
- Pour the resin into the mold one colour at a time and blend gently with a stir stick.
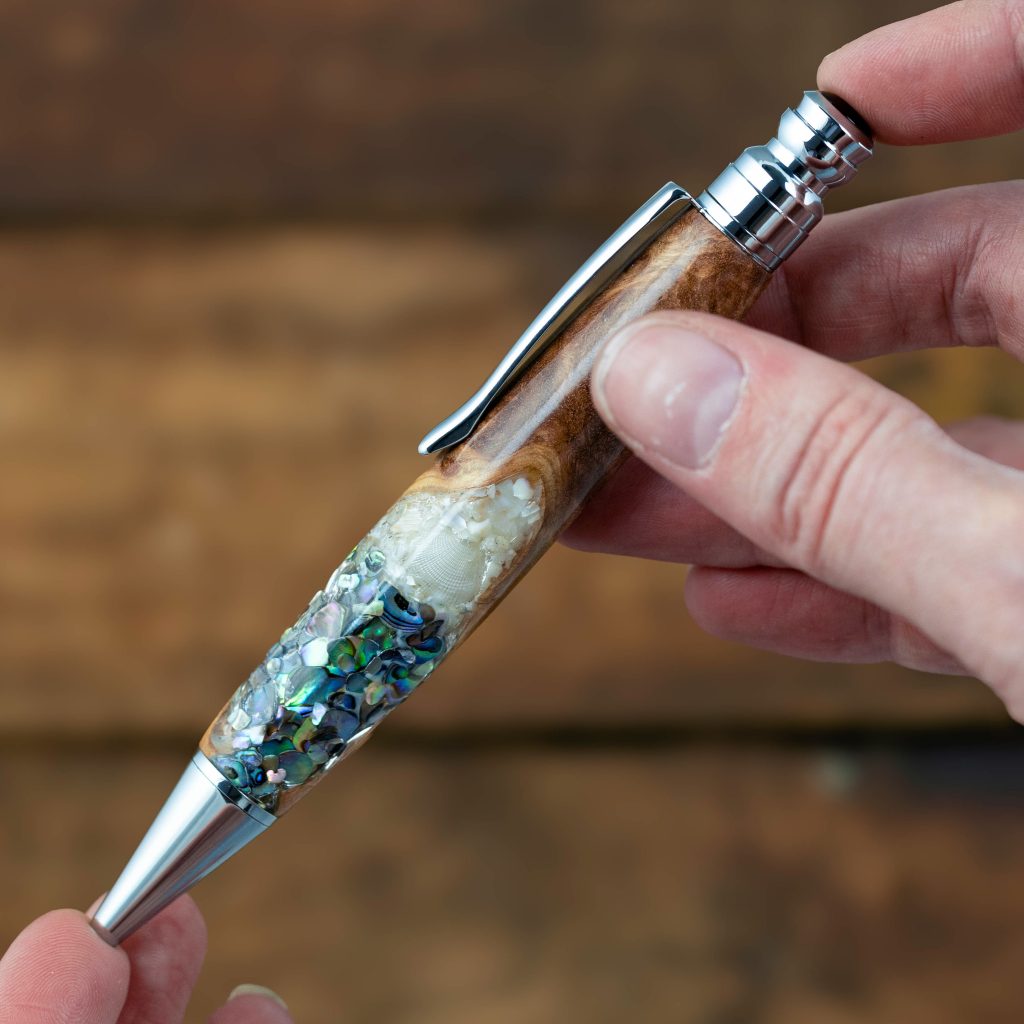
- If you’re adding inclusions such as shells or plant material, add them now, ensuring they’re suspended in the resin.
- Place the mold in a pressure pot set to roughly 50 PSI for two to four hours.
- Release the pressure and de-mold your pen blanks.
Casting resin without a pressure pot
Not everyone has access to a pressure pot for getting bubbles out of their resin projects, but if you’re only making a few pen blanks at a time, you can perfect your process so you don’t need one.
How to avoid bubbles when casting resin
- When mixing, pour the resin down the sides of the plastic container to avoid trapping air.
- Stir with a silicone or plastic tool. Popsicle sticks or other wooden stirrers contain air that can cause minuscule bubbles. It’s surprising, but that tiny bit of air can ruin your pen blank.
- Mix slowly. If you stir too fast the resin will capture air. Going slowly might seem a little stressful when working with such a small window of time, but it’s necessary.
- Some crafters use a butane torch or lighter to combat surface bubbles, swiping the heat quickly over the wet resin. However, this can damage silicone molds. Instead, you can use a heat gun aimed at the surface.
- Put some rubbing alcohol in a mist bottle and spray just a tiny bit on the surface of the resin. Remember, if you spray too generously it will interfere with curing.
- Saturate any inclusions with mixed resin before placing them in the mold. This will ensure no air bubbles come with them.
- Consider a vacuum chamber. This tool is often used to stabilize wood for turning but it can also effectively suck the bubbles out of resin.
Tips for making a perfect resin pen blank
Plan ahead. The resin we use at William Wood-Write has a 12-15 minute work time. During these twelve minutes, the resin starts to thicken and become viscous, generating heat. To make this crucial time go as smoothly as possible, lay all your materials out beforehand. Don’t forget scoops for each colour of mica and plenty of containers for mixing.
Less is more. A little mica goes a very long way. Start with less than you think you need, and experiment until you get the look you want. The more you add the more opaque the result will be. FYI: For reference, roughly one teaspoon of mica can colour up to twelve pen blanks! So keep that in mind if you’re only making one or two.
Don’t overdo it. When creating a swirly look with several colours, just a gentle mix with a stir stick is needed. It’s tempting (and fun) to keep playing with the colour, but overmixing will result in a disappointing muddy result.
Check out our pen turning supplies
Once you get the hang of casting resin pen blanks, you can start getting creative. Add some pearlescent mica and glitter or try suspending different items in the resin to see how they will look once turned on your lathe. Casting blanks allows you to create personalized handmade gifts with objects inside that are meaningful to the recipient, or if you sell online or at craft markets, it gives you a creative edge. If you have questions, just contact us. We’re friendly!
