
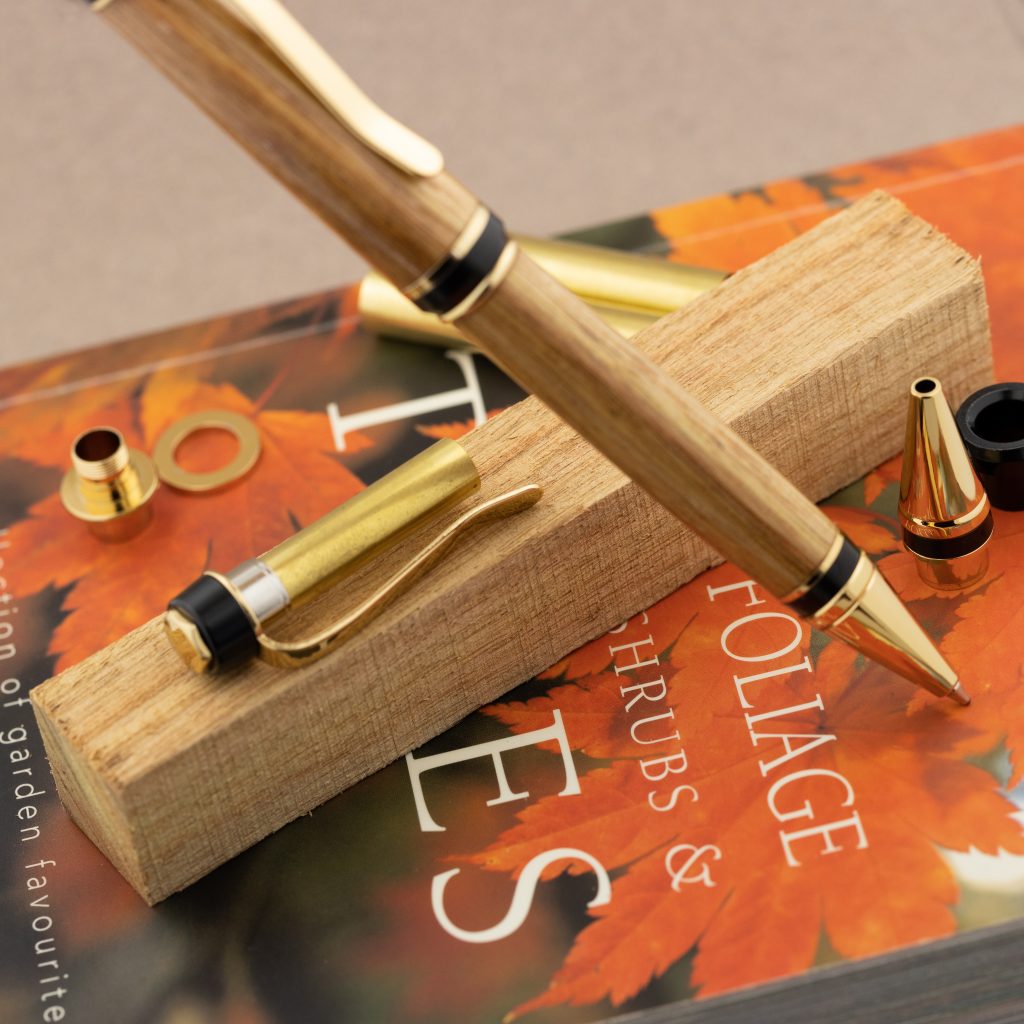
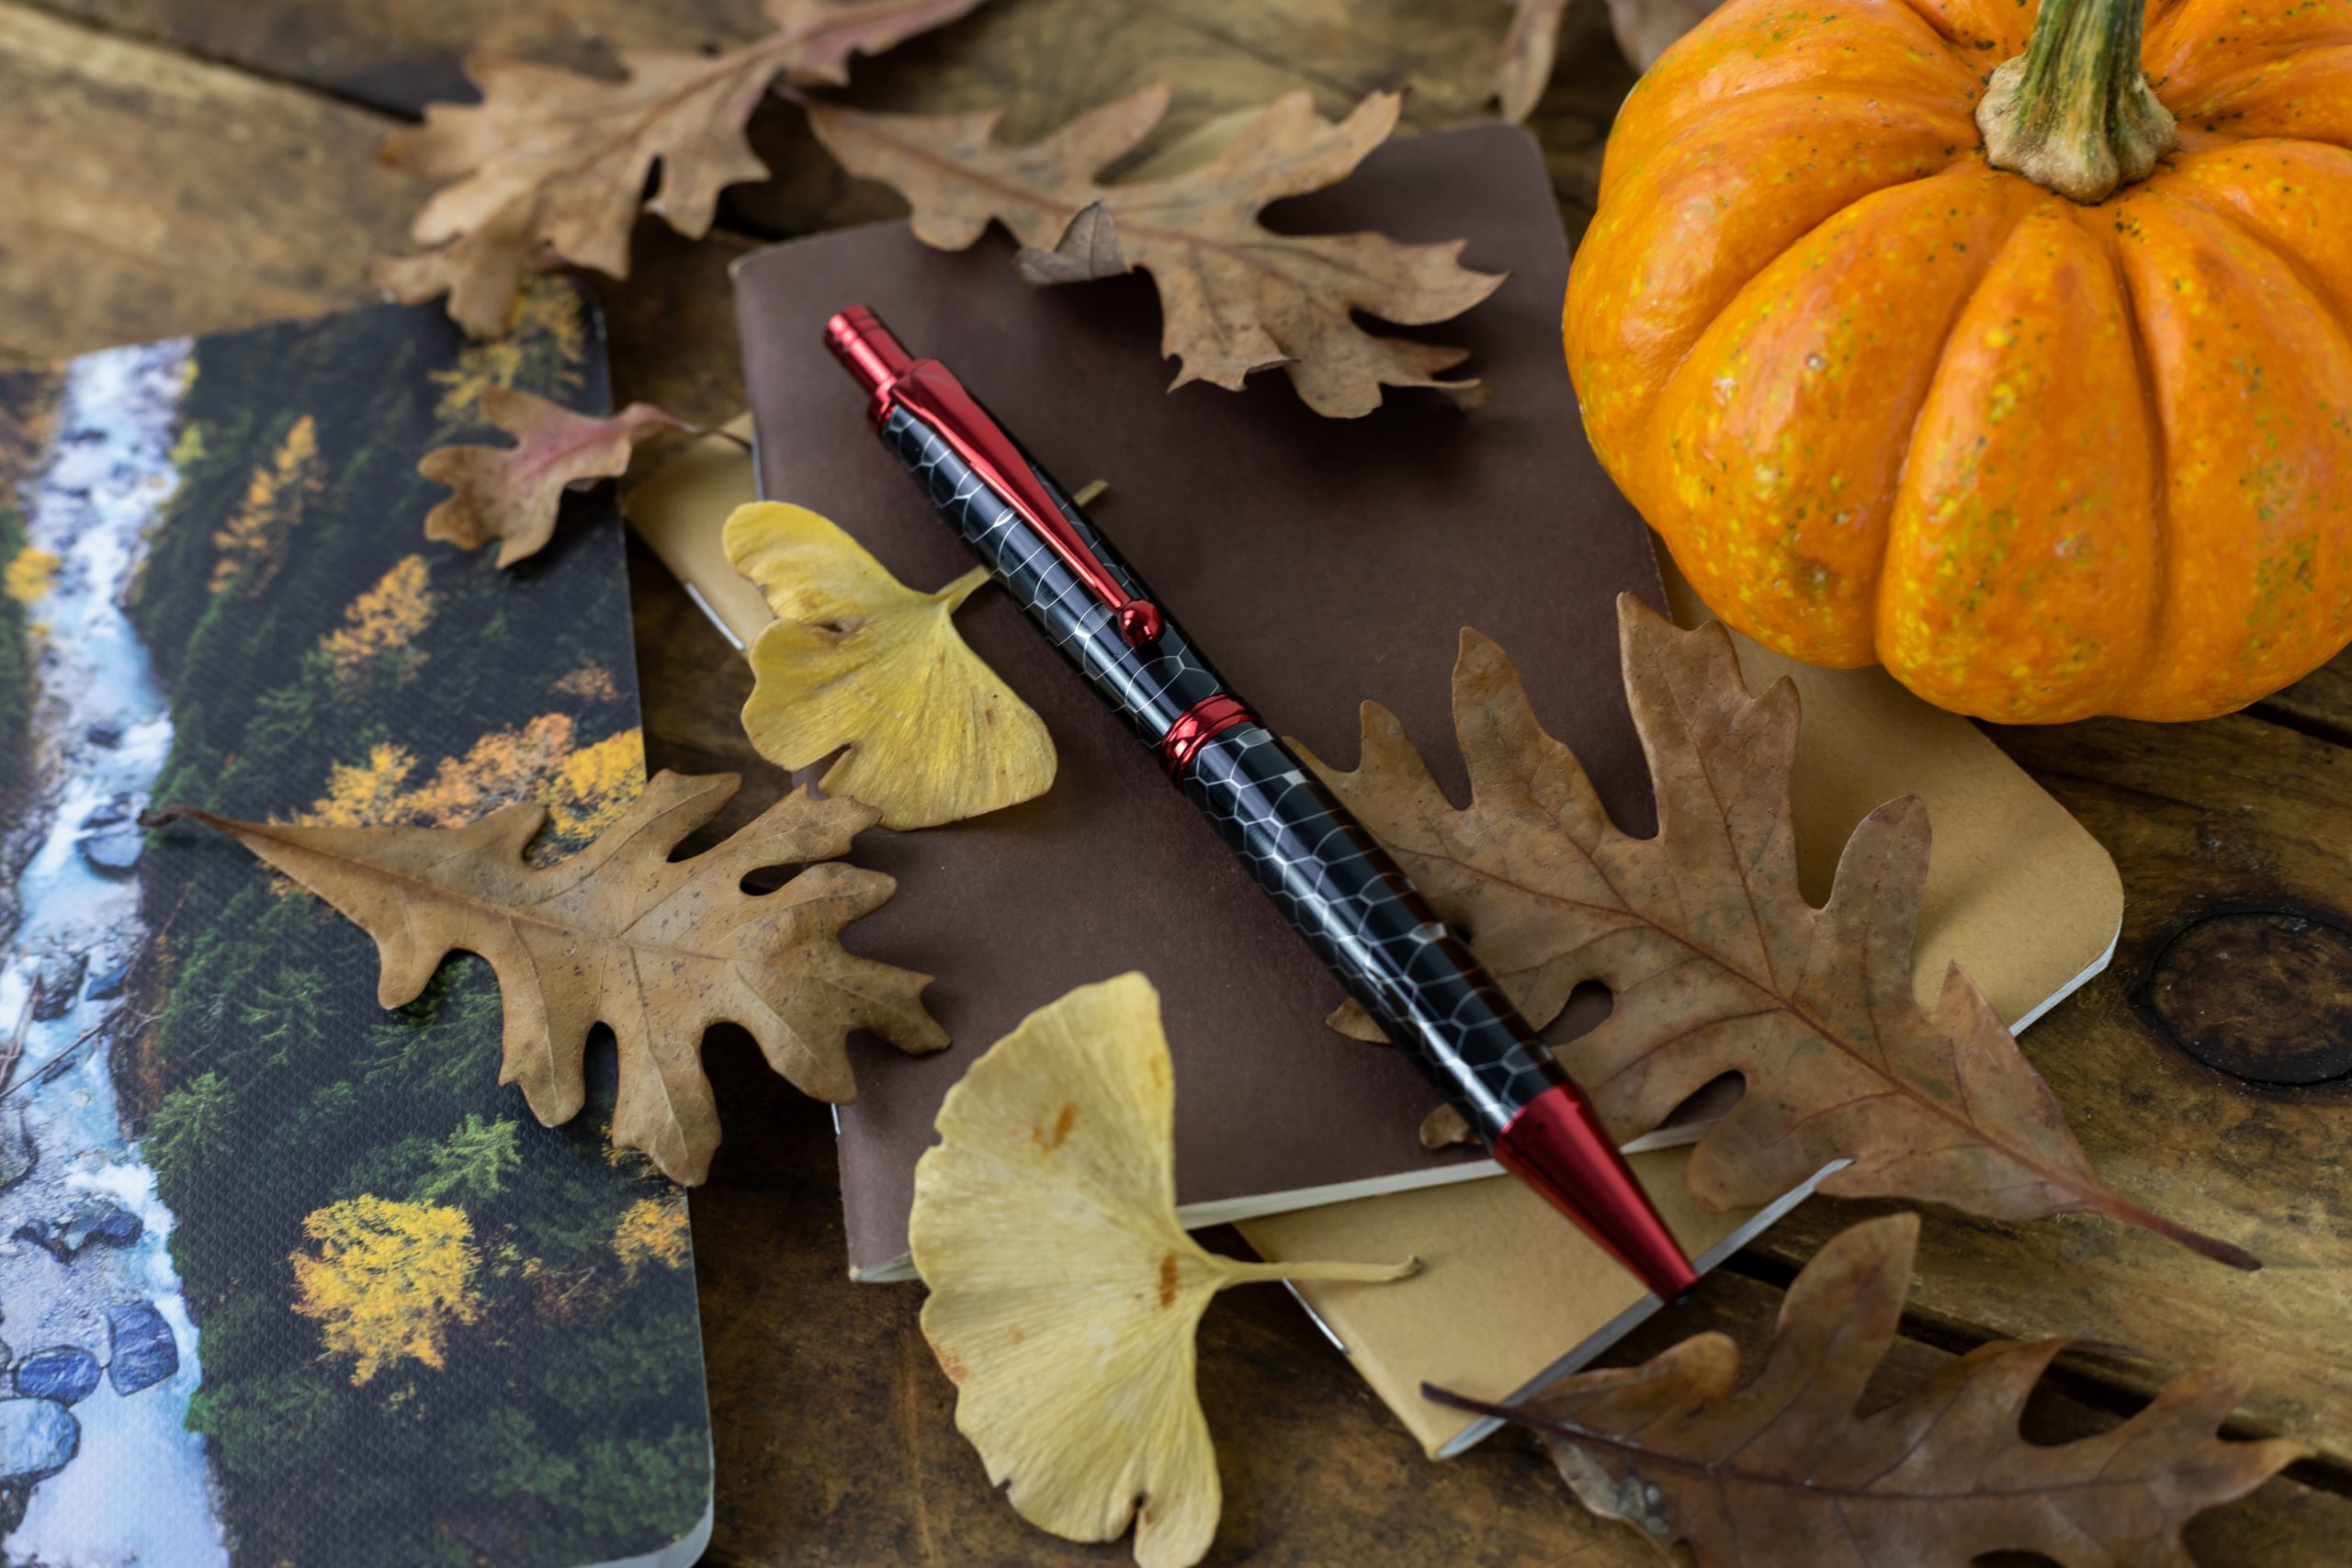
Pen making kits, right here in Canada.
Penblanks.ca
Most wood turners stumble across pen turning through wood working, bowl turning or knife making. Turning your first pen is a simple and rewarding project, producing a finished pen kit in only a few hours. Pen turning can be a hobby, a business and a meditation. We make it simple by being your one-stop-shop for all pen turning supplies in Canada, offering Pen Turning Starter Kits from $89.99! So, lets get into how to turn your first pen.
1. Gather Your Pen Turning Supplies
First, make sure you have all the proper equipment so you can jump into turning your first pen. When it comes to power tools, there are a few requirements. A saw, a drill and most importantly a lathe! If you’d like more information on what you need to get started, check out our Our Recommendations for Tooling here.
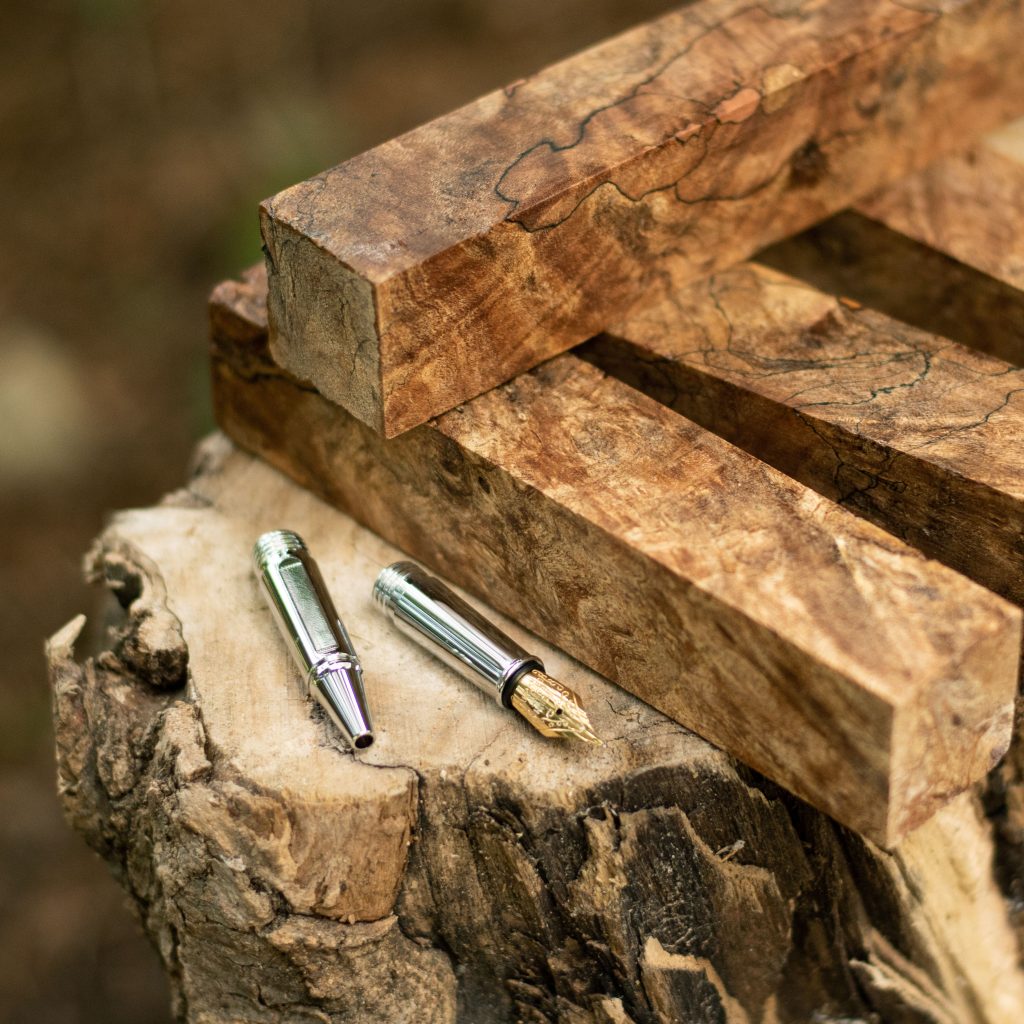
Our favorite part of the pen turning process is choosing a pen blank and pen kit! We have a huge selection of acrylic, fusion, poly resin and exotic wood pen blanks shipped from here in Canada. When you’ve selected the perfect pen kit for your project at Penblanks.ca, click the “Related Products” tab below the pen kit photo see the tooling you’ll need to make the kit. You’ll also find the instructions to the pen kit in the “Description” tab. Always check which drill, pen mill and bushing you’ll need to turn your wood pen. We usually recommend starting with a Slimline, which requires 1A bushings, 7mm pen mill and 7mm drill bit.
Turning Tip: We often recommend new turners start with a curly maple pen blank, since this exotic wood is soft and smooth.

2. Prep Your Pen Blanks
Pull the brass tubes out of your pen turning kit to mark and measure the tube against your pen blank, leaving 1/8” on either side of the brass tube. Throw on your safety glasses and cut your pen blank to size.
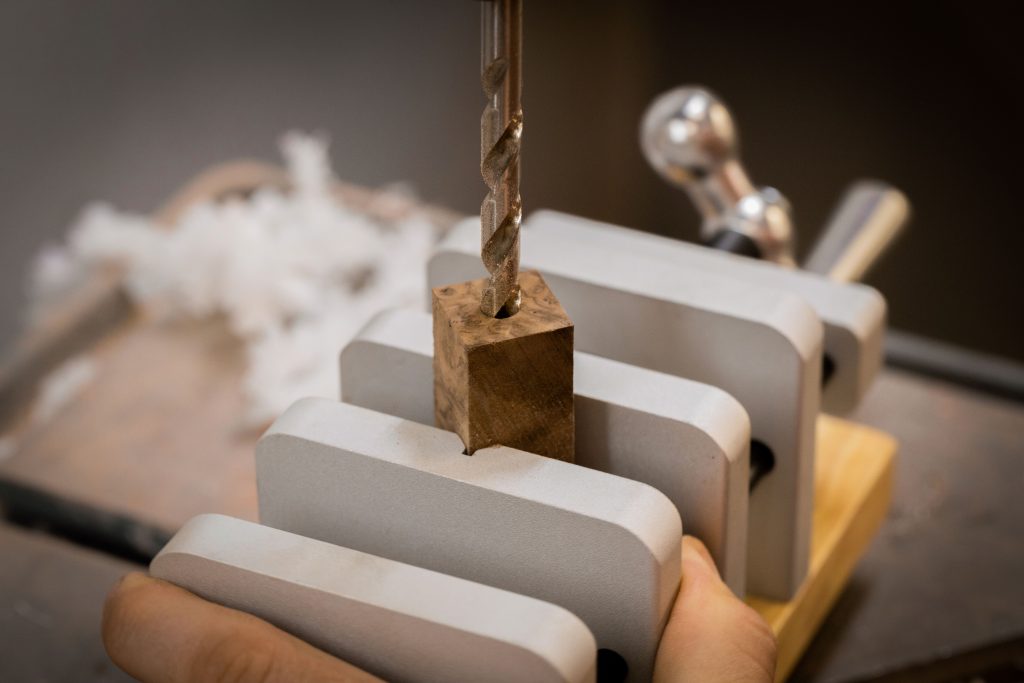
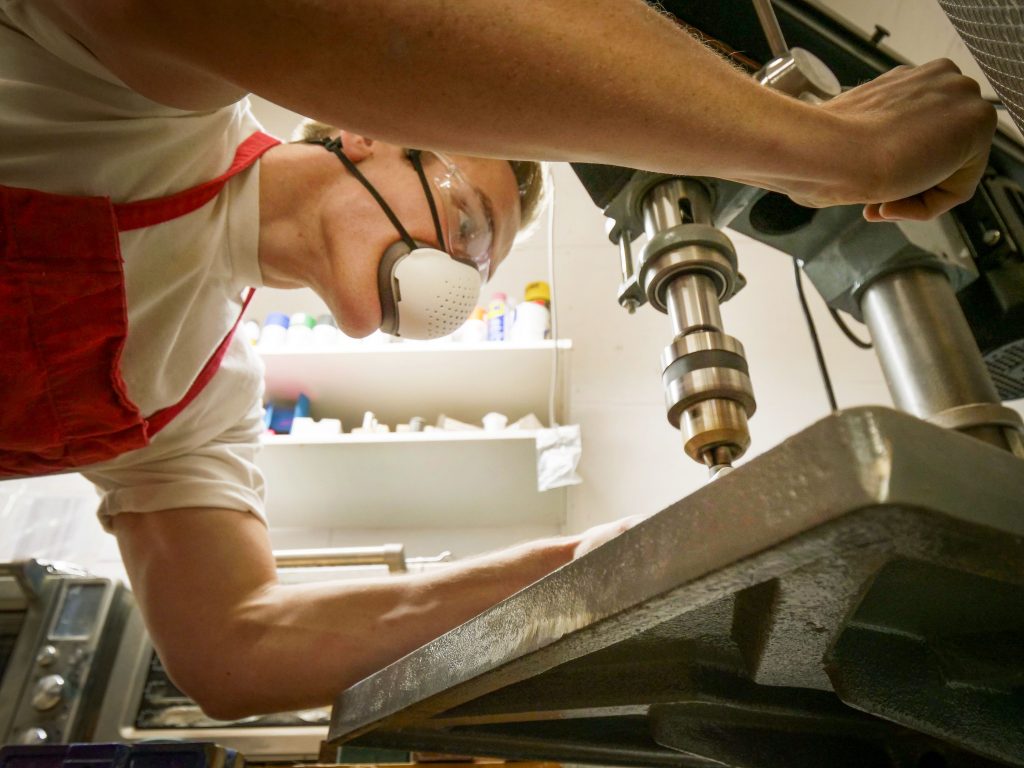
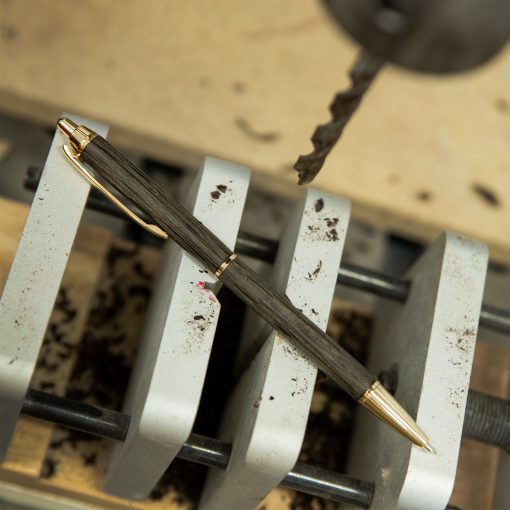
Now that your blank is cut to size it’s time to drill. Mark the center of your pen blanks with our pen turners multi measuring tool, drawing from corner to corner to find the center of your pen blank. Attach the required drill bit to your drill press and secure your pen blank with a Drilling Center Vice. Start drilling slowly on the center point you’ve created, letting the drill do the work. Dense woods and acrylics can heat up quickly which can crack your pen blanks, so take your time and allow the flutes of the drill to clear out a few times while you’re drilling each blank.
Next, dry fit your brass tubes inside of your drilled penblanks. Grab a small piece of Sandpaper and scuff up the tube to create a surface your glue will adhere to. If you are using an acrylic blank, you’ll want to paint the tubes so you don’t see the brass tube through the blank.
Next, plug the ends of your tube with baseplate wax. This helps prevent glue from getting inside the tube. Grab a piece of tin foil, put on some gloves, pour a line of our CEC-Corp Thick CA glue (this stuff is made in Canada!) on the tin foil and roll the brass tube in the glue, making sure to cover it completely. With a twisting motion, quickly insert the brass tube inside of your drilled pen blank. Let the glue dry for at least 30 minutes before moving on.
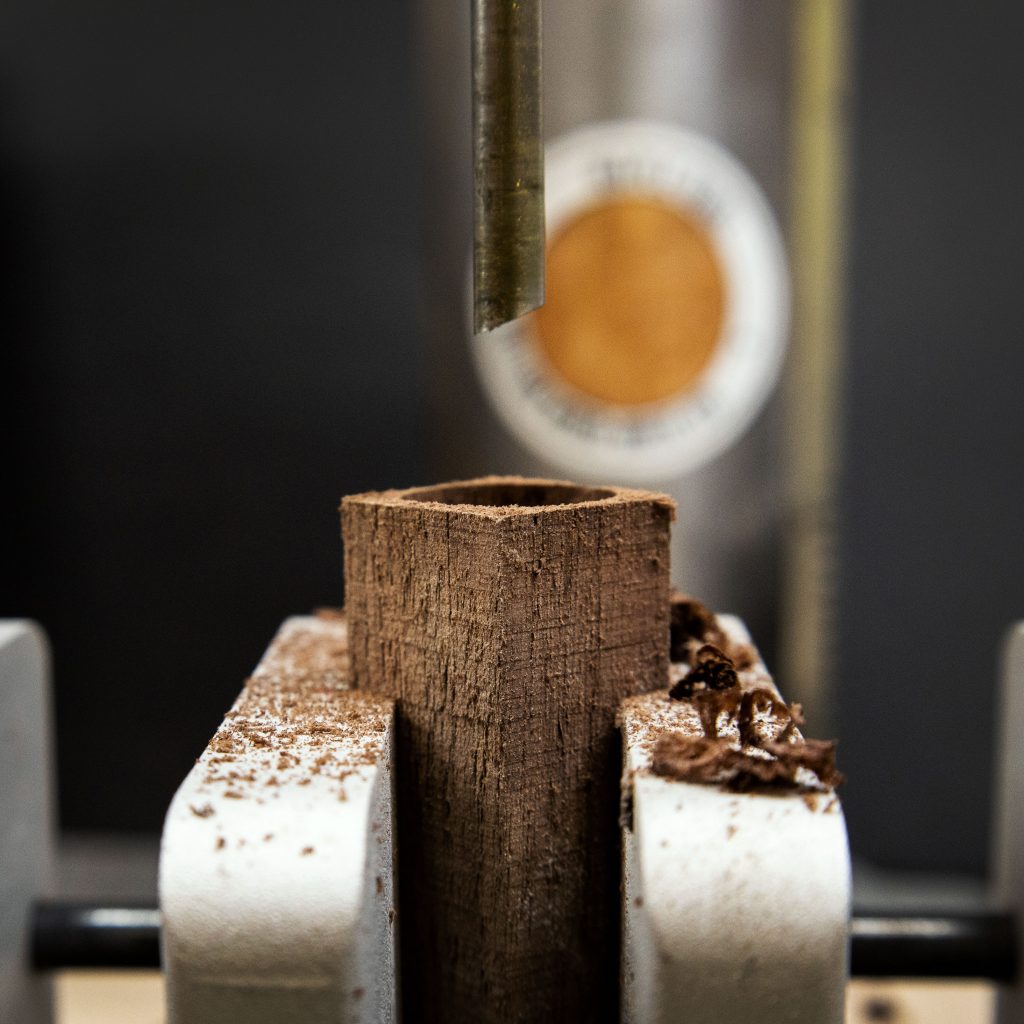
Once the glue is dry, pop the wax out of the ends of your tube with a transfer punch set or hobby knife. Head back to the drill press and attach the required pen mill. Mill your pen blank until the brass tube can just be seen (this is known as squaring the ends). Be careful not to over-mill- it can cause kit failure. Now flip your blank around and square up the other end.
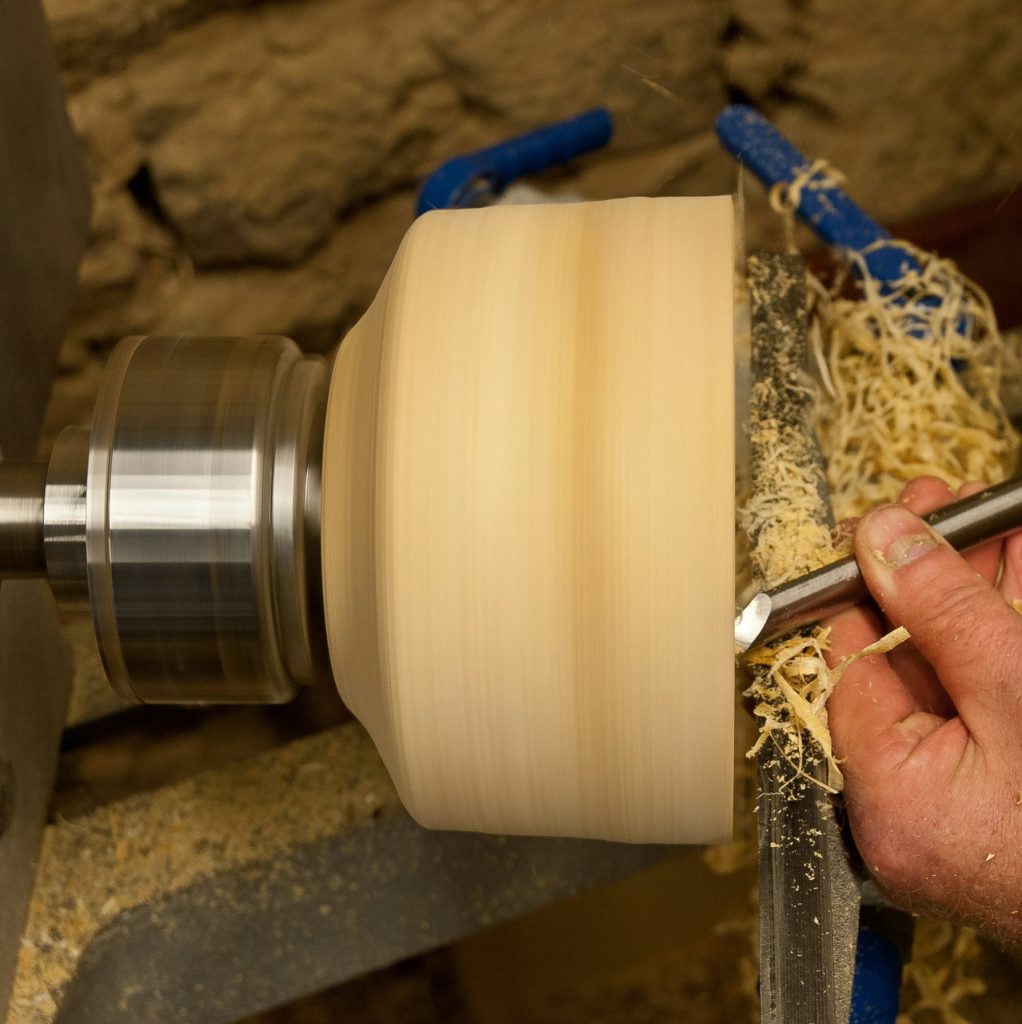
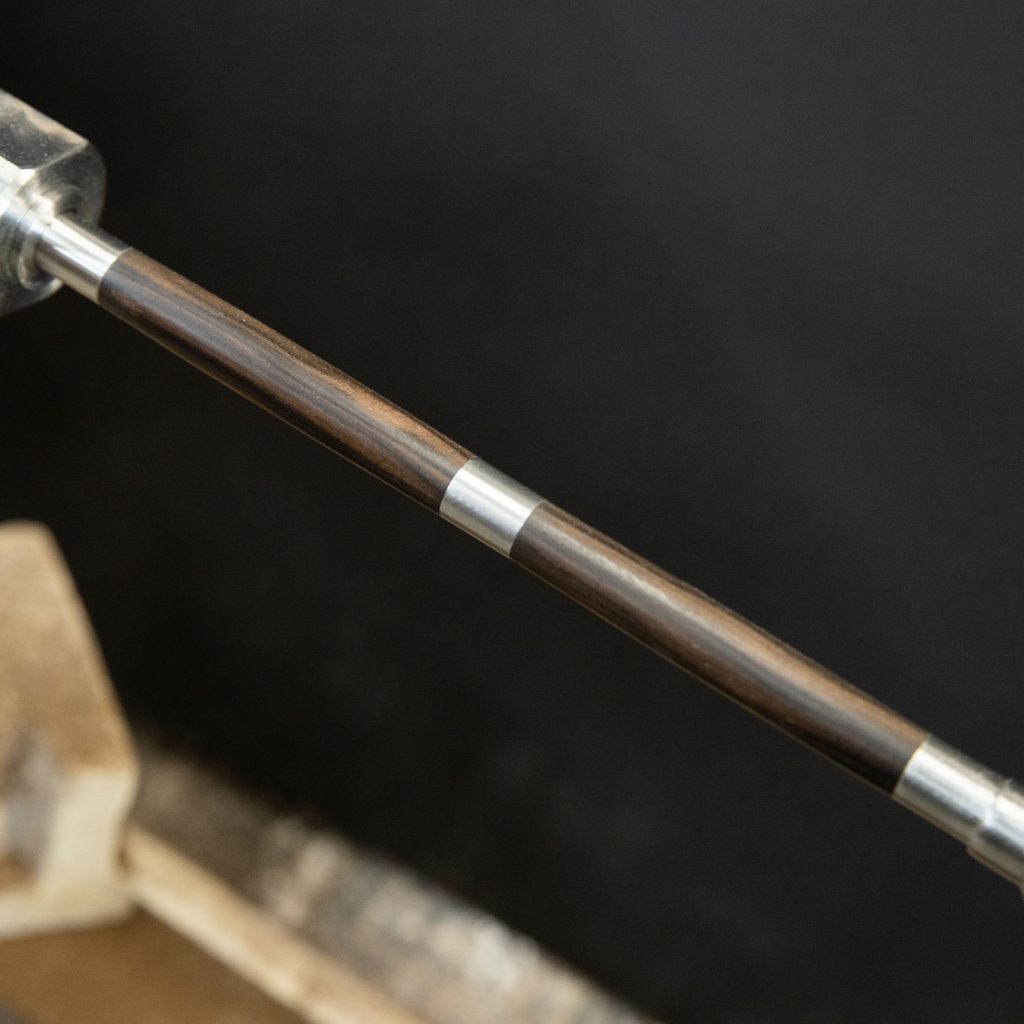
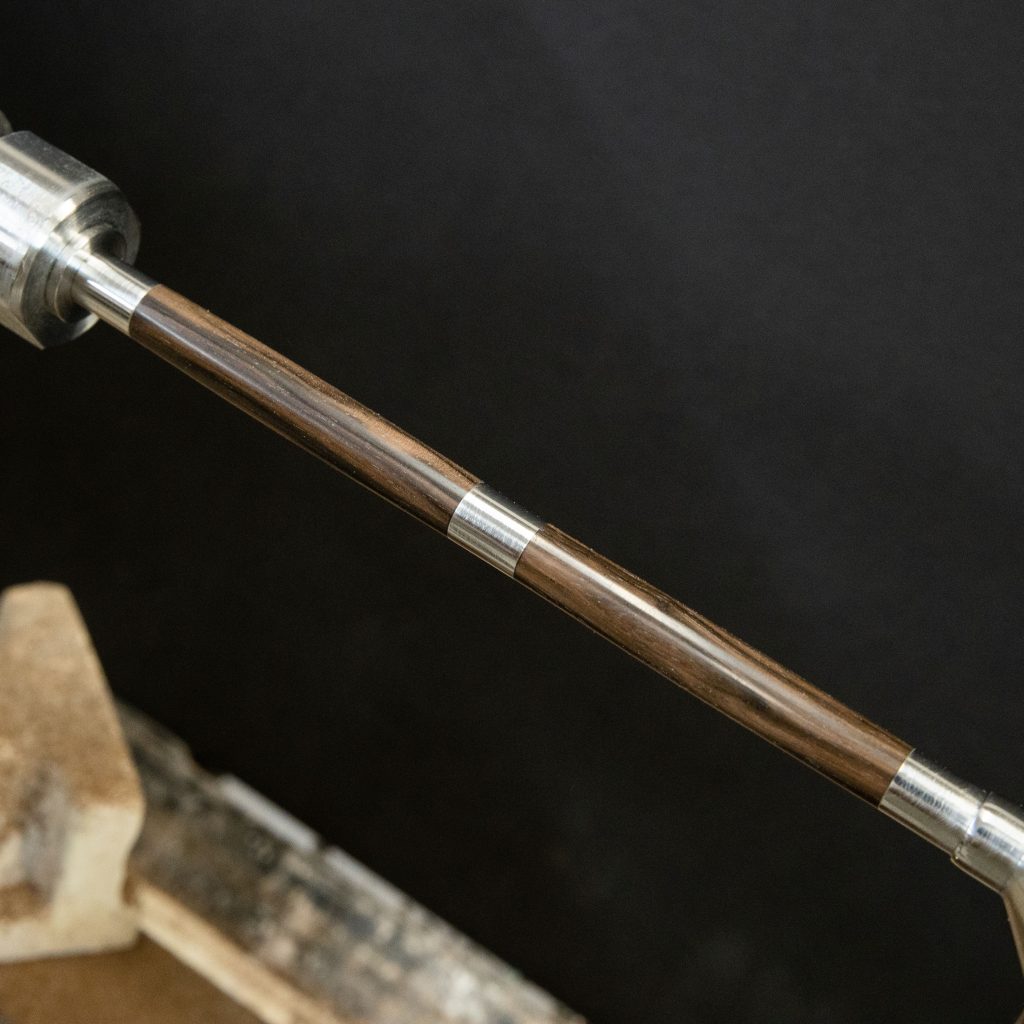
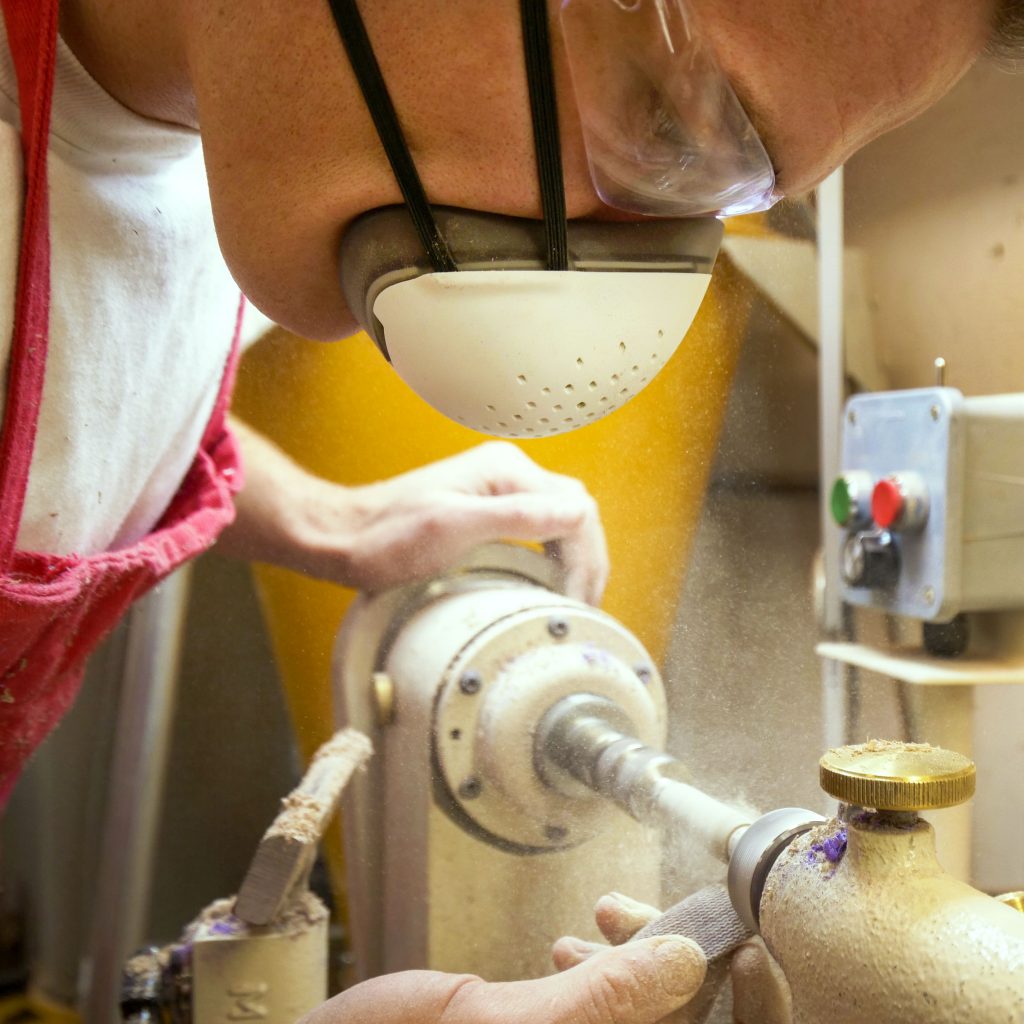
3. Wood Turning
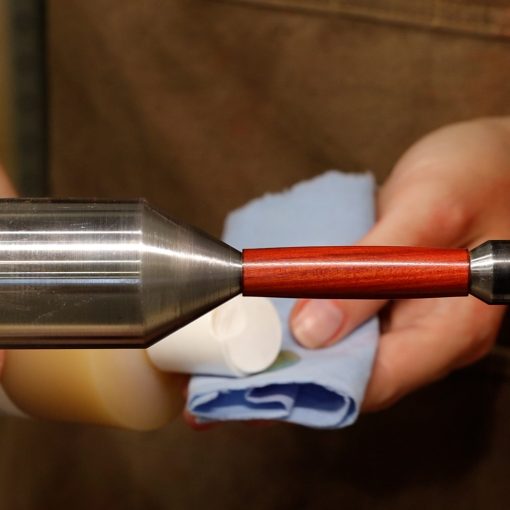
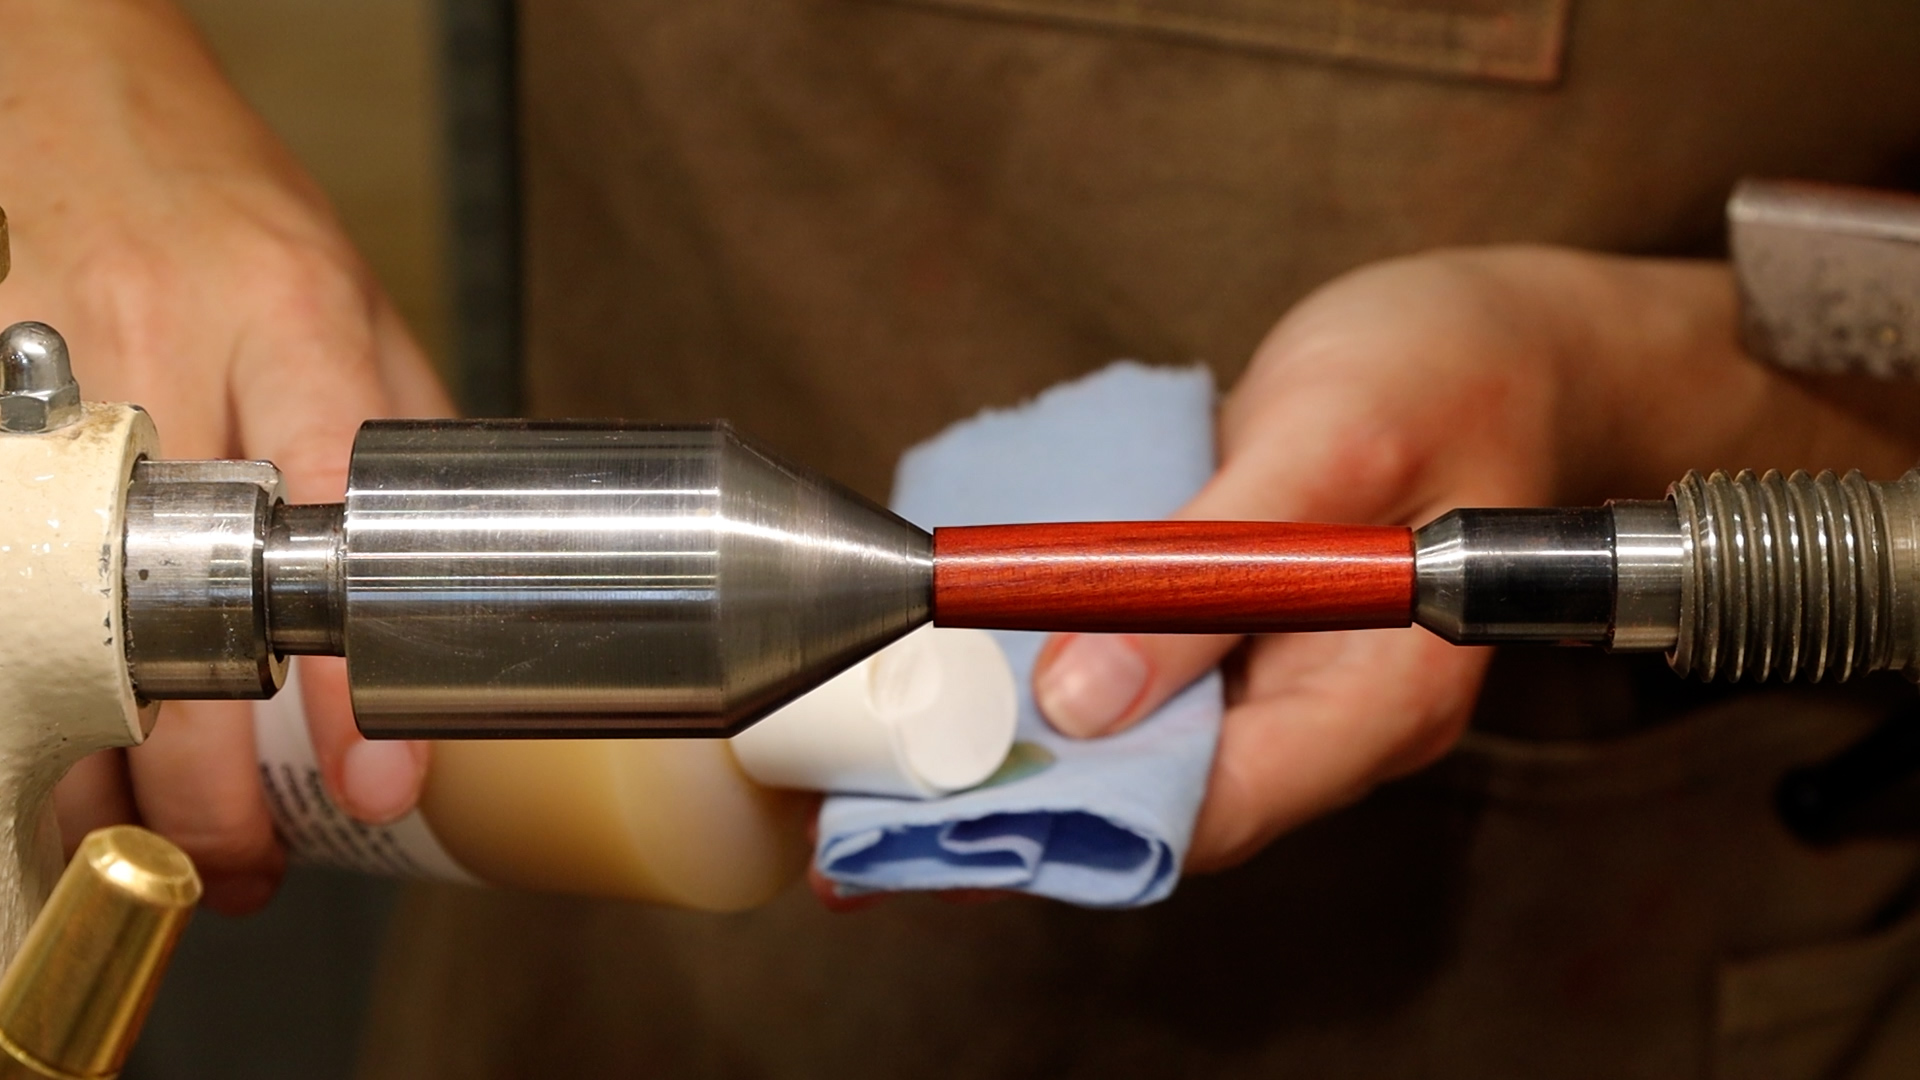
Once your blank has been milled, it’s time to hit the lathe! Fit your bushings into the ends of your pen blank and slide it onto the lathe. Grab your Accu-Cut Chisel and start taking down the pen blank with slow, light cuts. Continue to turn the blank down, stopping when you’re nearly flush with the bushings.
Turning Tips:
Keep your Chisel straight- This will prevent chipping!
Go slow, enjoy the process.
Keep the chisel on your tool rest, it will keep your blank straight, and you safe
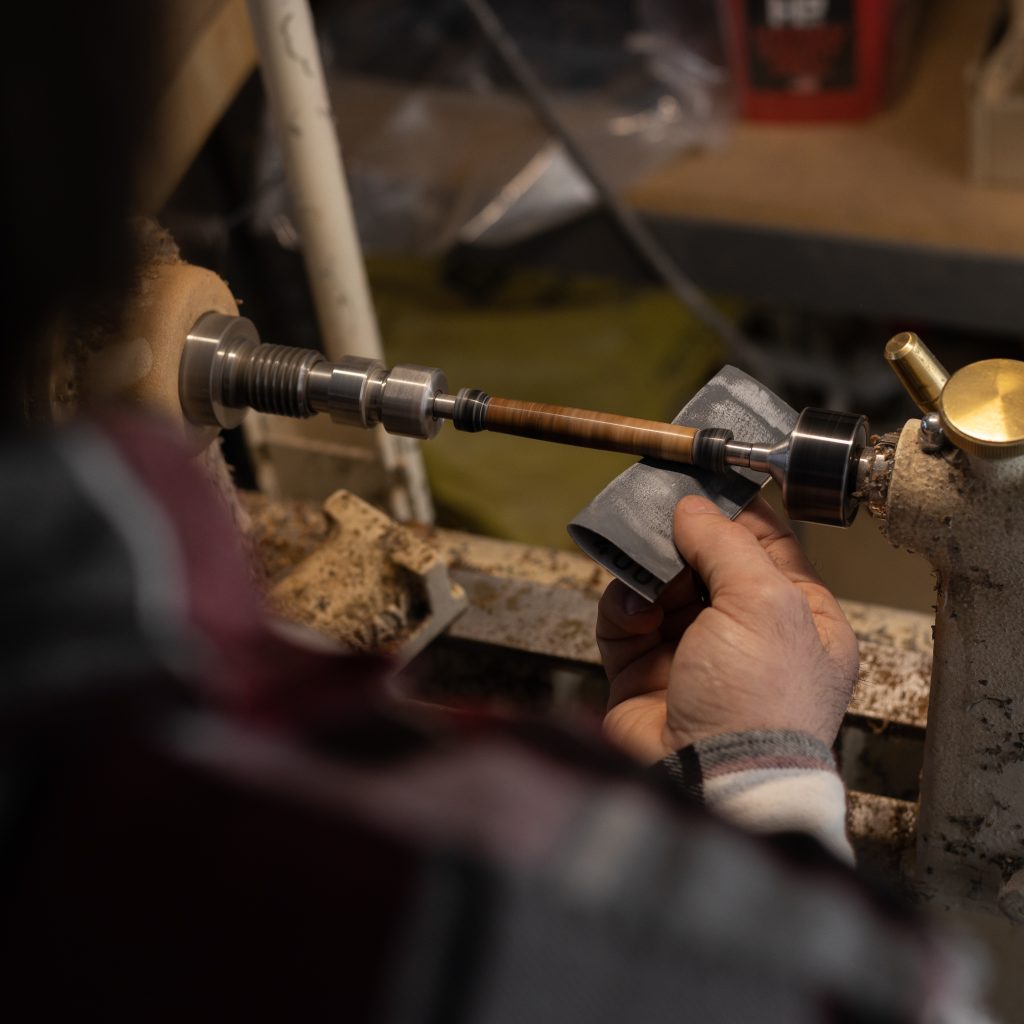
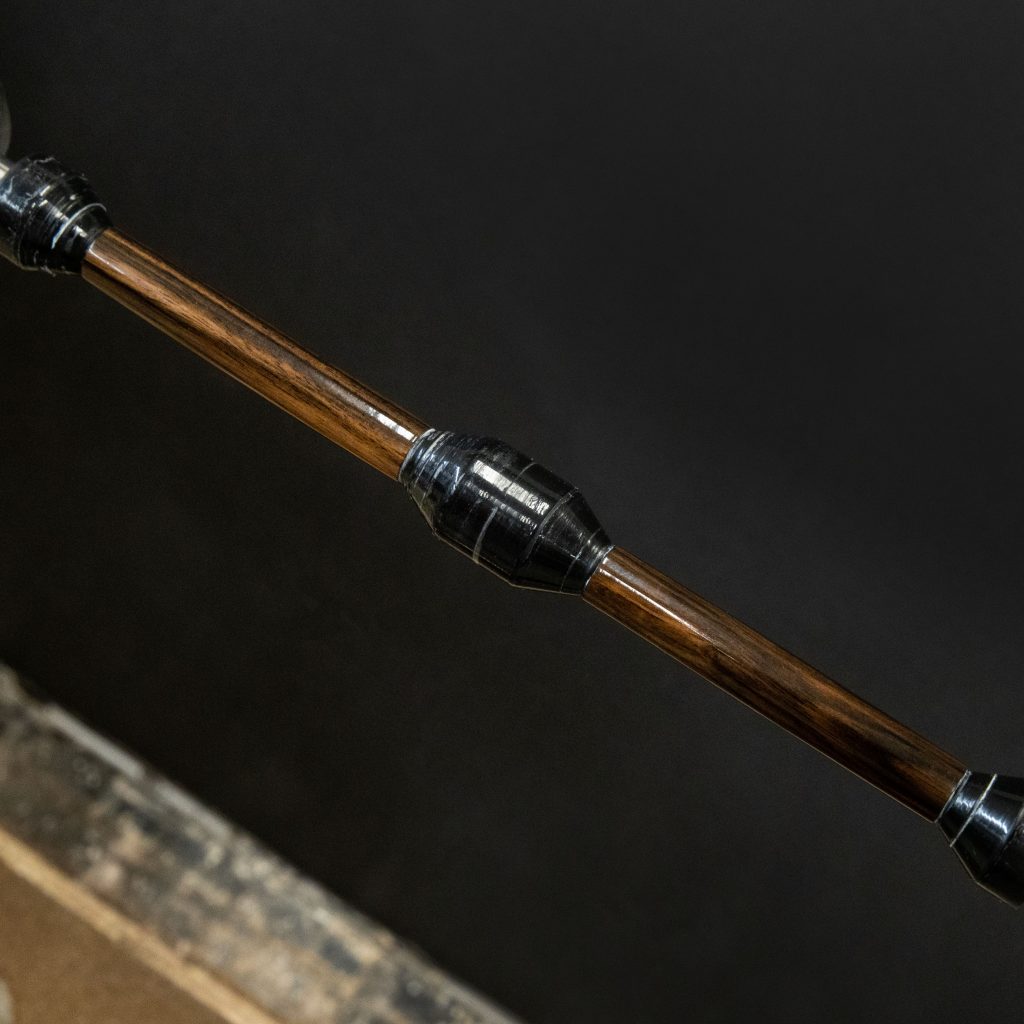
4. Finishing Your Barrels
Now that the turning is done, lower the speed and begin sanding. Grab your Abranet Mesh Sheets and slowly work your way through the grits, from course to fine (120-600). Fold your sheets in half and place your fingers behind the mesh for better control. Your blank should be flush to the bushings when you finish with your abranet sheets. Abranet mesh sheets can be used multiple times, just remember to clean out the mesh holes periodically by smacking the sheets on a hard surface.
Next, it’s time for micro mesh. Micro mesh will help give your wood or acrylic blank a high gloss look by smoothing out the surface. Move through the grits from 1500-12000 just as you did with the abranet mesh sheets.
Turning Tips:
Wood – dry sand exotic woods with micromesh for best results
Acrylic- Wet sand creating a slurry in each grit of micromesh for best results!
Grab a blue shop towel and apply a small amount of Aussie Oil, Shellawax or your favorite finish or polish the towel. Quickly sweep the finish across your wood barrel and buff it off with a clean portion on your towel. This should only take a few seconds! Leaving the shop towel on your blank too long may create scratches.
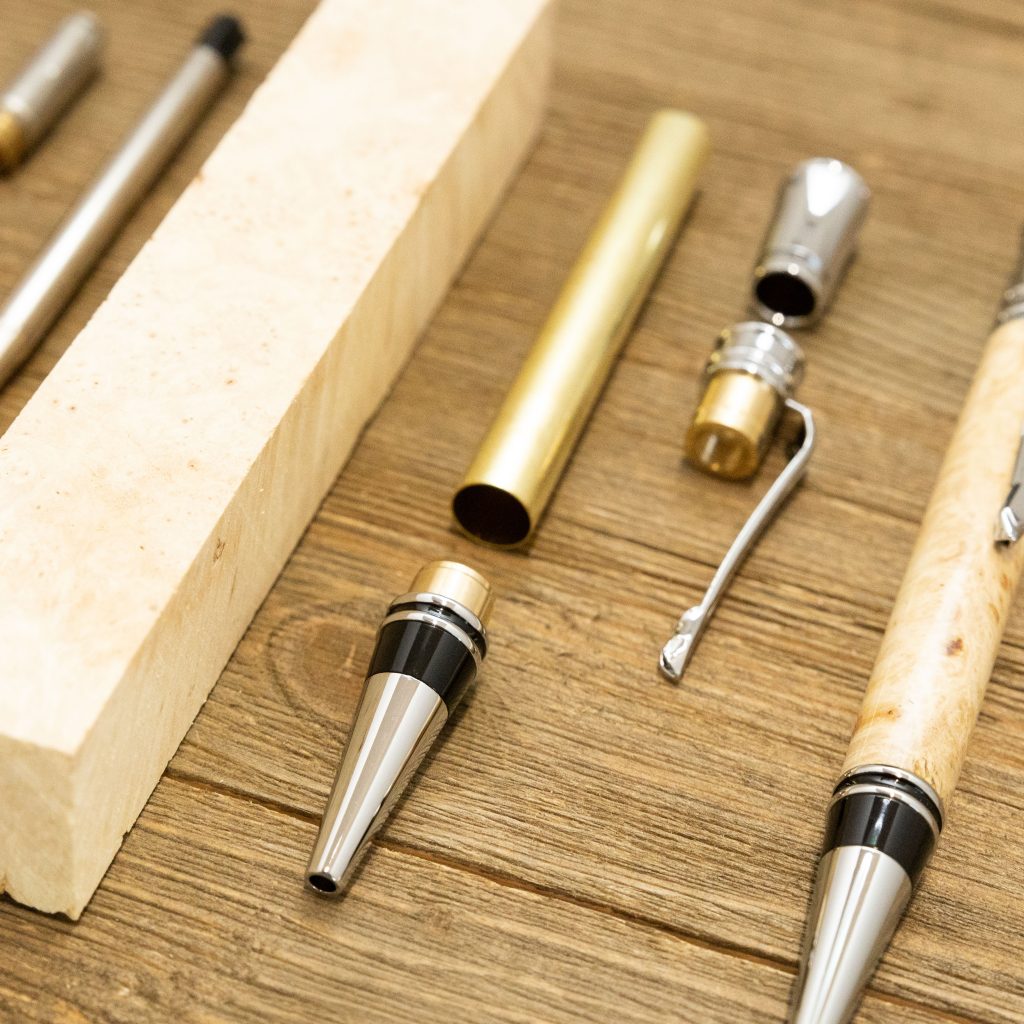
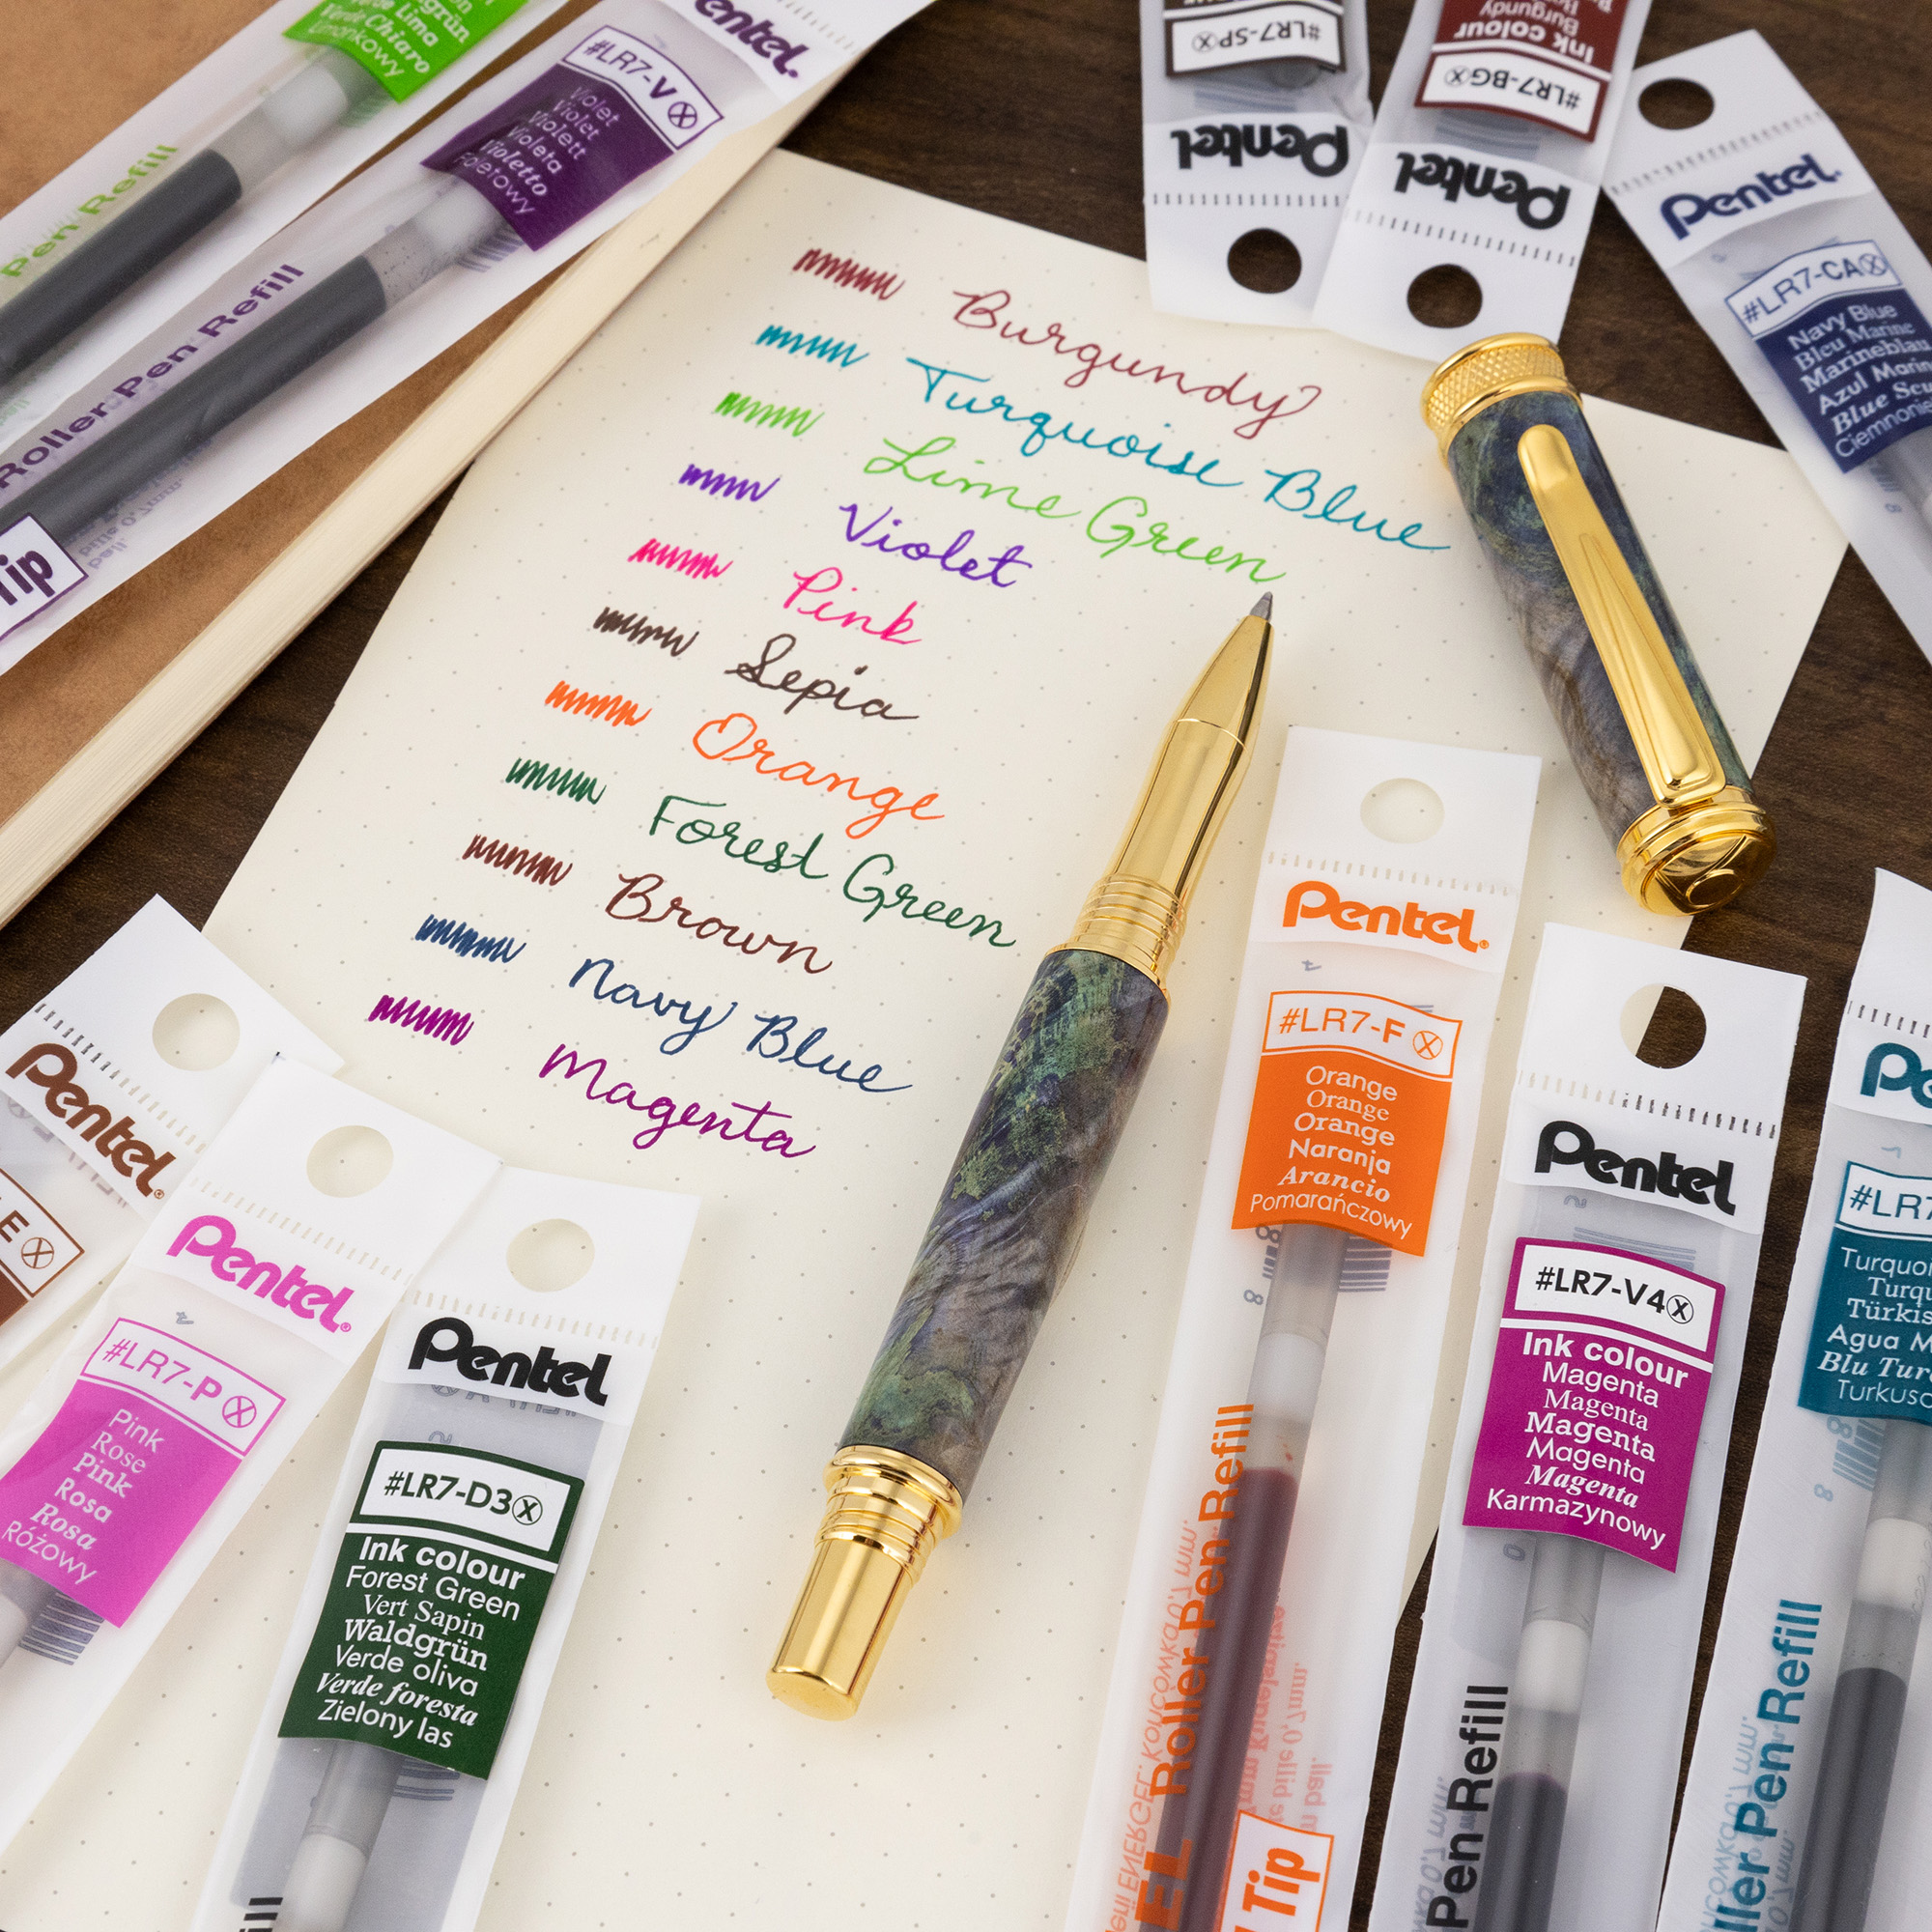
5. Assembling Your Pen Kit
Building your pen kit is the most exciting part! Lay out your pen kit parts according to the assembly diagram on your instructions. If you don’t already have instructions for your pen kit, you can see our full instruction library here. Follow along, pressing your parts together using a pen press. More of a visual learner? We’ve got your back. Check out our “How to Turn a Wood Pen” YouTube video here.
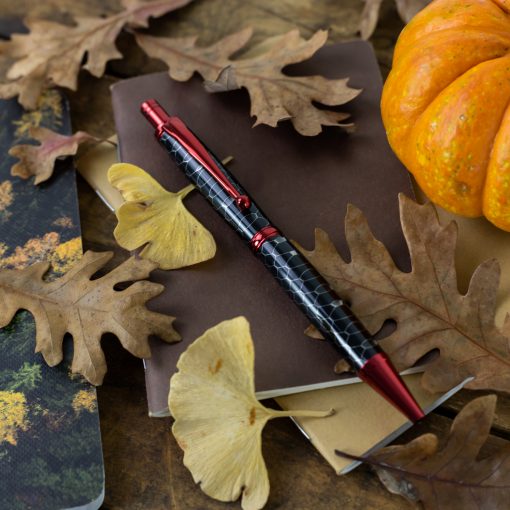
You’re done! Are you proud? Why not take a photo or video of your results and share it with everyone on social media! If you’re not already in pen making Facebook groups, we highly recommend “Pen Turning”. Click here to check it out and start gathering some great inspiration for your next pen making project. Don’t forget to tag us in your photos and videos. We love to see what you create, and it might mean your finished pen kit being shared with all our followers too!
Looking to upgrade your pen turning supplies, dive into pen making or just try a new style? We highly recommend our Pen Turning Starter Kit Plus, which includes everything you need to turn 5 new project kits!
Subscribe to our newsletter to get all the deals! We promise we won’t bother you – only one email a week on Sundays to enjoy with your morning coffee.
