Pen Mill & Cutter Head Vs. Disc Sander – Comparing 2 Popular Methods for Squaring Up Blanks
Squaring up your pen blank can seem like one of the quicker, less important steps when it comes to turning a handcrafted pen. However, correctly squaring up the ends of your pen blank is one of the most important steps in ensuring your final pen works flawlessly.
In this article, we will explore two popular methods of squaring up pen blanks; Using a combination of a pen mill and a cutter head versus using a disc sander. Discover the benefits of switching to a pen mill/cutter head combo to square up your pen blanks as well as shop pen mills and cutter heads to get started!
How to Square Up Pen Blanks With a Disc Sander
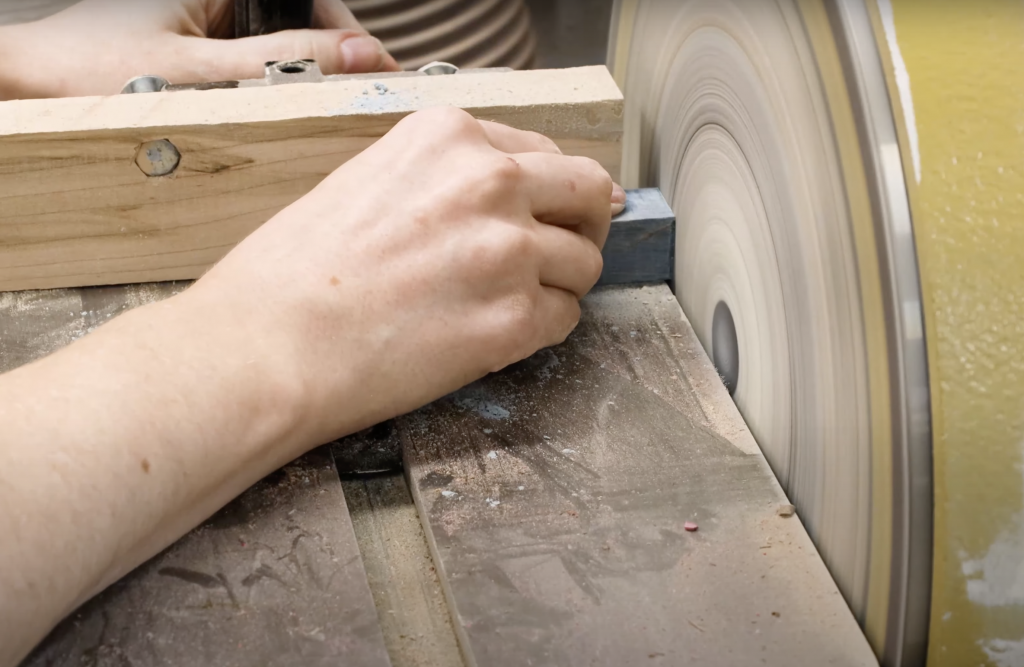
A traditionally popular method of squaring up pen blanks is by using a disc sander. Many pen turners square up their pen blanks by gently sanding each end of the blank down on a disc sander until the brass tube inside the blank is just visible.
While using a disc sander is quick, easy and requires little setup, there are a few issues with using this method to square up pen blanks.
Lack of Precision
When squaring up a pen blank using a disc sander, the pen turner must hold the blank and slowly press it against the sanding disc manually. While many turners secure a flat block of wood perpendicular to the sanding disc to create a 90° angle on the end of the blank, this isn’t a perfectly precise method.
Why is it important to square up your pen blanks on an exactly 90° angle? Pen kits are designed with very specific measurements in mind, and your final pen may not work correctly if these parameters are not exact. This means that, if you square up your pen blank with a disc sander and achieve anything less than a perfect 90°, there are likely to be gaps in between your blank and the parts of the pen itself, where more or less pressure was applied during sanding.
As you can see in this photo of one of our Algonquin Pens, which was assembled using blanks squared up on a disc sander, there is a clear gap between the coupler and the blank itself.
Not only does this impact the final look of your finished pen, but having gaps in between the parts of your pen can result in malfunctioning. As previously mentioned, pen kits are designed using incredibly specific parameters, and if there is a gap of even a few millimetres, the mechanisms involved in the function of the pen, most frequently click mechanisms, may no longer line up.
With this being said, all wood turners have a personal preference. With time and experience, you may find using a disk sander is the better method for you. However, we here at William Wood-Write prefer another method.
How to Square Up Pen Blanks With a Pen Mill and Cutter head
Another very popular method to square up pen blanks is by using a pen mill and cutter head mounted on a drill press!
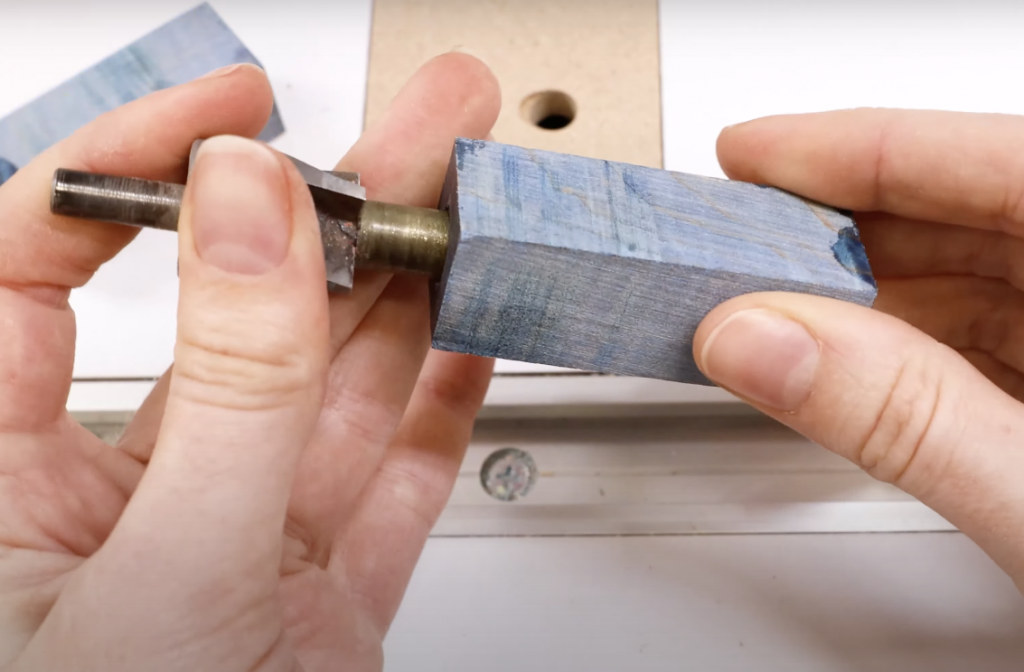
William Wood-Write carries Premium 3/4 Pen Mill Cutter heads that are interchangeable with any size Premium Pen Mill you may require. Simply slide the cutter head itself onto the narrow end of your chosen pen mill shaft, tighten the cutter head into place using the included hex key, mount your pen mill/cutter head combo onto your drill press, and you’re ready to get squared up!

Regular Vs. Premium Cutter heads
Have you ever wondered what the real difference is between William Wood-Write’s Regular and Premium Cutter heads? Look no further! Premium 3/4 Cutter heads are designed with much sharper blades. As the name states, these are a more premium tool compared to the regular pen mill. Keep in mind these two styles are not compatible, meaning you cannot use a regular pen mill with a premium cutter head.
The exceptional sharpness of our Premium 3/4 Cutter heads also means a number of exciting pen turning benefits:
- The accuracy of your squared pen blank is increased to near-perfection due to the exactness of the flutes!
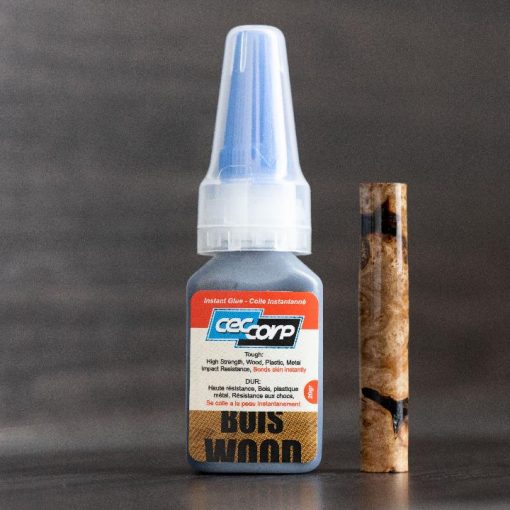
- Harder materials, like our Red Mallee Burl Pen Blanks, are removed much more easily and efficiently with the help of the premium pen mill!
- The debris that is removed from the blank is cleared from inside the blank more efficiently, eliminating the need to frequently unmount and “dump” the debris, due to sharper pen mill flutes!
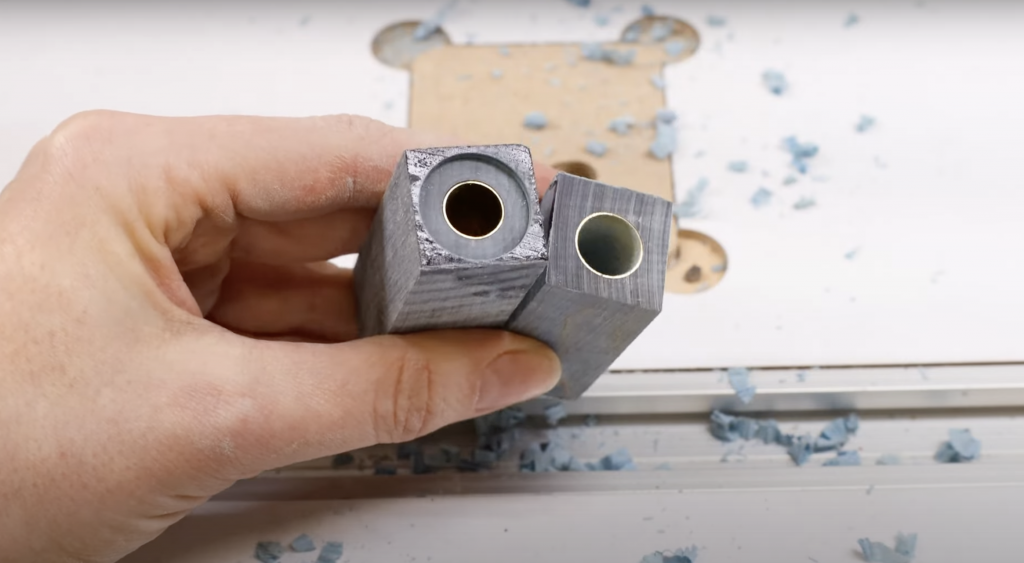
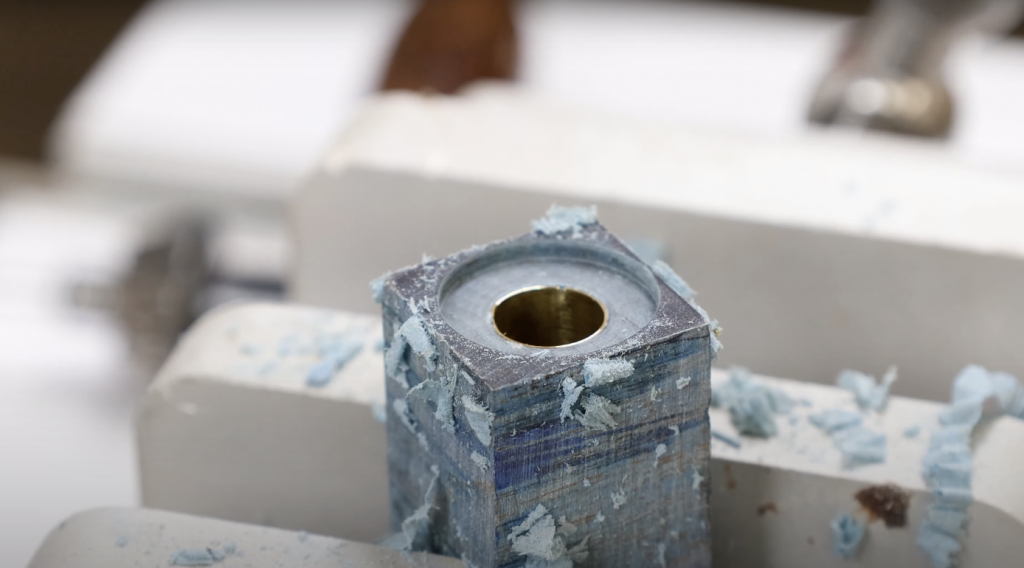
Pen mill/Cutter head combinations work by the pen mill shaft inserting into your drilled and glued blank until the top of the blank meets the cutter head itself. As you slowly press the turning pen mill into your blank, more and more of the material will be removed until the end of your blank is flush with the brass tube inside.
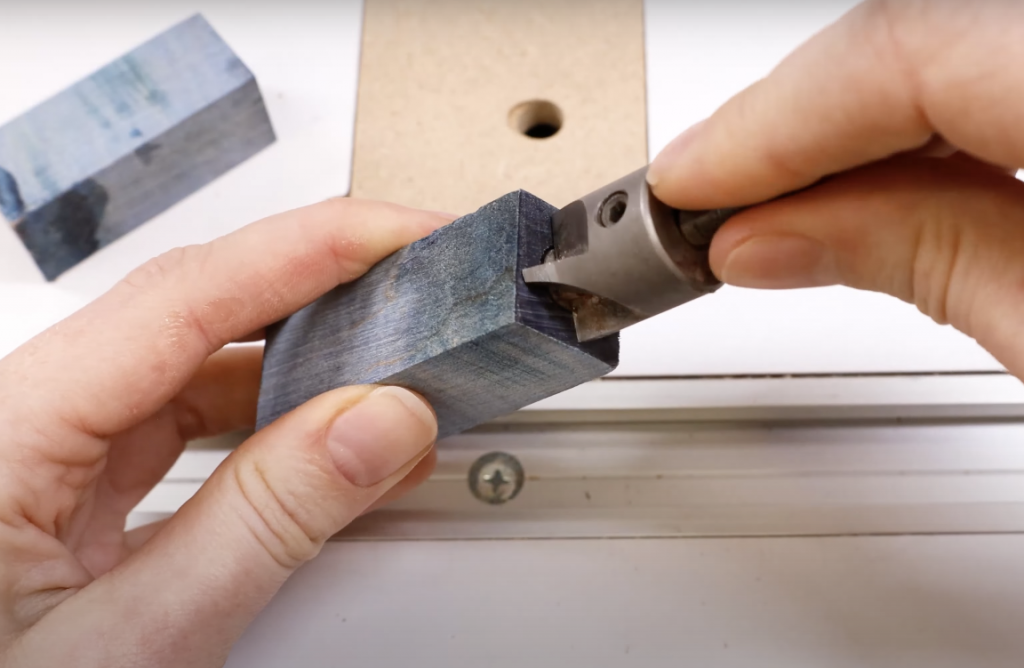
The most important thing to look out for when using a pen mill/cutter head combination is your brass tube! When squaring up a blank using this method, be very careful to frequently stop the drill and check how far down you’ve drilled, so you don’t end up removing any of the brass tube inside the pen. Should you shave your brass tube down too far, the mechanics of the kit you’re making may no longer function correctly, since your tube has been shortened.
A good rule of thumb when squaring up a pen blank with a pen mill and cutter head is to work very slowly, only shaving off a little bit of material with each pass of the drill press, just until you can spot the shine of your brass tube peeking out.
Despite having to keep a watchful eye on your brass tube when using a pen mill and cutter head combination, this squaring up method is still superior to using a disc sander, and here’s why!
Perfect Accuracy
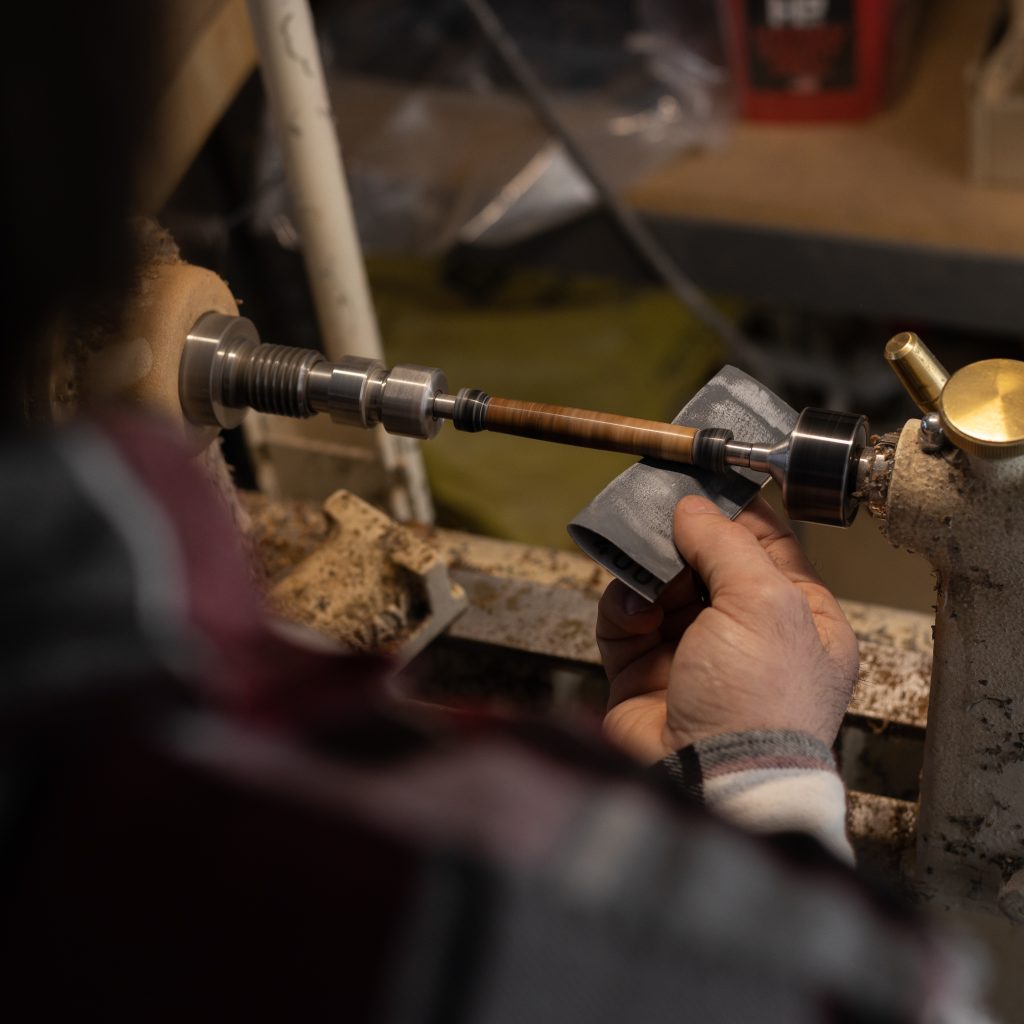
When squaring up pen blanks with a pen mill and cutter head, pen turners must secure the blank in a vise of some sort to keep it in place during drilling. We, at Wood-Write, love using the Drilling Centre Vise for this job, as the jaws of the vise move in and out together to ensure precision center drilling.
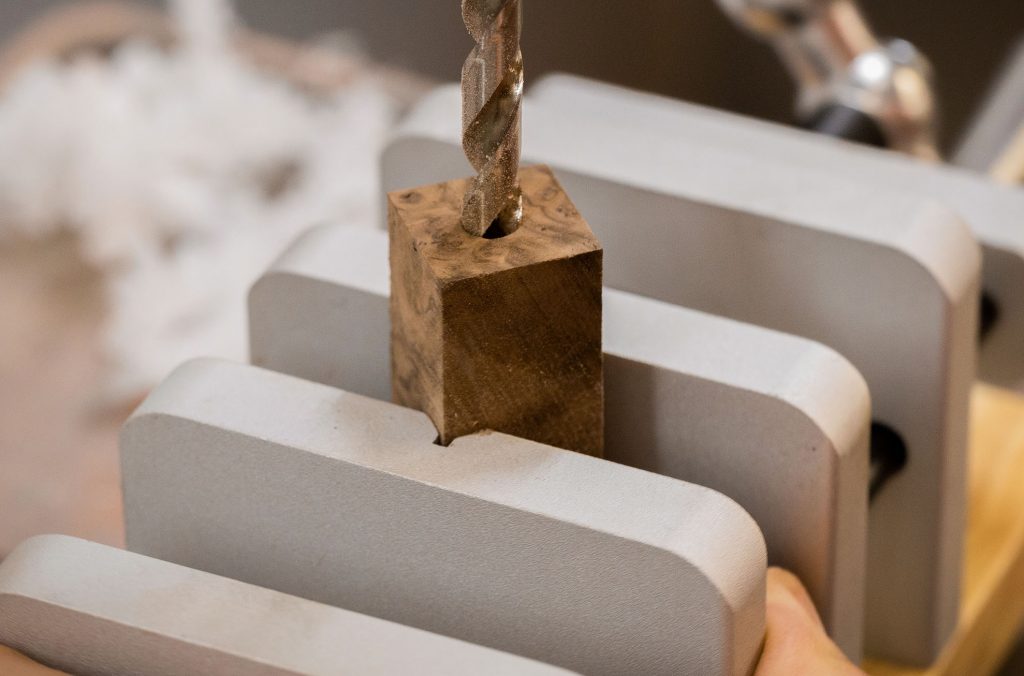
Due to the extreme precision of this setup, as well as that of the cutter head itself, you are much more likely to not only drill a perfectly centered hole through your blank, but also to square up the end of the blank to a perfect 90° angle! And, as discussed previously, it is vital to the functioning of your finished pen that the end of the blank and the parts of the pen kit line up exactly.
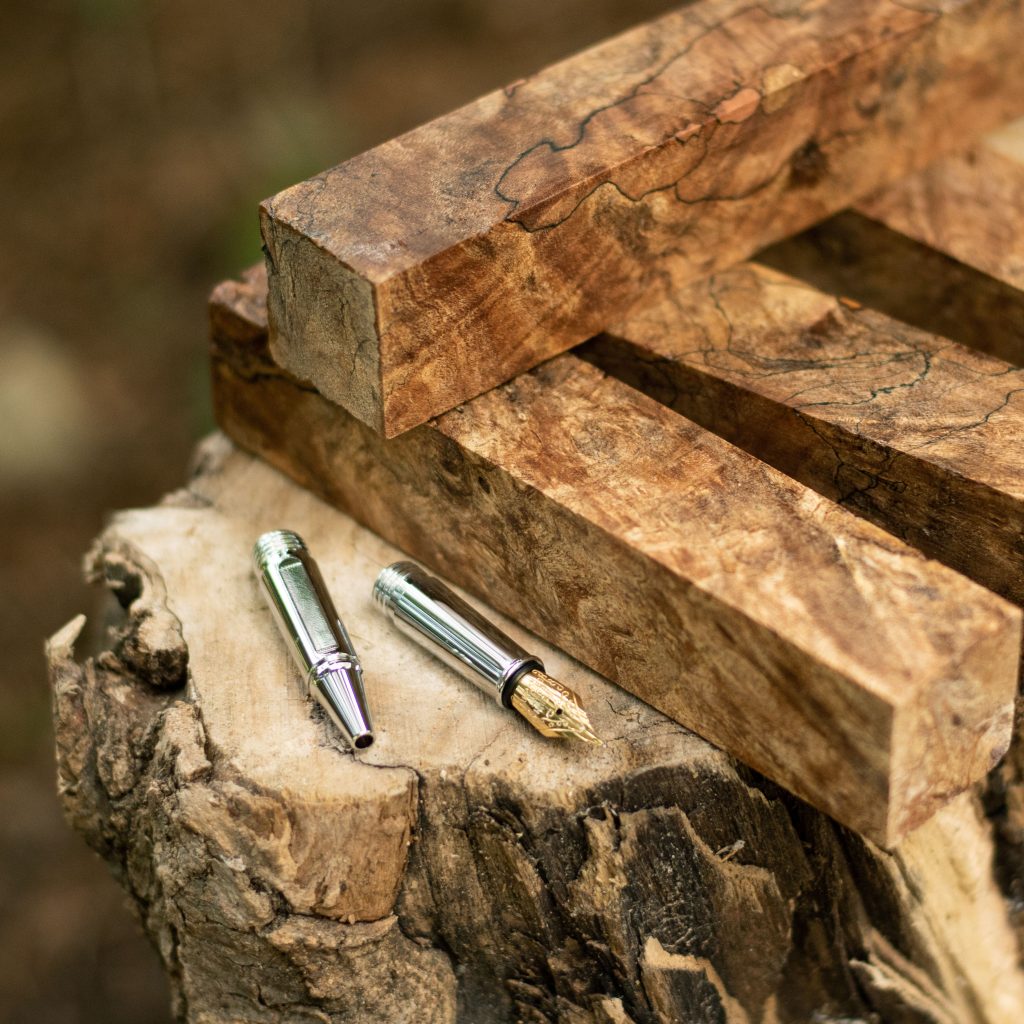
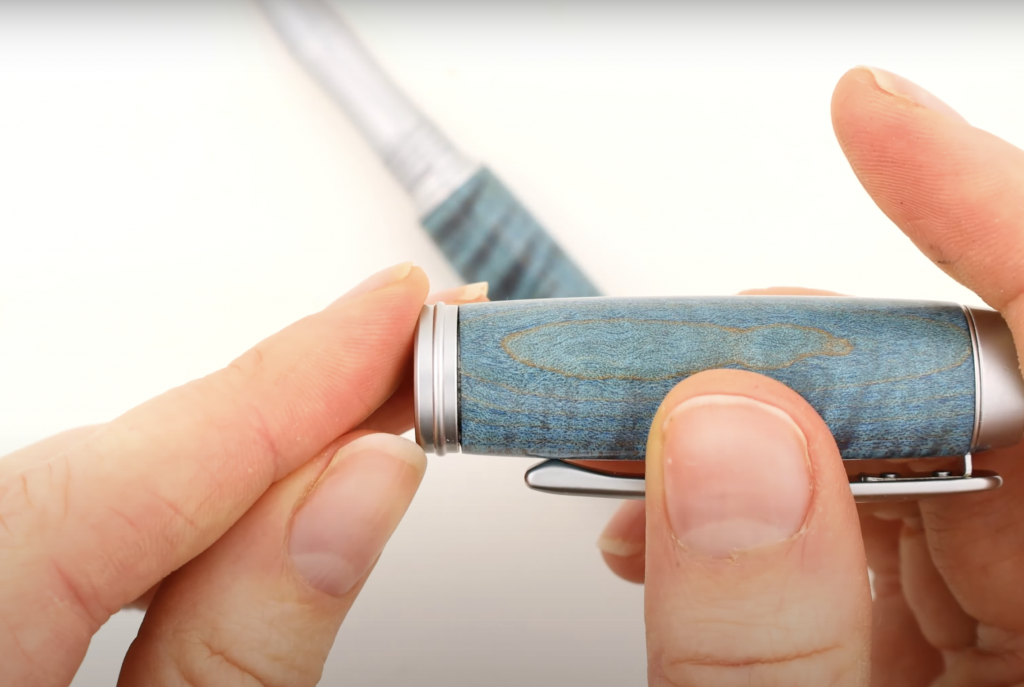
Earlier, we examined the top section of this Algonquin Pen, in which the pen blank was squared up with a disc sander. The lower section of the same pen can be seen in the photo below, but the pen blank used on this end was squared up using a 10.5mm Premium Pen Mill Shaft and 3/4 Premium Cutter head.
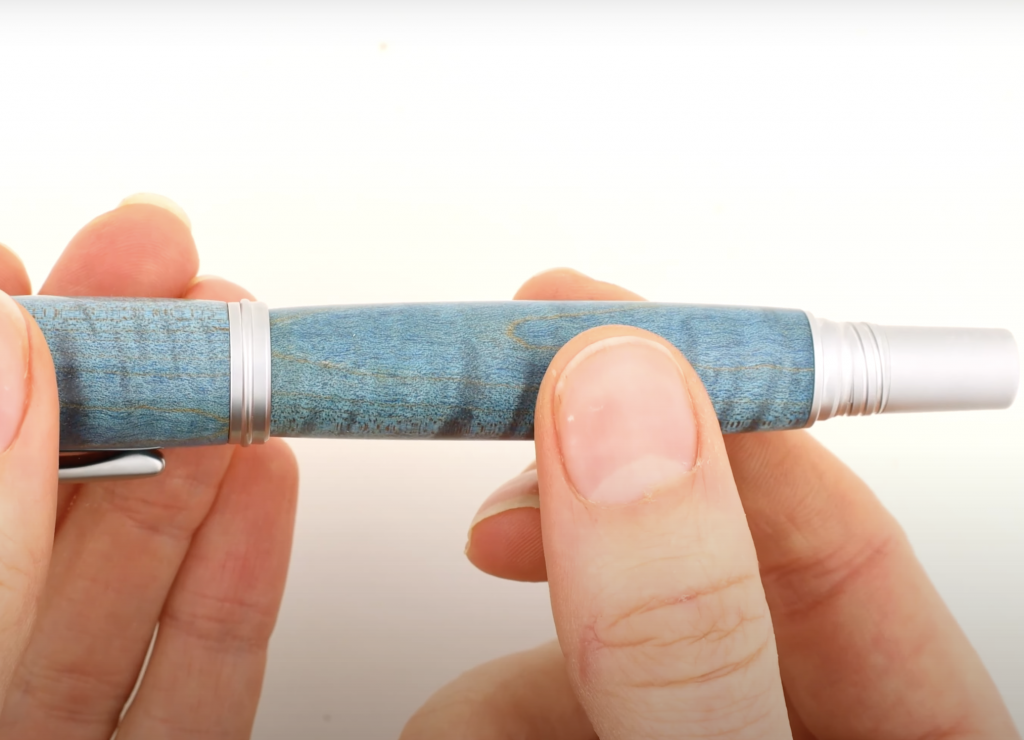
As you can see, there are no gaps whatsoever in between the end of the blank itself and the finial. Not only does this ensure your final piece functions correctly, as we know, but having perfectly lined up parts truly does increase the overall visual appeal of your pen. With all of this being said, the choice between disk sander and pen mill combo will come down to personal preference and wood working experience. This is just our preferred method at William Wood-Write.
Visit William Wood-Write in-store or at penblanks.ca today and choose from our huge selection of Premium Pen Mills and Cutter heads to seriously up your pen turning game!
Subscribe to our newsletter to get all the deals! We promise we won’t bother you, only two emails a week on Wednesday & Sunday to enjoy with that morning coffee.
