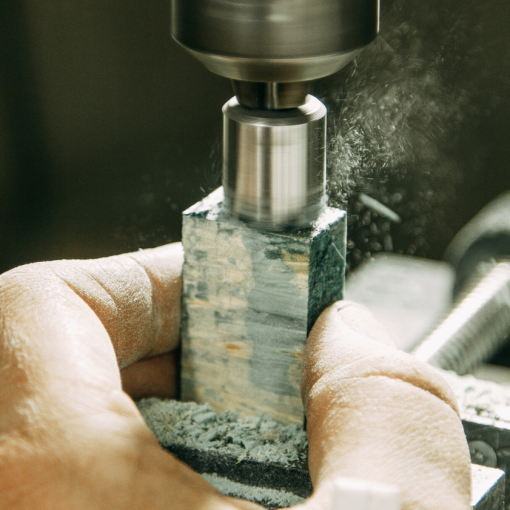
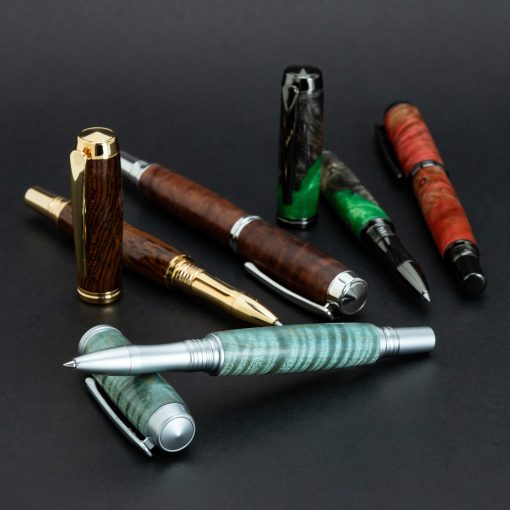
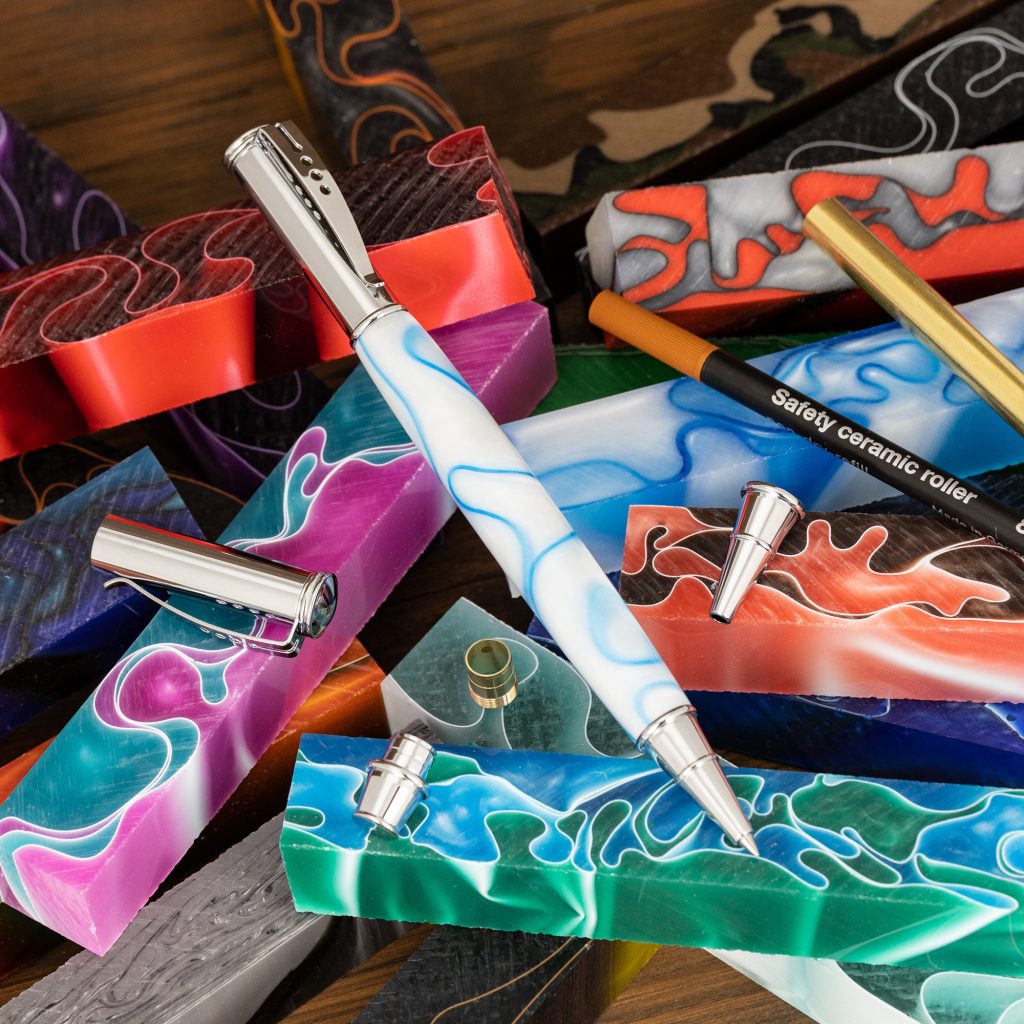
Acrylic pen blanks offer a remarkably wide range of colours and designs for turning. There are endless options, from colours to transparent hues to rainbow combinations and even inclusions like glitter or coffee beans. Sometimes wood turners are reluctant to try acrylic because it has a reputation for being brittle and difficult to work with, but with the right techniques, you just might find yourself loving it. Acrylic opens the door to a whole new style in your pen making with its bright colours and unique details.
Pros and cons of using acrylic for pen making
Pros:
- Consistency: Acrylic has a uniform density and composition unlike some wood, which can have varying grain patterns and densities.
- Durability: Acrylic is resistant to moisture and is less likely to crack or split compared to some woods. It also shouldn’t fade or get scratched easily once finished.
- Ease of Shaping: Acrylic is relatively easy to turn and shape on a lathe. It cuts smoothly and doesn’t have the same risk of grain tear-out that can occur with wood.
Cons:
- Heat Sensitivity: Excessive friction can cause the acrylic to melt or warp. It can also have an unpleasant odour when turned.
- Brittleness: While durable, acrylic can be brittle and prone to chipping while turning if you use the wrong tools.
- Environmental Impact: Acrylic is a synthetic plastic, which means it’s less eco-friendly than natural domestic wood.
Tips for turning a perfect acrylic pen
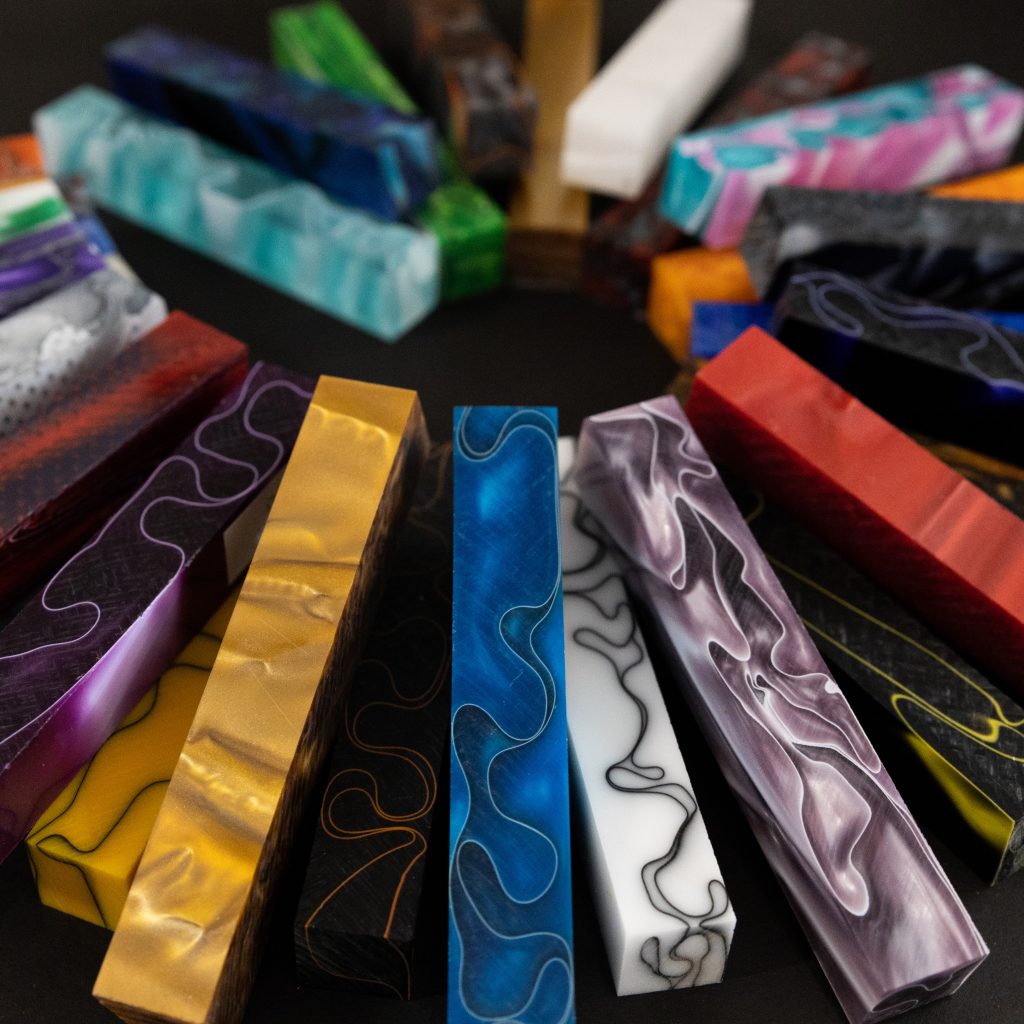
Colour matters. Dark, solid colours will show scratches much more prominently than figured or light-coloured acrylic. This can present a challenge, but with Abranet, Micro Mesh and some patience you can create a deep glossy shine.
Paint your tubes. Some acrylic is designed to be transparent, which means your pen tubes will show through it. Even colours that appear opaque before turning will often show the brass tubing when finished. It’s a good habit to coat your tubes with enamel paint in an appropriate colour and let them dry before gluing them into your blanks. You can try to match the dominant hue of the blank or go with plain white.
Use a negative rake round carbide cutter. Acrylic can chip and catch more easily than many types of wood. A negative rake carbide cutter helps prevent this. The angle of the negative rake cutter cuts down on chatter while making a softer cut. Put your lathe at a high speed (at least 3000) and go in slowly, making light cuts.
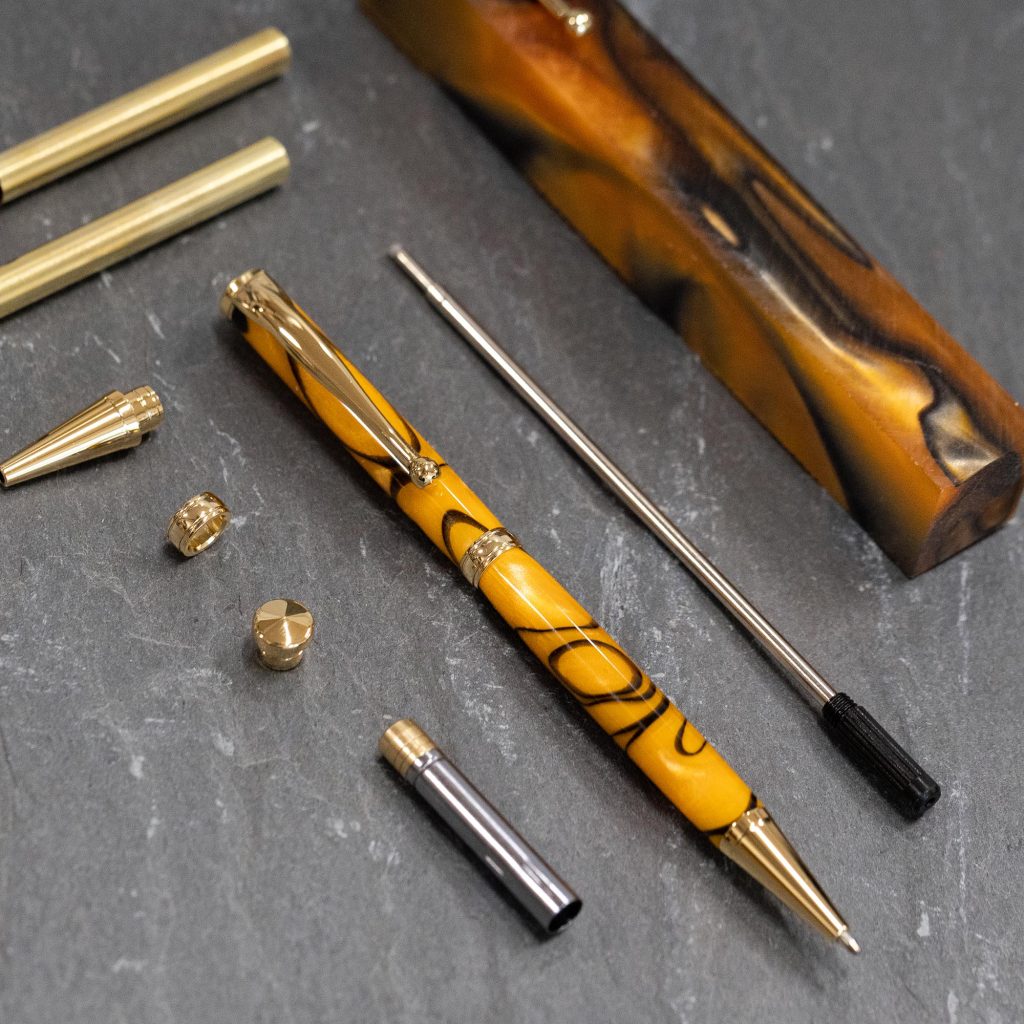
Watch for heat. Friction produces heat when drilling and sanding an acrylic pen blank, so take it easy when you notice warmth occurring. Try wet sanding to combat heat and move your sandpaper around the surface of the blank any time you notice warmth starting.
Use water. Use water with Micro Mesh sheets when sanding your acrylic pen. This technique creates a slurry of acrylic dust and water, which helps make a smooth finish. Water highlights existing scratches so you can buff them out and helps prevent creating new ones.
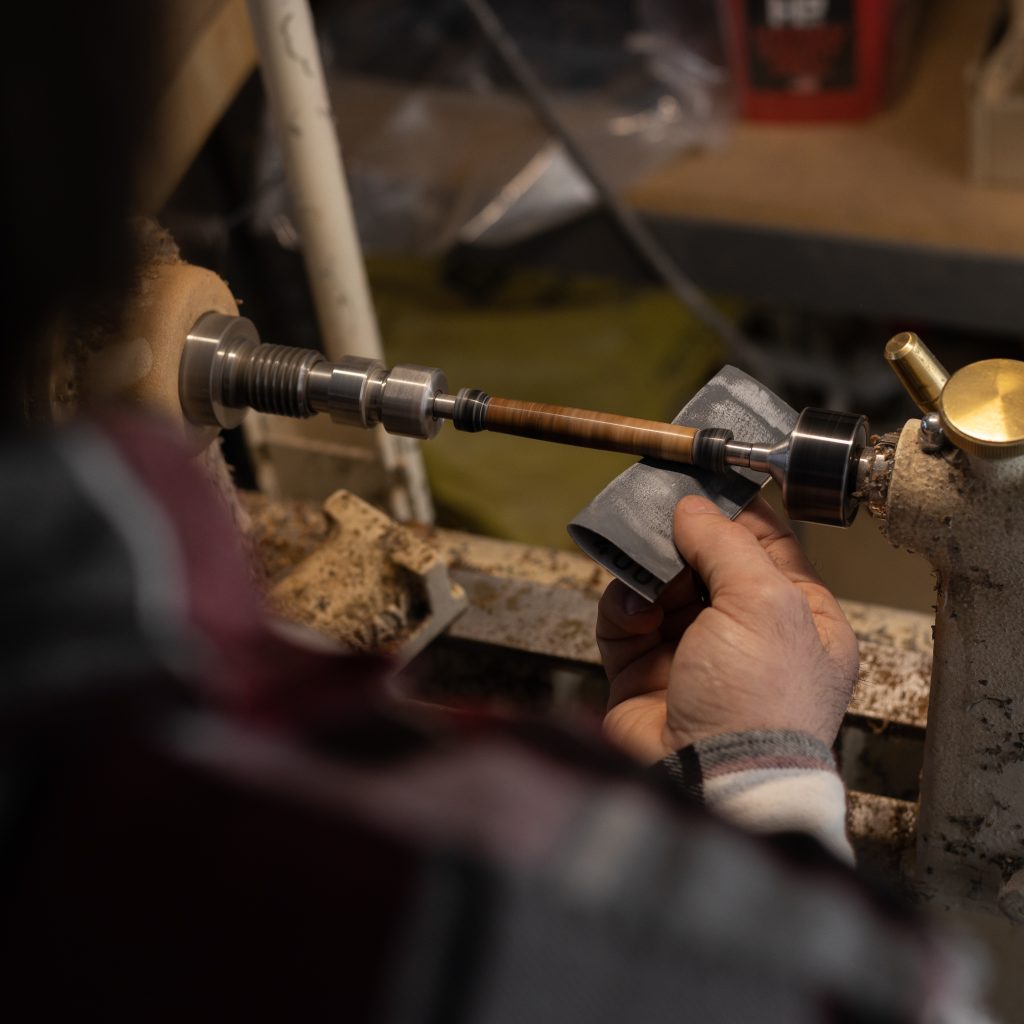
Sand in both directions. As you progress through different grits, stop your lathe in between each and take the time to sand horizontally. Turn the lathe by hand and rub your Abranet side to side, being sure to cover the whole pen barrel. This helps eliminate scratch marks.
Apply polish. Hut Ultra Gloss Plastic Polish is our go-to for finishing acrylic blanks. It’s odourless and easy to apply. Just a few coats will make a deep, rich gloss.
Source the best pen kits and turning supplies
Acrylic is an affordable option for custom handmade pens that provides a whole world of versatility. You won’t be disappointed by the assortment of colours and patterns in stock at William Wood-Write. The fun part is pairing the acrylic with our pen kits which come in a variety of platings. Acrylic is also available in blocks for making utensil handles and larger lathe projects as well as small pieces for ring making.
