If you’re comfortable with the basics, you can spend less time researching and more time turning. Often referred to by wood workers as their form of meditation, pen making is a satisfying hobby with limitless project possibilities.

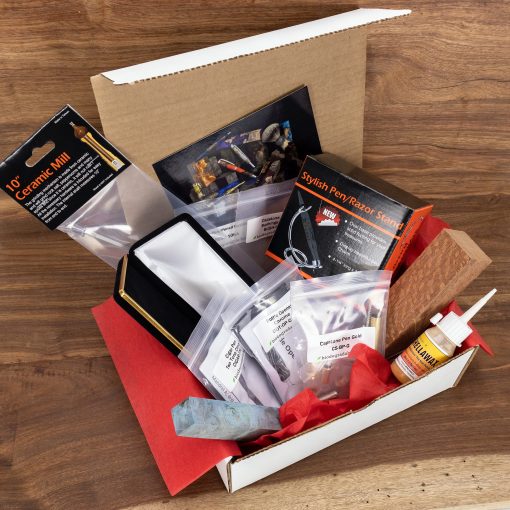
Get everything you need to start easily with a Wood-Write starter kit, at a discounted price
What you need to make a pen
With endless kit styles, platings and materials to choose from, it can be a little overwhelming when you’re a newbie to grasp what pen turning is all about. We’re here to clear some things up for you so you know exactly what you need before tackling turning. Here’s what you’ll need to complete your first project:
An adjustable mandrel and live center, pen kit, bushings, drill, pen mill and cutter head, a pen blank, glue, finish and abrasives. All of these items are already pre-packaged and organized for you in our Starter Kit Plus, which can be purchased for both MT1 and MT2 lathes at a discounted bundle price. You must have a lathe, drill press and a saw to cut the blanks to the right length to complete a pen project, along with a chisel to turn down your pen blank. We suggest opting for carbide chisels to make the turning process easier. Our Pen Master brand is included in our Starter Kit Plus.
What each tool is used for
Having a good grasp on what each component is used for makes a huge difference when getting into a new turning project. We suggest understanding the lingo and getting familiar with what you need before hitting the lathe, since many products are referred to by multiple names.
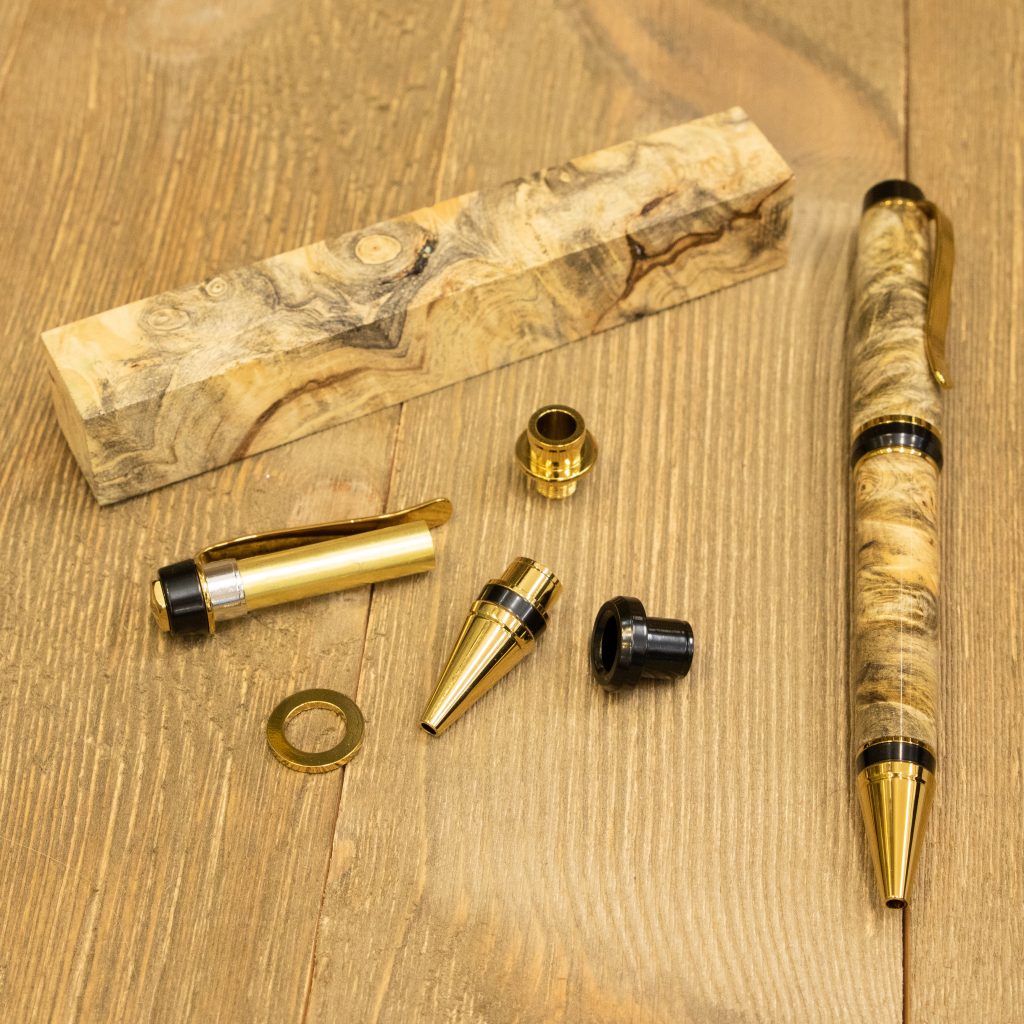
Pen Kit
When you purchase a pen kit, you’re buying the hardware only. These are the guts and internal mechanisms of the pen, so don’t be surprised when you receive a bag of parts. The turning process requires you to prep and turn your blank and assemble the parts using a press.
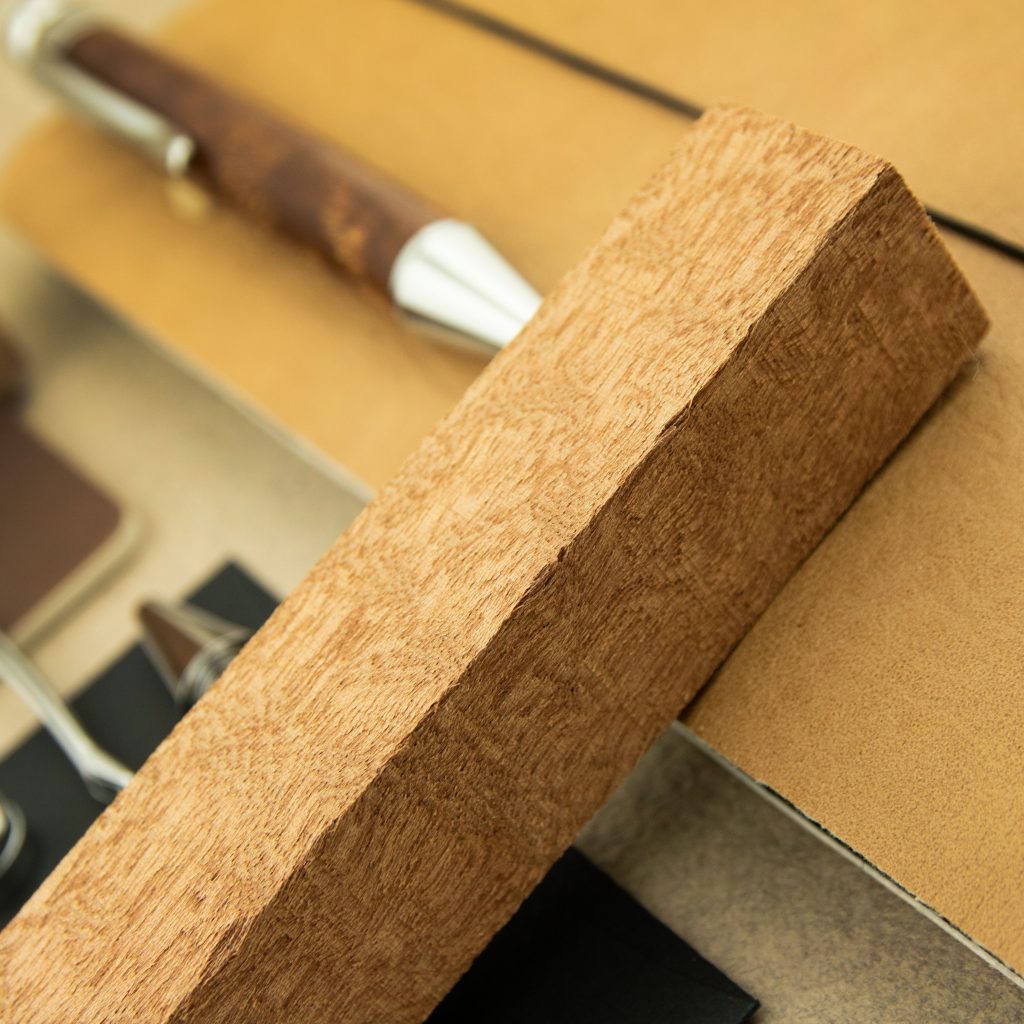
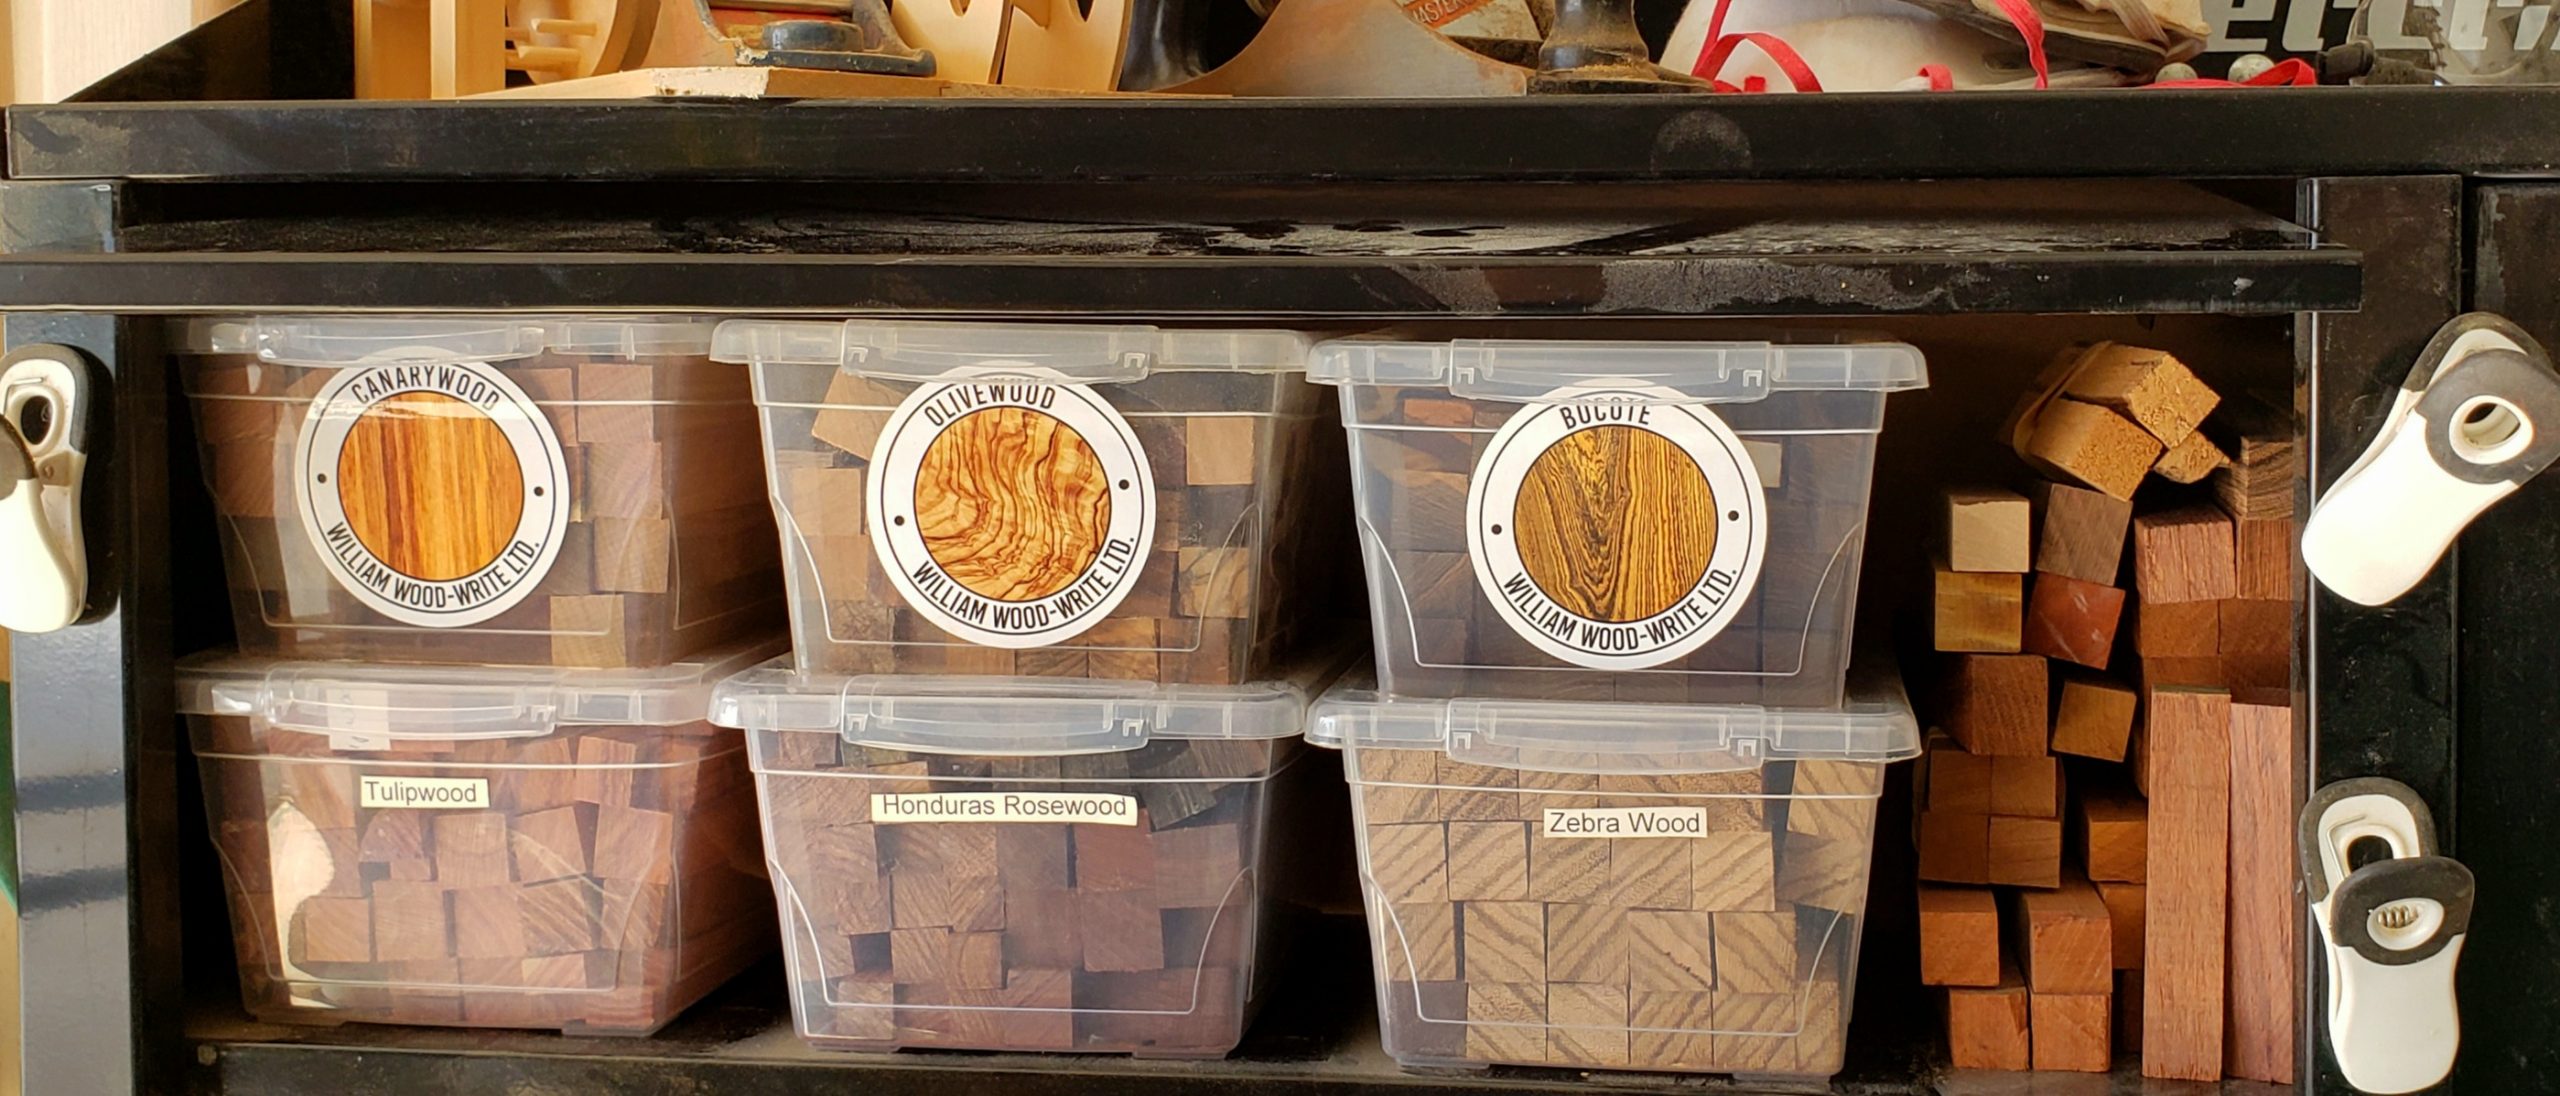
Pen Blank
These come as ¾” x ¾” x 5” pieces in a huge variety of materials, from acrylic to wood to hand-cast coffee beans. Every pen project requires a blank paired together with a kit. If pairing isn’t your strong suit, we have a monthly special that includes a pre-selected blank and kit at a discounted price. Check out the September Monthly Special here. Once turned on the lathe, your blank is referred to as a “barrel”.
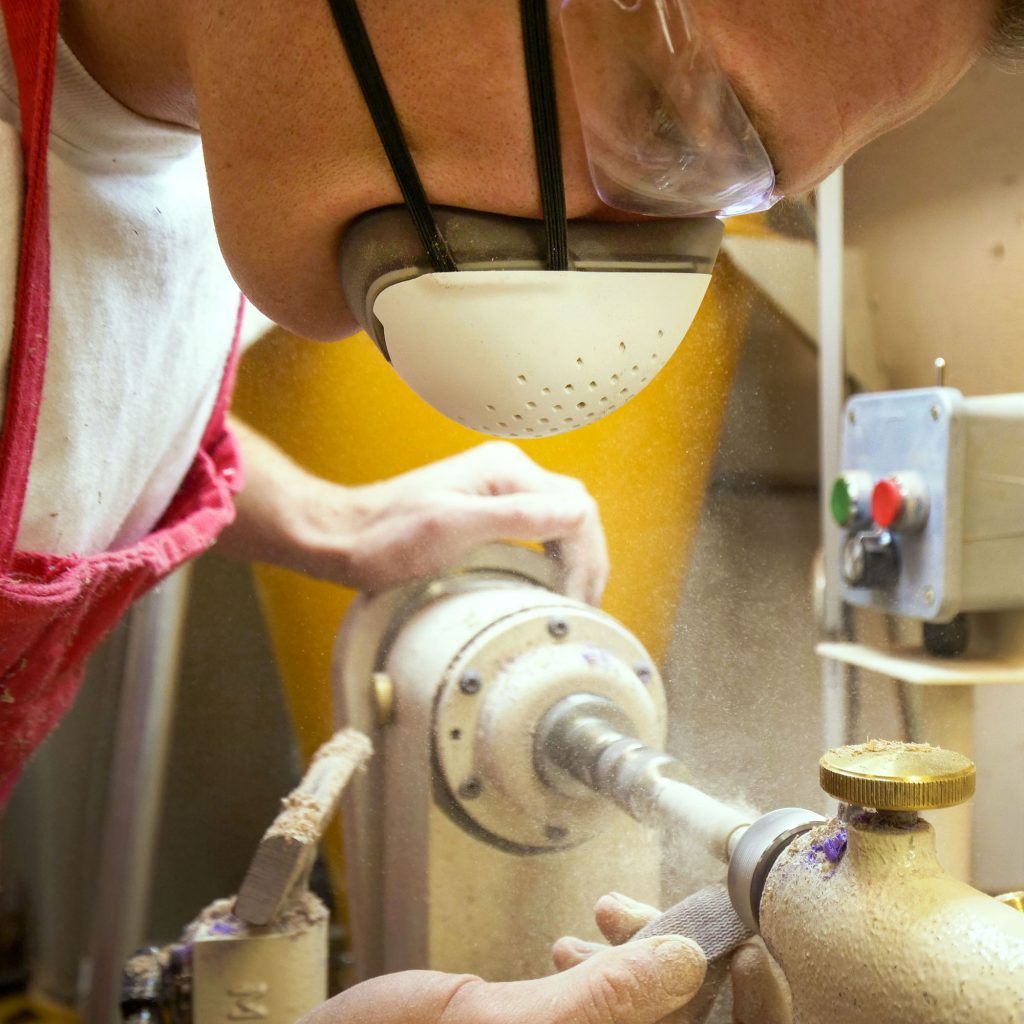
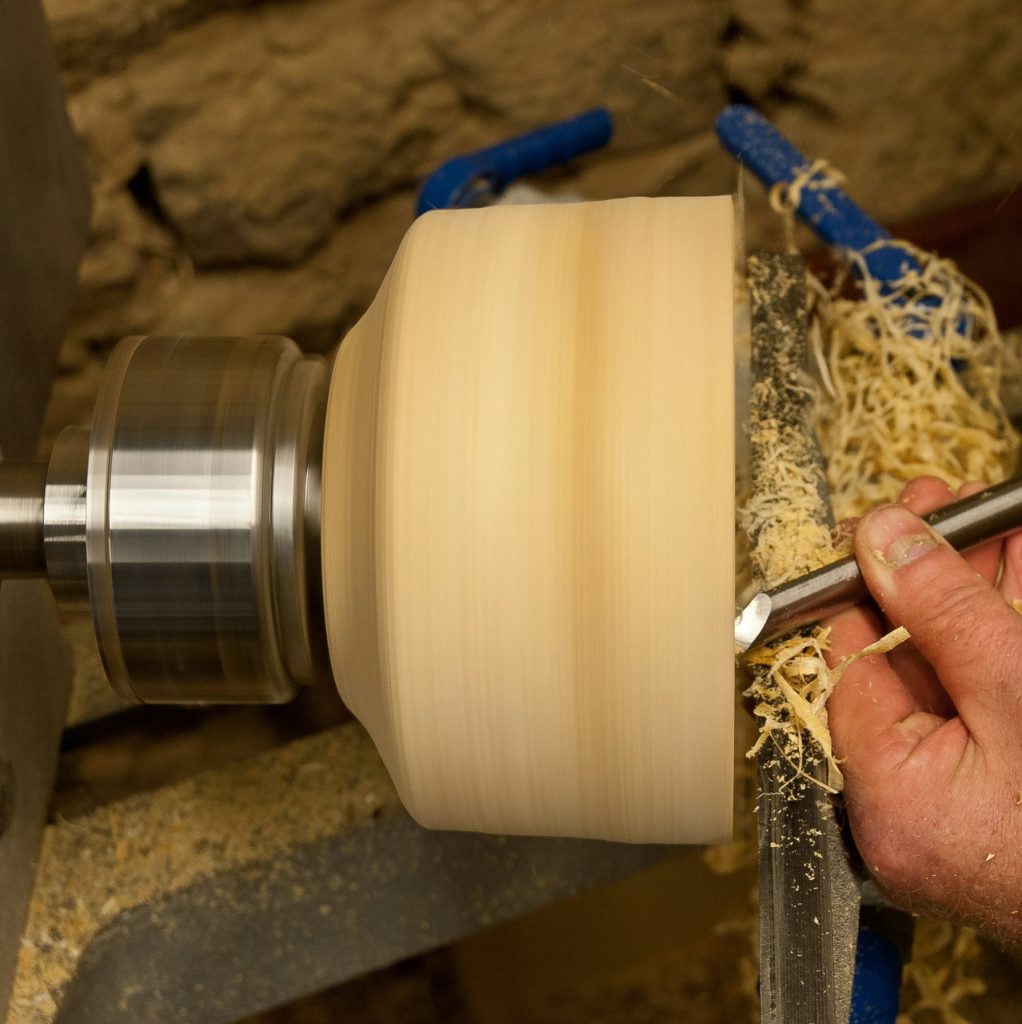
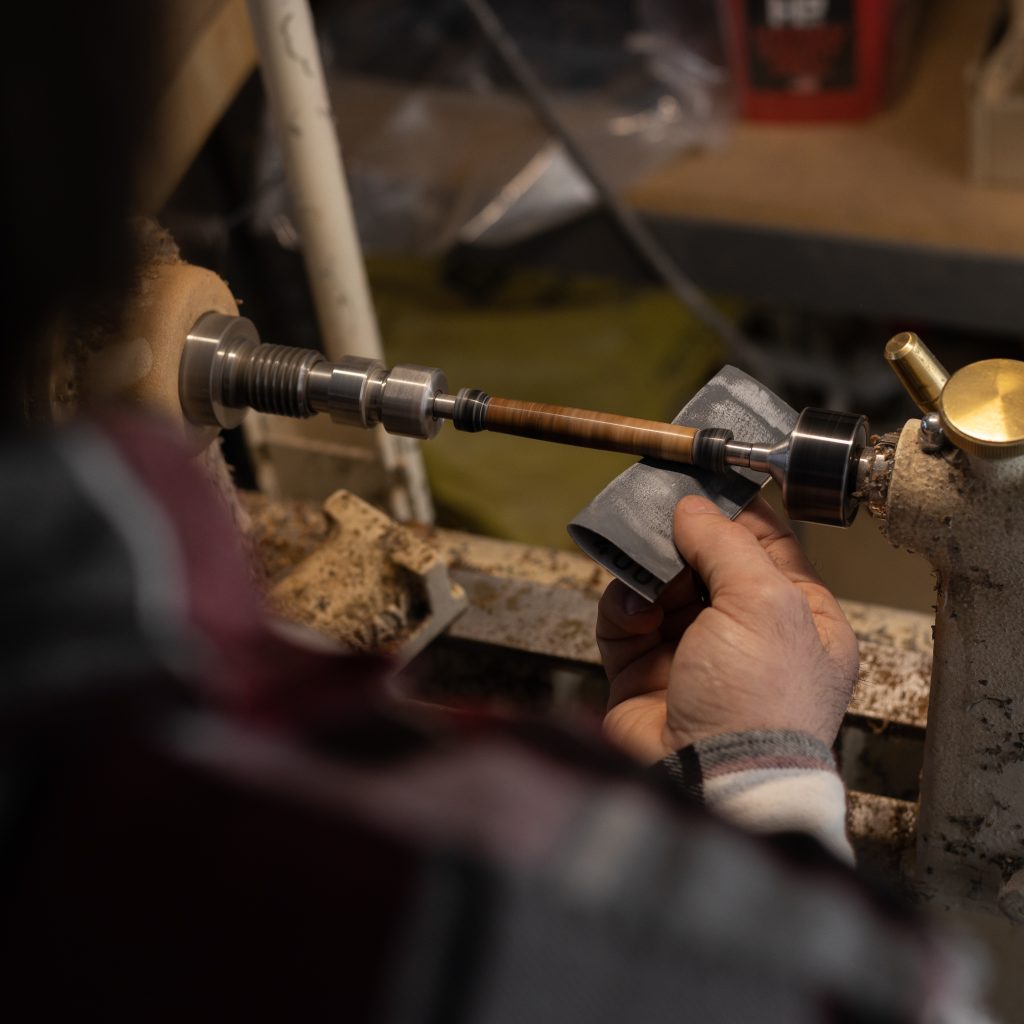
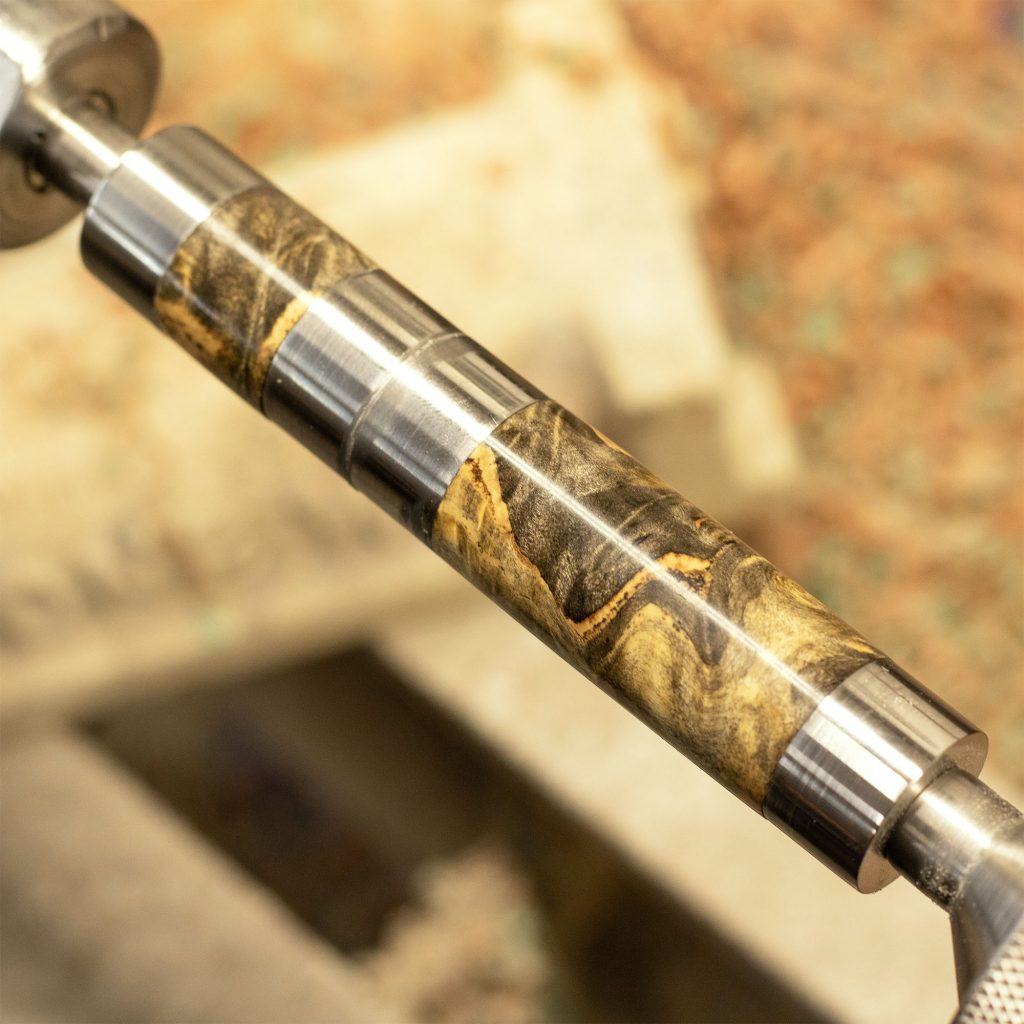
Adjustable Mandrel & Live Center
These tools are used to mount your pen blank on your lathe for turning. Your mandrel fits into the headstock of your lathe, and the live center in the tailstock. The live center keeps your mandrel turning and reduces bowing of your mandrel while working. These tools are known sometimes referred to as a “Mandrel & Arbor”.
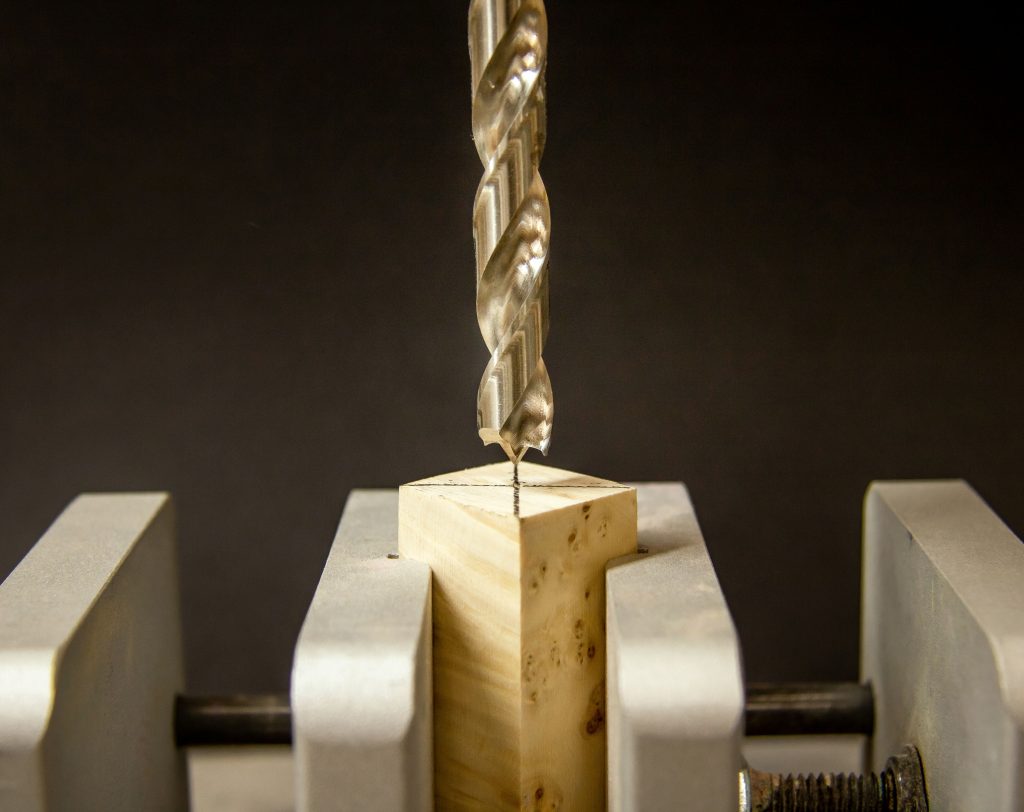
Drill
Used to boar a hole through the center of your pen blank, allowing you to insert your brass tube (a part within each pen kit). The drill size required will be determined by the kit you choose. 7mm and 8mm drills are a good place to start, with many pen styles using these sizes. We have both regular and brad point drills available at Penblanks.ca. We stock brad point drills in all of our starter kits, since they’re more accurate and provide a sharper, cleaner cut.
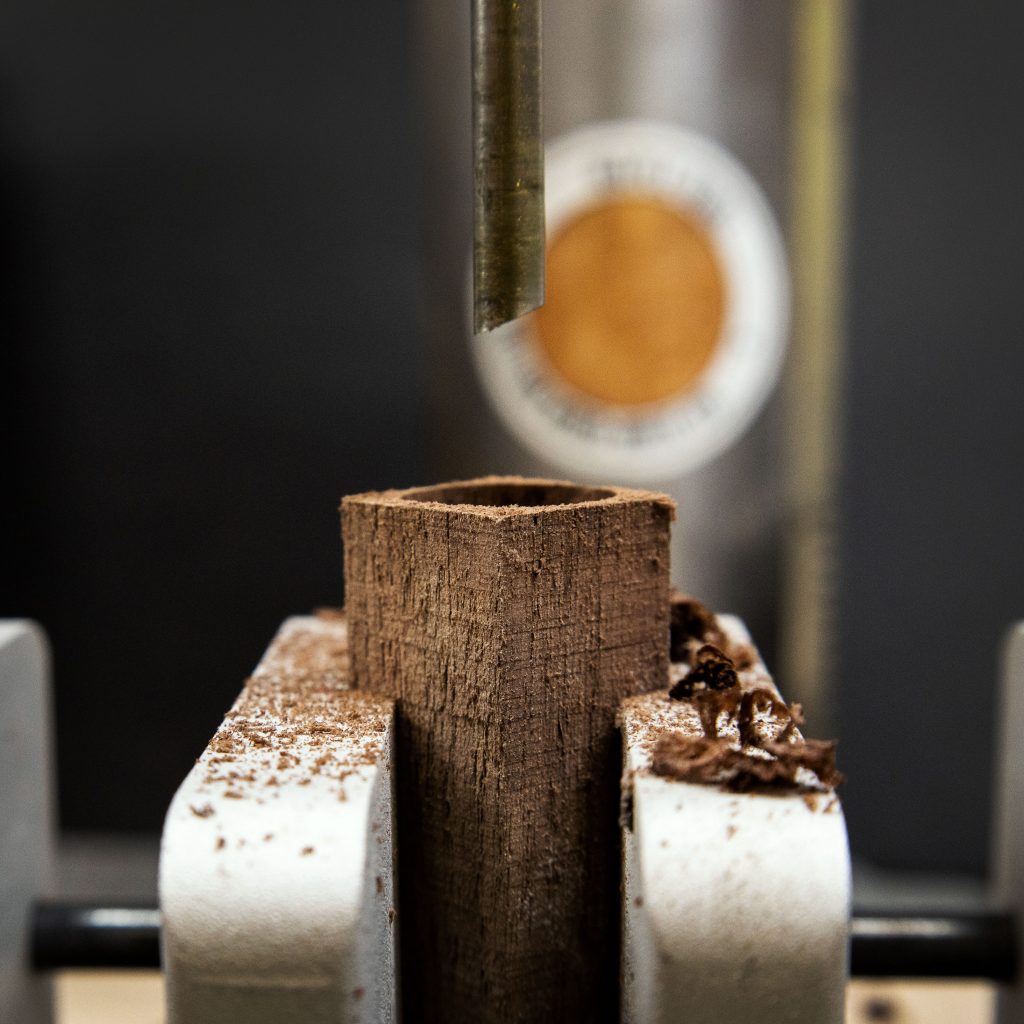
Pen Mill & Cutter Head
Your ¾” cutter head will be universal for any size pen mill you require, but each pen mill will be dictated by the drill size used for your project. Pen mills and cutters are mounted on a drill press and are used to clear out the debris and glue inside your tube before you mount your blank on the lathe and square up your blank for turning. These are also referred to as a “pilot shaft & barrel trimmer”.
Bushings
Each pen style will require a unique set of steel bushings. These are used as a guide, so you know to which diameter you need to turn your pen blank down. This will allow for a seamless and accurate transition between your pen kit parts and the wooden barrel.
What styles are available
There are three basic pen styles to choose from: ballpoint, rollerball and fountain.
Ballpoint– These are the most common style of pen kits and most economical, so they’re very popular for new turners. They come in either a twist or click option. They often don’t have a cap, but instead use a twist mechanism that retracts the ink refill into the barrel of the pen, since the ink won’t dry nearly as easily. You’ll require either a Cross style or Parker style refill for our ballpoint pen kits.
Rollerball– These are considered an upgrade. Rollerballs tend to have a “wetter” look to them, with thicker, more saturated lines. They flow smoothly, but their ink will take longer to dry on paper. They have a totally different feel, and a finished pen typically weighs more than a ballpoint. They require a cap to ensure they don’t dry out.
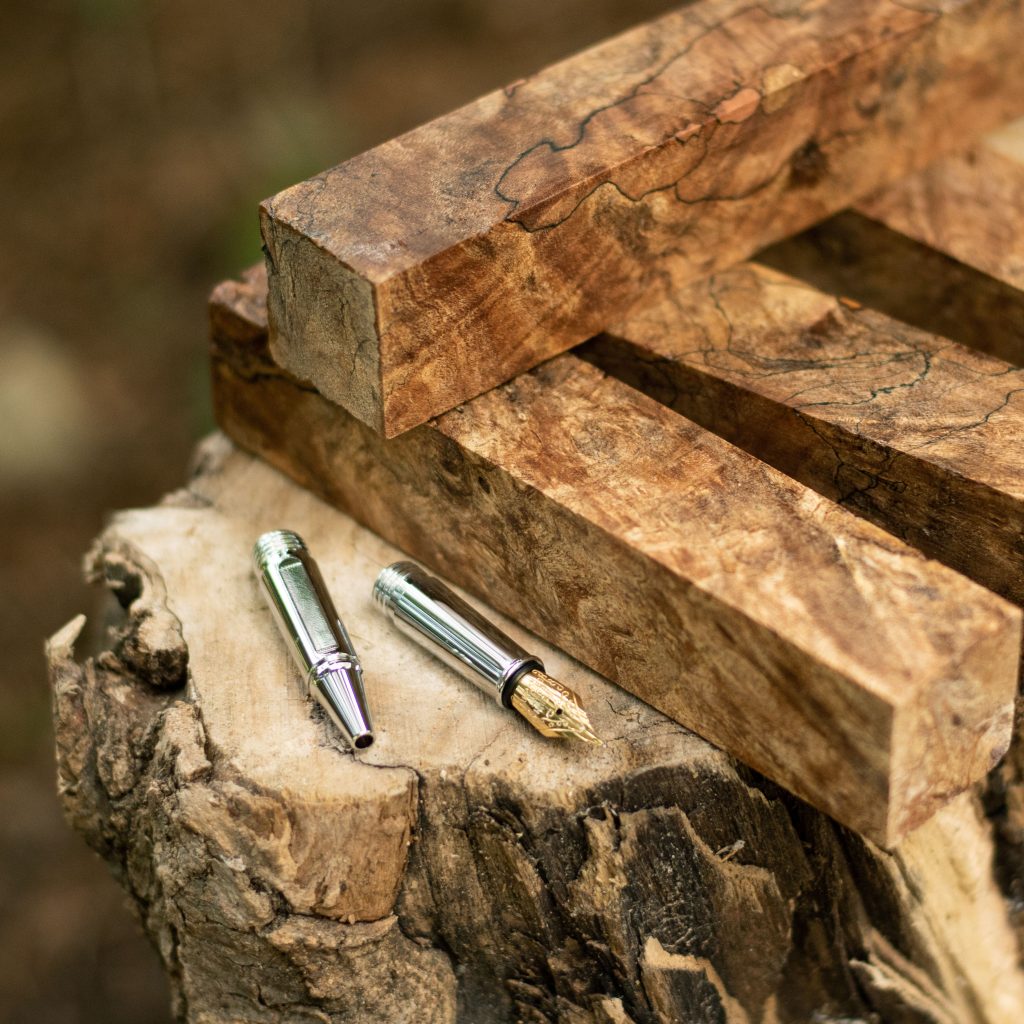
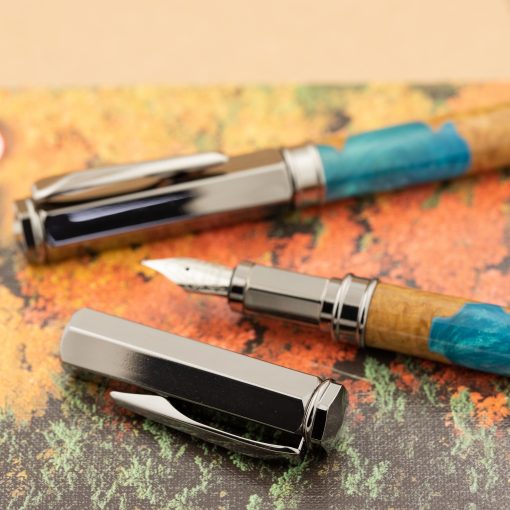
Fountain– These kits also require a cap to ensure the ink doesn’t dry up. They’re a more upscale style and use an ink cartridge rather than a traditional refill. Each kit comes with a medium nib but can be upgraded to a fine or thick nib depending on your preferred style.
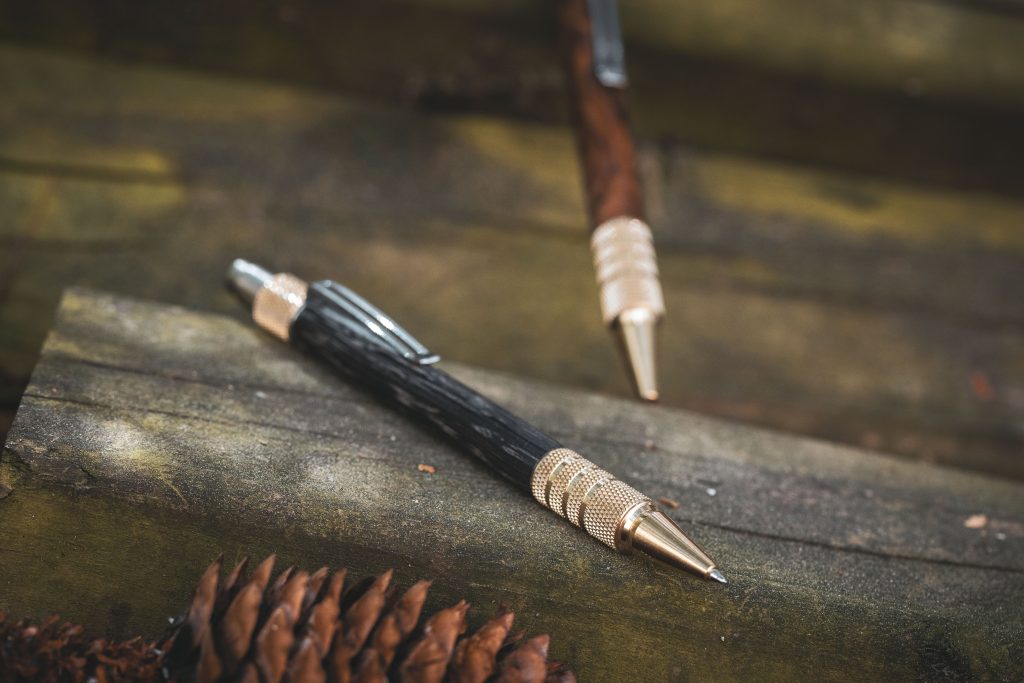
Ballpoint 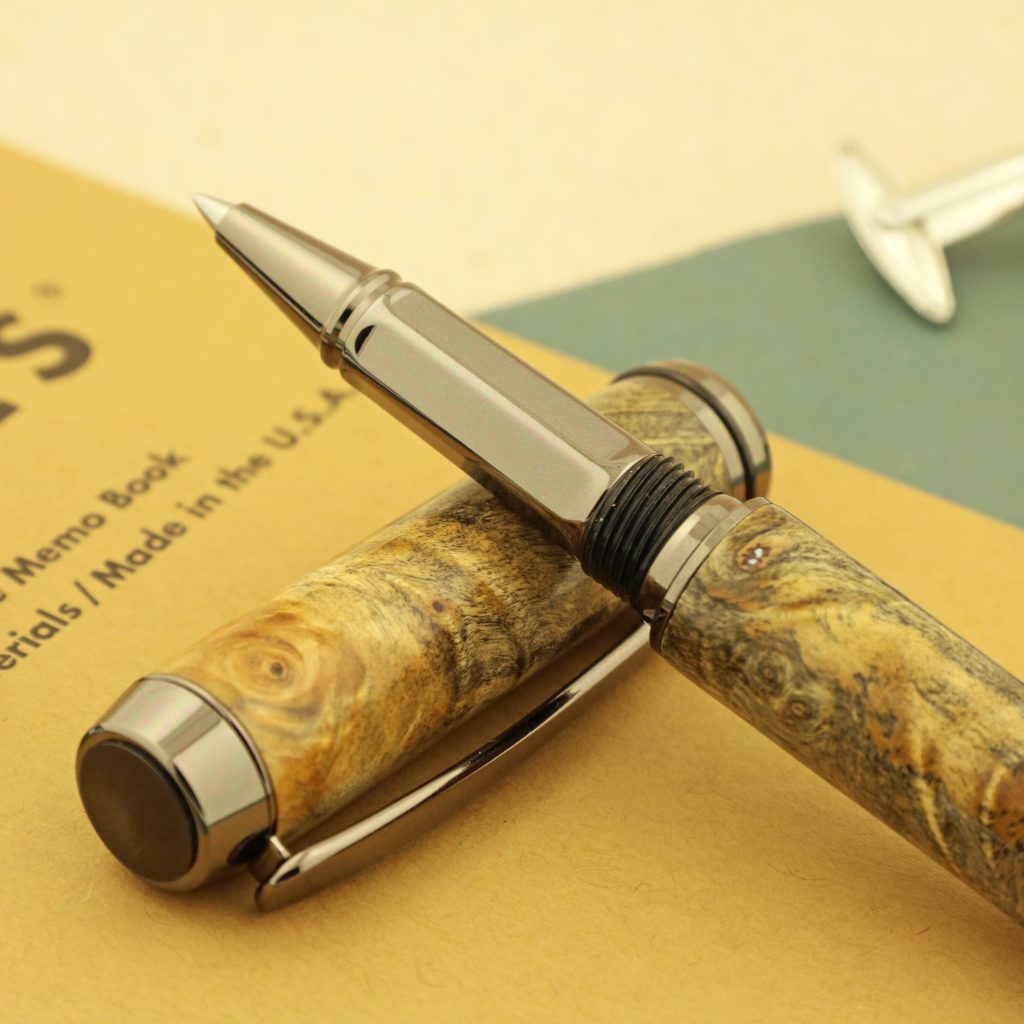
Rollerball 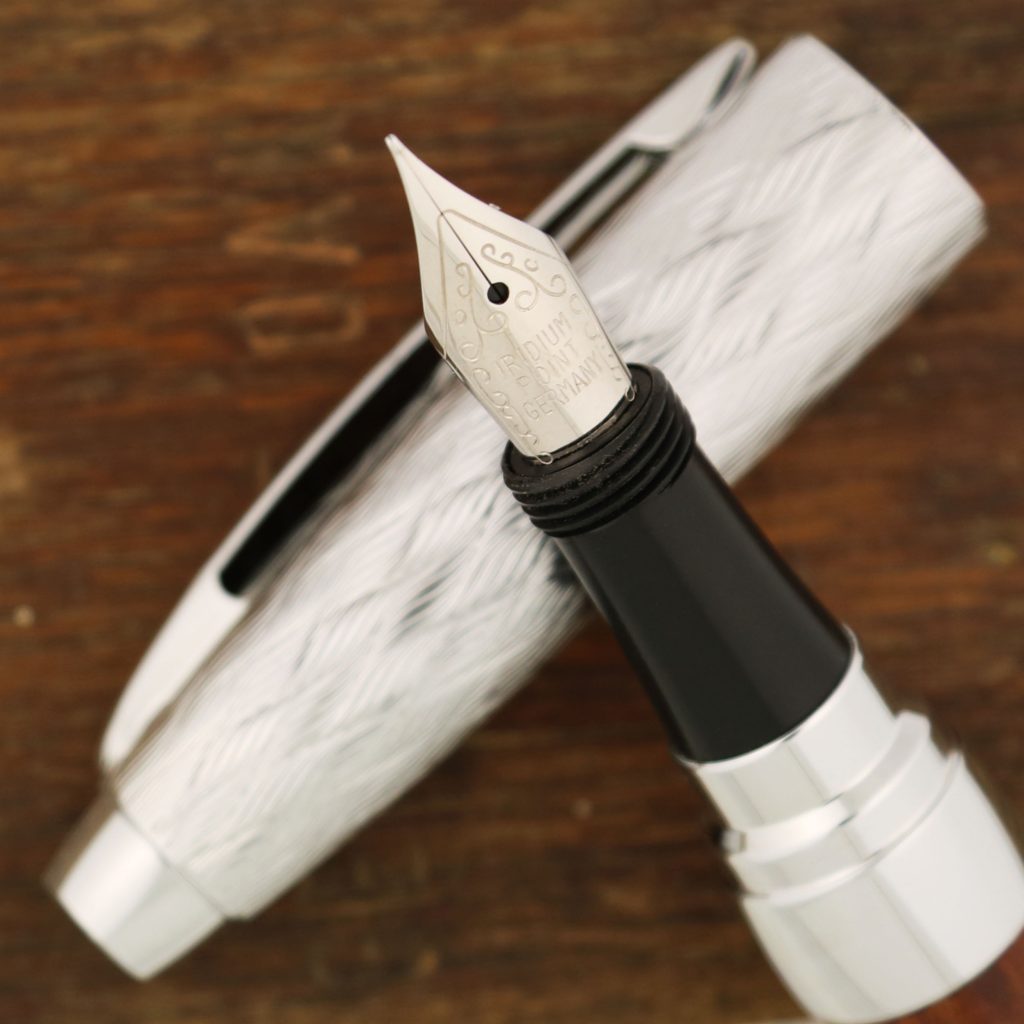
Fountain
Other tooling and accessories are available to make the process easier or to upgrade your finished pen but aren’t necessary to complete your first turning project. If you have most of the tooling listed above already, check out our basic Starter Kit, which includes the materials required to turn without the extras.
When you’re ready to see how a wood pen is turned, check out our Introduction to pen turning video below for step-by-step instruction on making your first custom pen.

