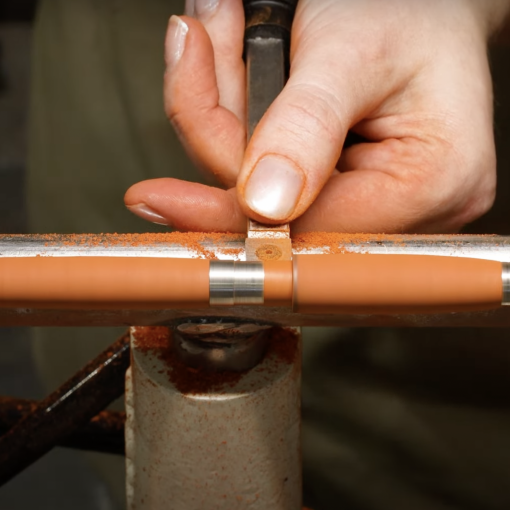
If you’re an experienced pen turner looking for a more challenging lathe project, wooden rings are a great choice. Wooden jewelry is popular at craft markets or in an online shop, especially for customers who are searching for something custom made. Rings made from exotic wood also present an opportunity for higher price points, as they’re often given as handmade gifts or even used as wedding bands. You can turn a handmade ring out of almost any wood on any lathe so long as you have the right tools and technique. Ring turning is challenging and suited for seasoned wood turners ready for an advanced project.
Materials and tools for ring turning
- A ring blank measuring 1 3/8″ x 1 3/8″ by 1/2″
- Lifestyle ring bushings in the appropriate size
- Digital calipers
- Good quality double-sided tape
- A chuck that can hold a 2″ x 2″ block of wood
- A 2″ x 2″ x 2.5″ block of soft scrapwood
- Live center
- Drill or collet chuck
- Drill bit in the appropriate size
Tools and tips for making custom wood turned rings
You may have seen wooden rings and wondered if they split and break easily or if the finish wears off. These things do happen, but the risk is minimized with the right techniques. Here are some key pointers to making a beautiful, long-lasting ring.
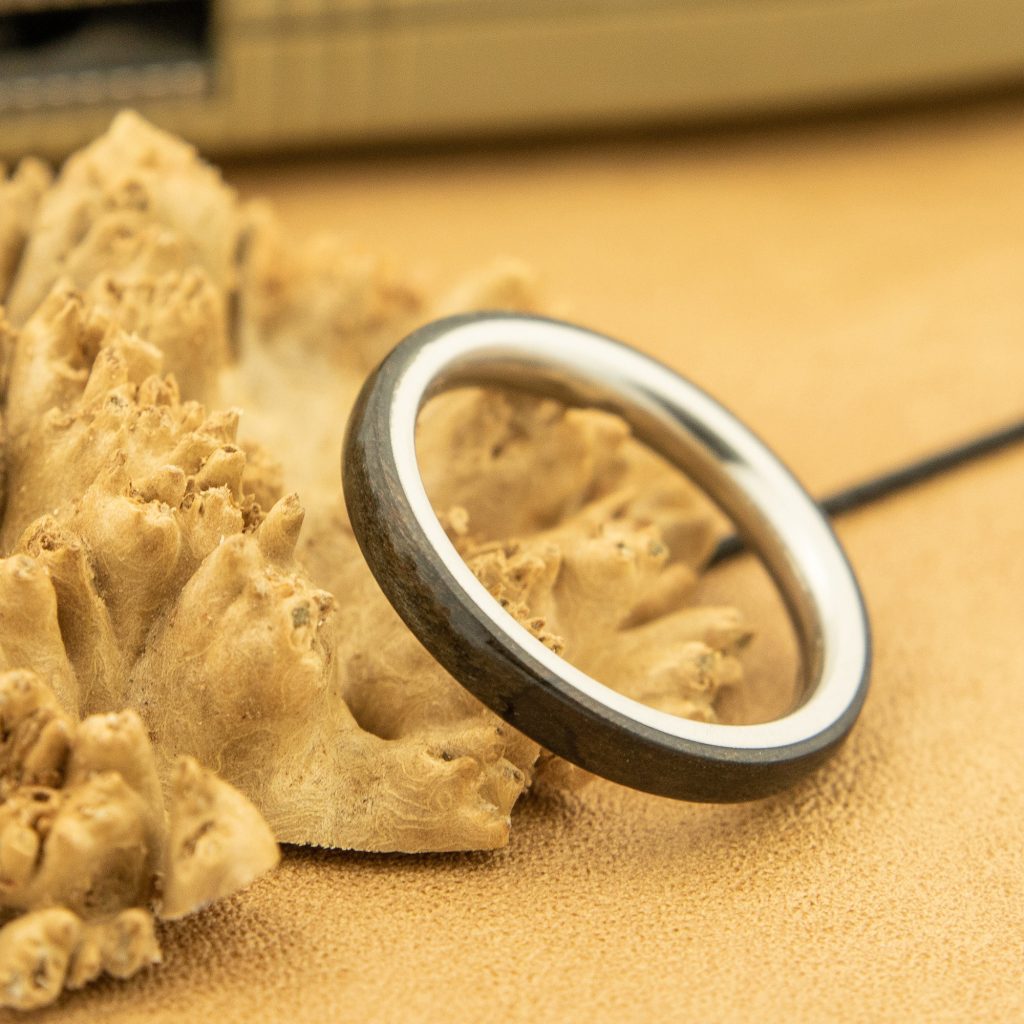
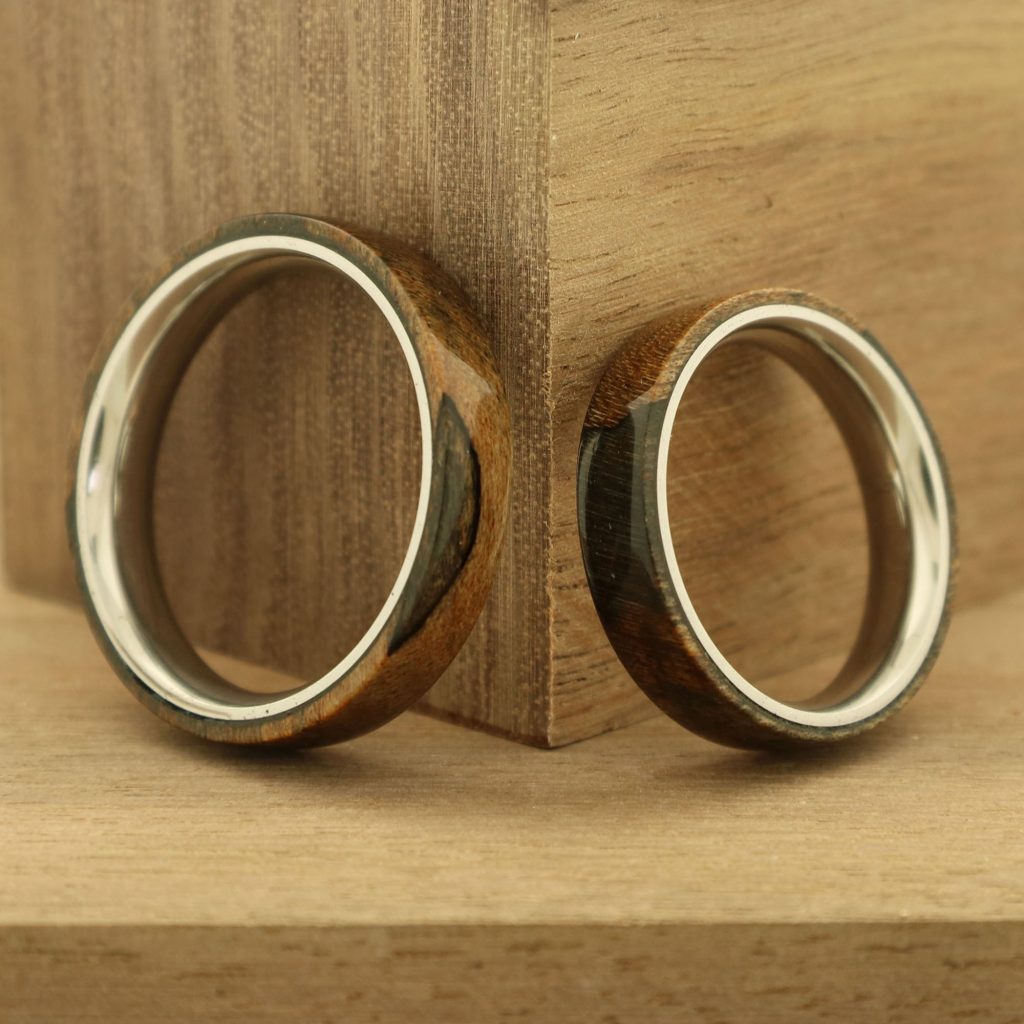
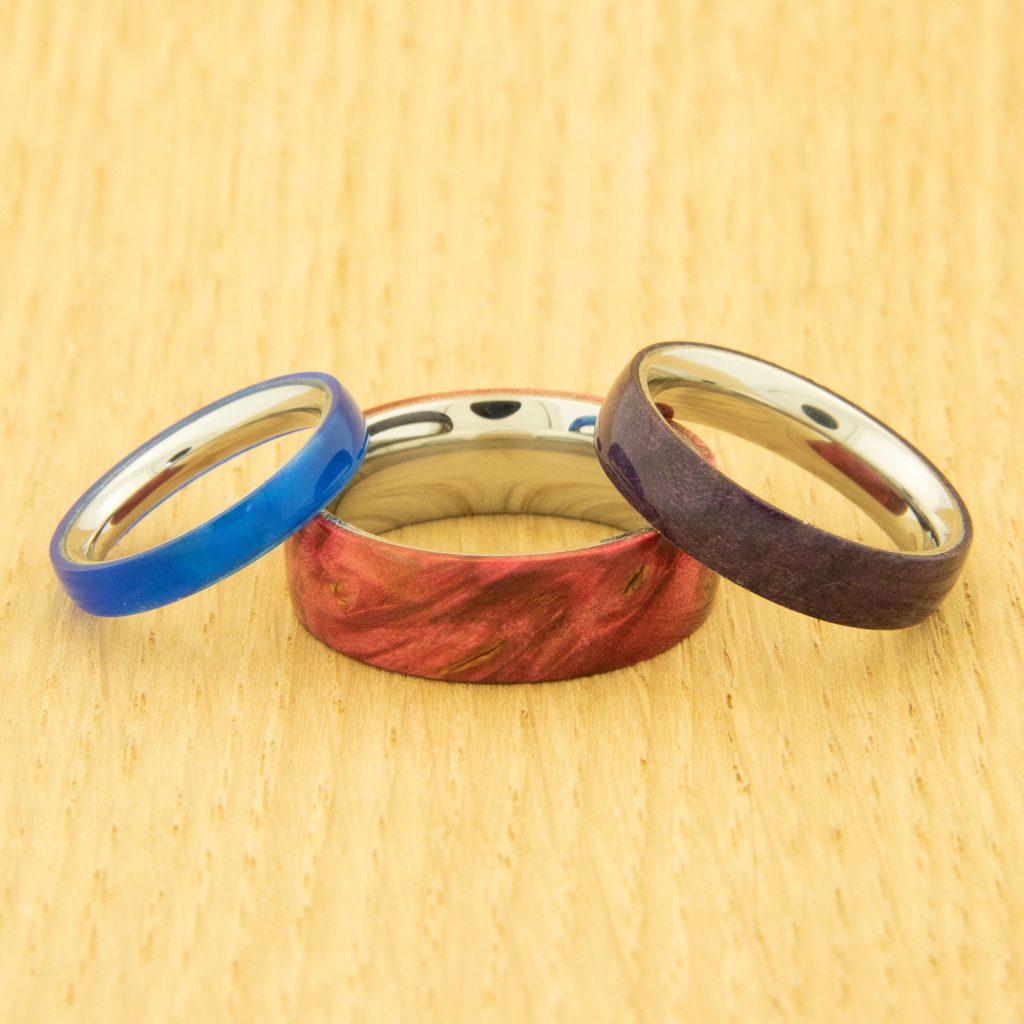
Choosing a ring core. Ring cores are the metal base of a turned ring, the part of the ring that is in contact with the finger. Lifestyle brand is available in stainless steel or solid silver. The metal core is what makes it possible to create a sturdy and wearable ring; without it, the ring would be extremely fragile. These cores come in many sizes and widths. A 3mm wide ring makes an understated piece of jewelry, while 8mm is great for showing off the details of the wood. For this project you need a one-piece ring core.
Bushings for ring making. Lifestyle brand ring cores have three sets of available bushings in sizes small, medium and large. Small will work for ring sizes 4 to 7.5, medium for sizes 8 to 11.5 and large for sizes 12 to 16. If you plan to make a range of sizes or take custom orders, it’s a good idea to have all three on hand. All of these bushings are appropriate for a 7mm pen mandrel.
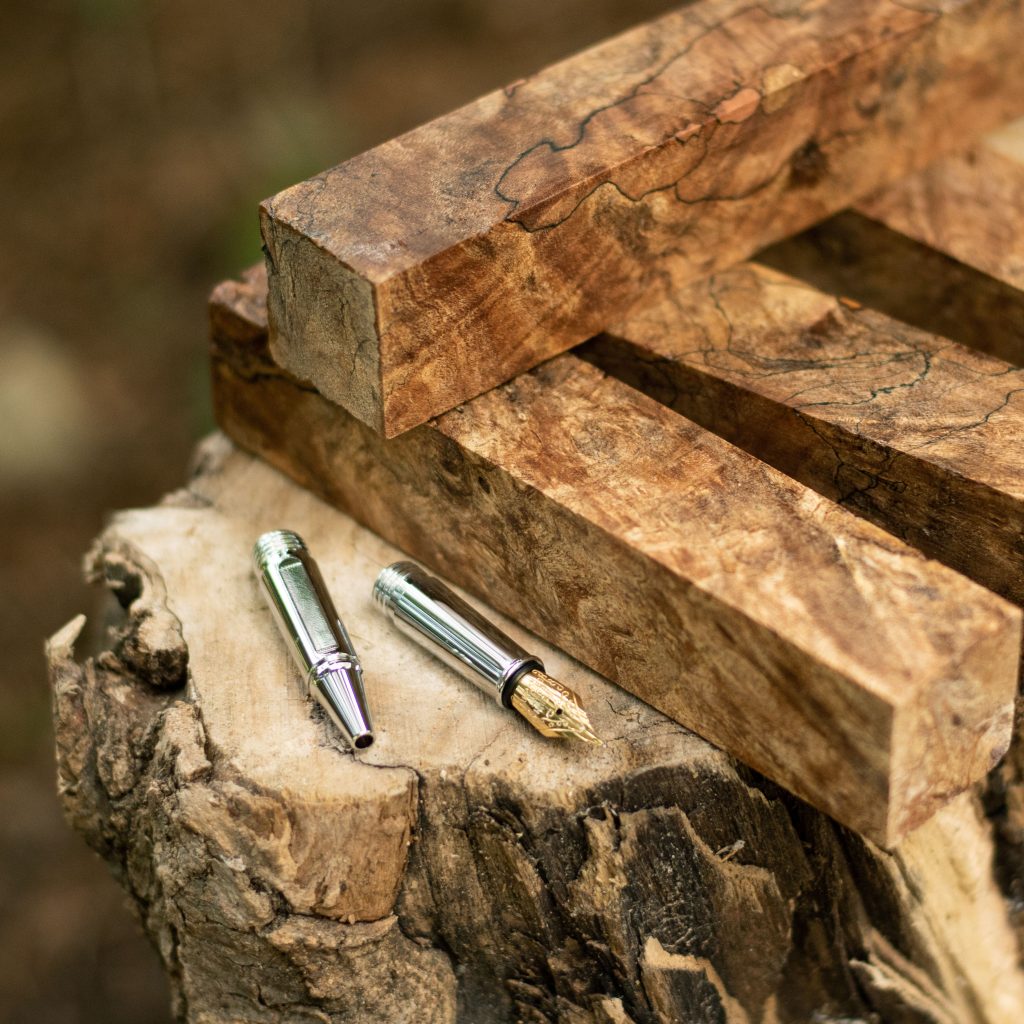
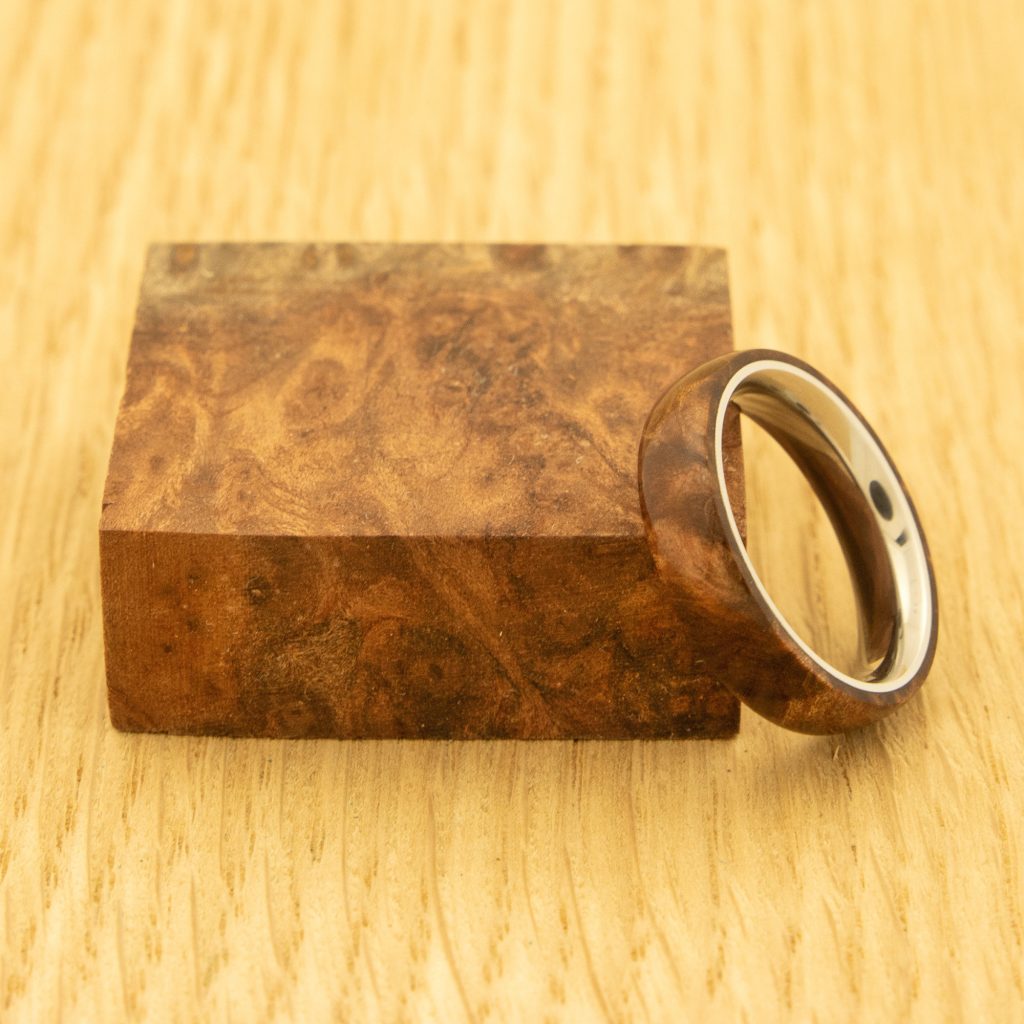
Prepping the ring blank. A ring can be turned from almost any wood, but it can be fragile and easily broken while turning and assembling. Keep this in mind when selecting a ring blank and make sure your tools are sharp. If you’re interested in weaker or inconsistent wood like burl, stabilized wood is always an option. Choose a piece of wood that is at least 1 3/8″ x 1 3/8″ square and about 1/8″ wider than the core you’ve chosen. To make sure your ring blank is perfectly flat, lay a piece of 220 grit sandpaper on a flat surface. Place your blank on it and move it firmly in a figure-eight motion. This will make a rough surface for attaching it to double-sided tape later on in the making process.
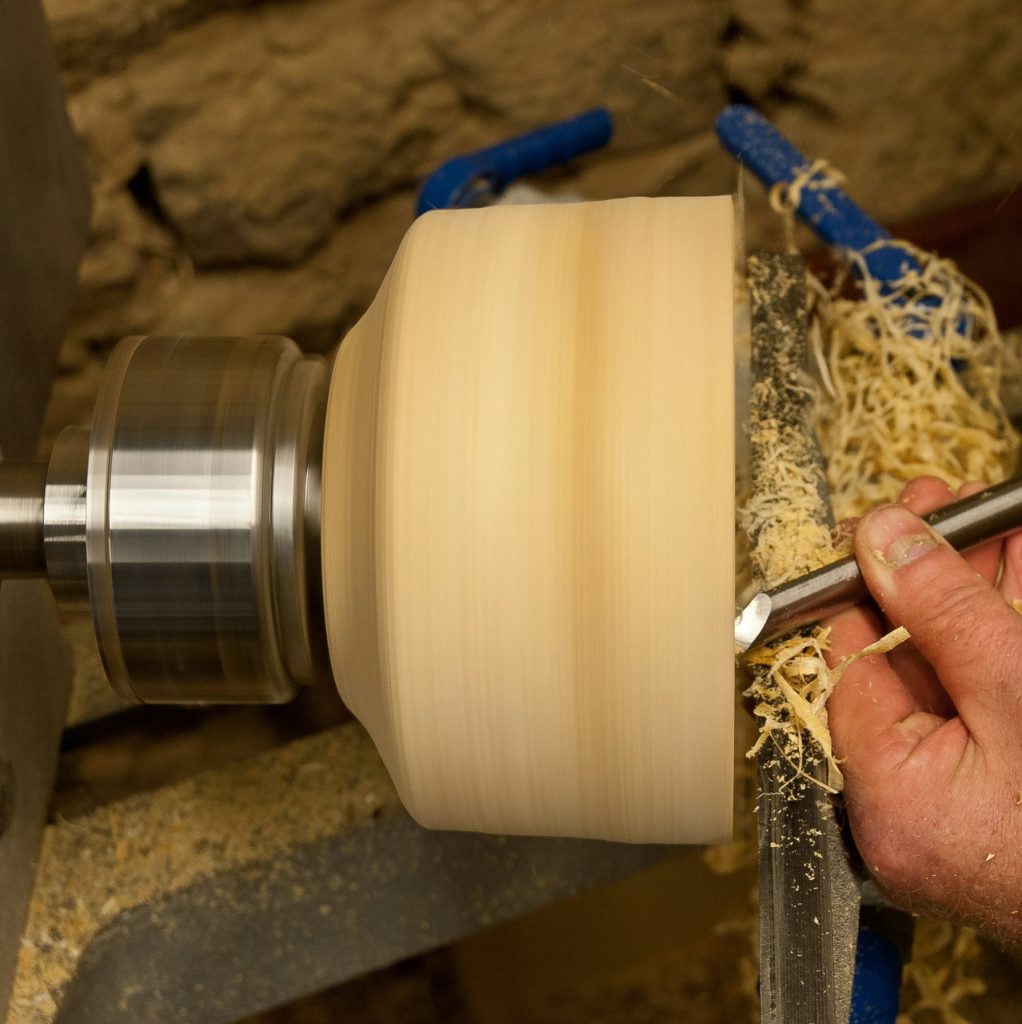
Lathe set-up. Mount a piece of soft scrapwood measuring 2″ x 2″ by 2.5″ in the chuck and then true up/square up the face of the block. Put 1.5″ of strong double-sided tape on your ring blank and press it onto the scrap wood. Insert a live center in your tale stock, and bring it up to the center of the ring blank. This will keep it in place for the first turning steps.
Steps for turning a custom handmade ring
Now that everything is prepped and set up, it’s time for the fun part.
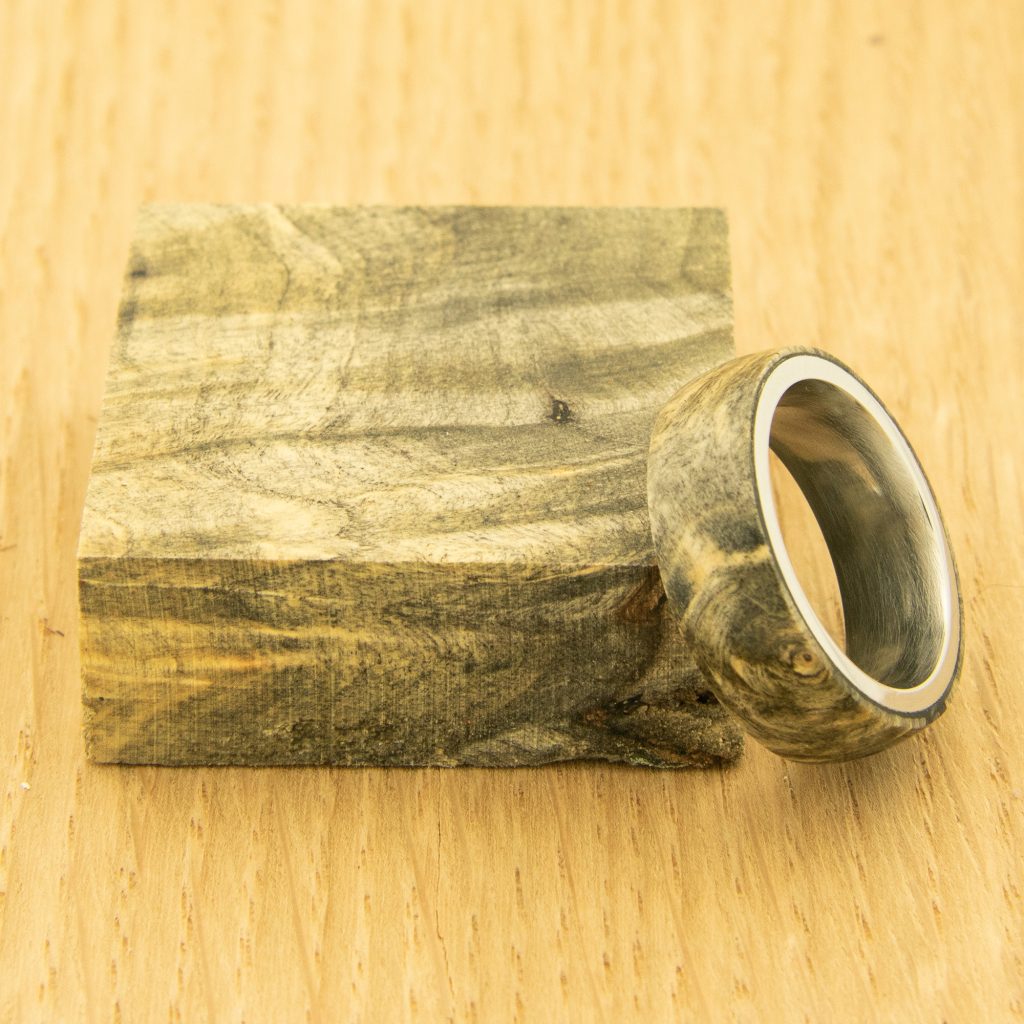
- Rough-turn the ring blank and then back off the tail stock.
- Square up the surface of the ring blank so it is only .5mm wider than the core you’re using. Use your callipers to get it perfect.
- Mount a drill or forstner bit that’s about half the size of the ring core in the tail stock and drill through the ring blank.
- Use a skew or scraper to enlarge the ring hole. Proceed slowly! The ring core will need to fit snugly into this hole, so check the size frequently with the callipers.
- Remove the blank from the scrap wood. Be very gentle as it is fragile at this point.
- Go back to your 220 grit sandpaper and repeat the figure eight motion until the blank is exactly the same size as the ring core. This too requires a lot of checking. It must be precise!
- Coat the inside of the blank with epoxy and insert the core. Allow it to cure.
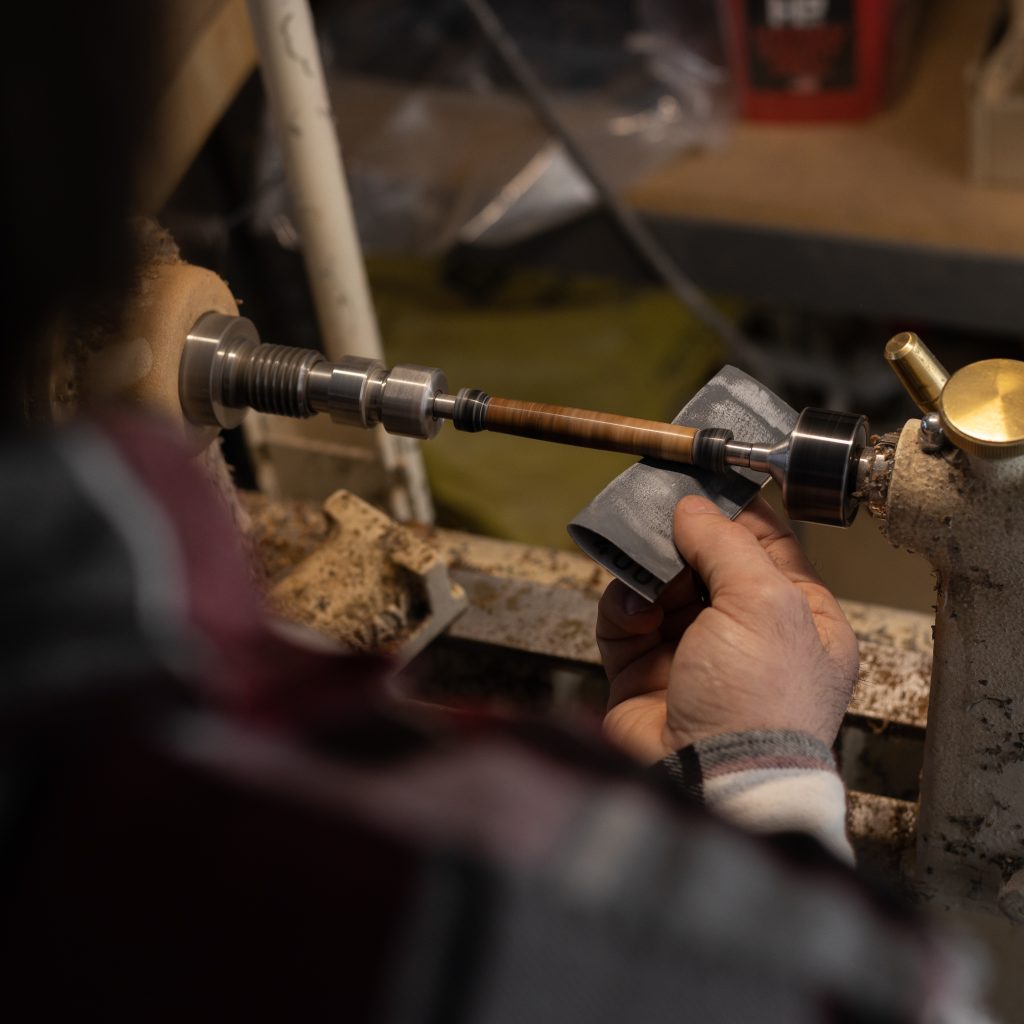
- Mount the ring on a mandrel with the ring bushings. Turn the ring to the desired shape and then sand until smooth.
- Finish with CA glue for the most durable finish.
Ring and pen making kits in Canada
At William Wood-Write we want to make sure all of your wood turning projects come out great. That’s why our website has instructions for all of our kits and a library of how-to videos. If you ever have questions about lathe tools, turning materials or pen making shoot us an email or contact us via Facebook or Instagram. We’re happy to help!
