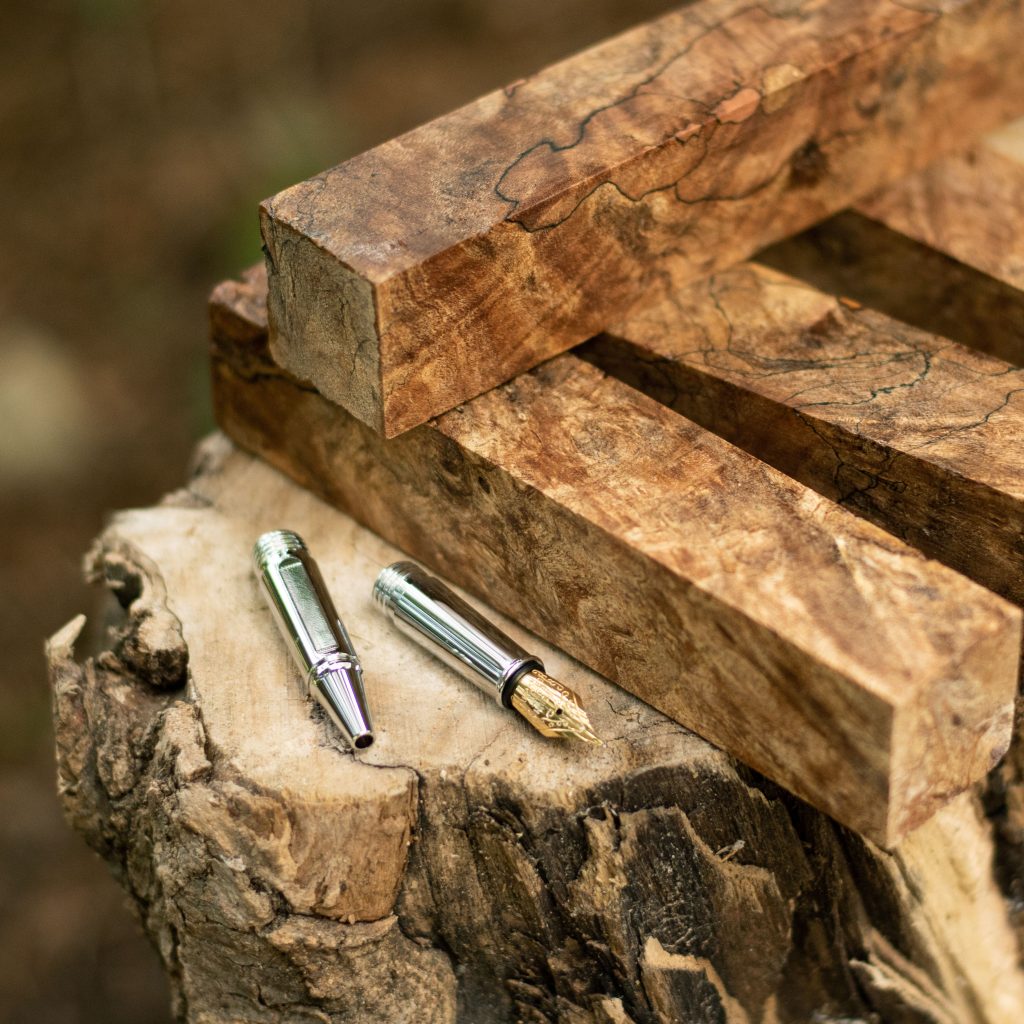
You’ve probably seen brightly coloured pen blanks, but did you know that you can make your own? While you can buy pre-dyed and stabilized wood for pen turning, alcohol based ink allows you create your own colour combinations and patterns that will make your custom pens stand out from the crowd.
What is Alcohol Ink?
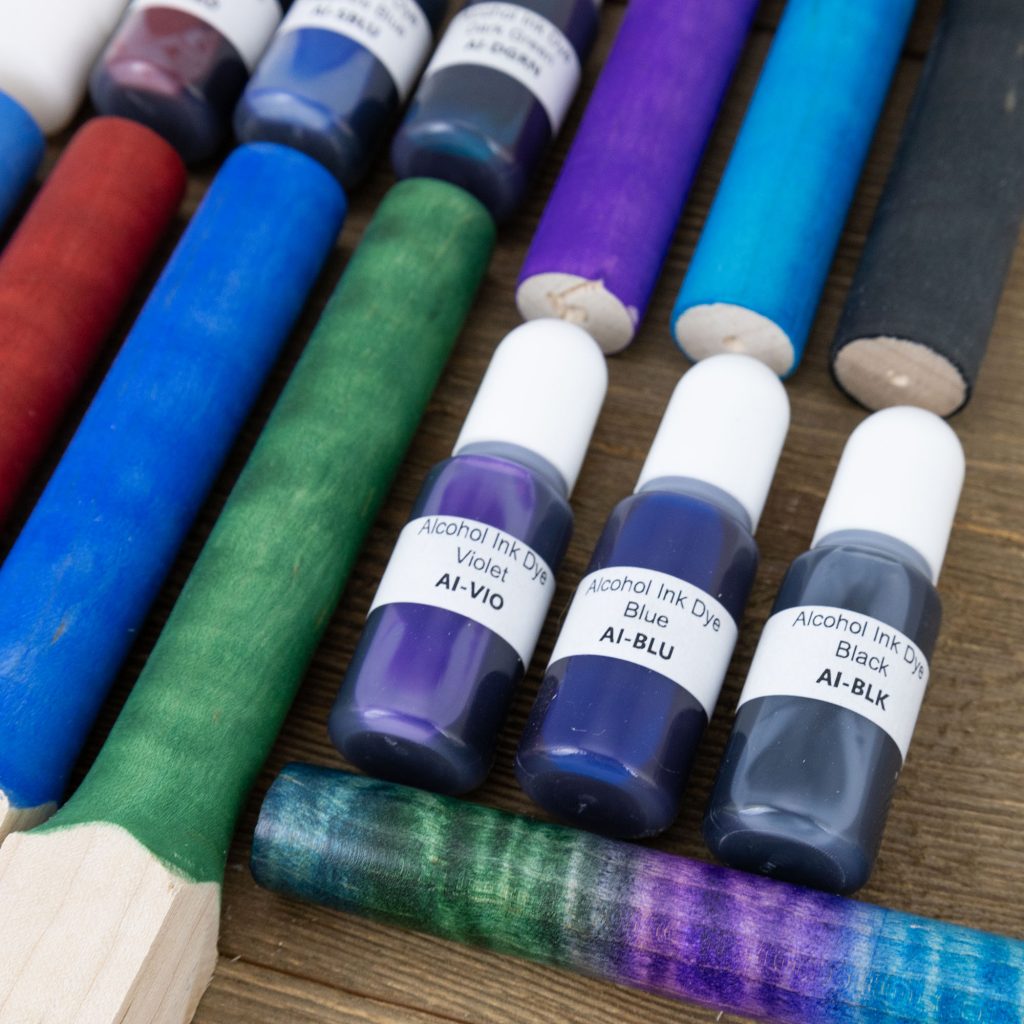
Alcohol ink is a mixture of dye and isopropyl alcohol. The alcohol acts as a liquid carrier for the dye, allowing it to be applied to wood and other surfaces with a dropper, brush or cloth, and then mixed and layered. You can create a huge range of vibrant effects like marbling, swirls and gradients. When the alcohol evaporates, the dye remains on the wood, which you can then polish in your choice of finish. The best thing about these inks is that they’re transparent, which allows the wood’s special features like curly grain or bird’s eyes to show through. This means you can make your products in unique custom colours without overshadowing the natural beauty of the wood. It’s the best of both worlds.
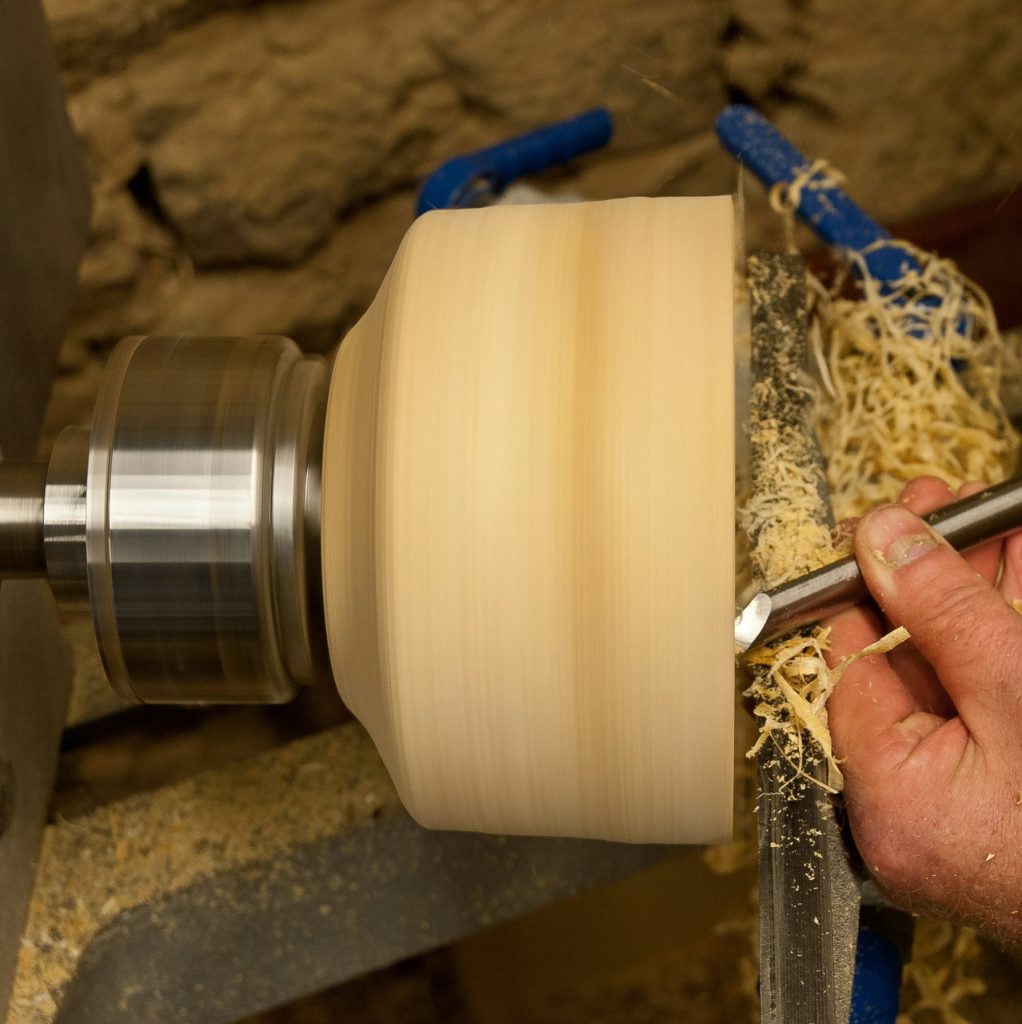
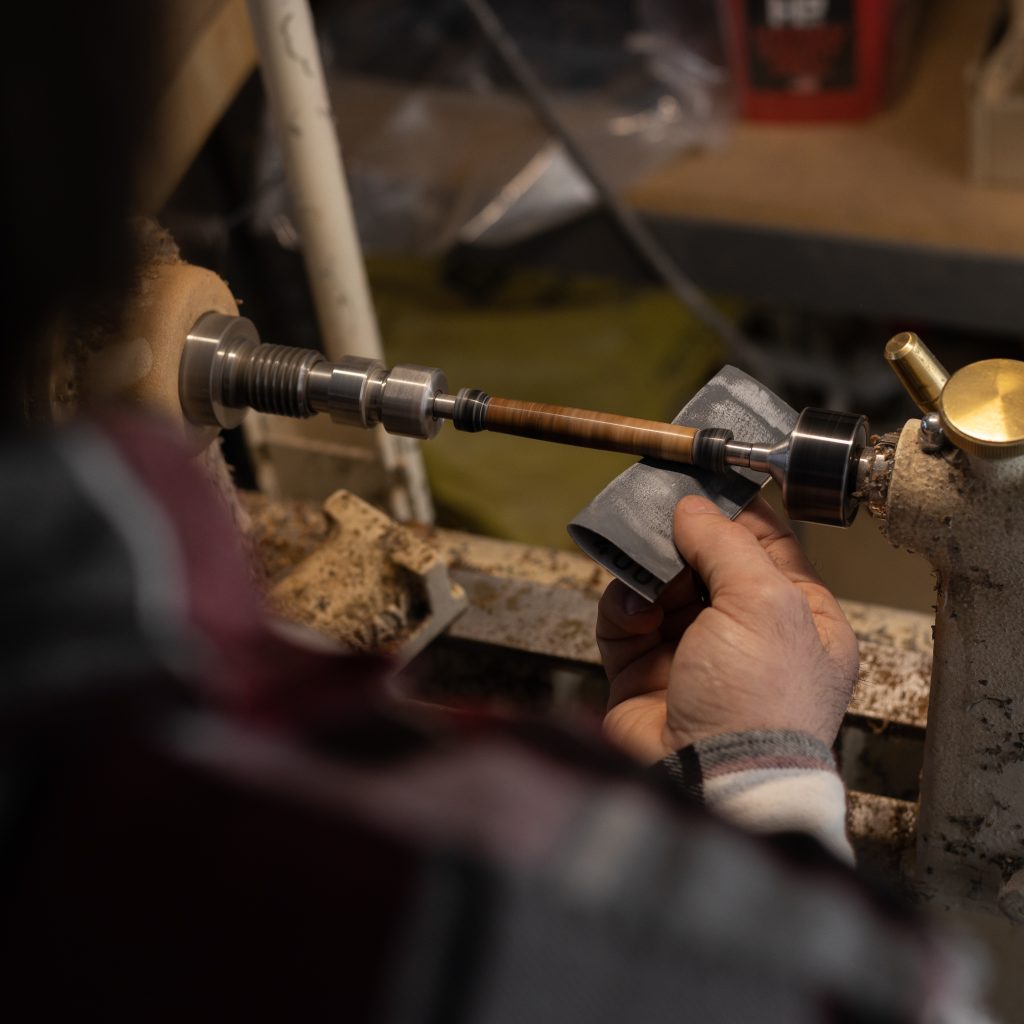
Applying Alcohol Ink to a Pen Blank
You will need:
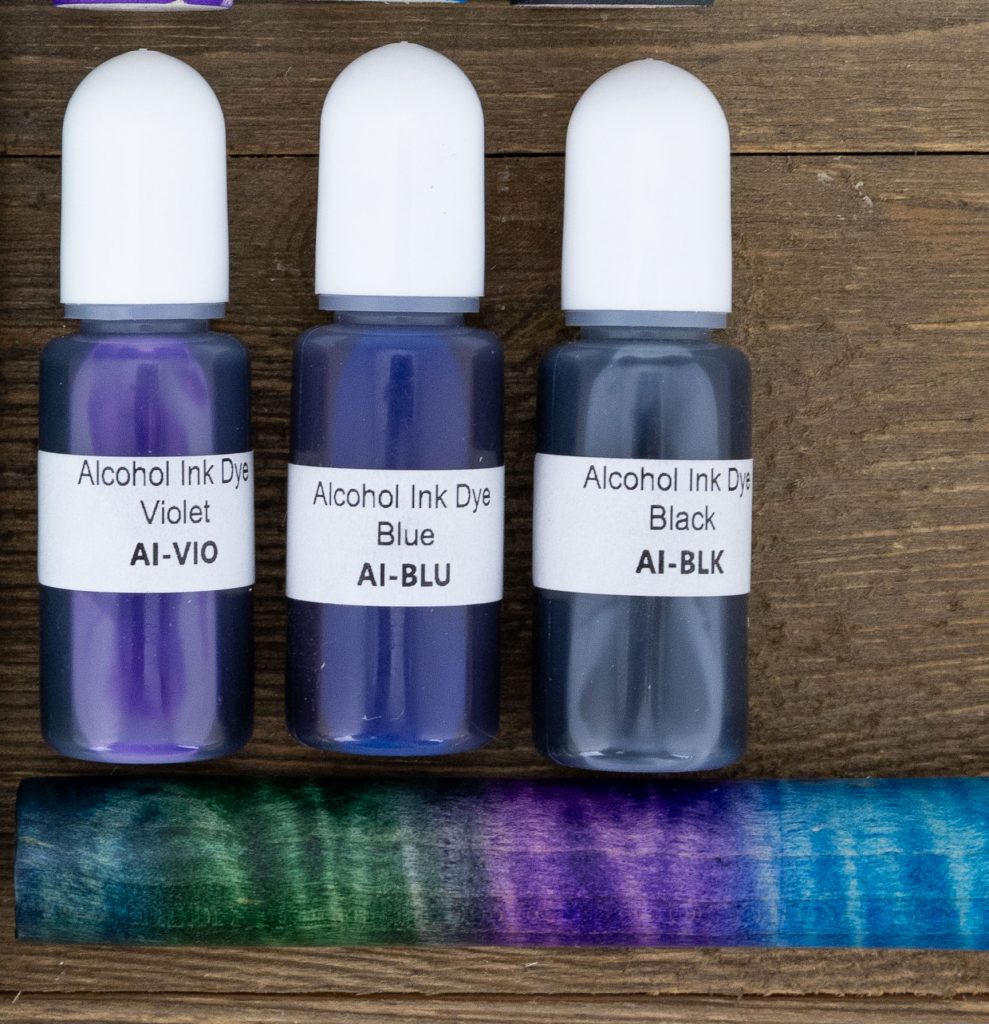
- Your choice of ink colours
- Isopropyl (rubbing) alcohol
- A dropper
- A cotton ball, brush or fabric pad/cloth
- The turned wooden pen barrel
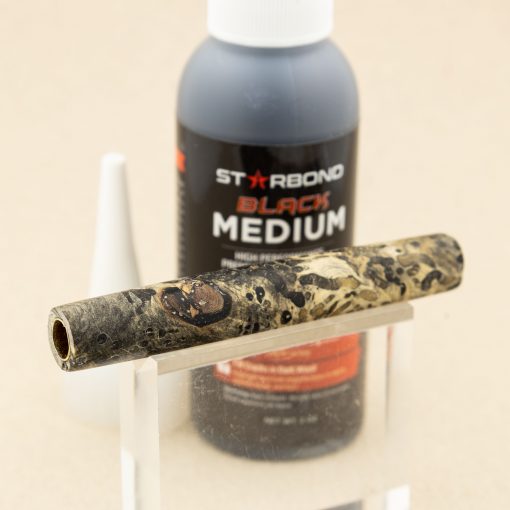
- A sealant such as CA glue
- Small containers for mixing
Step-by-Step Instructions:
For one solid colour
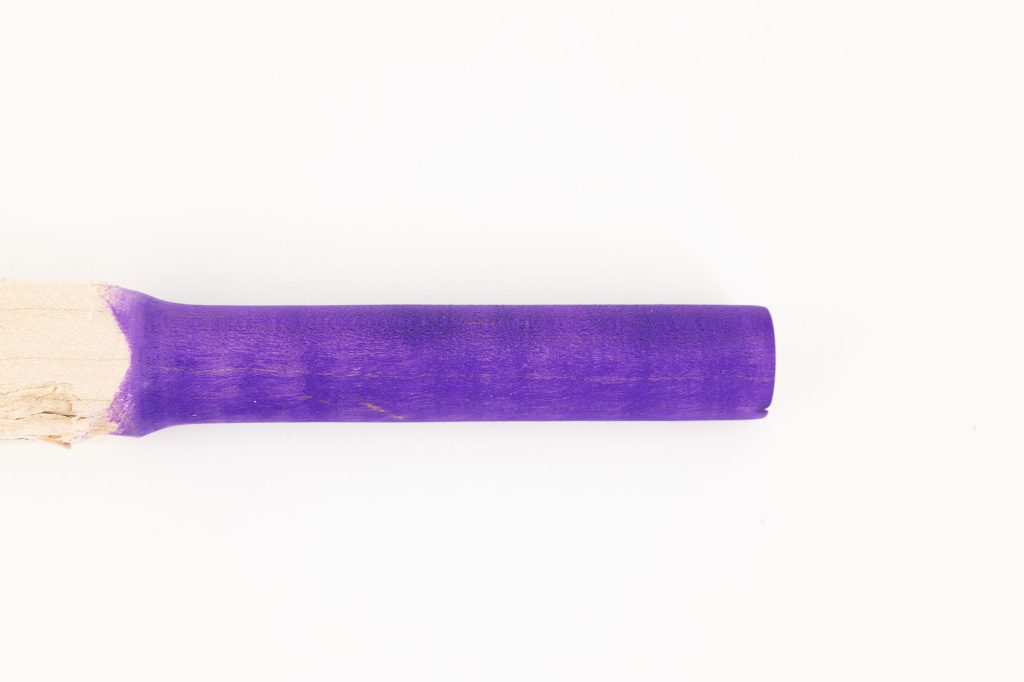
- Using a dropper, apply undiluted ink to a brush, pad or cotton ball.
- Dab the ink evenly over the surface of your turned pen. Try to work quickly because it dries fast!
- Maintain an even application, adding more drops as needed.
- Allow the wood barrel to dry completely.
- Seal and polish.
For transparent and mixed colours
- For a more transparent look, mix a drop or two of ink with a small amount of isopropyl alcohol in a dish. The more alcohol you use, the more see-through the colour will be.
- Use a paintbrush or cotton ball to apply an even layer of diffused ink to the pen blank.
- For a mix of colours, dab different diffused inks onto the pen blank, swirling, blending and layering them. Be creative!
- Once you have the look you want, allow the alcohol to dry completely.
- Seal and polish.
Extra Tips for Using Ink on your Lathe Projects
Prep: Work in a well ventilated area and protect your clothing and workspace to prevent stains. Wear gloves to protect your skin.
Practice: When you first start using alcohol ink, trial and error is unavoidable. Try out a few different techniques on inexpensive or scrap wood to get a feel for the process before going straight for your favourite pen blanks. Curly maple is a great wood to start with!
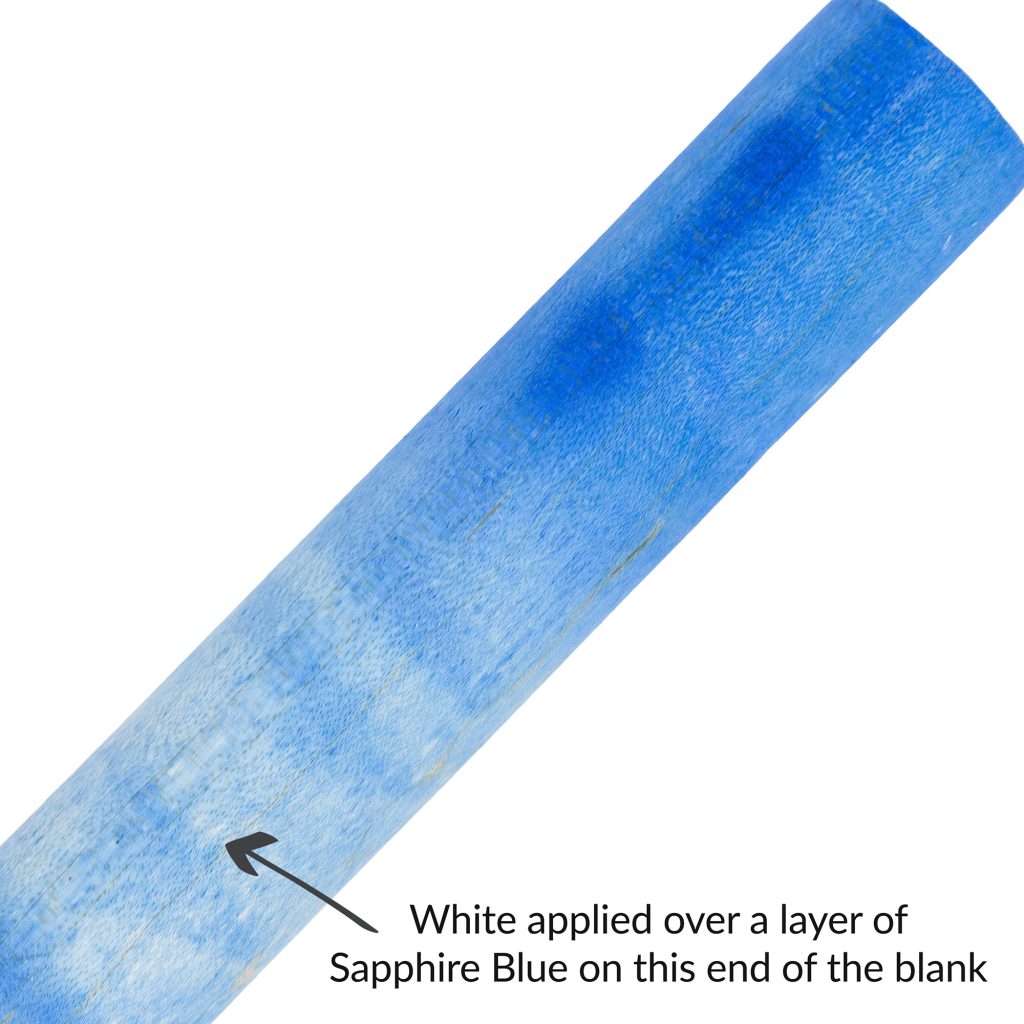
Add white: Use white ink to make a lighter version of any colour, such as pink or baby blue. Layering white ink over an existing colour creates a gradient look. White ink is used to lighten other inks, but is rarely applied on it’s own because it has little effect.
Play with transparency: To get a very subtle layer of colour, add just a drop or two of ink to a tablespoon of isopropyl alcohol. Dab a cotton ball in the mixture and and apply it evenly to the blank. For an ombre effect, try layering varying dilutions of ink and alcohol on a single blank. Remember that each type of wood will respond differently to the ink as some are more porous than others.
Start light: When applying ink, start with the lightest colour and gradually work towards the darker ones. You can always add more layers, but you can’t take them away or paint over them. Even undiluted, alcohol ink is transparent.
Make your Turned Wood Pop with Colour
Whether you’re going for a solid, vibrant hue or just a bit of a tint to enhance your woodturnings, alcohol ink is easy to work with and fun to use. William Wood Write has every shade you need. To find out about the latest tools, trends and products, make sure you sign up for our newsletter!

