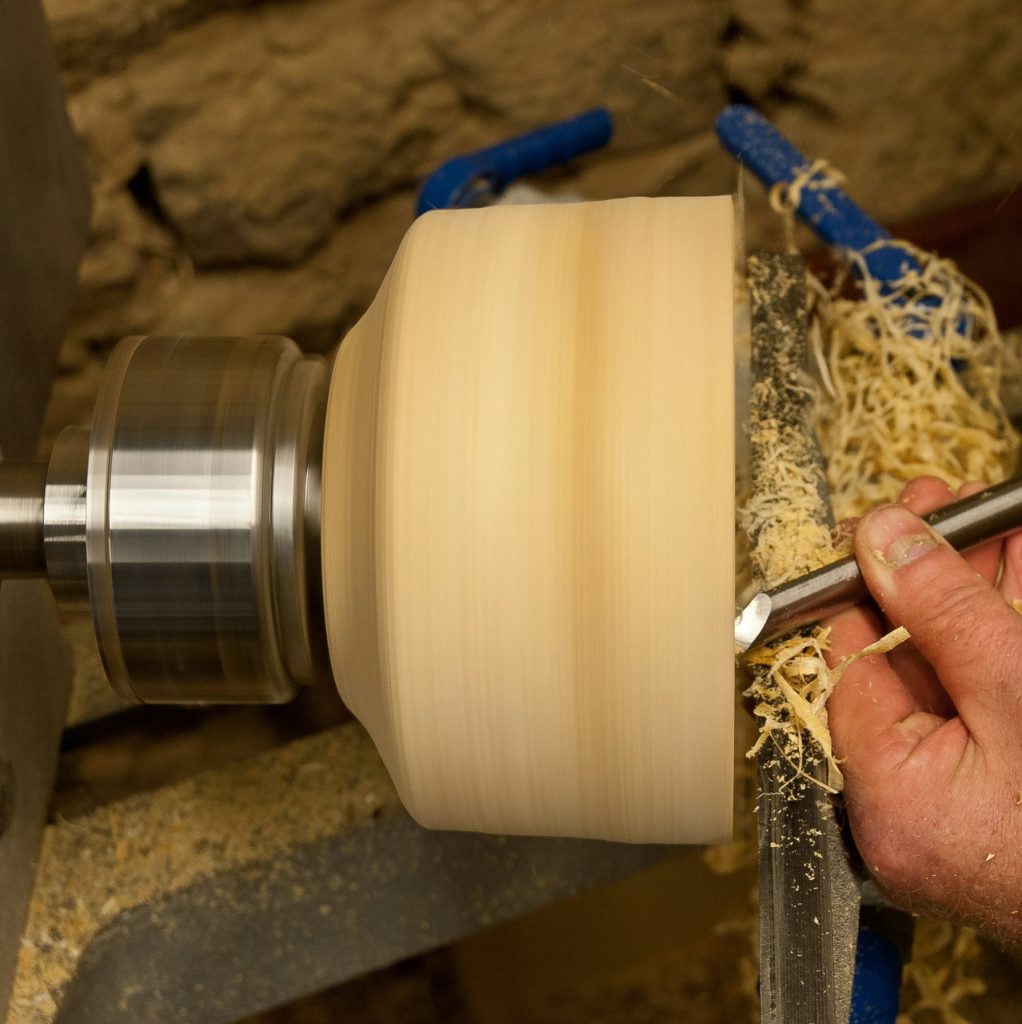

It’s a debate that can go on forever: Is stabilized wood better than natural wood when it comes to turning? Truthfully it comes down to what you’re making, what species you’re working with and personal preference.
Stabilized wood has been thoroughly dried and then permeated with resin under vacuum. This makes it harder and denser while maintaining the natural beauty of the wood, especially in burls with brittle or porous knots prone to exploding. It’s extra durable and resistant to heat and humidity. It is less likely to warp, shrink or break than untreated turned wood and is perfect for making things that might be handled roughly like rings, utensil handles and custom pens.
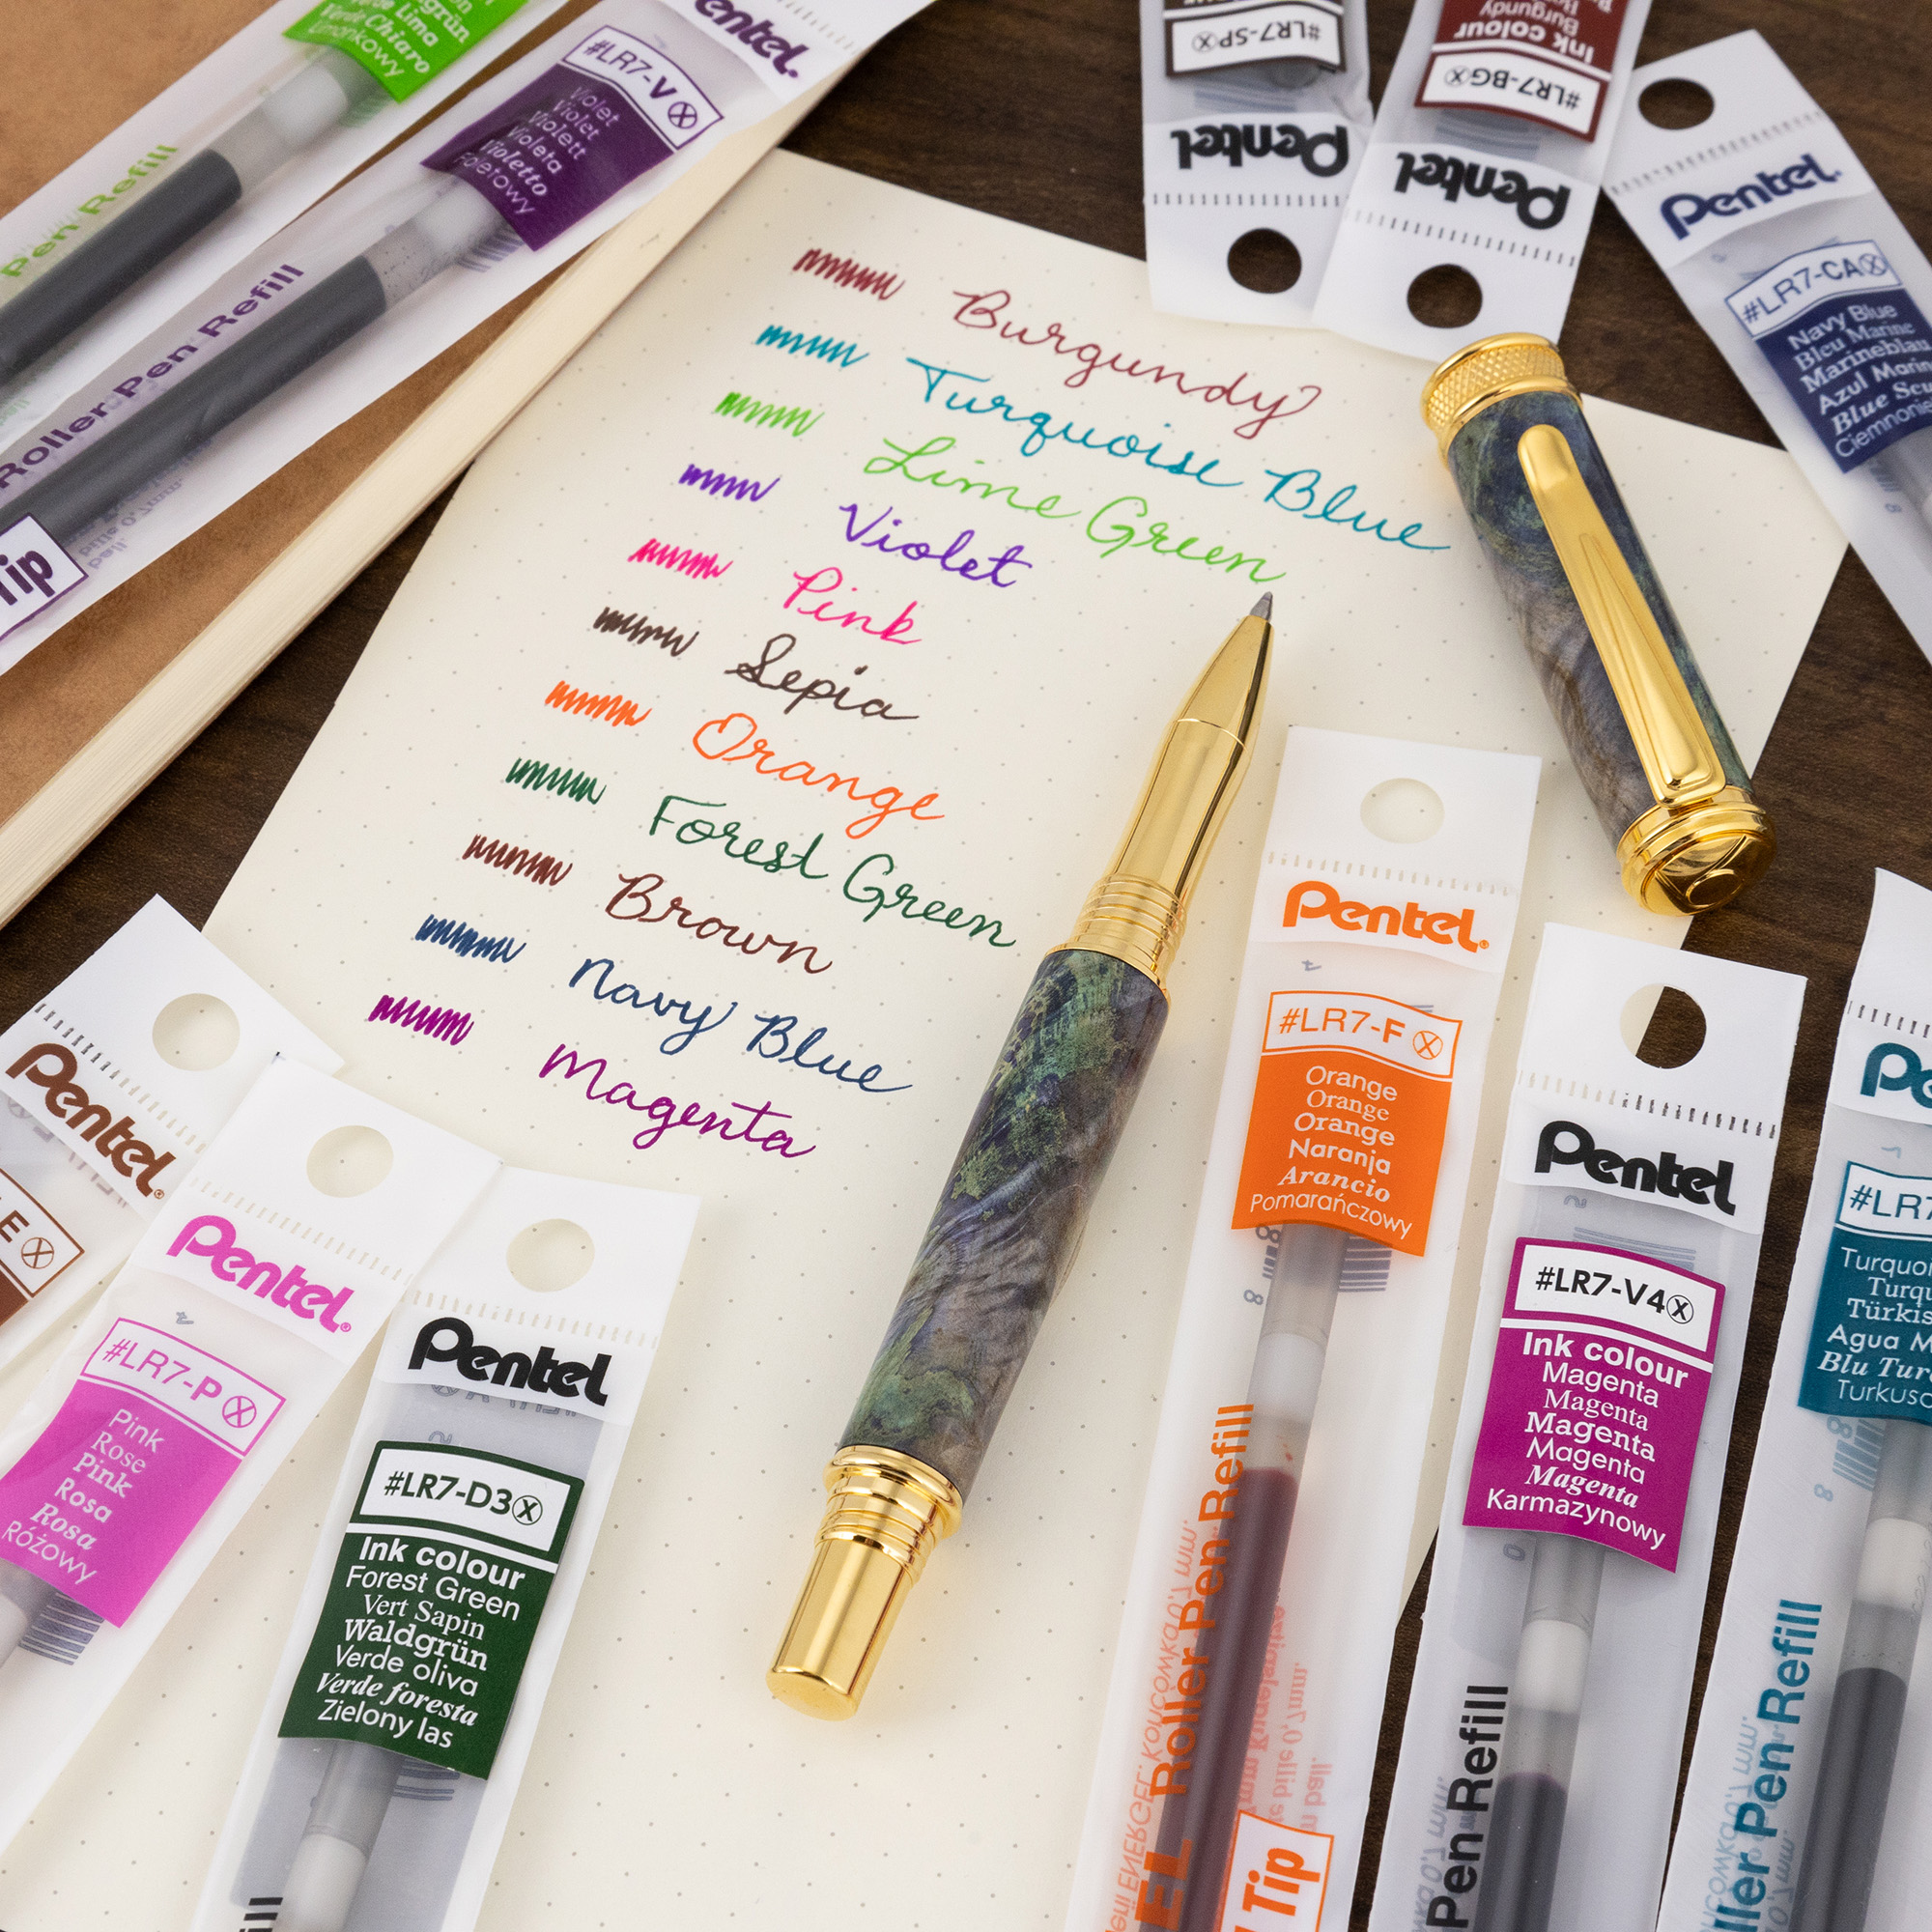
You can purchase both natural and dyed pen blanks that are stabilized or if you’re feeling adventurous you can do it yourself. With the right equipment, you can fine-tune your wood turning techniques for maximum personality and style, making a completely handmade item from scratch.
When to use stabilized wood for turning
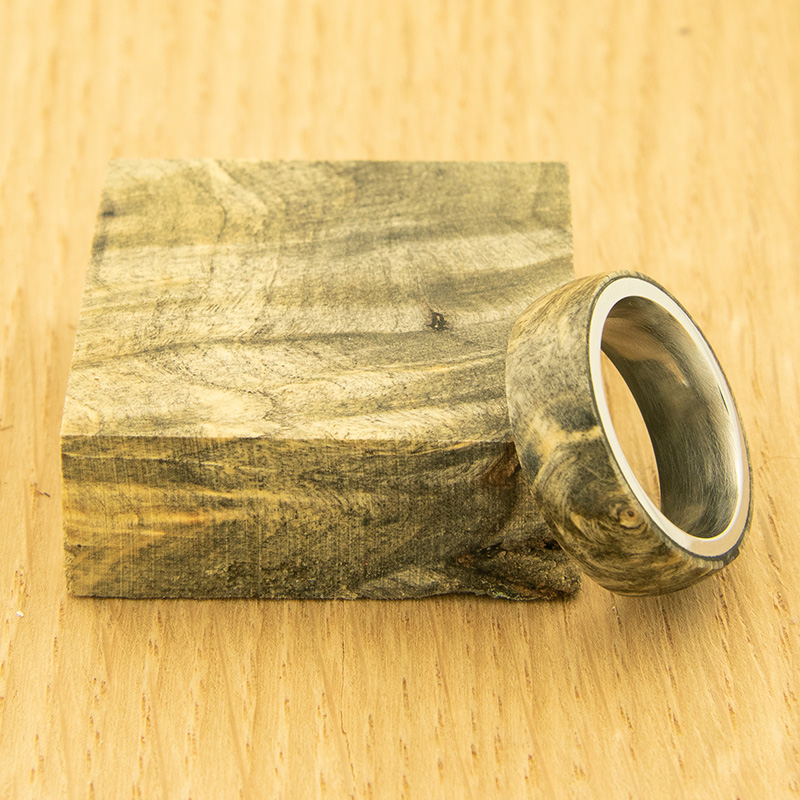
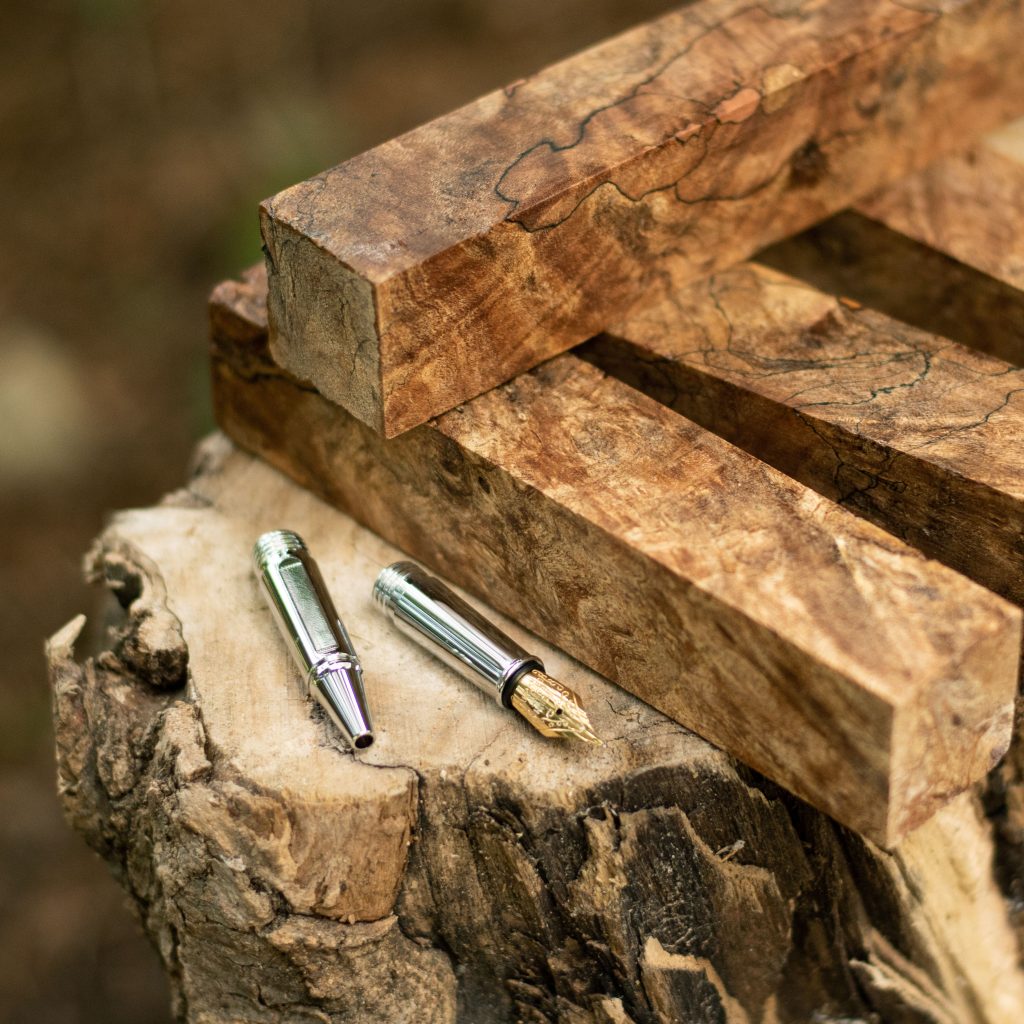
Stabilized wood can be used for all of the same things as regular wood but is especially well suited to items that will be handled often and potentially given rough treatment. This includes key chains, kitchenware, knife handles, jewelry and rings in particular. A ring made from untreated wood might respond poorly to moisture and wear. Stabilized wood mitigates that problem, allowing you to make beautiful wooden jewelry without worrying about breakage. This is especially important if you are making handmade gifts that people will treasure for years to come. Stabilized wood is also suited for fine, intricate details that might not be possible on weaker, untreated wood. It can also make soft and otherwise unworkable wood, turnable!
So if you’re making something that might be thrown in a drawer, exposed to moisture, dropped on the floor or knocked around while being used, stabilized wood might be a good choice.
How to Stabilize Wood at Home
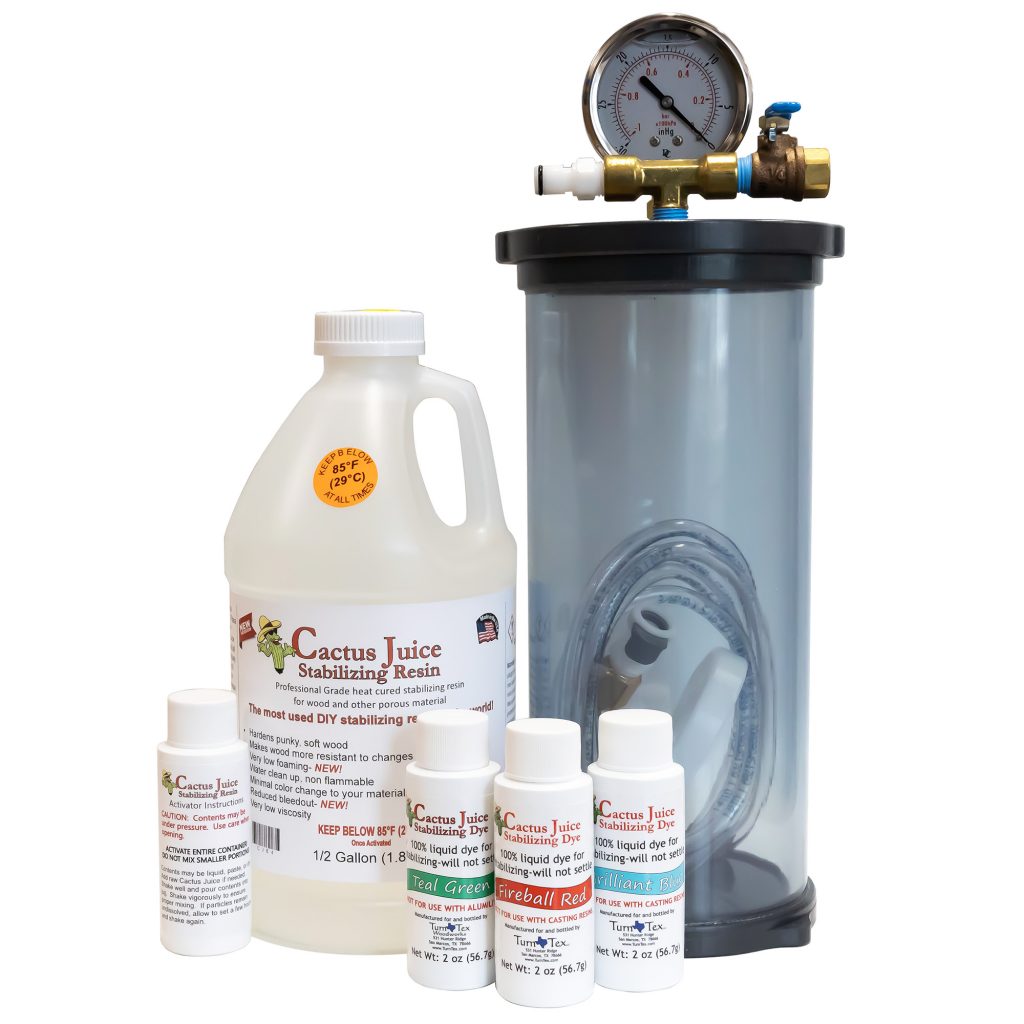
Before you dive in, there are a few important points to keep in mind for the best results. You will need a vacuum pump, a vacuum chamber, your wood and stabilizing resin.
- The wood you choose to stabilize must have 10% moisture or lower and preferably be completely dry. A simple way to dry your wood is to put it in the oven at 220 degrees for 24 hours or longer, depending on how wet it is. Remember that freshly cut wood needs to be air-dried for several months before the oven method will work.
- When you remove the wood from the oven, immediately put it into an air-tight container to cool. When warm wood is exposed to air it absorbs moisture, which you don’t want!
- Let your wood cool completely before proceeding with the stabilizing process. Warm wood will interfere with the polymerization of the resin.
- Be sure to wear gloves and PPE.
- Have your materials ready beforehand. We recommend using a Cactus Juice starter kit to keep things simple and organized.
- Place your chamber on a sturdy, flat surface. If it is jostled or falls on the floor it could implode.
- Avoid using oily woods like cocobolo, rosewood, teak or bubinga. The oil can contaminate the resin so it doesn’t cure properly.
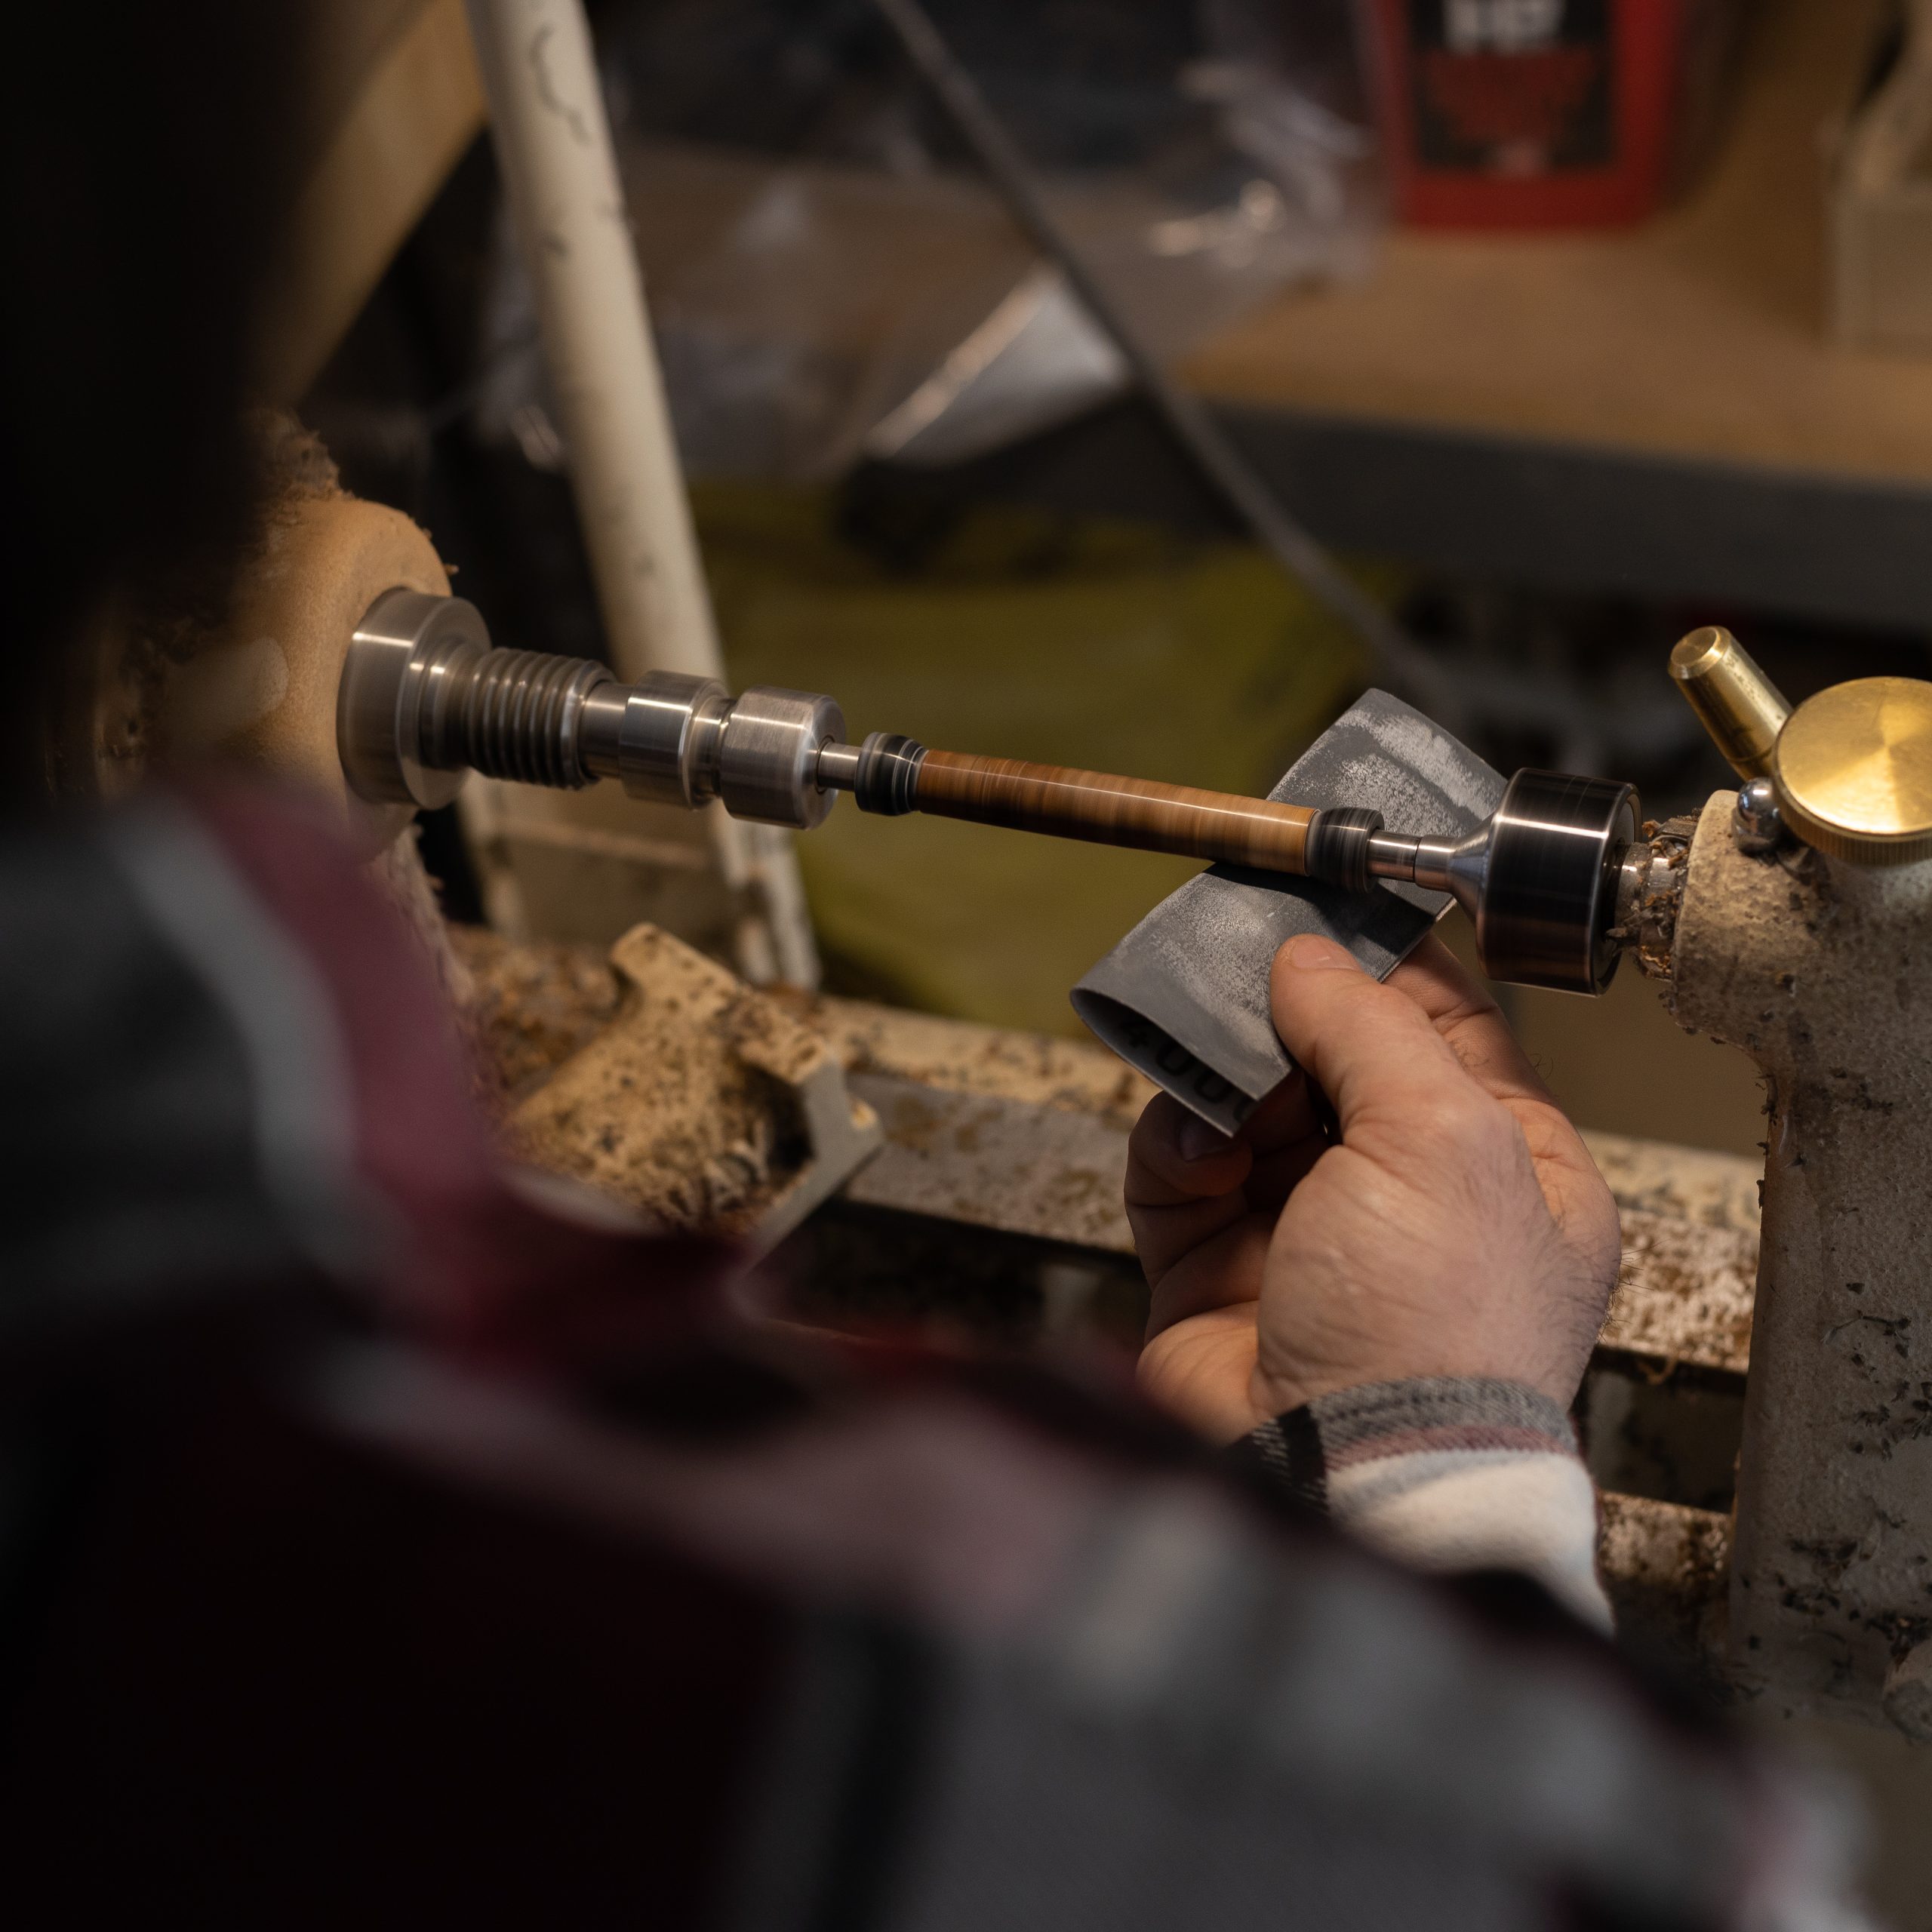
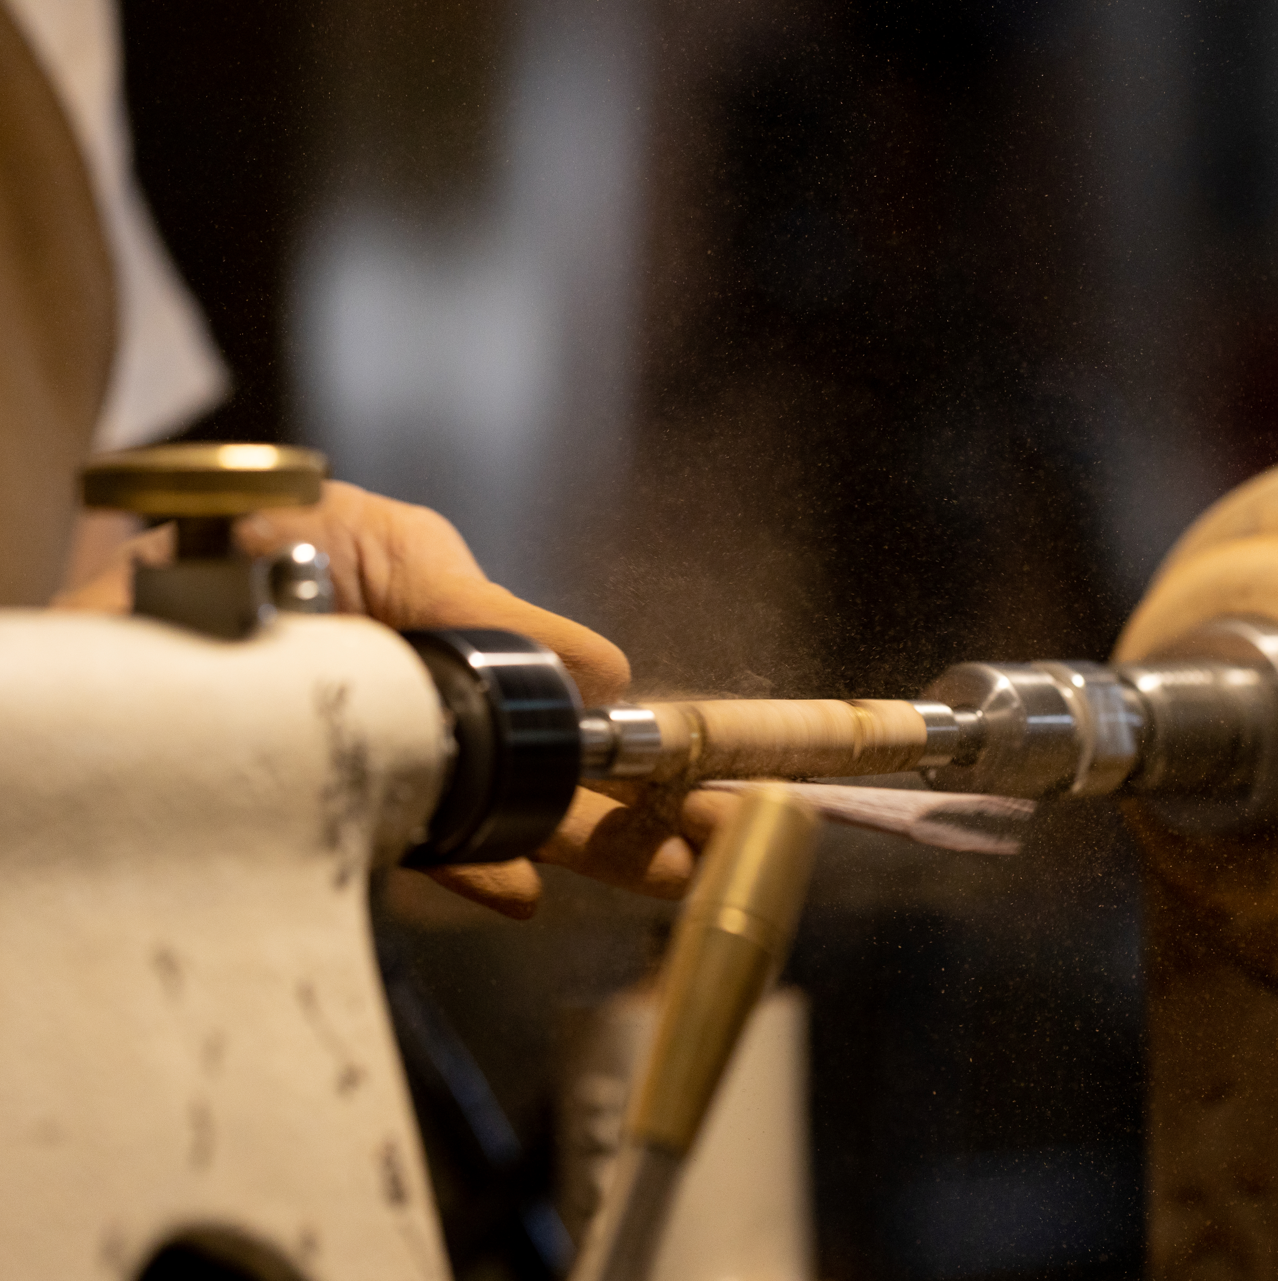
Stabilizing pen blanks step-by-step
- Mix the Cactus Juice according to the directions on the jug.
- Place your wood in the vacuum chamber with a weight on top so it doesn’t float.
- Pour the activated Cactus Juice over the wood, covering completely.
- Put the lid on the chamber, making sure the gasket is sealed.
- Apply full vacuum to the chamber. As the vacuum sucks air out of the wood, bubbles will form in the resin. This sometimes makes a lot of foam, which you can control by slowly opening the vacuum control valve. Be careful not to let foam get into the vacuum pump. Once the foam subsides a little you can go back to full vacuum mode until there are hardly any bubbles left. This can take several hours or longer, depending on the wood. Keep track of how long this process takes because you will need this information later.
- When the bubbling has mostly subsided, open the ballast on your pump, release the vacuum and turn off the pump.
- Let the blanks sit in the resin for twice as long as the vacuum was running.
- After the allotted time, remove the blanks from the resin and wrap each one individually in tinfoil so they can cure without sticking together.
- Put the blanks in the oven at 190-200 degrees until the resin has solidified. For the average pen blank this takes around an hour and a half, but the thicker the wood, the longer it will take. You can very carefully peek into the tinfoil to check for liquid and then put it back into the oven while still warm. If the wood cools, it will not cure properly.
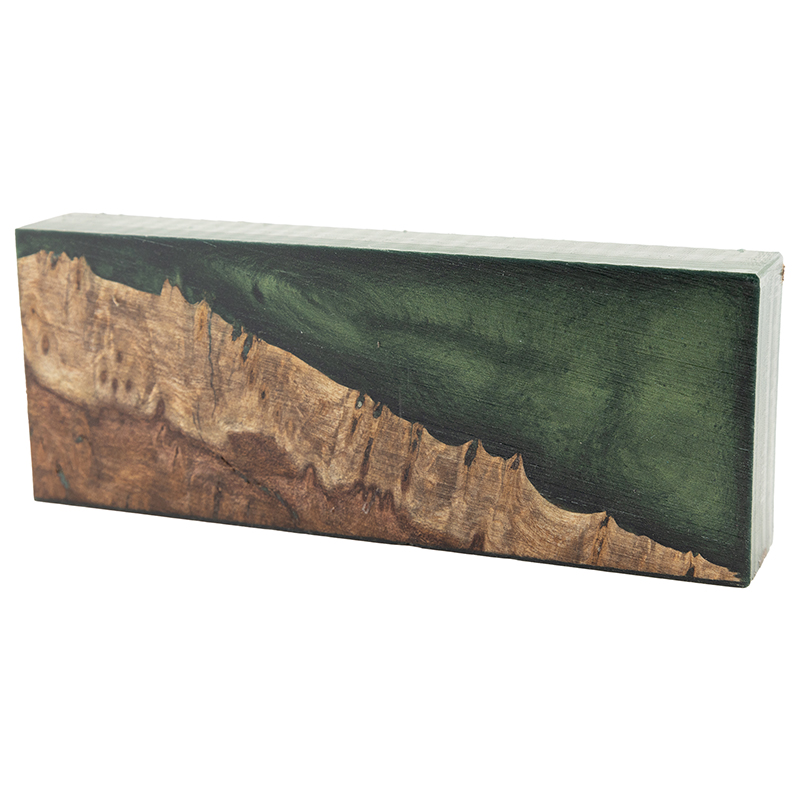
- Remove the blanks from the oven and let them cool completely. Your stabilized pen blank is ready!
- Pour the leftover resin back into the jug. Activated resin will last for one year.
- Wash the vacuum chamber with water and dish soap and let it dry thoroughly before the next use.
Handmade from start to finish
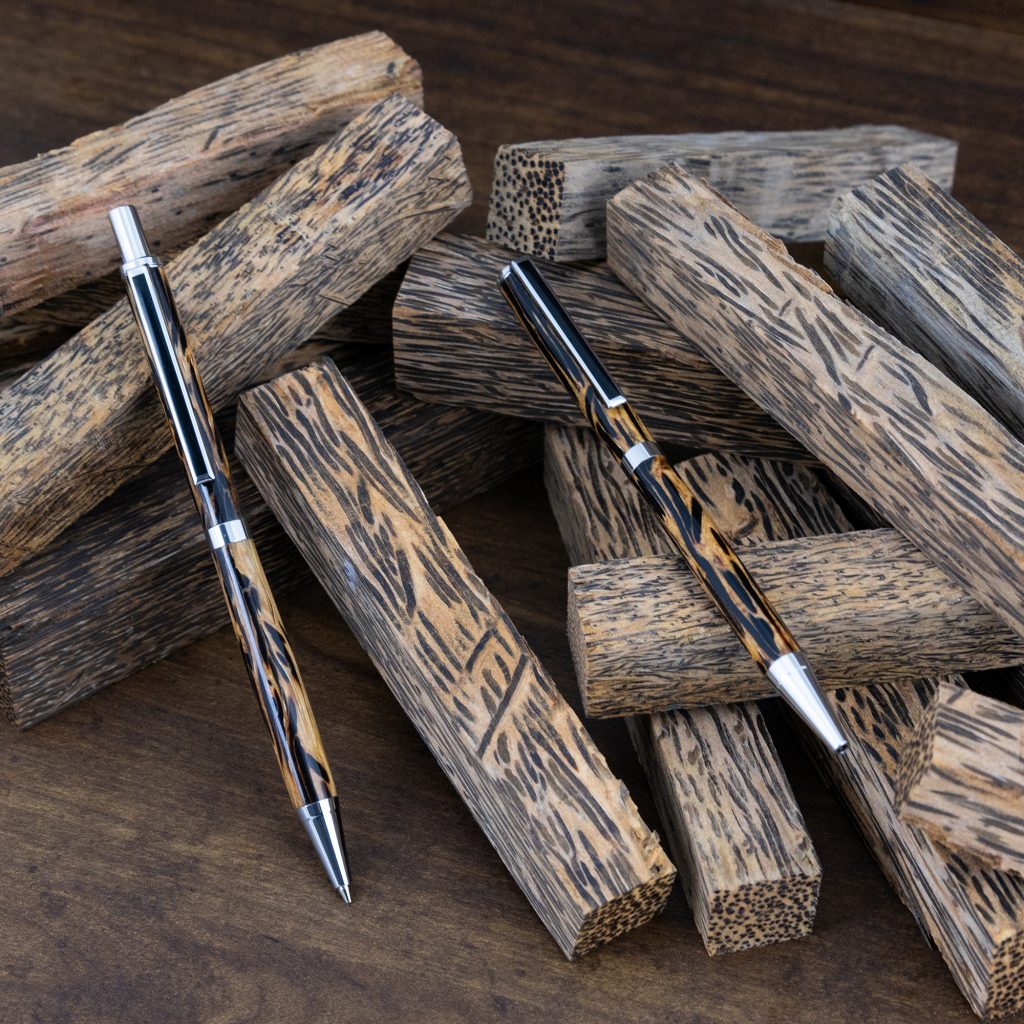
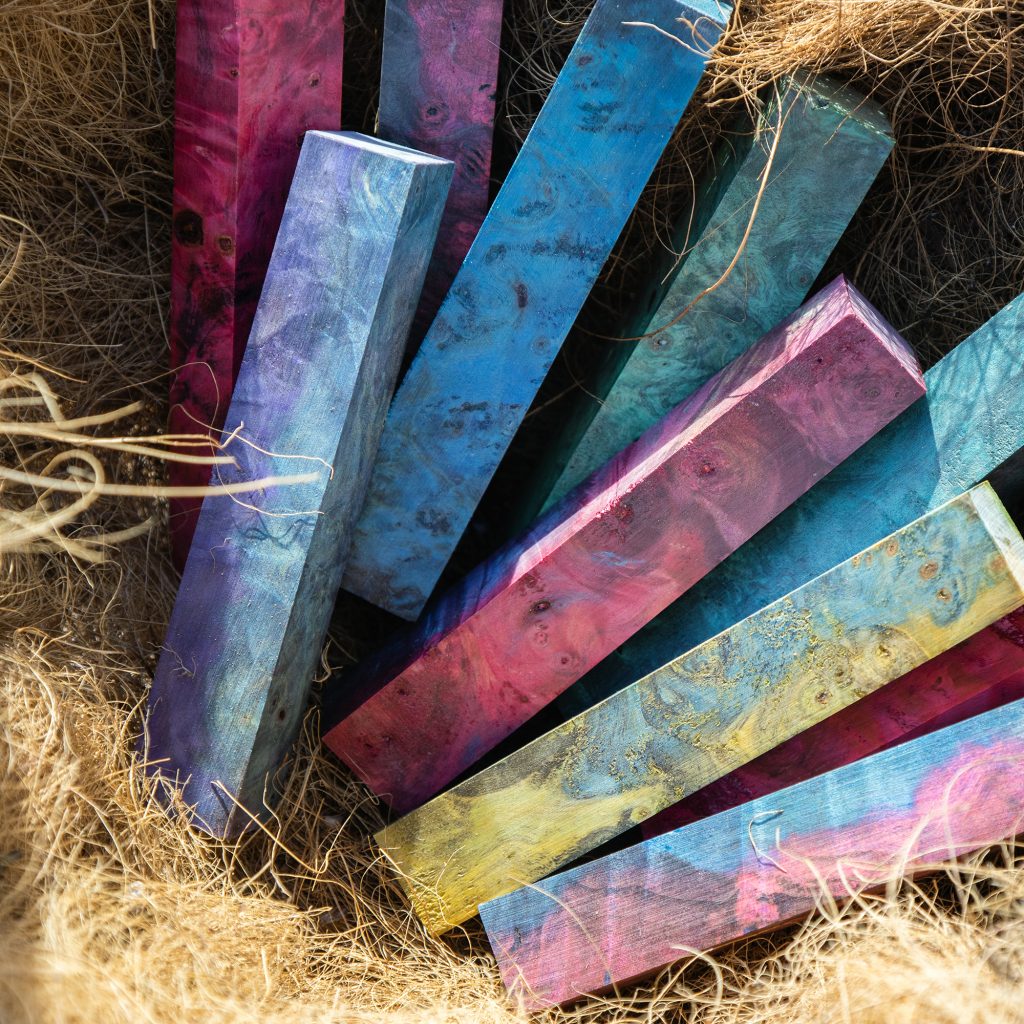
Stabilizing your own wood allows you to control its appearance, colour and strength. Try adding Cactus Dye to different types of wood to get that highly personalized touch- light coloured woods like curly maple and birdseye is best for this. One great thing about Cactus Juice is that once activated, it can be kept in its original jug for a whole year. This prevents waste and leaves plenty of time to experiment. Visit William Wood Write for more instructional information, how-to’s and all things wood turning.


