
Have you ever seen those amazing wood turned projects that have multiple kinds of wood seamlessly pieced together? It’s impressive! Segmenting is a woodworking technique that combines various small pieces of wood, metal or acrylic to create a whole blank, which you can then turn on your lathe. It’s often seen in hybrid knife handles, pens, bowls and kitchenware. Segmenting is an effective way to add value and personality to your work, but it requires patience, skill and practice.
There are a few things to consider when taking on segmenting to get the best results and avoid frustrating problems.
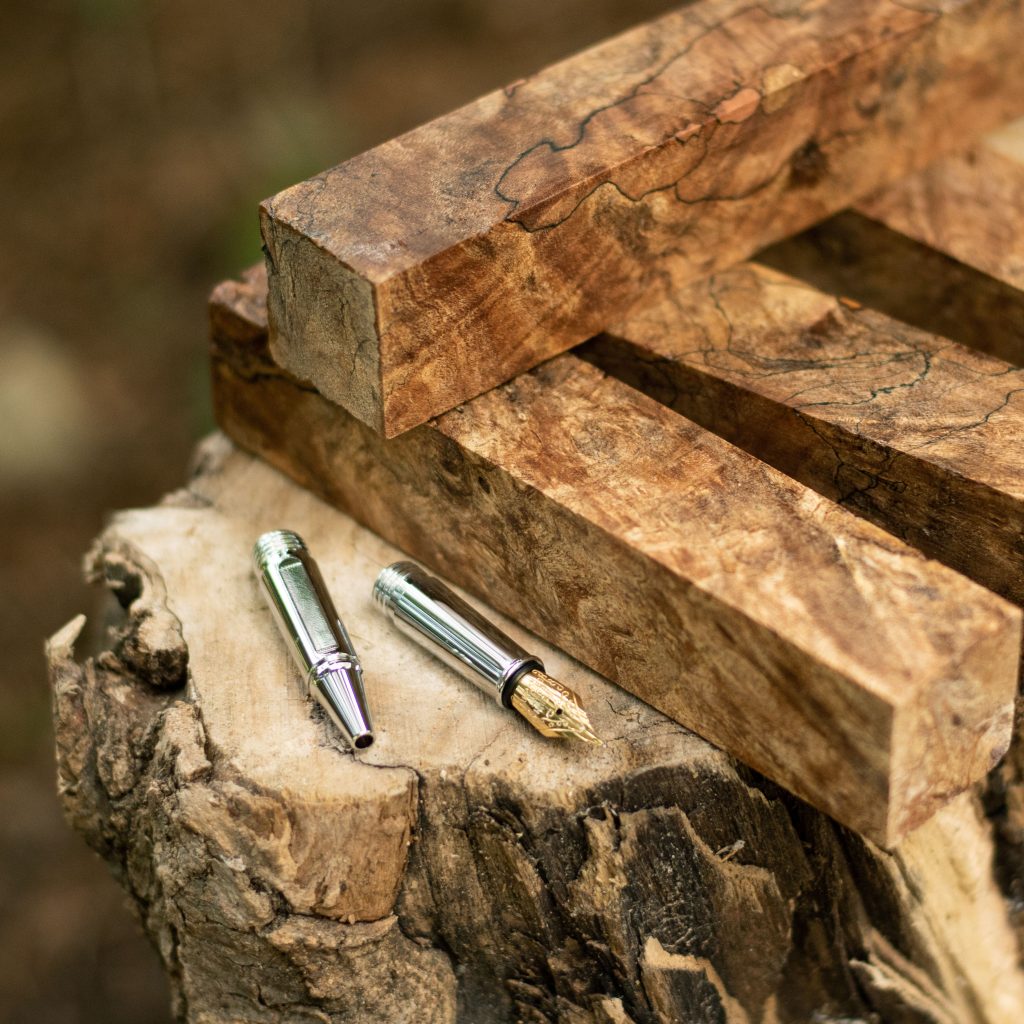
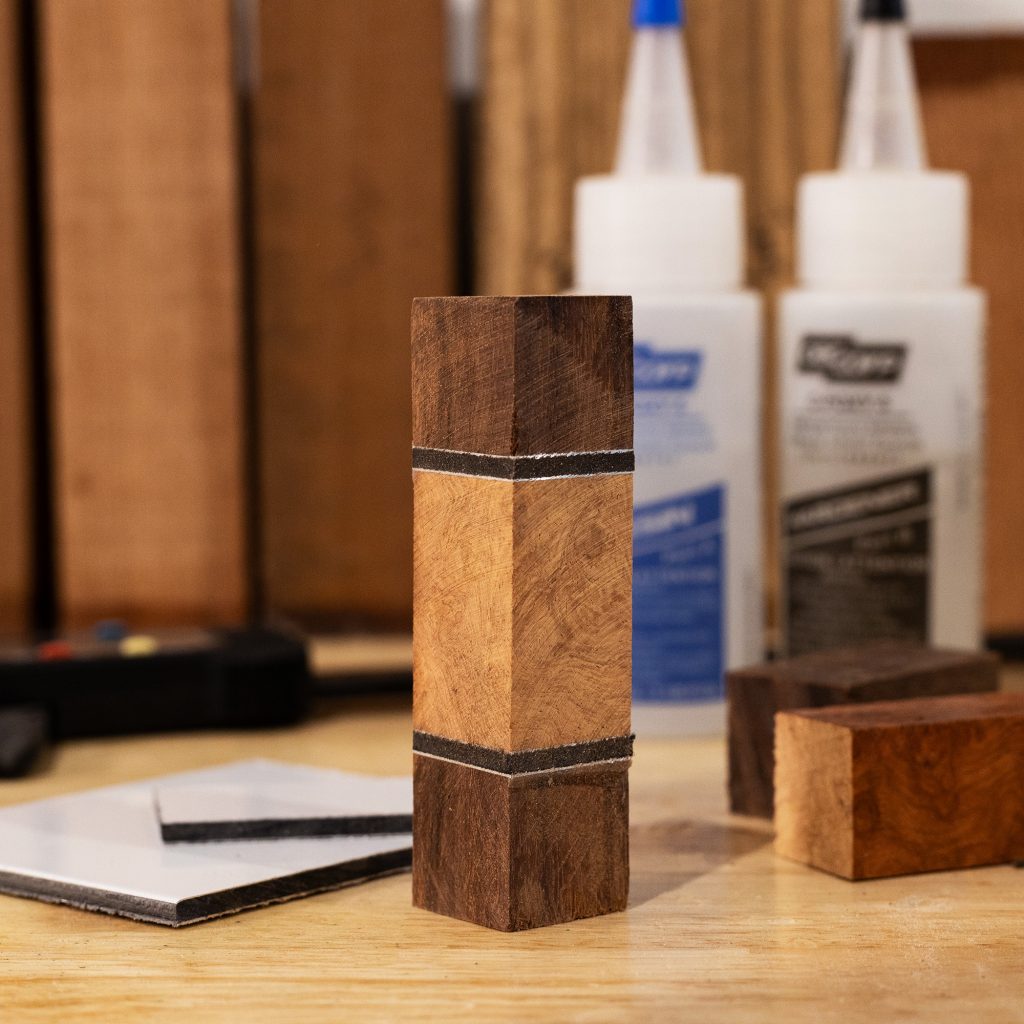
Choosing materials for making a segmented pen blank
The possibilities are endless when it comes to materials to use for your segmented project, but there are a few basic things to consider before diving in.
Colour: First and foremost is choosing a colour combination. For a subtle and sophisticated design you might join several dark woods like black walnut and wenge. For a big contrast, try ash with ancient bog oak. The more colours you add, the more complex the design will become.
Moisture: Be sure that all the wood you choose has been thoroughly dried. If not, the pieces will bend, shrink and crack over time, leading to breakage.
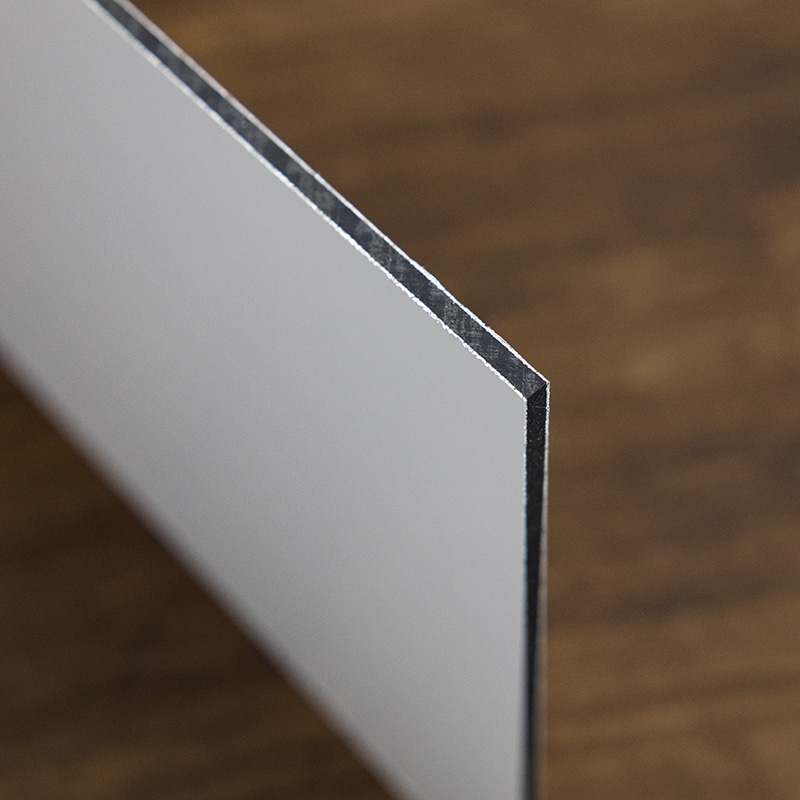
Accent: Incorporate thin stripes of contrasting material between wood segments, such as aluminum paneling, flexible birch strips, or wood veneer. You can include pieces of acrylic, poly or honeycomb blanks, too. Just remember that these materials sometimes require a different approach when turning and finishing.
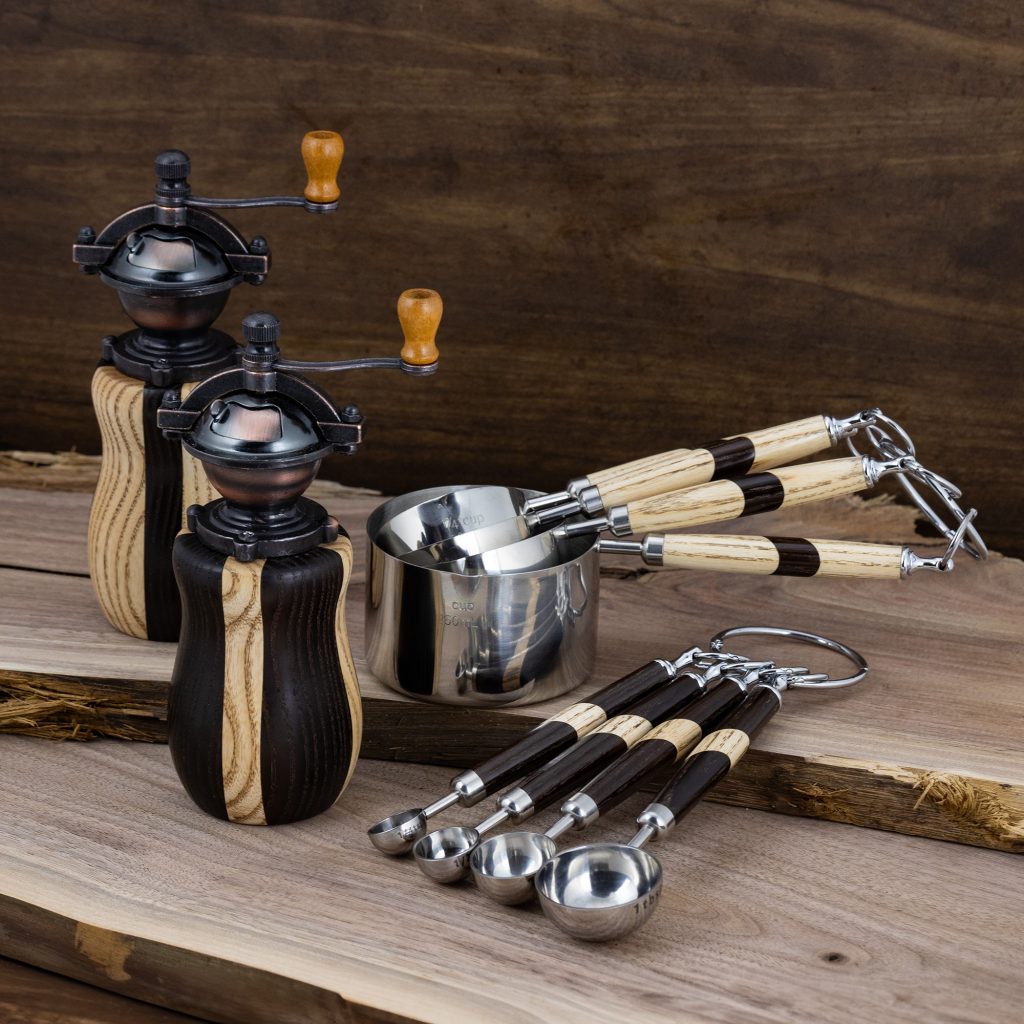
Functionality: If you plan to make functional tools like utensil handles, combine hard wood like cherry, maple, purpleheart or bloodwood. These are durable enough for daily use and ensure that your segmented creation will last a long time.
How to Prepare Segmented Wood for Turning
- Select the wood you’d like to join and decide on a design.
- Cut your wood down to size. If you’re using a segmenting panel, cut it to match your pen blank.
- When preparing the segments of your project, it’s absolutely imperative that they have a 90 degree angle. Each piece must lay perfectly flat against the other. Any variation will result in sloppy work and breakage while turning. Use a carpenter’s square or drafting triangle to check, then trim or sand the pieces to get it right. This is where patience comes in!
- Thoroughly sand the surfaces that will be touching when glued together. This helps the glue take hold and ensures durability. Then, remove all dust, oil and debris.
- Lay your pieces down on a flat surface and join them with strong glue like two-part epoxy. Leave them in a clamp for 24 hours.
- When you drill your segmented blank, put a piece of scrap wood underneath it. This will relieve pressure and prevent blow out.
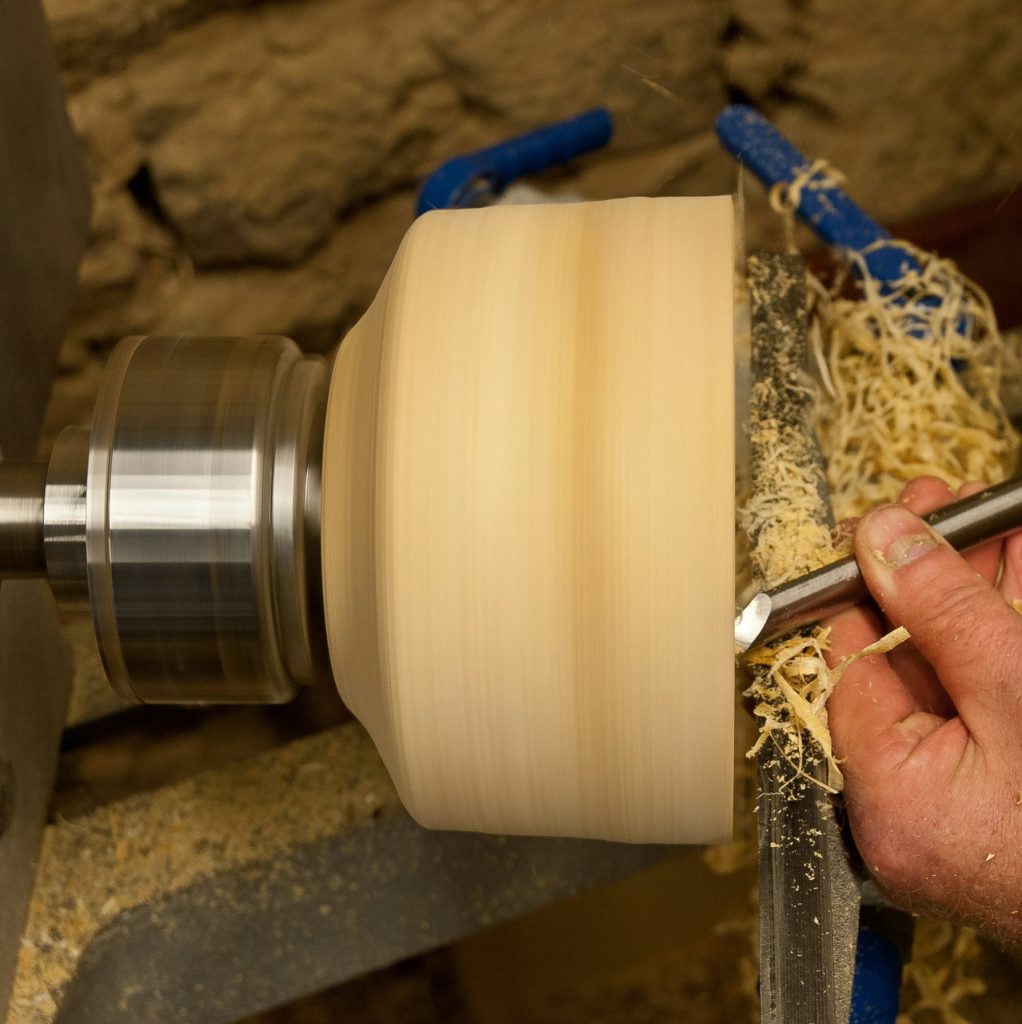
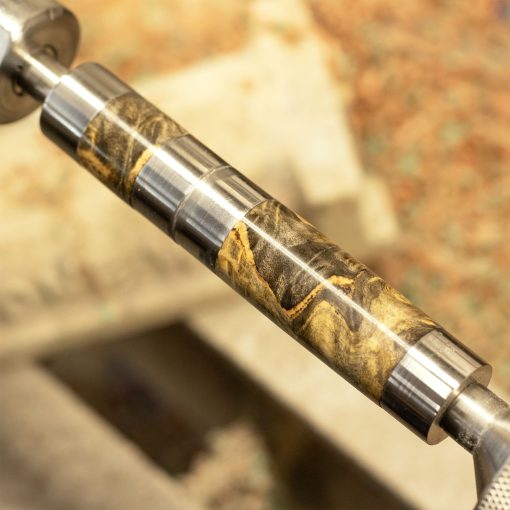
- You’re ready to turn your blank! Mount it on your lathe, and start turning carefully to get a feel for the different materials. Don’t apply excessive pressure, as this could make the segments shift or fall apart.
Materials for Wood Segmenting
Woodturners everywhere can appreciate a nicely done piece of segmenting. Developing this skill takes time and patience, but the pay off is worth it. You can find all the materials and tools you need at William Wood Write. Don’t forget to check out our YouTube channel, where you can find lots of how-to videos and inspiration!


