Sanding is an often unnoticed part of the turning process because the truth is, when it’s done well it doesn’t draw attention. When it’s done poorly, on the other hand, it’s the first thing that gets noticed. For many, it’s a chore and the least enjoyable part of turning. The best part is applying that first coast of finish and seeing the wood grain and colours pop to life. Unfortunately, this is also the moment that any scratches you missed will show up. That’s why it’s so important to complete the sanding process right the first time. That way your woodturned pens will delight customers and gift recipients, and reduce your own frustration.
Sanding basics for pen turning
Those who’ve been woodturning for a while already know the basics of sanding pen blanks but for those just starting out, there are some common penmaker problems that tend to come up. Here are some typical sanding issues and how to approach them.
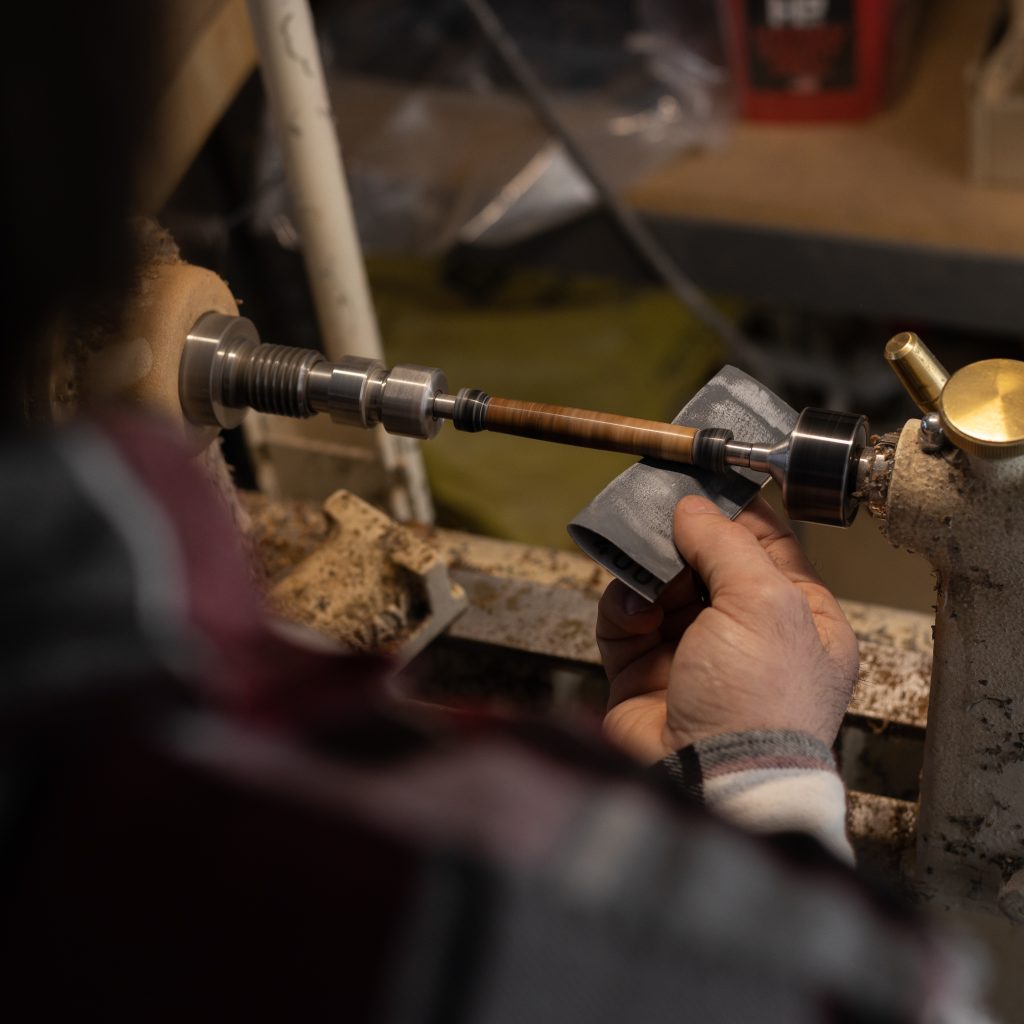
- Rings scratched around the pen. These scratches occur when sanding the pen barrel with the lathe running. Don’t hold the sandpaper in one place while the lathe turns; instead, move it side to side at a low speed. If you’re using materials that show scratches clearly, such as acrylic, stop the lathe between grits and spend some time sanding side to side to even out the marks. If you don’t, there will be no end to the vertical scratches.
2. Getting the right pressure. It can be tricky to figure out the perfect pressure to apply while sanding. If you notice heat building up or that your fingers are getting sore, ease up a little. On the other hand, if you find you’re not getting noticeable results, you might need to apply more pressure. This varies depending on the wood you’re using too, but over time you’ll get the feel for it.
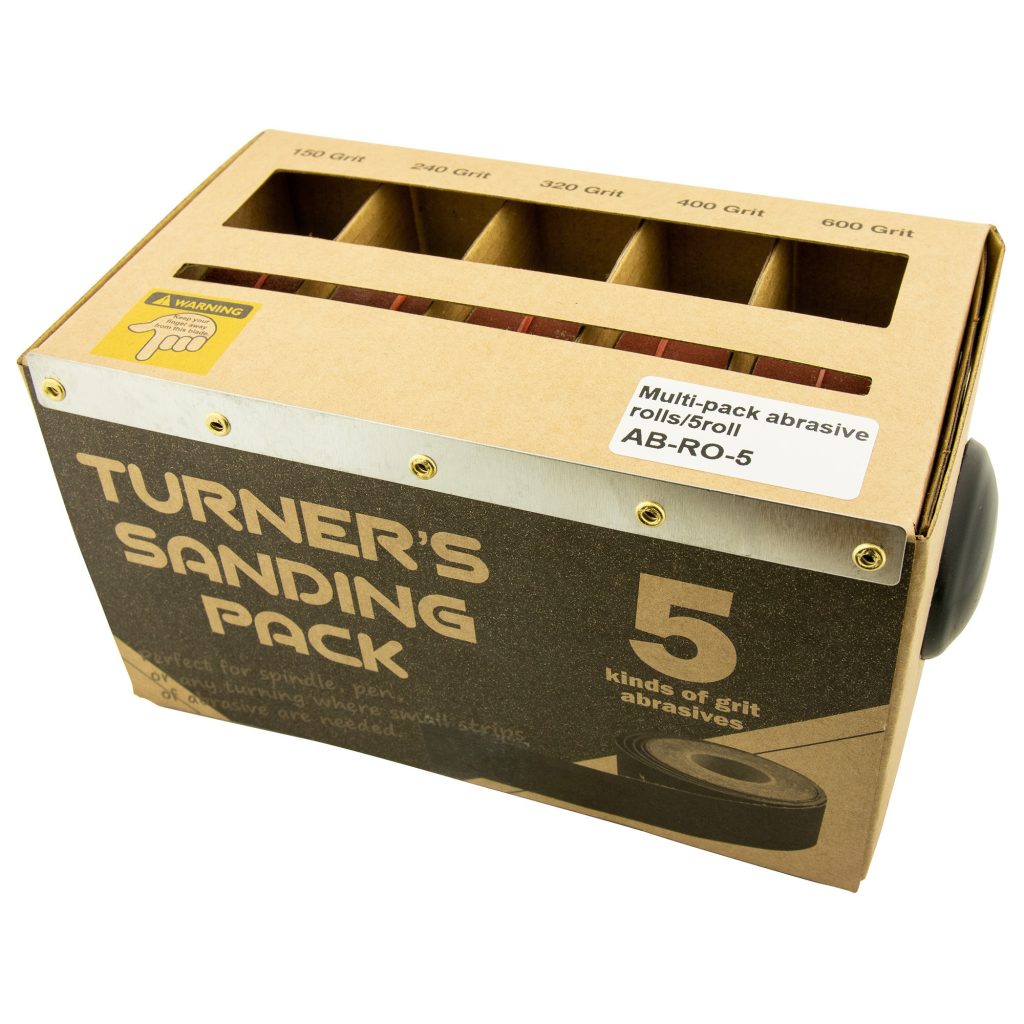
3. Lathe speed. Sanding at a fast speed will not have better or quicker results. High speeds generate heat which can make tiny cracks in the wood and wreck the sandpaper. When the lathe is going fast there’s reduced contact between the sandpaper and the wood, which might in fact make sanding take even longer than if you’d gone slow. A good starting point is to sand at half the speed you turned at.
Tips for sanding wooden pens on your lathe
- Check and check again. Use a bright light and examine the pen barrels at a 45-degree angle. This will highlight fine scratches you may have missed. Another good option is to examine your pen in natural light from different angles. This will show things that fluorescents in a wood shop might not.
- Slow and Steady. Starting with sandpaper that’s too fine will only make the process longer. Begin with a coarser paper than you think you need and spend extra time on each grit. Sometimes you’ll get right down to the finest grit, only to notice a scratch that’s too much for it. The only thing to do then is go back to the coarser grit, which is frustrating and time-consuming. Prevent this with patience. Rushing never has good results!
- Do a test. Once you think you’ve got your pen blank as smooth as possible, apply a thin layer of sanding sealer. This will highlight any sanding marks you missed. Take the opportunity to fully buff them out.
- Wipe off the dust. Wipe in between grits with a shop cloth or soft brush to ensure the smoothest possible finish.
A common myth about sandpaper grit
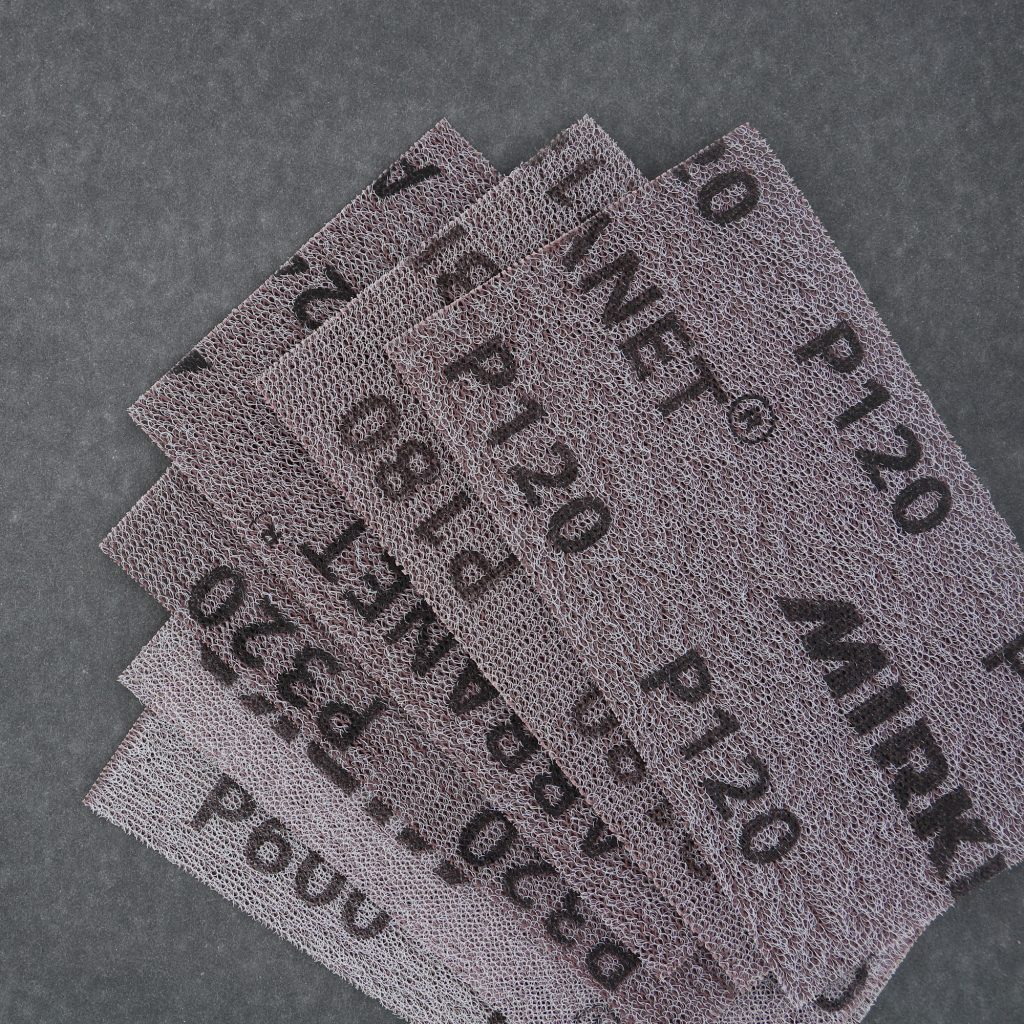
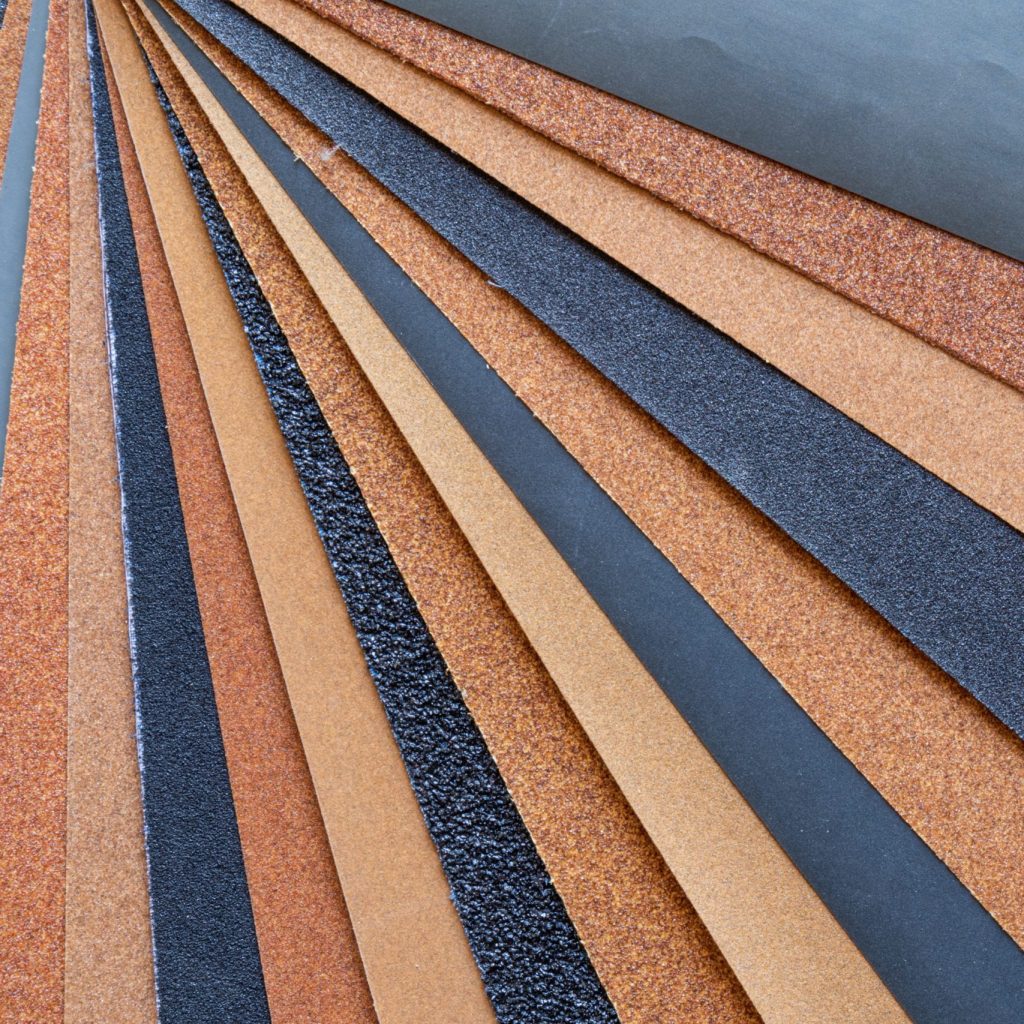
When tougher grit sandpaper wears out, it will do as a replacement for finer grit, right? Wrong. Used 220 grit doesn’t become 320. It is simply worn out and needs to be replaced. Worn-out coarse sandpaper will not act as a fresh piece of finer grit; instead of sanding, it just rubs dust into the wood and creates a shine, or burnish. It will not remove scratches or smooth out your wood. So be generous with your sandpaper and dispose of used up bits.
Getting the perfect finish when sanding lathe projects
Wet sanding or using an abrasive paste are excellent for the last few sanding steps. Wet sanding is accomplished by adding a few drops of water to your sandpaper. As you sand with water, a slurry, or paste, is formed that fills the pores of the wood. Between grits, wipe the slurry from the wood with a shop cloth. Apply more lubricant and proceed with the next grit. Wet sanding has the added bonus of reducing dust.
An abrasive paste is very fine particles mixed with oil or wax. Apply this paste to a shop cloth, run the lathe on slow and press it to the wood, patiently working it into the surface. This can be followed by your final finish.
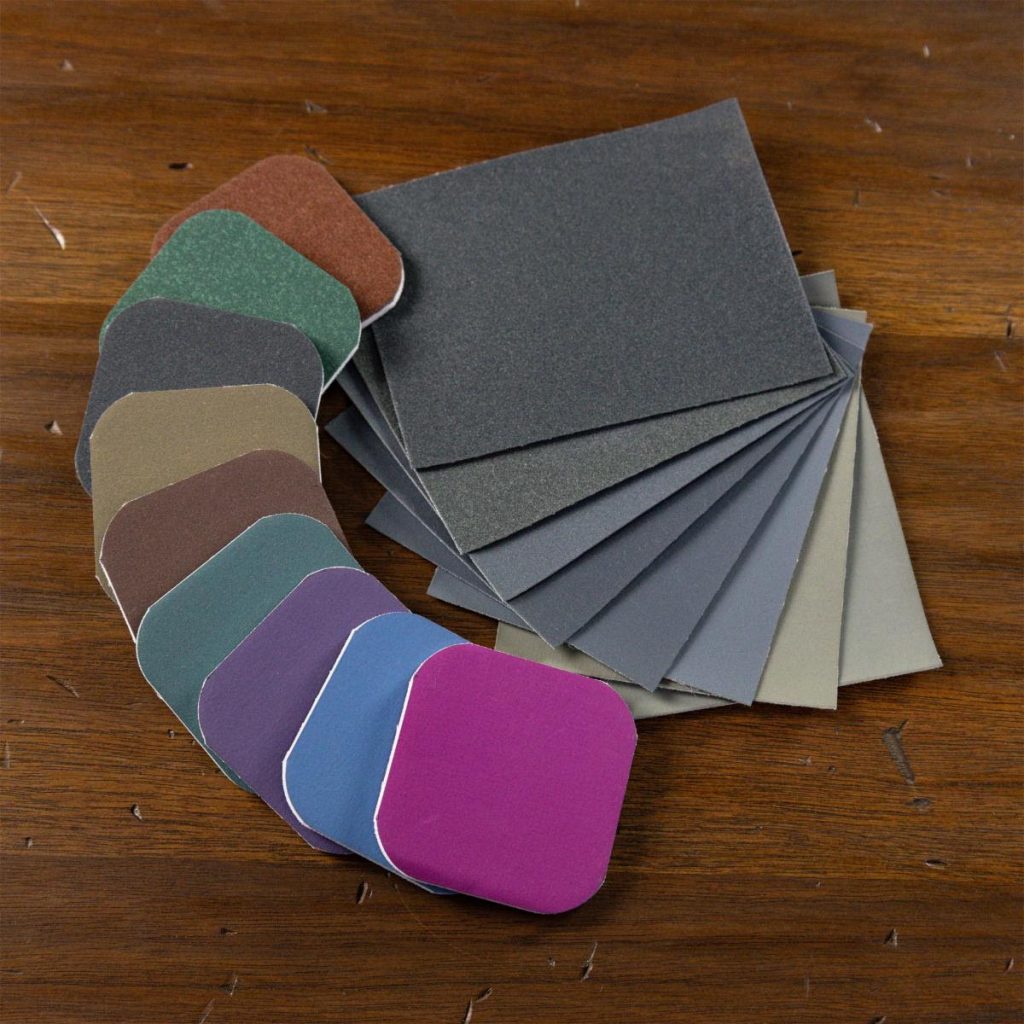
So what is the finest grit you need for pen making? While large lathe projects might be done “enough” with regular sandpaper, pen turners will often go all the way up to 12000 grit with Abranet or micromesh.
Stock up on pen turning kits and supplies in Canada
All of us at William Wood-Write are woodturners with various skill levels, which is how we know the products we carry are good quality and great for pen making — we’ve tried them! If you’re ever unsure about a product, a pen kit or what is the right tool for the job, feel free to email us and ask. It’s a form, but we promise a real person will answer!
