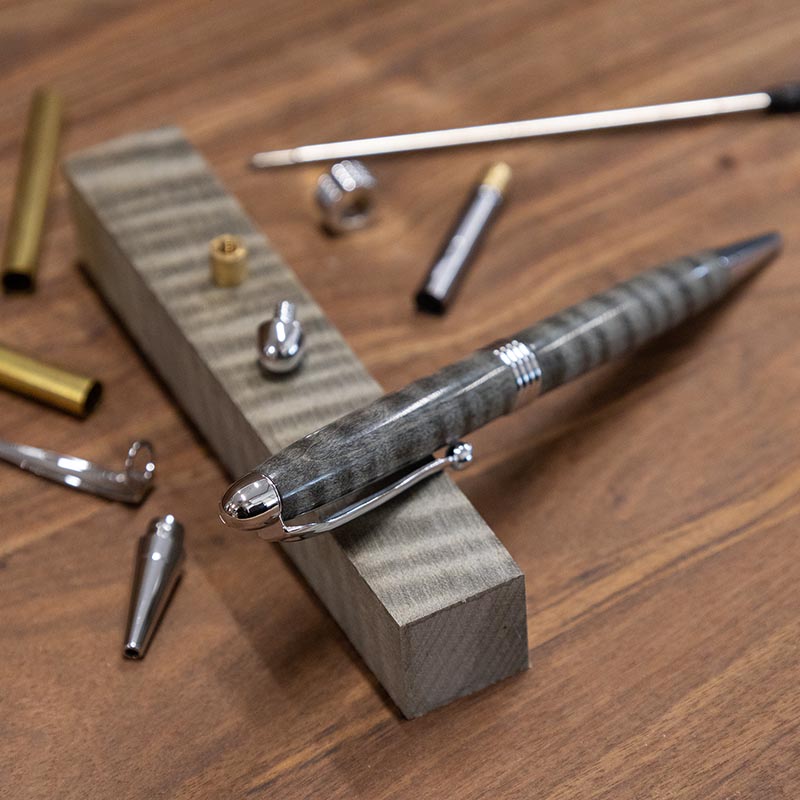
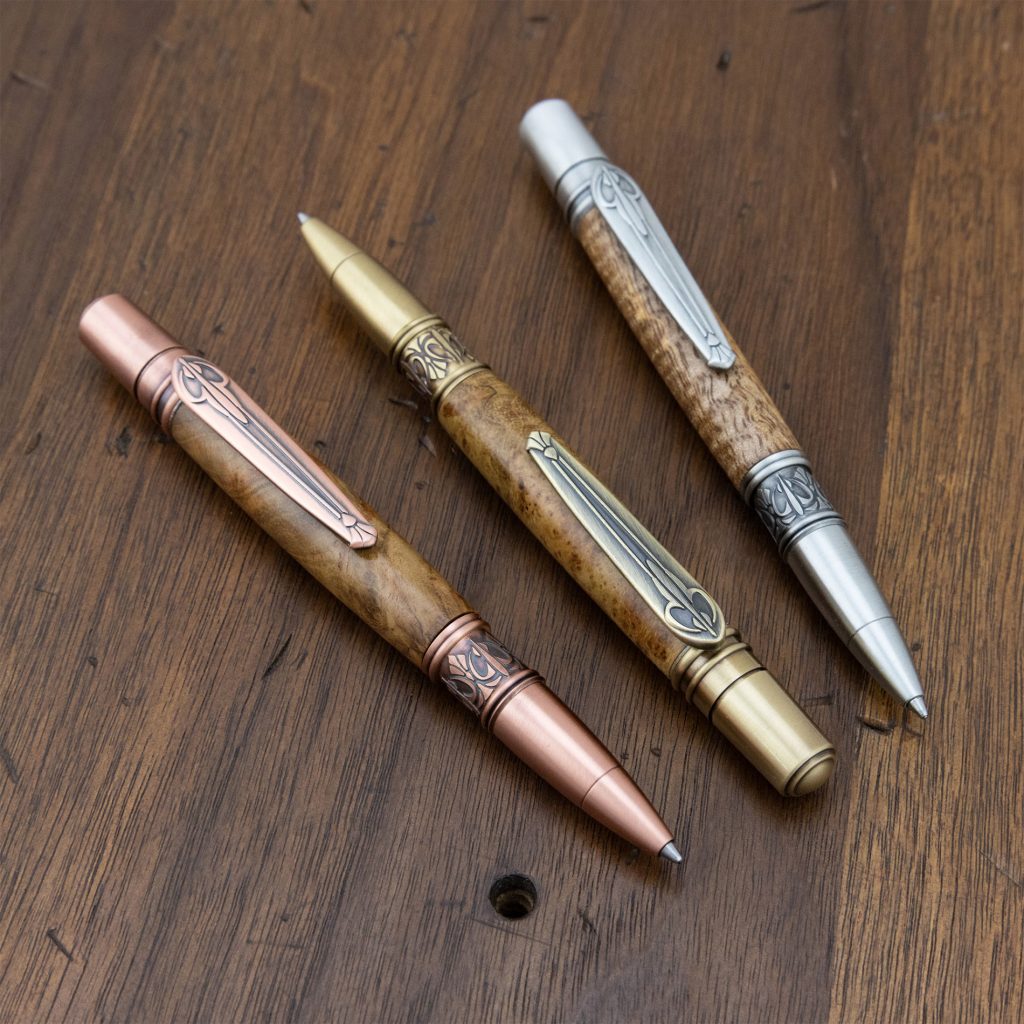
Lesson number one in pen turning: Precision is everything! You may have already learned this the hard way. Those tiny pen kit parts can be finicky. Something that seems like a small misstep in the beginning can become a big, glaring problem later, like unsightly gaps or even a pen that doesn’t twist or click.
Every beginner wood turner goes through the same basic list of challenges, so here are some ways to help you get through those roadblocks and onto crafting beautiful pens.
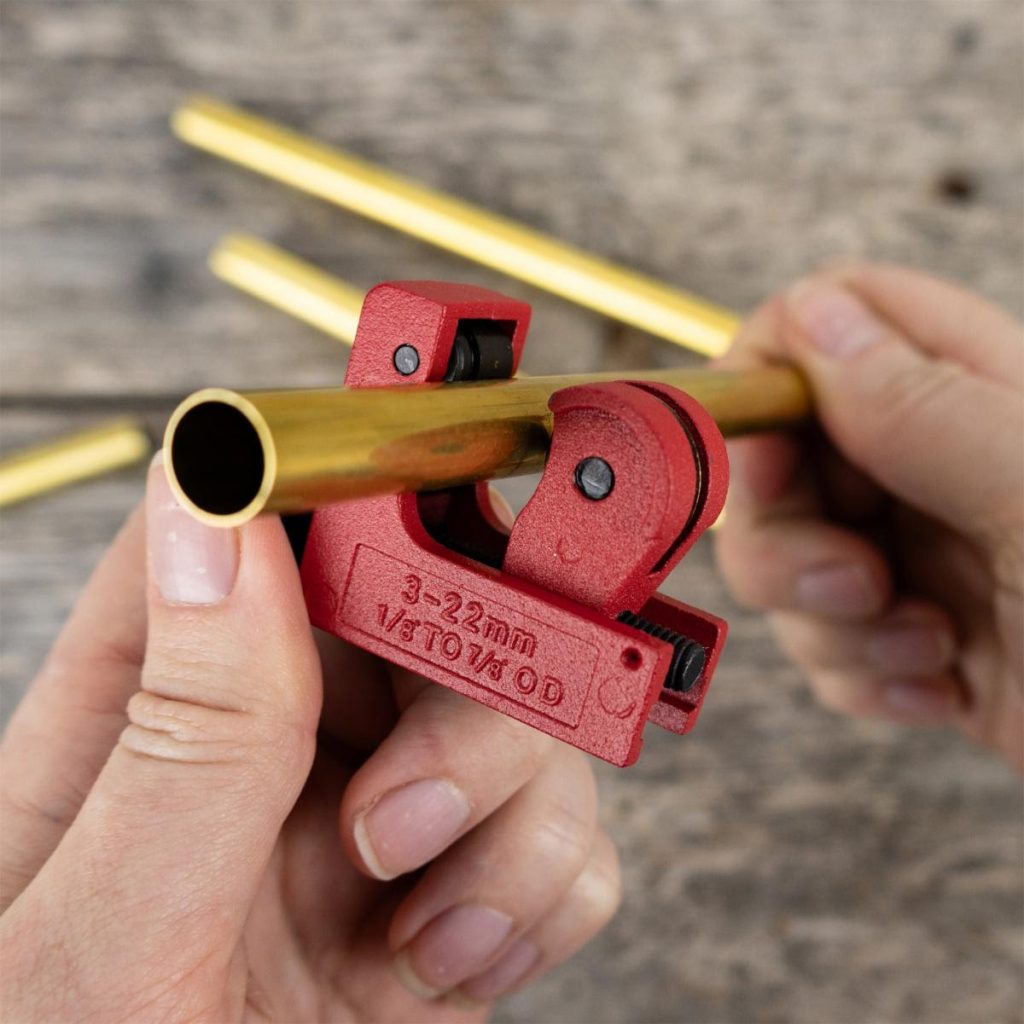
Improperly drilled pen blanks
While setting up, small steps become crucial. Drilling the pen blanks for tube insertion is one of them.
If a blank isn’t held evenly and securely when drilling, it can split, and it’s over before you even begin. Drilling center vices exist specifically for this reason. The drilling vice will hold your blank in place, applying even pressure from all sides and stopping any possible wobbling. It will also help ensure the hole is perfectly centered and at a right angle.
Be sure to mark your center before drilling. Eyeballing it will only lead to more problems!
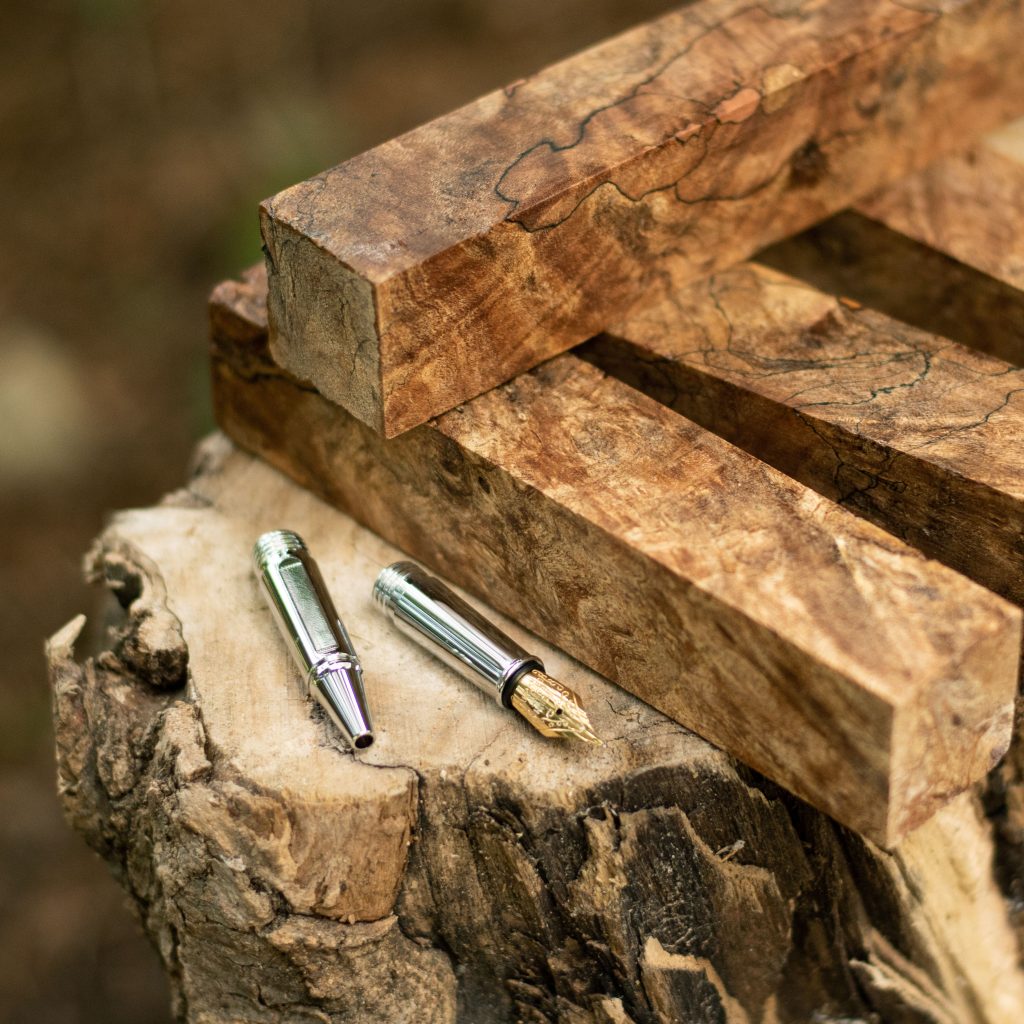
Poorly trimmed pen barrels
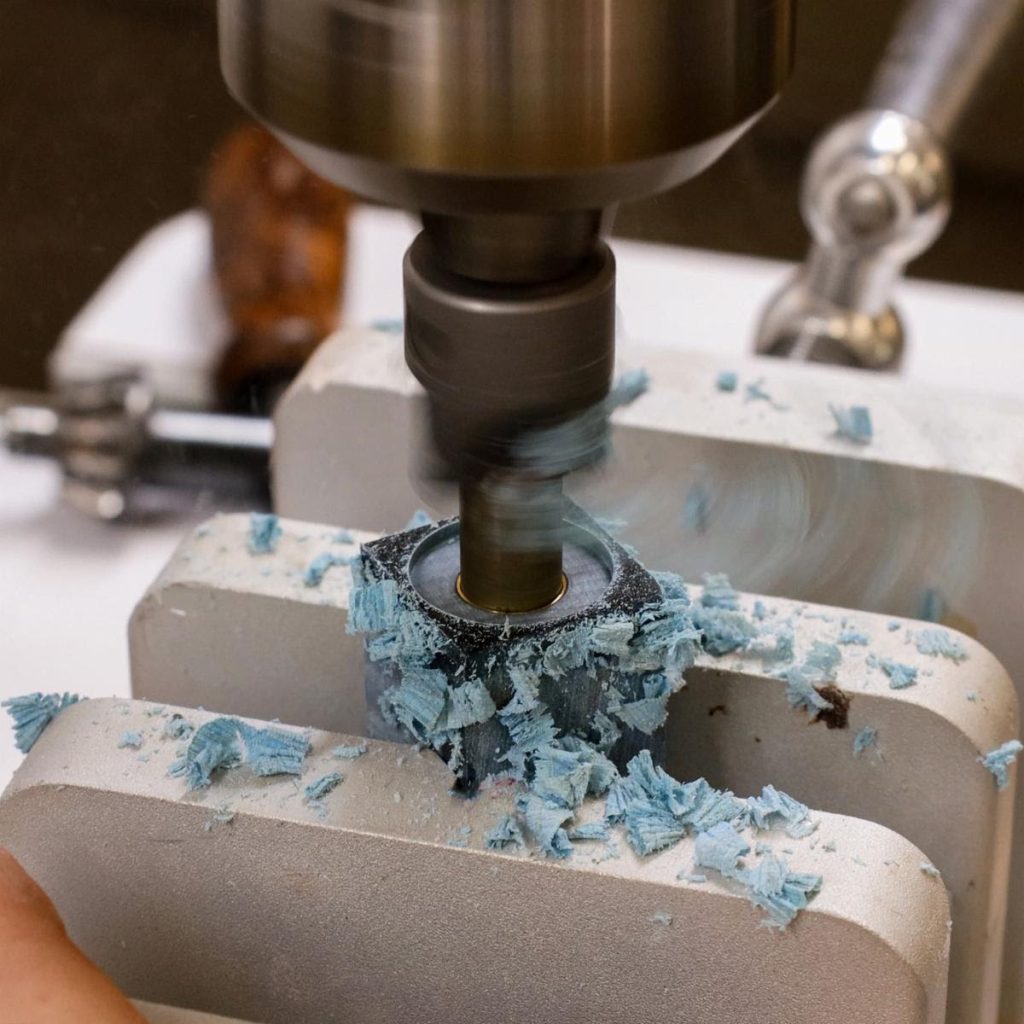
It happens to every woodturner. You spend hours turning, sanding and achieving a flawless finish, only to find when assembling your custom pen that the barrels are too short or the ends aren’t square. If not perfectly square, the pen won’t fit together properly. There will be gaps between the pen parts, and the twist or click mechanisms may not work.
The most sure-fire method to address these problems is to use a cutter head and a pen mill. These little tools go a long way toward making your pens fit together seamlessly. Pen mills come in every size and in many cases are compatible with the same detachable cutter head. They’re inserted into a drill press and applied to the pen blank. The pen mill will remove debris from the inside of the tube while the cutter head makes a nice flat edge.
The most important step is to check your progress often, watching for when the pen blank becomes flush with the tube. The end of the tube will appear shiny. If you accidentally cut some of the tube, the pen kit can still be saved by using replacement tubes that match the kit.
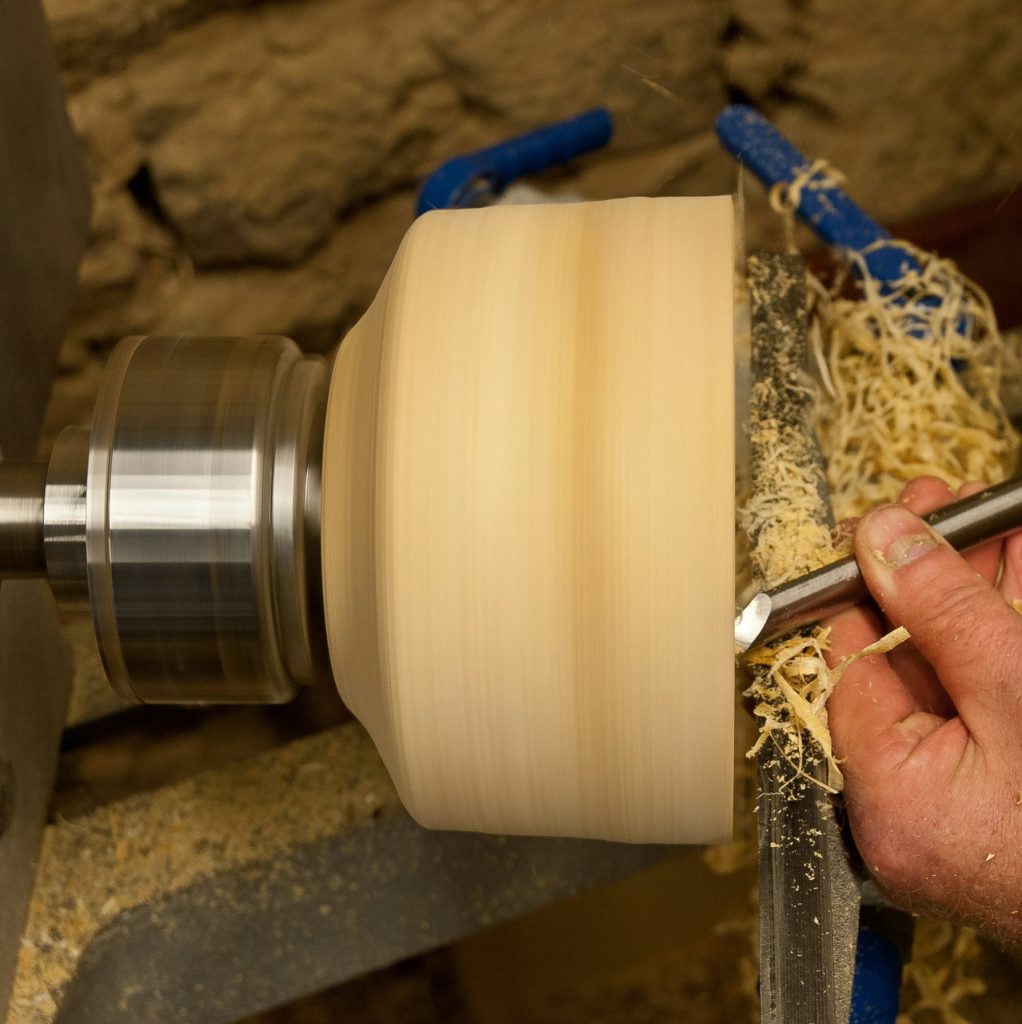
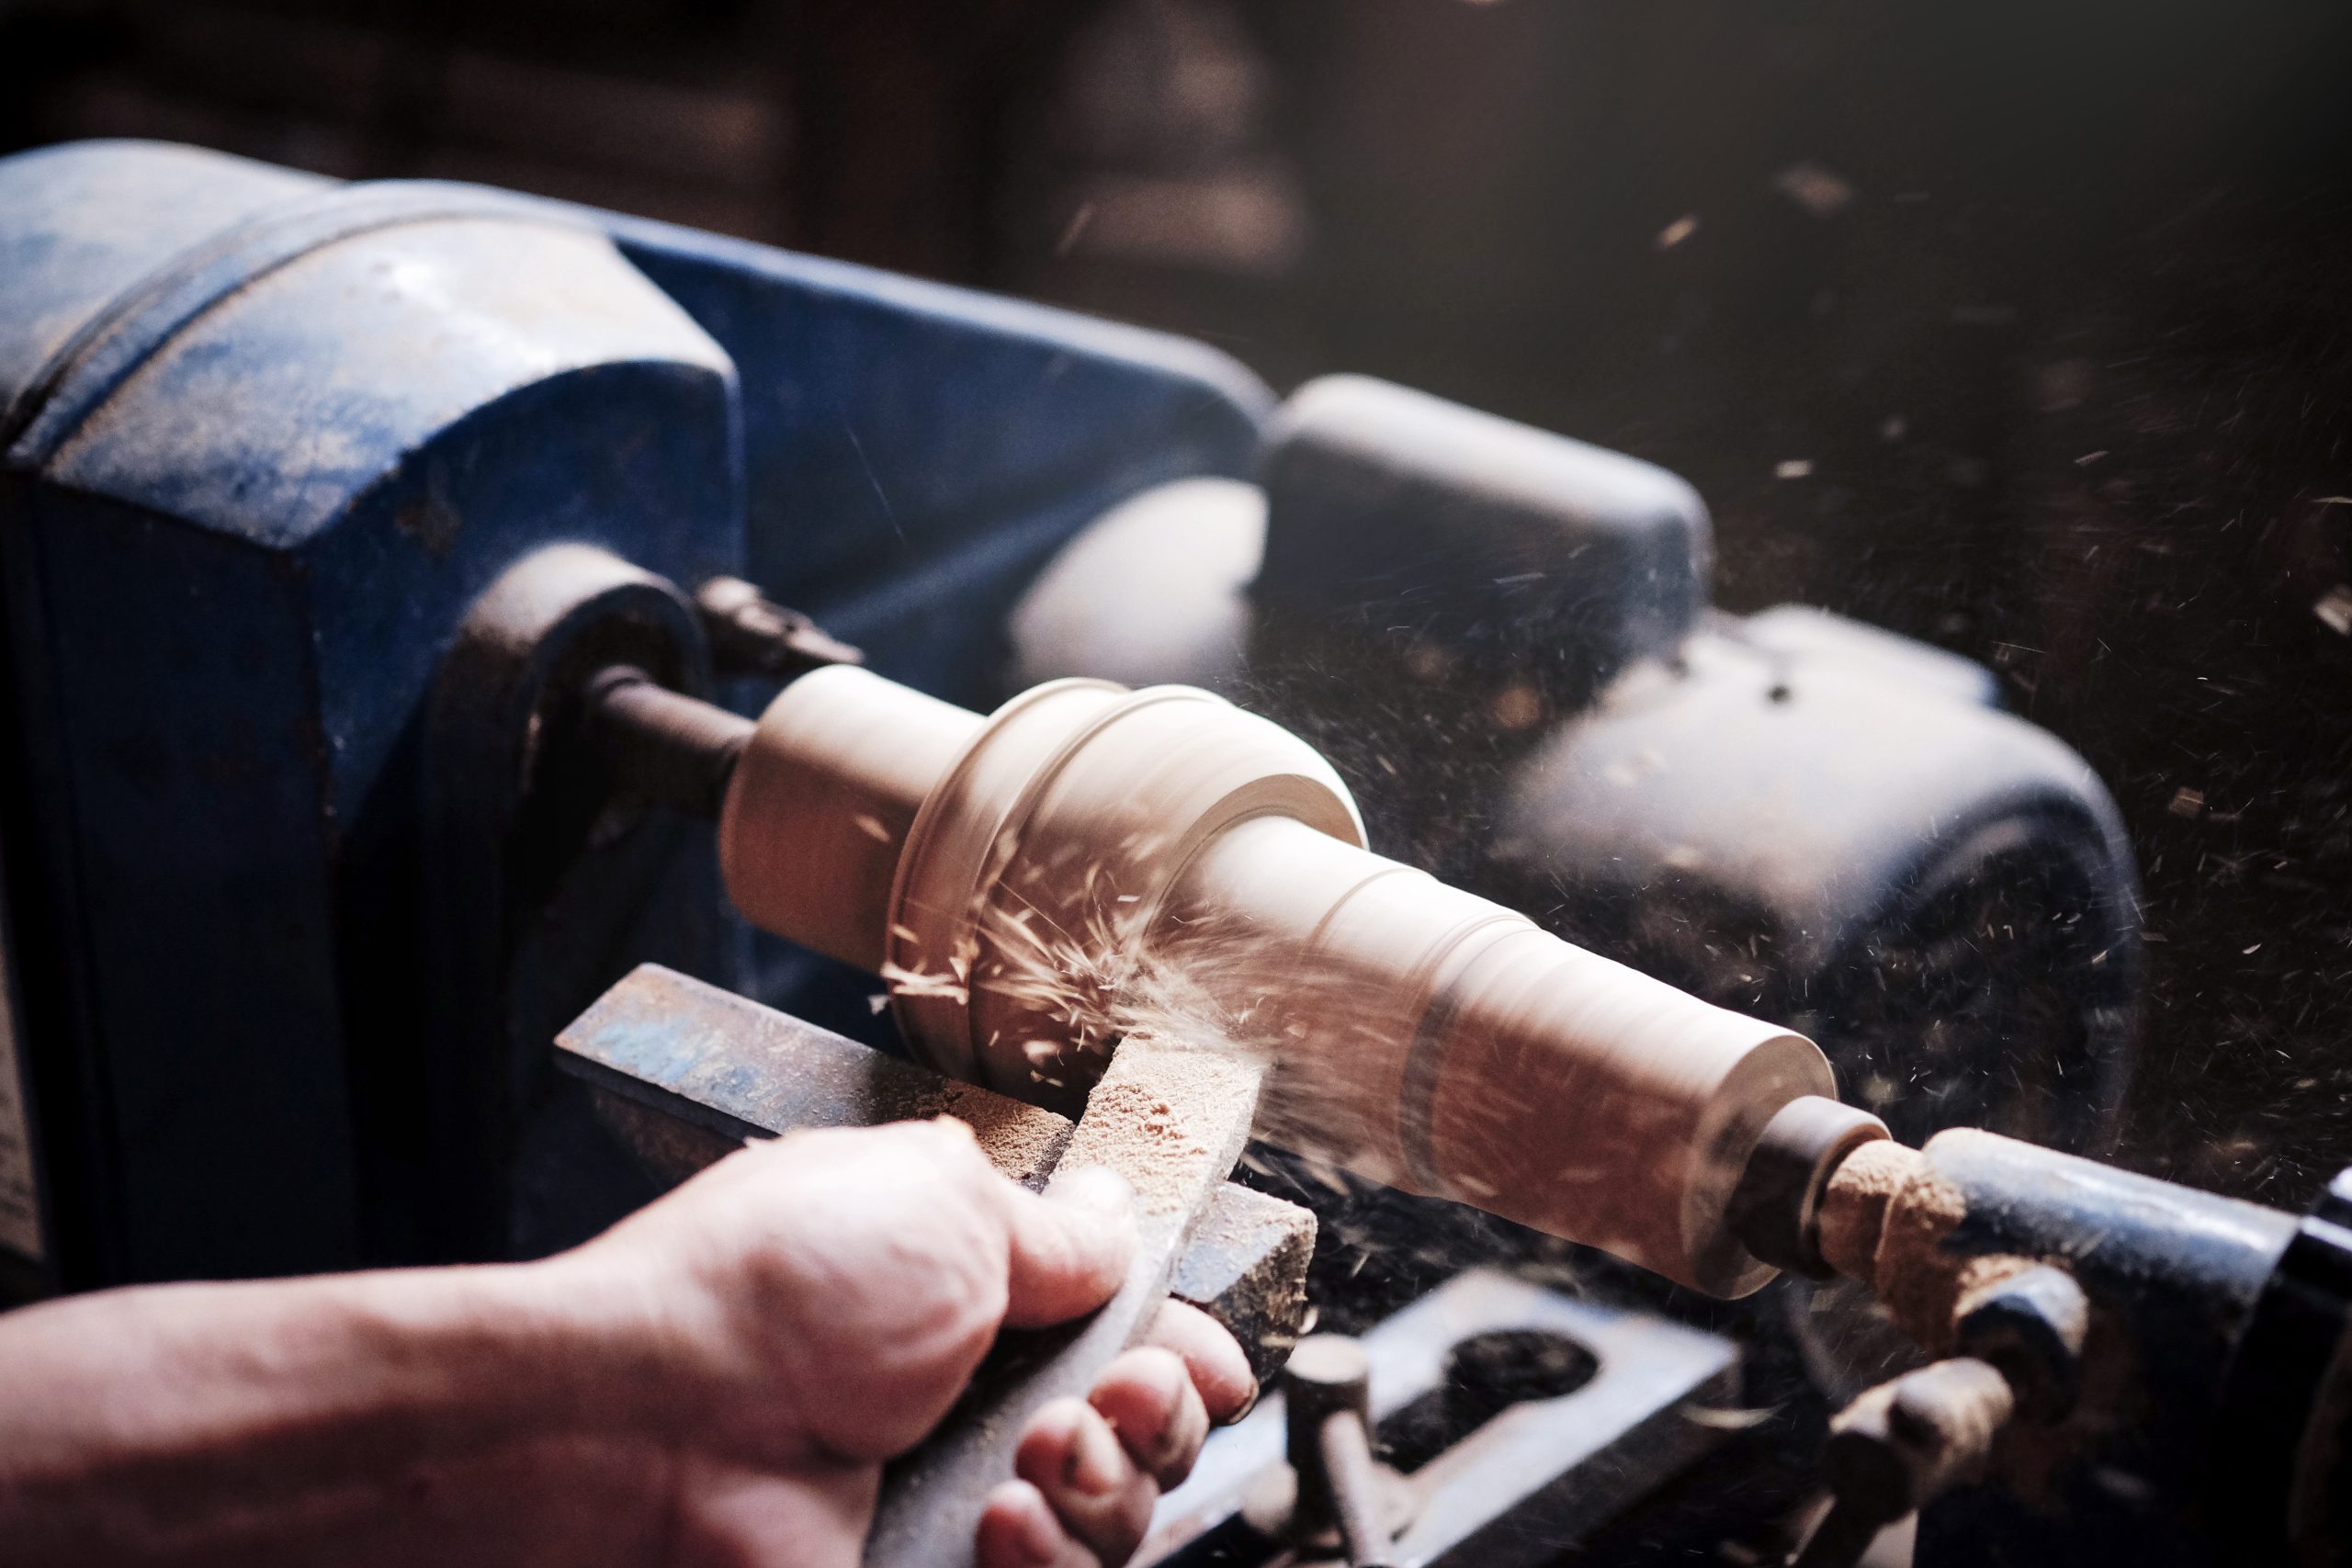
Blowout in woodturning
“Blowout” happens when you’re turning on your lathe and suddenly the pen blank seems to explode (hopefully you’re using safety gear!). This happens when the chisel catches or the wood is weak. In pen making, blowout can occur when the tubes are not glued securely into the blank.
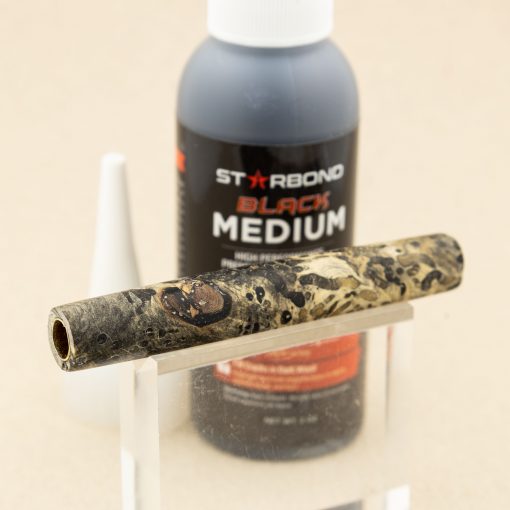
- Always sand the surface of the brass tube before gluing so that a good, solid bond forms.
- Be very generous with your thick CA glue or epoxy. Squeeze out a pool of glue on a piece of tin foil. Roll the tube in the glue, covering the entire surface. Then, as you insert the tube into the pen blank, gently twist it around a little to make sure the hole is fully coated.
- Let the glue fully cure. No rushing!
Overturned custom wood pens
Overturning can occur for many reasons, such as pressing too hard with the chisel or coming up against a soft spot. Then, you end up with parts of your pen barrel that are smaller than the bushings. Fortunately, you can rescue your pen with CA glue.
- With your lathe on low speed, apply a layer of thin CA glue to the affected area with a shop cloth.
- Spritz with accelerator between layers.
- Apply the glue and accelerator, building layers until the dip evens out.
- Sand the repaired spot with Abranet so it’s flush with the pen barrel.
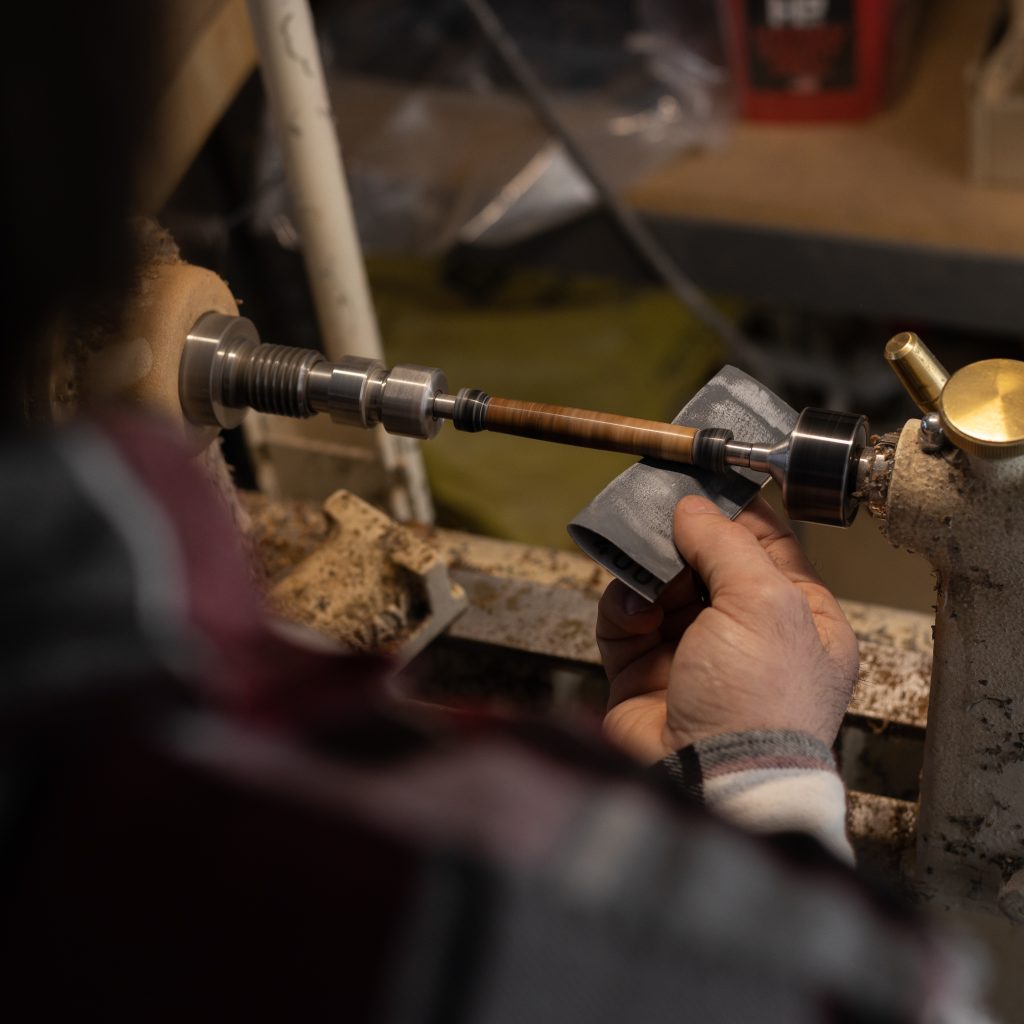
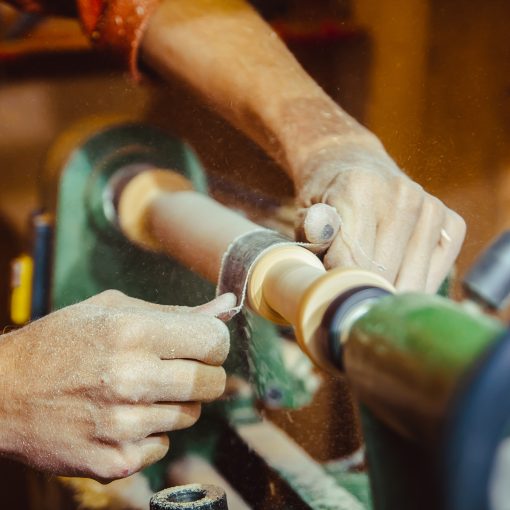
Scratches on turned pens
Many handmade pens are acrylic or resin, which are both known for showing scratches and imperfections much more obviously than wood. If sanding protocol isn’t followed, those scratches are impossible to ignore. It comes down to patience and the right tools.
- Stop the lathe and sand side to side with each grit of sandpaper to counteract the radial scratches.
- Be sure not to skip any grits so you don’t end up with deep scratches later on and have to go backwards.
- After traditional sandpaper, move on to micromesh sheets or pads, which go up to 12000 grit. Wet sanding with micromesh will create a slurry that helps buff out any and all scratches.
Read the pen kit instructions!
At William Wood-Write, we keep a database of instructions in English and French for all of our pen and project kits. You can access them on our website, or we can print you a copy with your online order. We are always getting new exotic wood pen blanks, pen turning supplies, project kits and fresh materials to try on your lathe. Supplies go fast, so sign up for our newsletter and don’t miss out!
