Have you got a Christmas craft market fast approaching, or are you starting to stock up on handmade gifts with the holidays coming up? Taking photos of all the handmade pens you make will allow you to build an online inventory, whether they were intended for online sale or not. With so many handmade craft shows being cancelled, having an online presence has become essential, so why not take the best photos possible to sell as much as possible. Here are our top photography tips that will help you make money selling pens.
1. Keep your kit clean!
The main goal is to capture the viewers attention with clear, clean and detailed photos. Capturing the best photo starts with the product itself. Make sure your finished pen is cleaned and ready to be the main focus.
Tips on cleaning:
Wash your hands first! You don’t want to get any grime on the finished product. Debris or smudges will show up in photos, taking away from especially figured exotic wood like Stabilized Buckeye Burl. So don’t forget to clean that wood barrel while also shining the plating of your craft kit.
We like to use the jewelry polishing cloth to shine up our turning projects, but a microfiber cloth will work perfectly as well.
2. Think about Backdrops
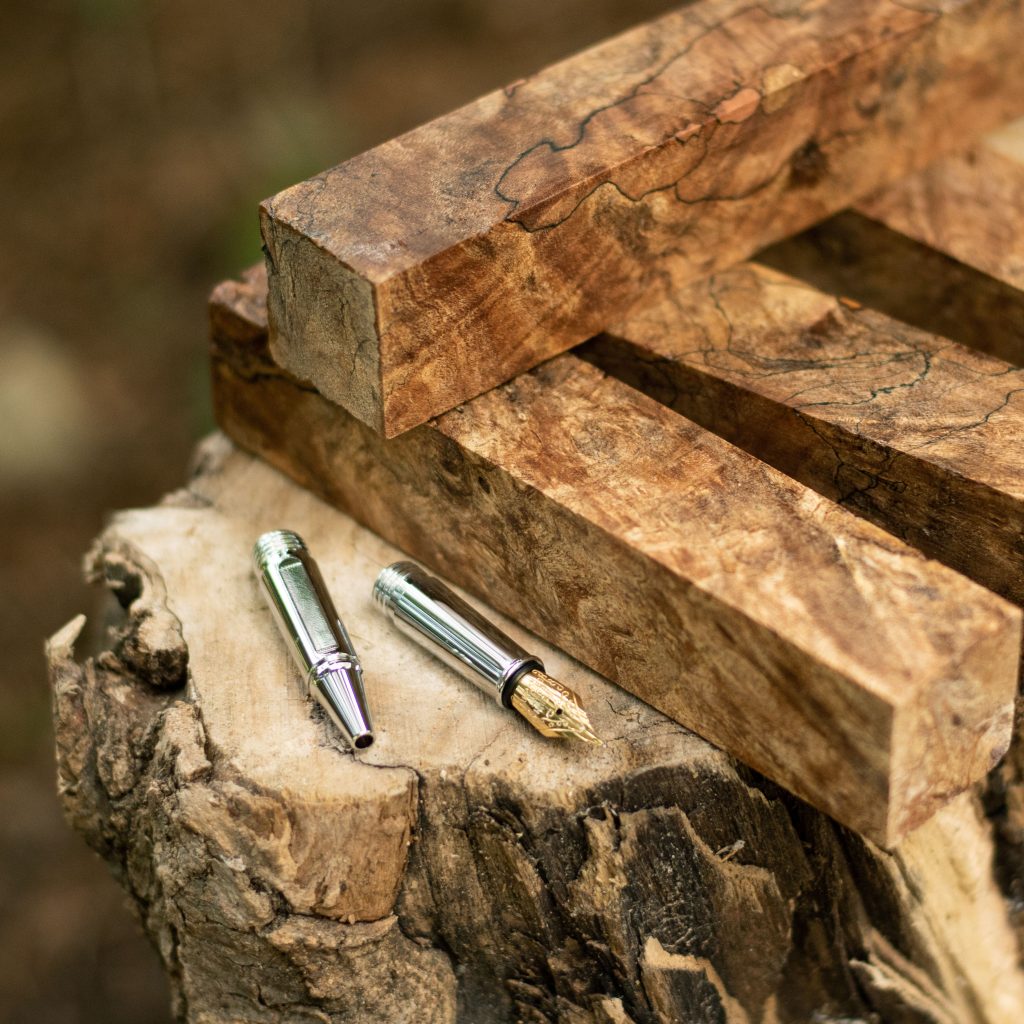
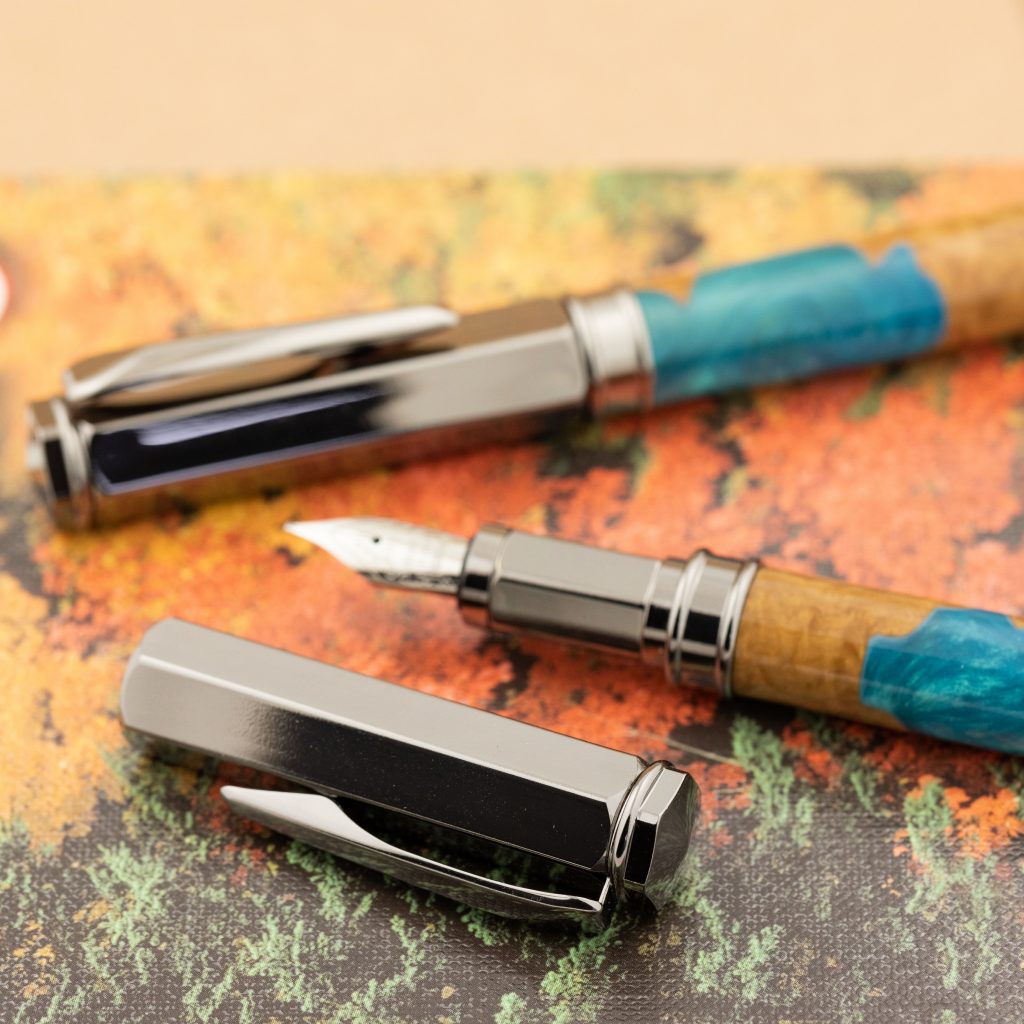
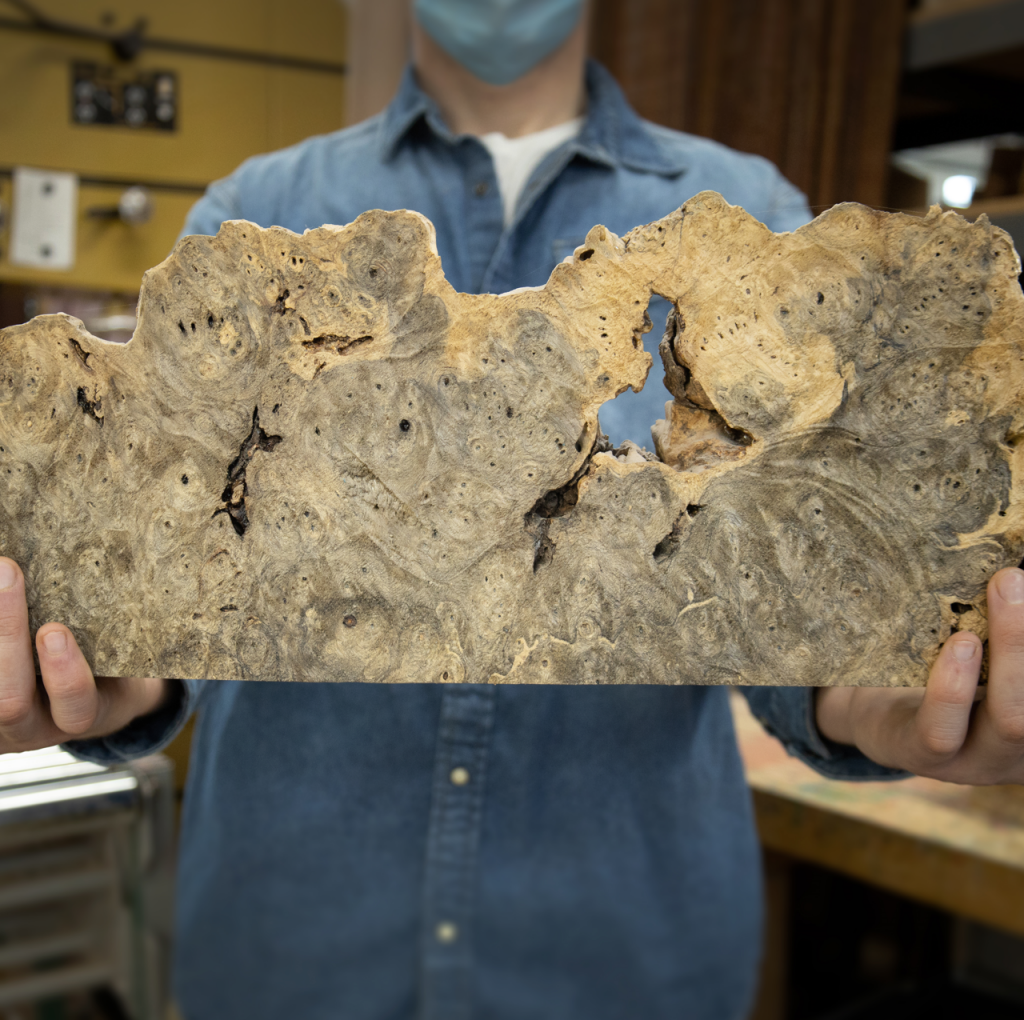
The next thing you want to work on is your background. Use something that’s simple. You don’t want anything too distracting or busy to take away from your product, so consider something that enhances it instead. We love to use wood slabs and burl caps. You could also try coloured or patterned cardstock, tile, cutting boards or head to your backyard for bark, trees or grass. You don’t have to spend much to make your wood pen shine.
3. Lighting is everything
After you get your background situated, you’ll want to work on lighting. Natural lighting is the best and most accessible light source you can use. If you are taking photos inside, open up those curtains set up your wood turning supplies in the light from the window. Taking photos outside will give you even more opportunity to use natural light, but try photos both in sun and shade to see what style you prefer.
Using your phone for pen photography
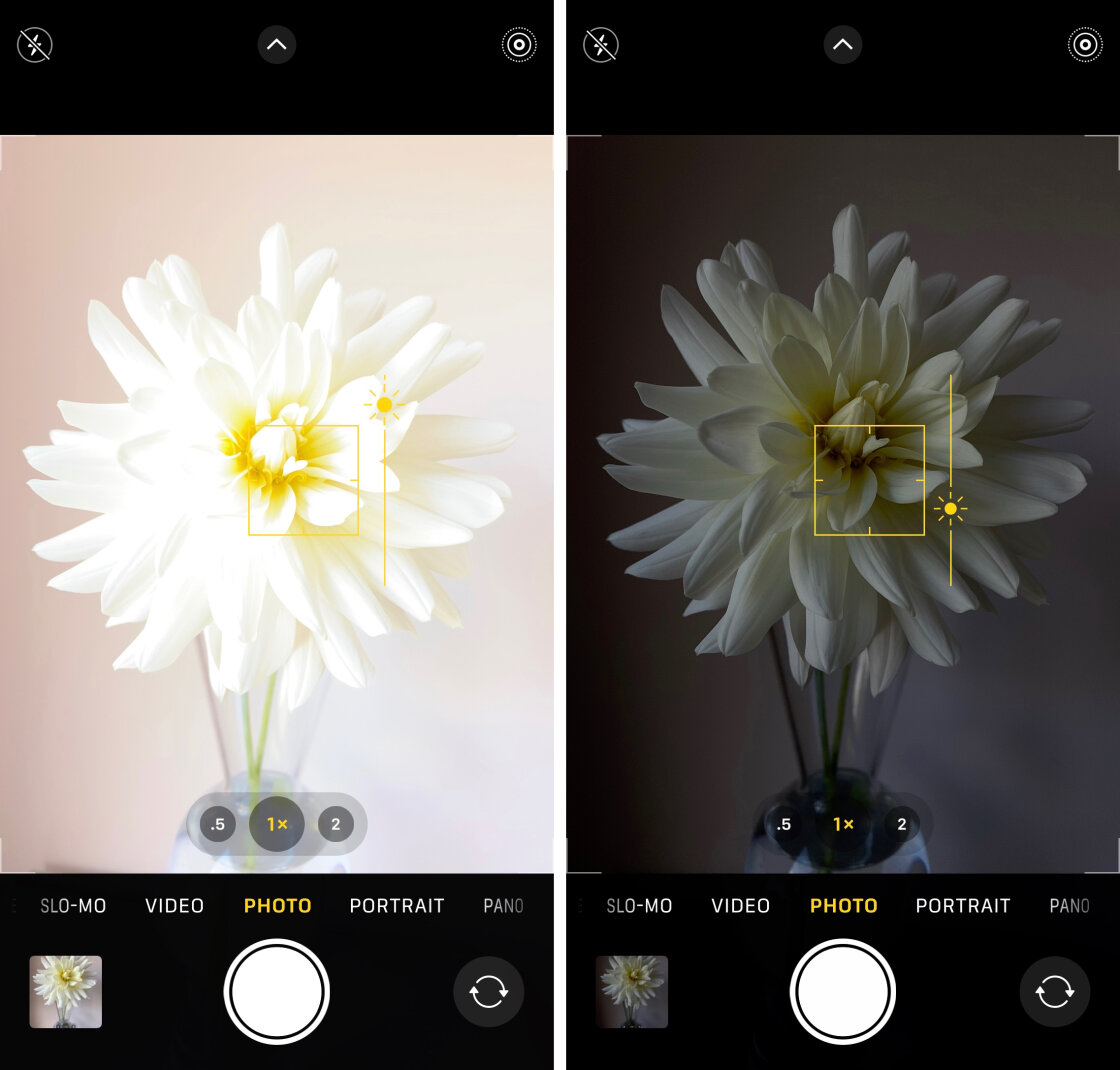
If you don’t have a camera, do not worry. Your phone will do the trick. Explore your portrait settings on your phone, change the quality of the photo and adjust some settings around such as exposure to achieve the look you’re after.
If you’re using an iPhone, click on where you want your camera to focus. A yellow square with a Sun will pop up, which you can drag up or down to adjust the exposure. The same goes for Android, just look for the white circle after you focus.
Using your camera for pen photography
If you’ve got a camera, try Automatic mode. Automatic allows the camera to adjust to an auto preset based on your environment and light exposure. Manual mode is much for customizable. This is where you can adjust the aperture, shutter speed and ISO anyway you would like. You will want to learn more about those three things as it all depends on what your priority is for your photos. Check out this article to learn more about shooting in manual mode.
4. Work the angles
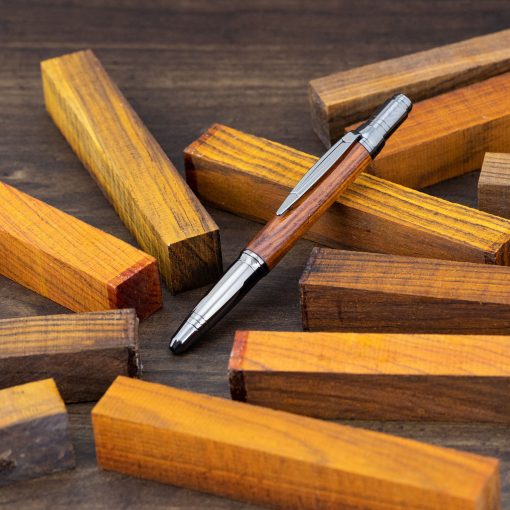
Next up, decide on your angle. Vary your photo angles so your buyer gets a better idea of what your wood pen will look like in person. Get a straight on photo to show length and balance of your wood barrel. Take an overhead shot to show the end cap of the craft kit. Try a side view to show off the embellishment of the pen kit and go for a close up to show the exotic wood blank and acrylic pen blank you’ve turned.
Top Tip from our William Wood-Write photographer:
Pens love to roll away. Use props like your wood turning supplies to rest your pen kit on, or try sticky tack to keep your pen and cap in place while photographing.
Once you’re all set up, make sure to take more than one photo. You may decide later that the shot you didn’t plan on taking was the winner!
Subscribe to our newsletter to get all the deals! We promise we won’t bother you – only one email a week on Sundays to enjoy with your morning coffee.
