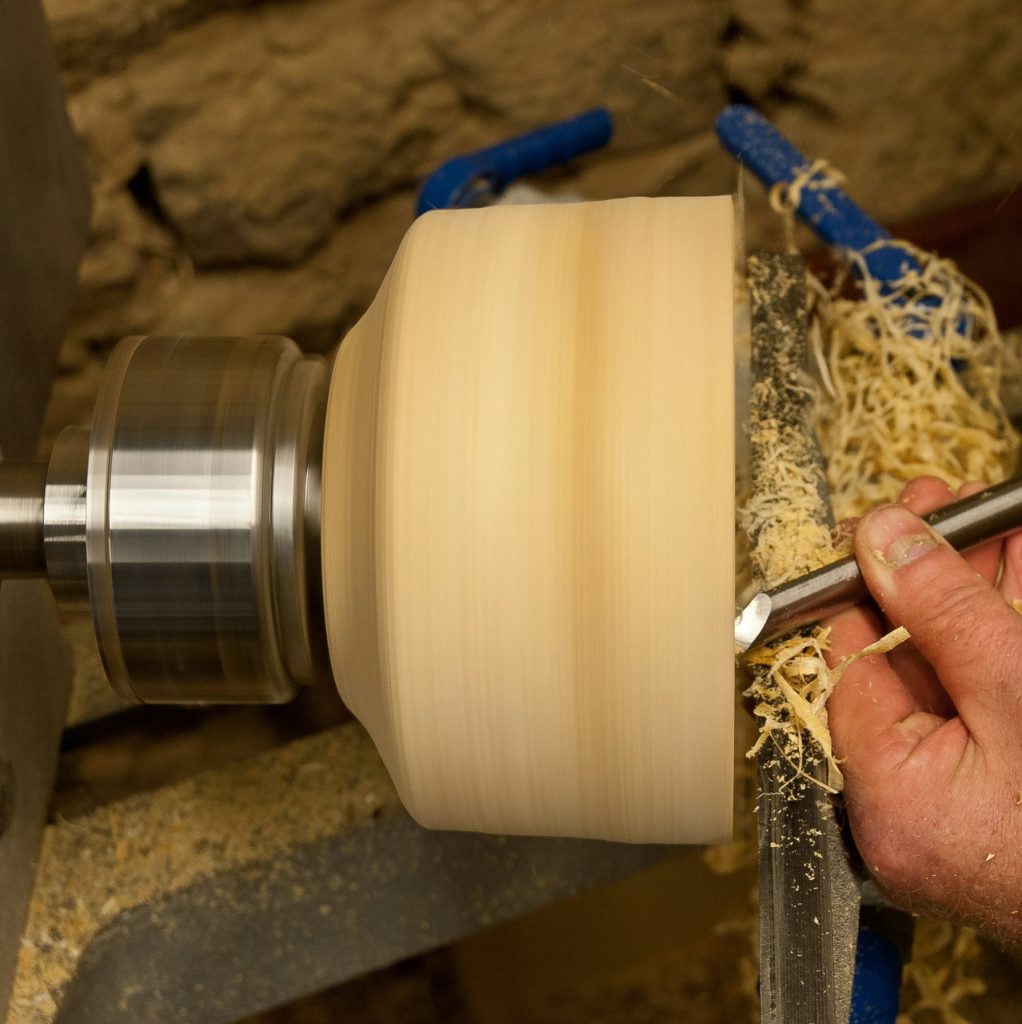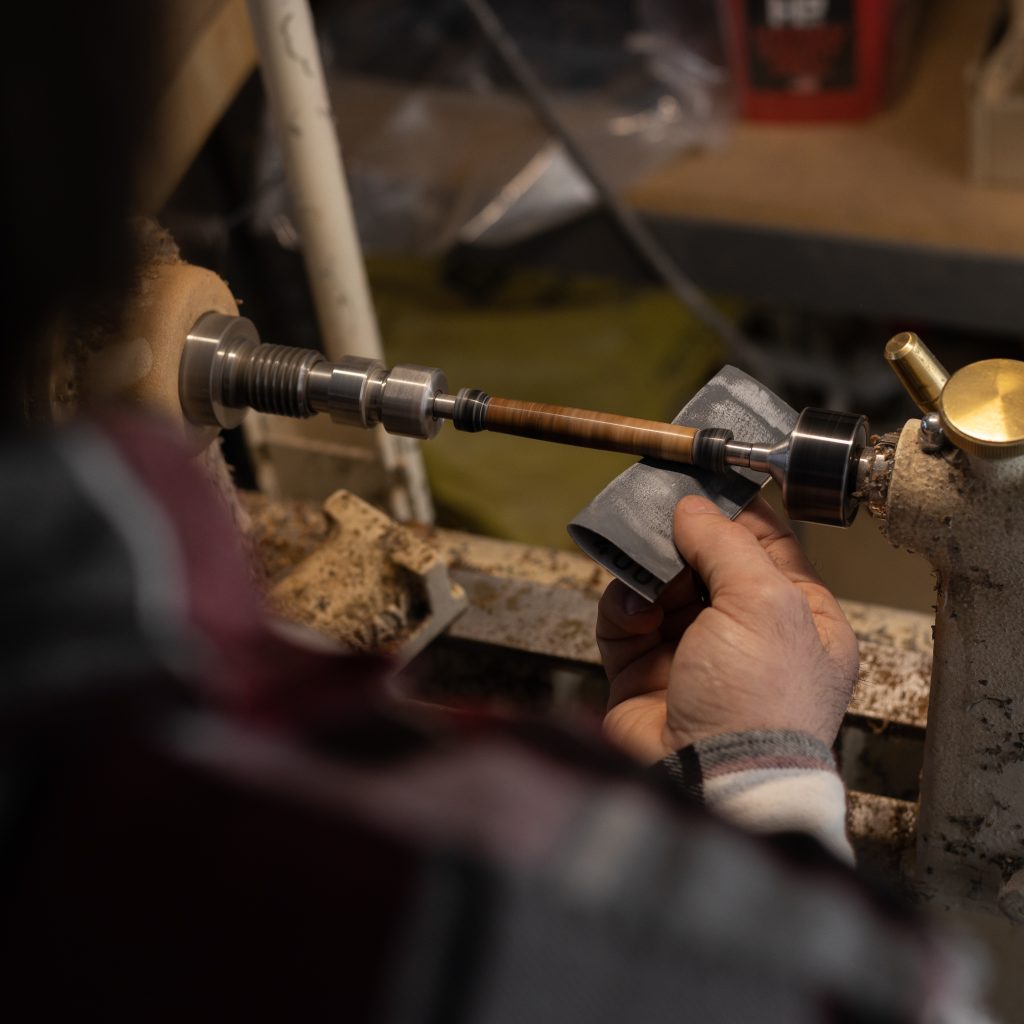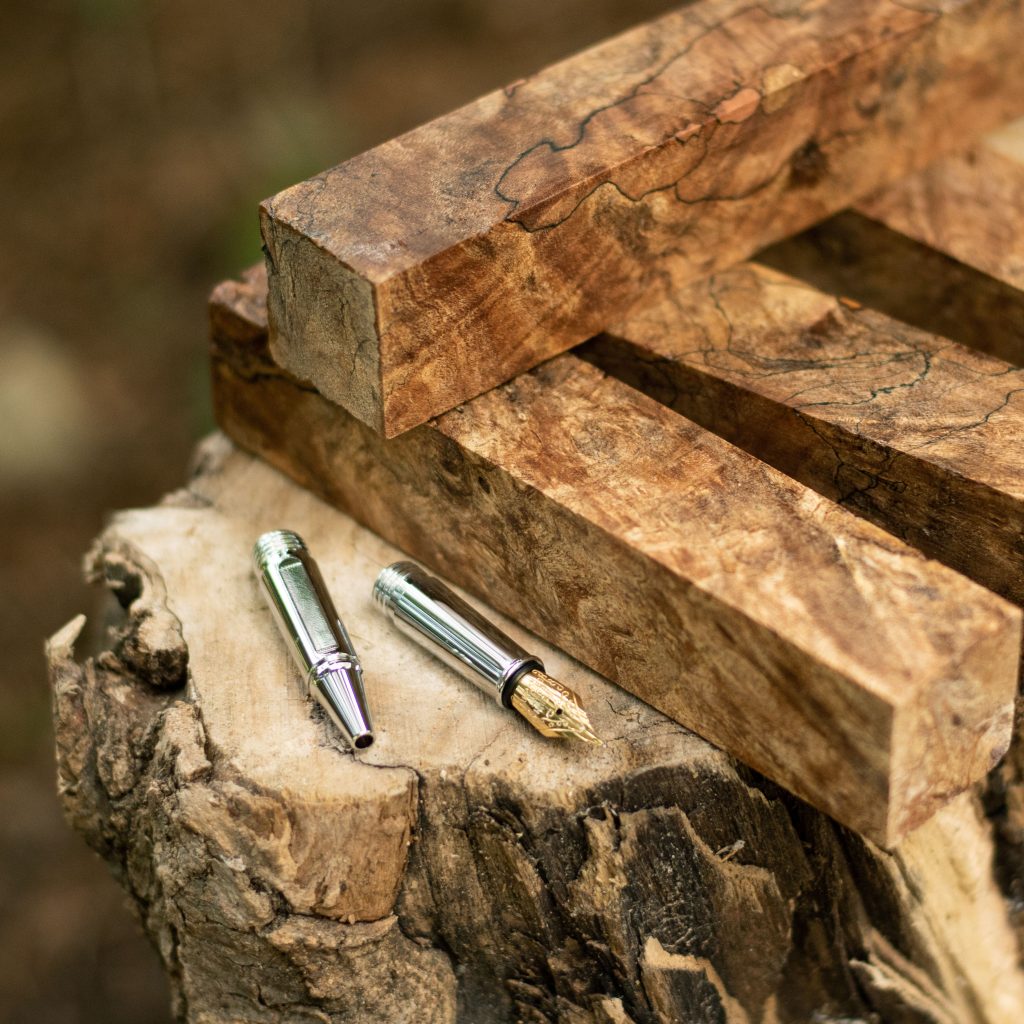
If you’ve been turning pens for a while and are ready to expand your skill set, bottle stoppers are a fun next step. They also happen to be excellent handmade gifts, so if you’re selling your wood turnings at markets or online, they’re a great addition to your inventory. Turning a bottle stopper is a little different than a pen for a couple of reasons: it’s not turned between centers or on a mandrel like a pen and the hardware is sometimes threaded.
To make a bottle stopper you will need:
- A bottle stopper mandrel 3/8″ 16 tpi
- A stainless steel bottle stopper kit
- A wood blank – recommended minimum size 1.5″ x 1.5″ x 2.5″
- Jacobs chuck, drill chuck or collet chuck
- Drill and tap set OR bottle stopper insert with a 33/64″ drill
- Epoxy
Drilling and tapping a handmade bottle stopper
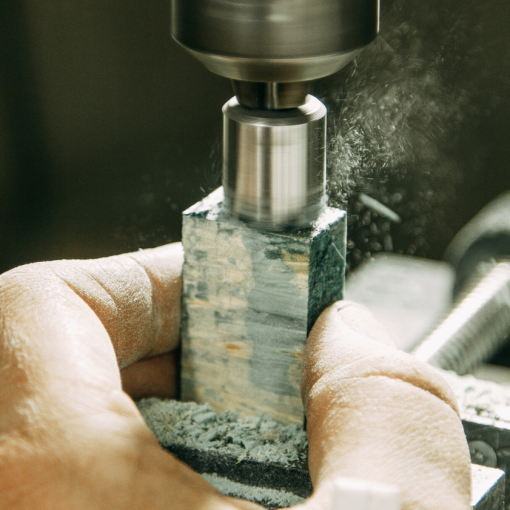
Drilling and tapping is the process of creating a threaded hole in your wooden blank. This will allow the mandrel to twist into place in the blank so it can be mounted and turned on a lathe. As a beginner, you might prefer to try the easier option of a bottle stopper insert. In this case, simply drill a 33/64″ hole in the blank to 13.2mm (.52″) deep and then glue the insert in place. When it’s dry, you’re ready to mount the wood on the bottle stopper mandrel and start turning. However, if you would rather make your own threads, you can use the bottle stopper drill and tap set:
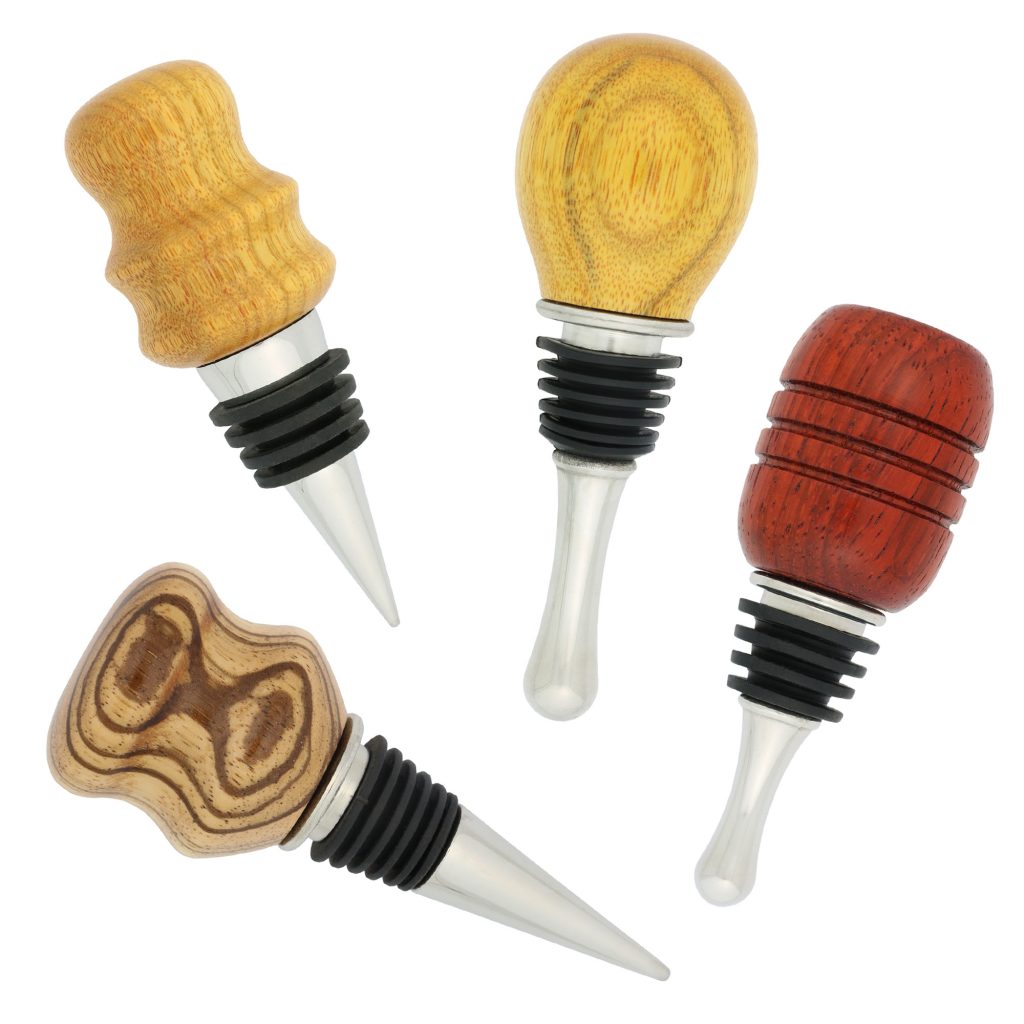
- Use a drill press to make a 13.2mm deep hole, and then mount the blank in the chuck of your lathe. (Alternatively, you can drill right on your lathe by mounting the blank in the chuck and putting the drill bit in a drill chuck, which is inserted into the tailstock. Set the lathe to 550 – 750 rpm.)
- Line the tap up with the hole.
- Hold the tap steady and turn the lathe by hand, applying pressure. Every so often, turn the lathe backward just a little to release sawdust and wood chips.
- Repeat this process until you reach the bottom of the hole you drilled.
- An alternative is to hand-turn the tap instead of the lathe, using the same method of drawing back every so often to remove sawdust.
- Remove the blank from the lathe and carefully thread it onto the mandrel.
- Mount the bottle stopper mandrel in the drill chuck. It’s time to turn!
Wood turning tips for bottle stoppers
- Mark out your design in pencil first. Even though you will remove the lines as you work, it will give you a general idea of how your finished product will look rather than just winging it.
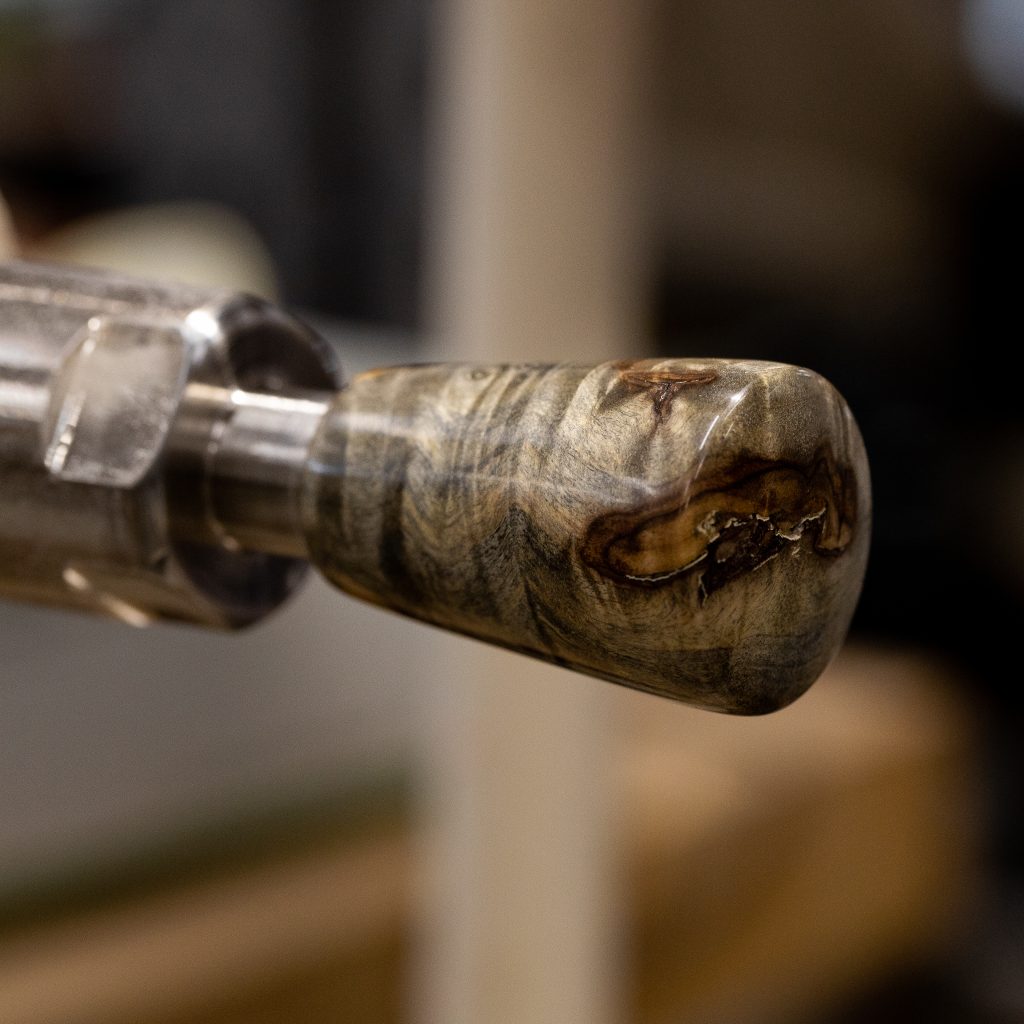
- Many bottle stoppers are round like a doorknob, but you can add whatever shapes and details you want with different cutter heads.
- Hardwoods like cocobolo or padauk are a better choice than softwoods. They hold threads well and make durable products.
- When selecting a finish, choose something durable and water-resistant.
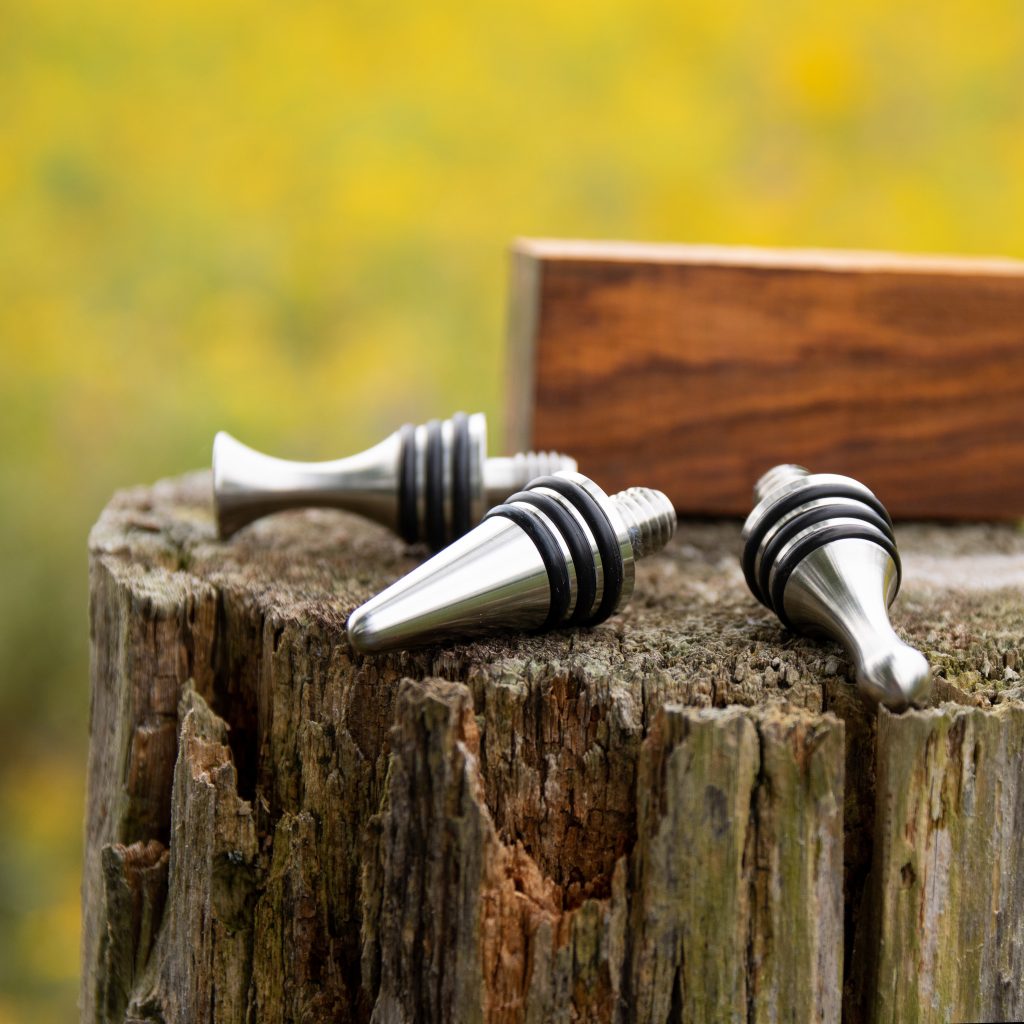
- Apply some epoxy to the inside of the threaded hole before twisting your steel stopper kit into place.
Chisels and tools for detailing bottle stoppers
You can turn a beautiful bottle stopper with your basic chisel, or there are a few different cutters to try for adding artistic details. These can be mounted onto your chisel and swapped.
Diamond Detailer. This diamond-shaped cutter is perfect for cutting narrow details, dovetail recesses and shaping coves. Its sharp pointed tip adds intricate, precise details.
Radius Cutter. A radius cutter can be used for roughing when you begin turning your stopper and is good for smooth finishing cuts as well. It creates rounded contours in wood, both concave and convex.
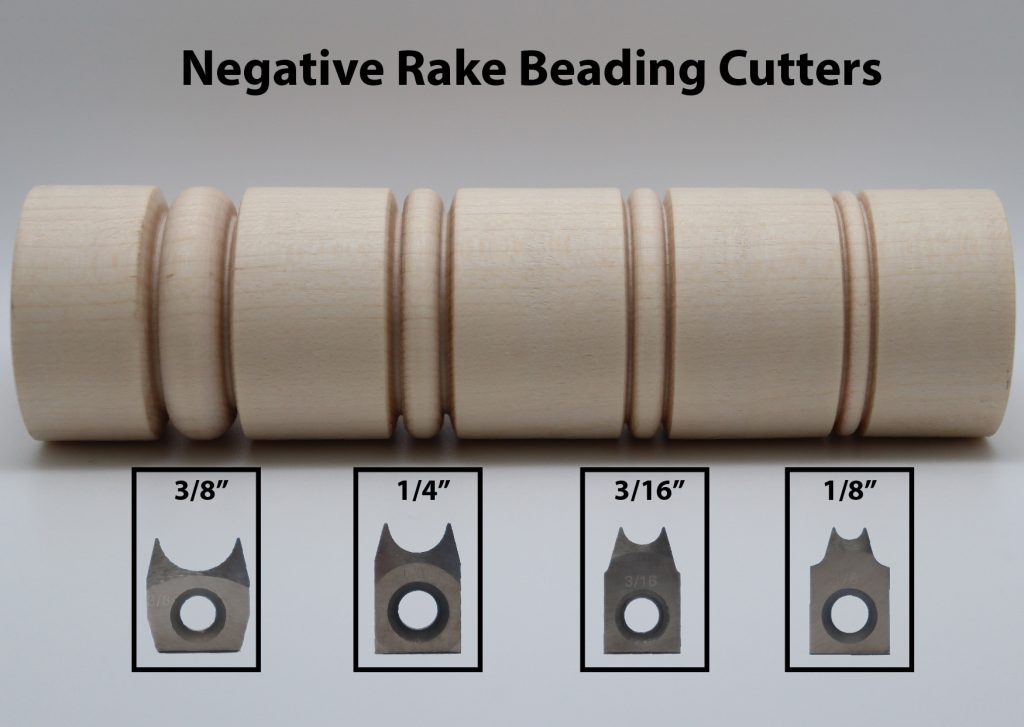
Negative Rake Carbide Beading Cutter. The negative rake carbide beading cutter creates a perfect, semi-circular bead, or curved ridge, around the circumference of your bottle stopper to add a decorative feature.
New wood turning projects to try
Once you master turning bottle stoppers you can move on to other threaded items such as bottle openers and kitchen utensils. Don’t forget that most of our pen blanks at William Wood-Write are also available in a range of sizes, making them perfect for expanding your lathe projects beyond pen making.
