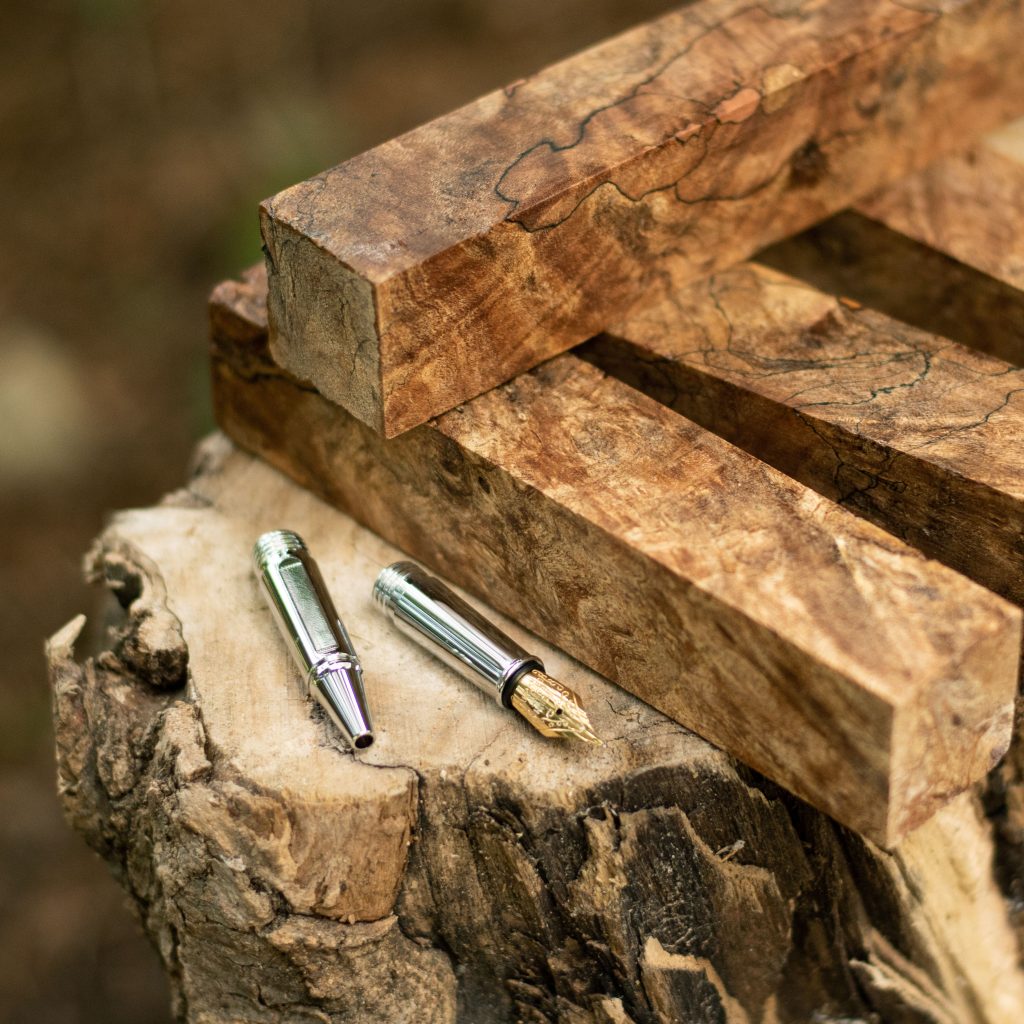
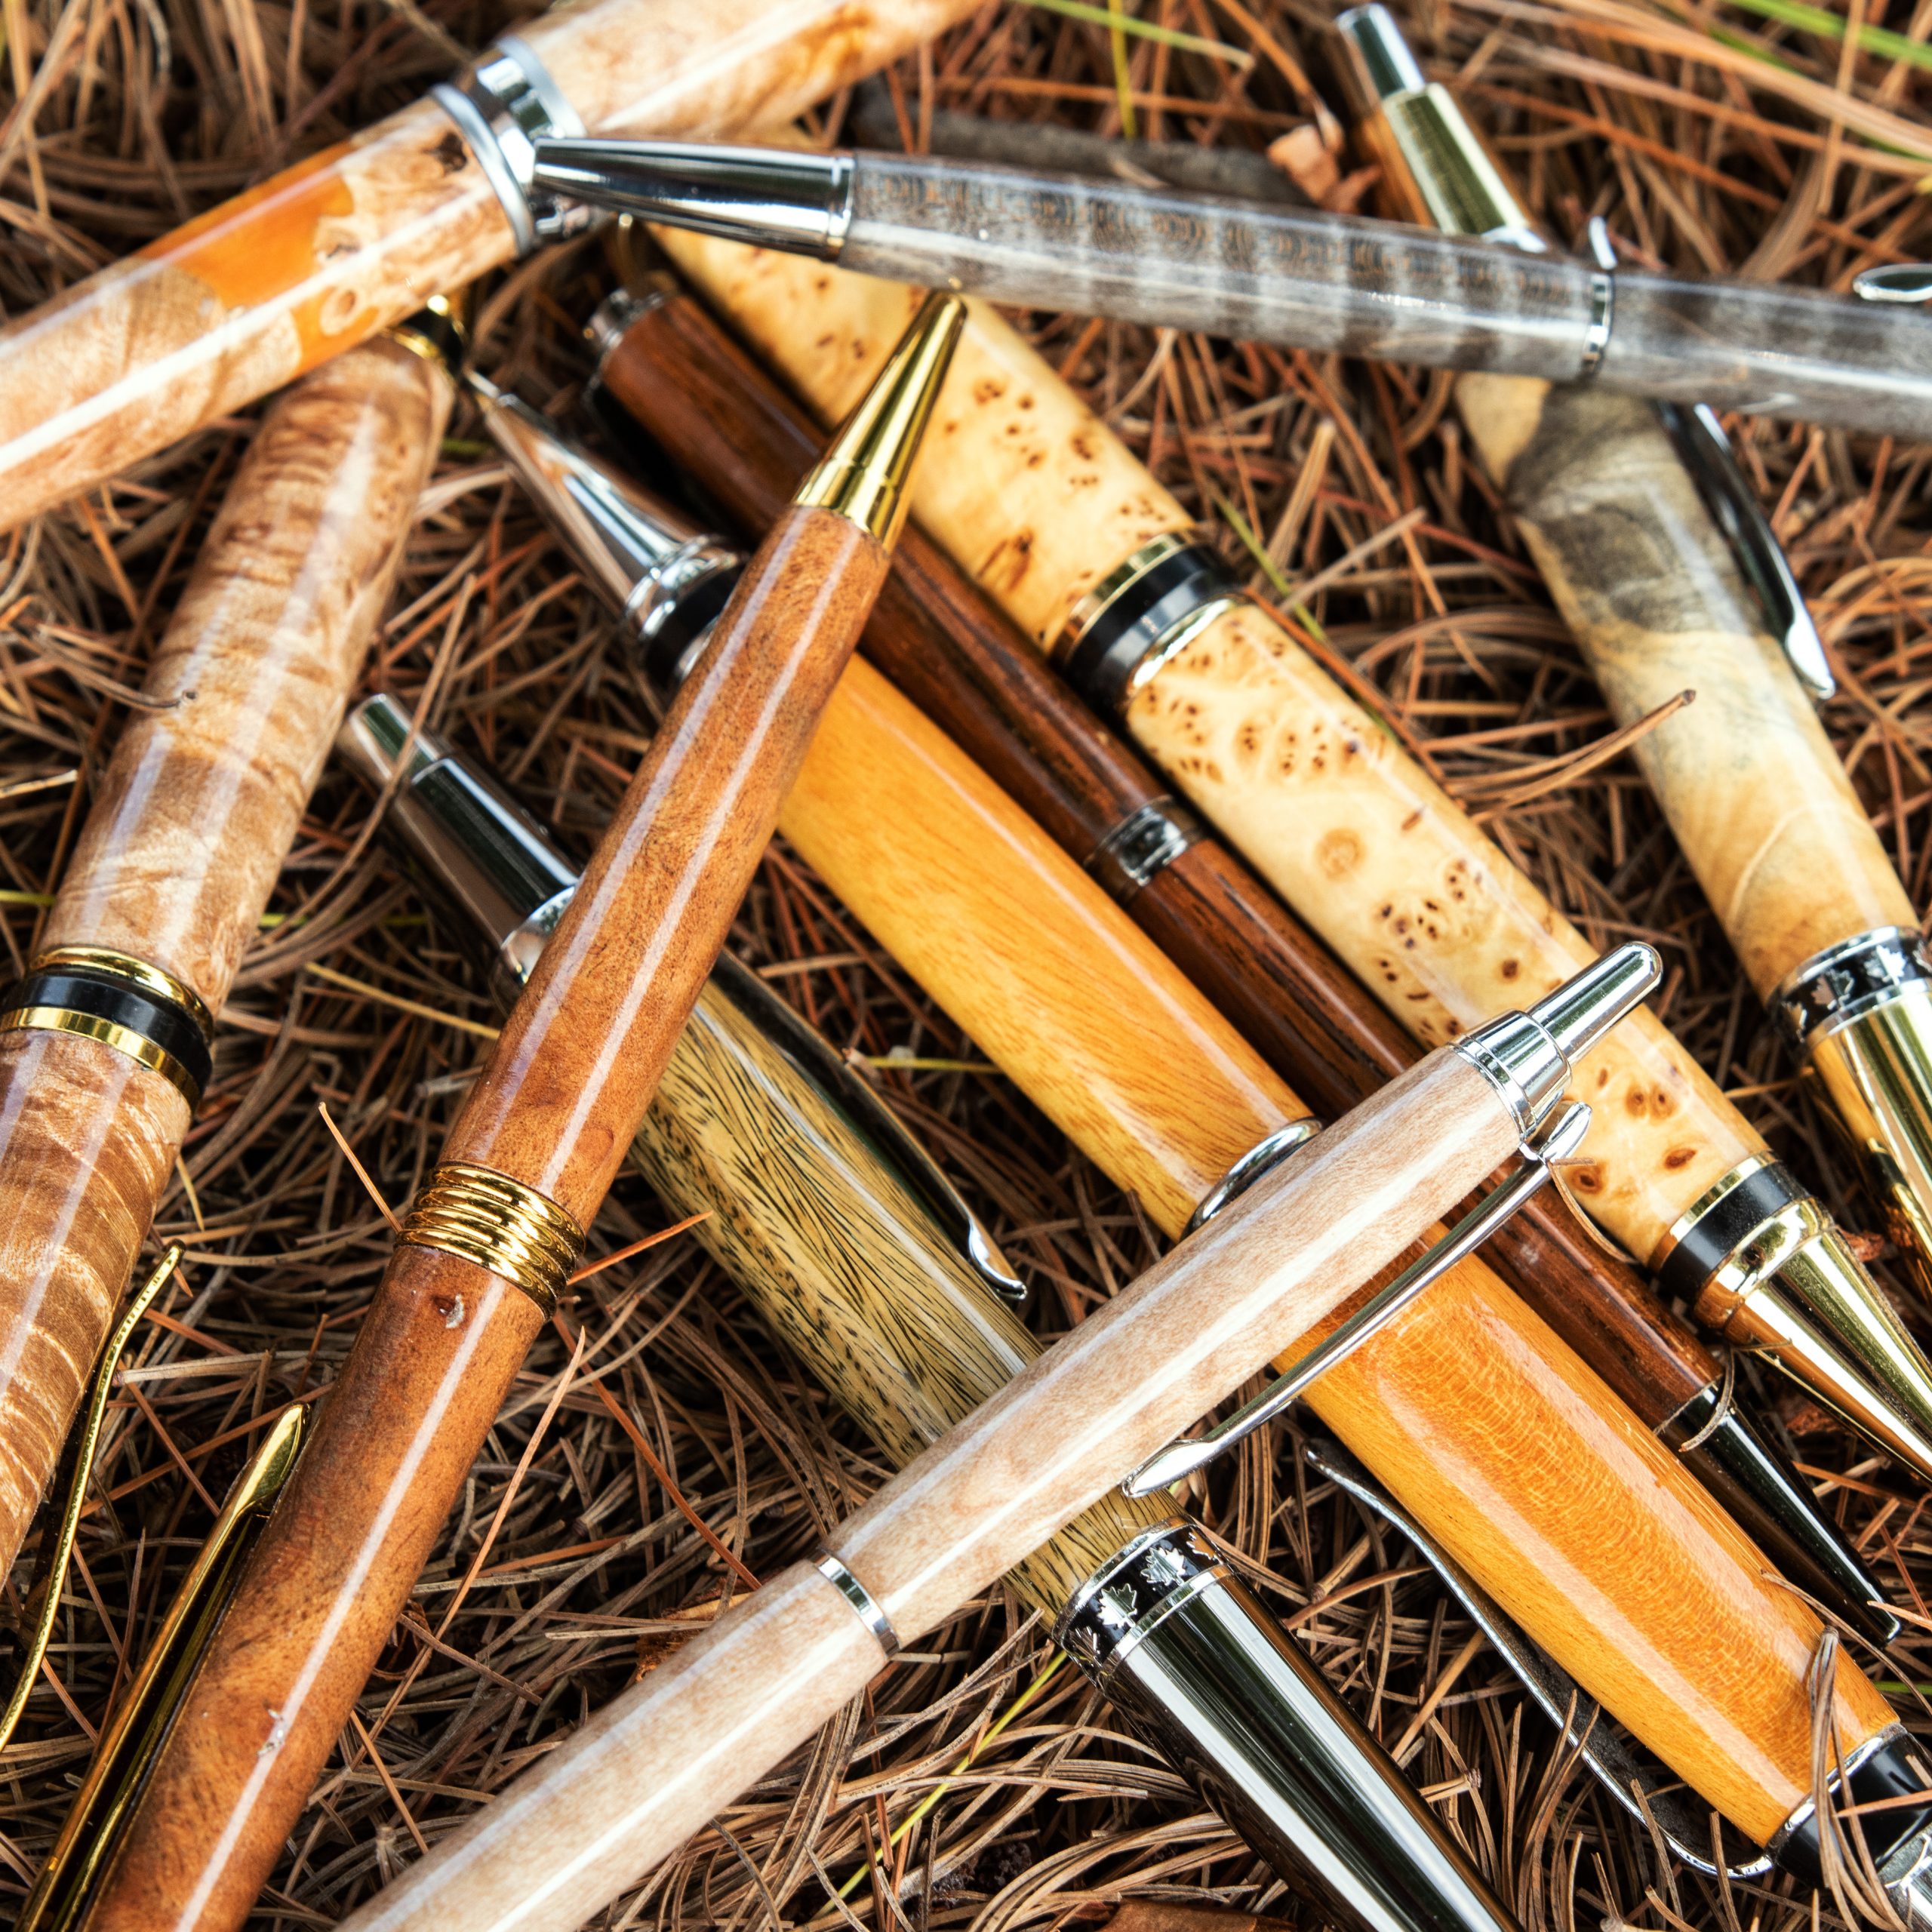
Many woodturners will tell you that their finish of choice for pen making is cyanoacrylate, commonly known as CA glue. CA glue creates a hard, durable and glossy finish while enhancing the grain and sheen of the wood. It’s accomplished by building up very thin layers of CA glue and polishing them. It works on many surfaces, including acrylic and stabilized pen blanks.
How to finish a pen with cyanoacrylate
Creating a finish from CA glue for your handmade pens and lathe projects is a relatively inexpensive and effective option for stellar shine and durability. It requires minimal materials. However, you will need eye and breathing protection.
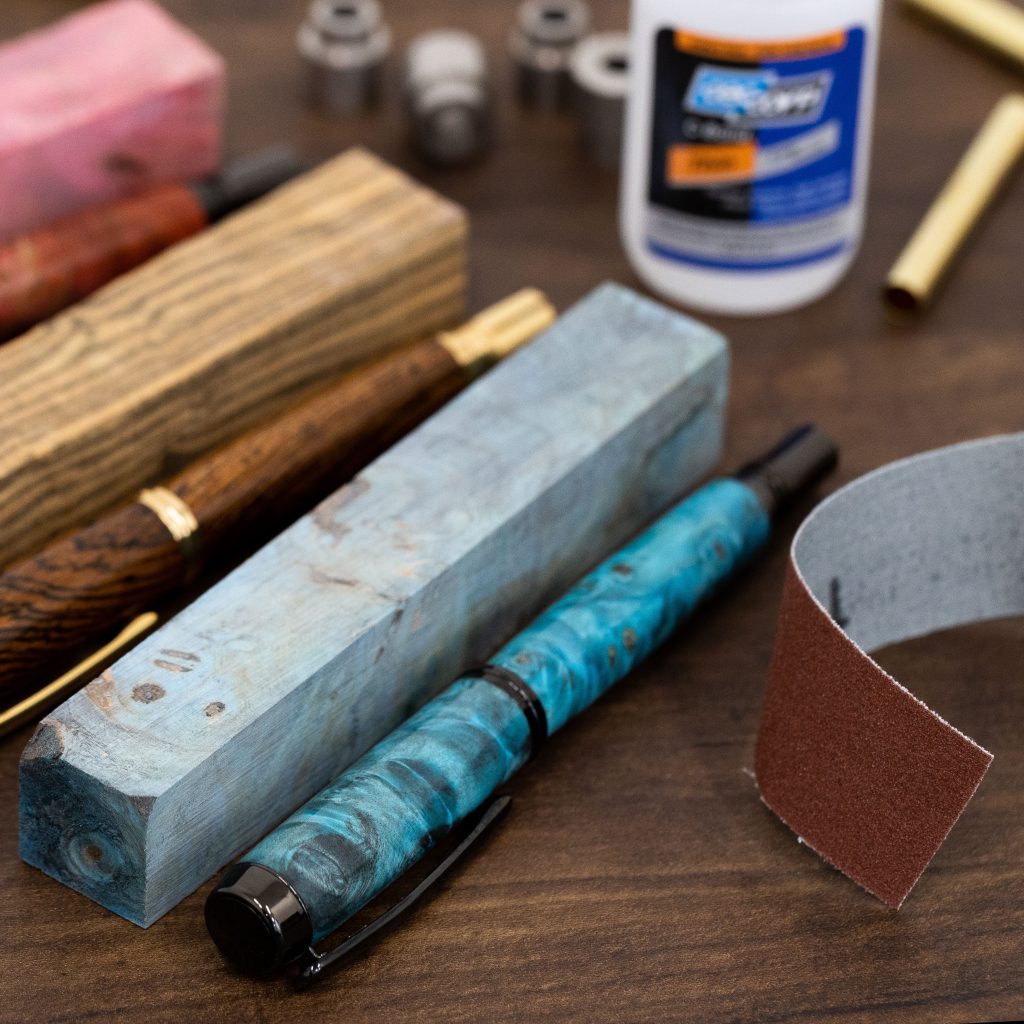
Materials
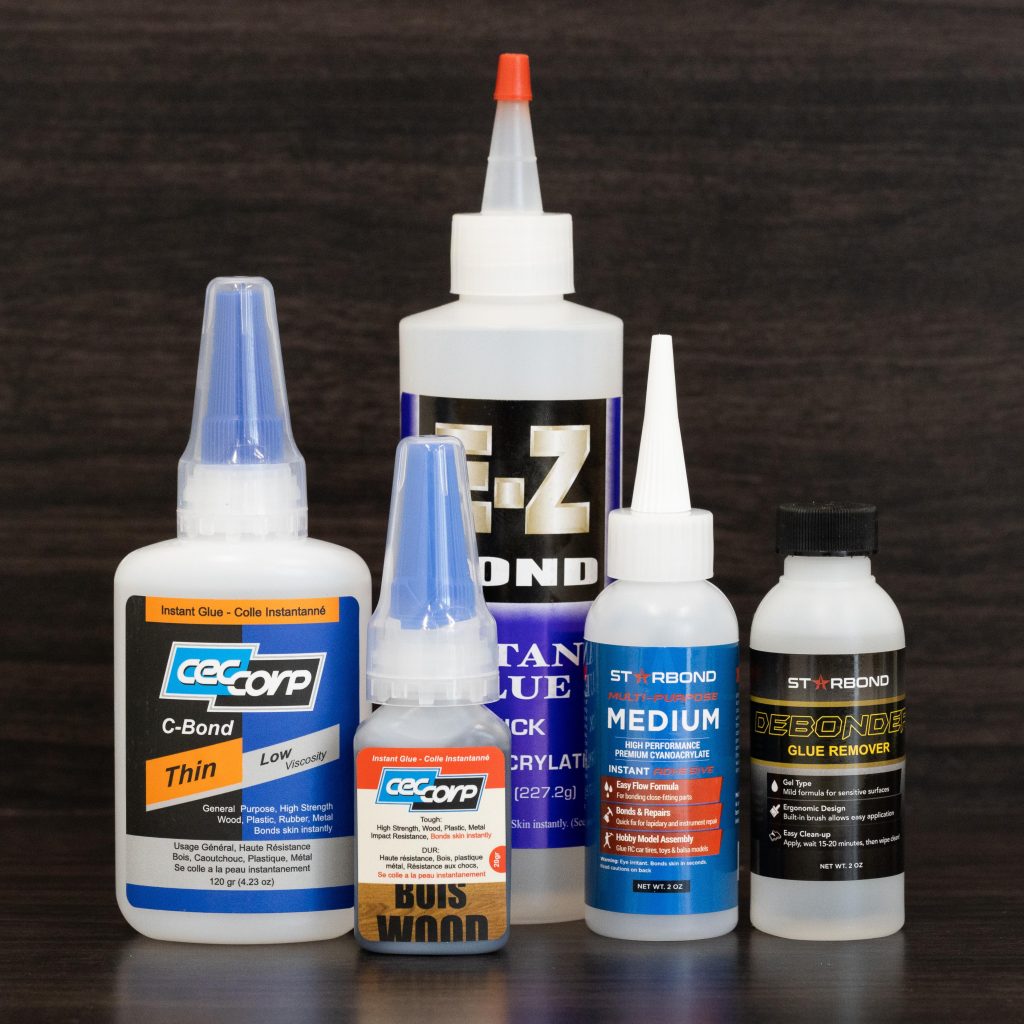
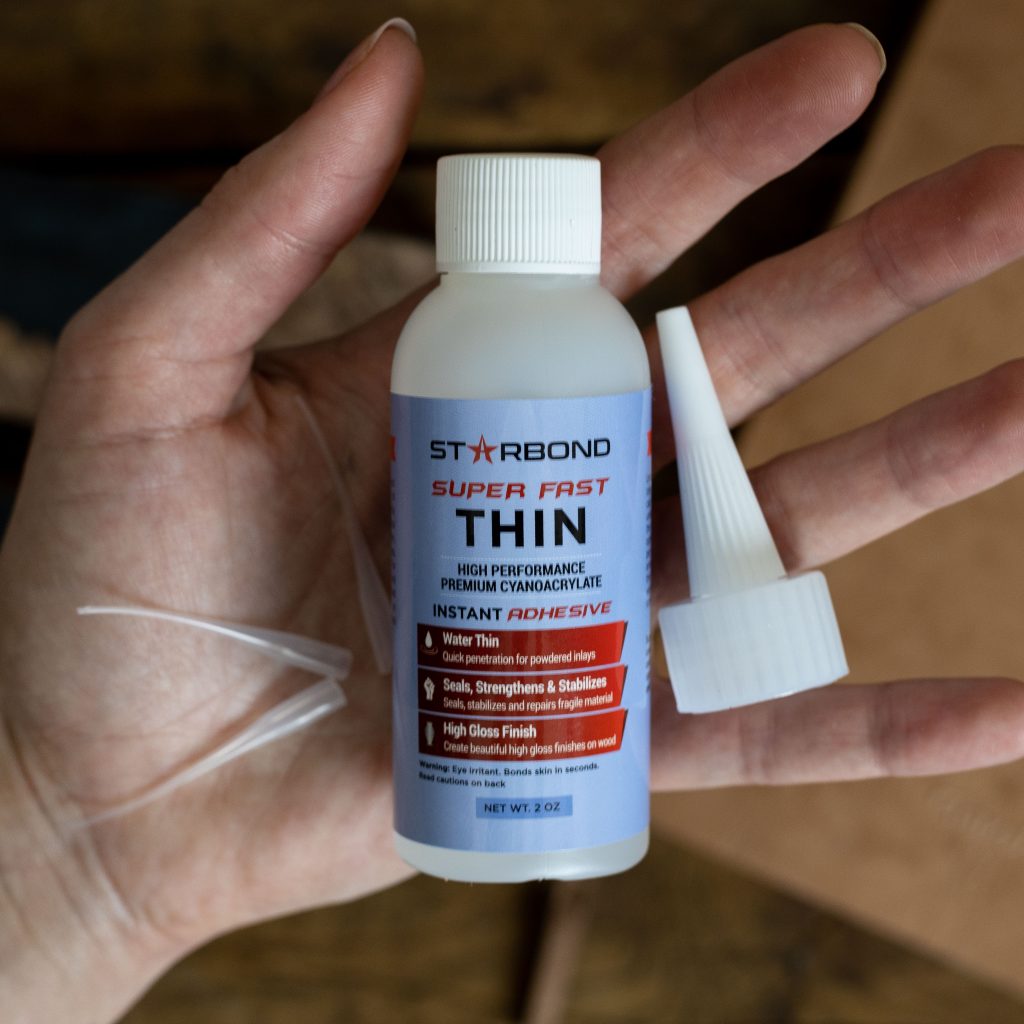
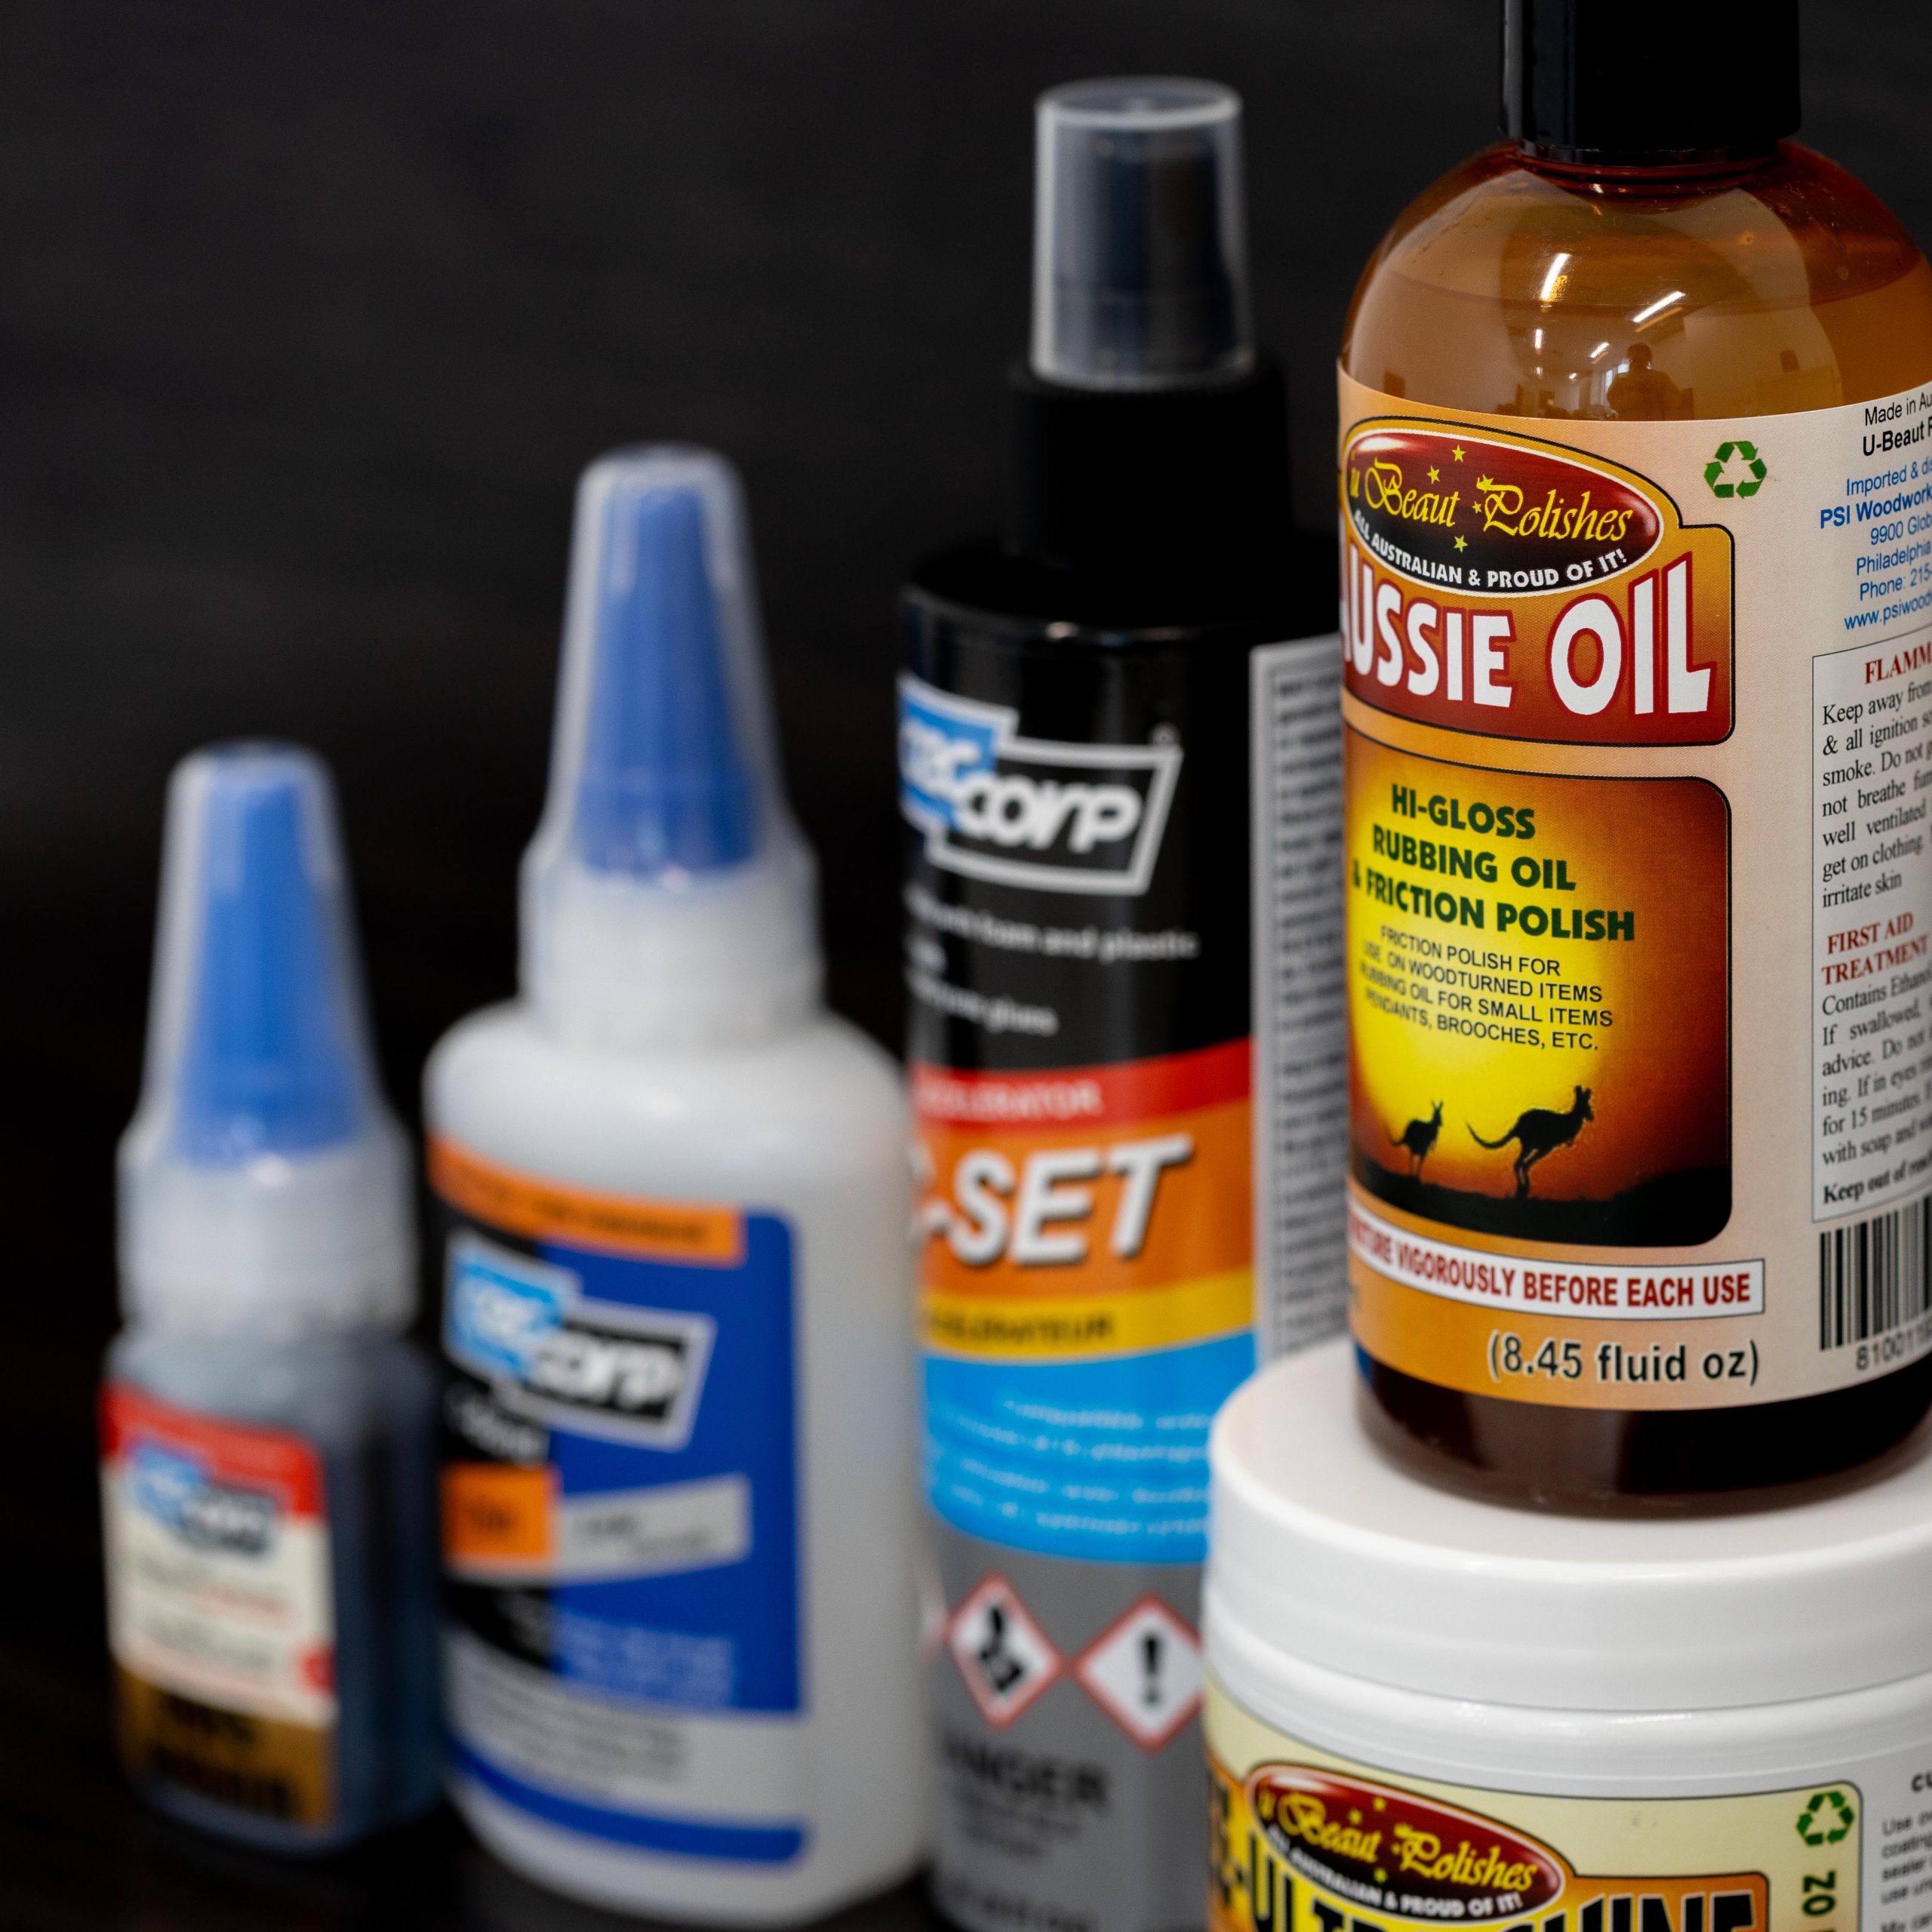
- Thin CA glue
- Hut Ultra Gloss Plastic Polish (optional)
- Accelerator spray
- Micromesh sheets (1500 to 12000 grit)
- Non-stick finishing bushings
Instructions
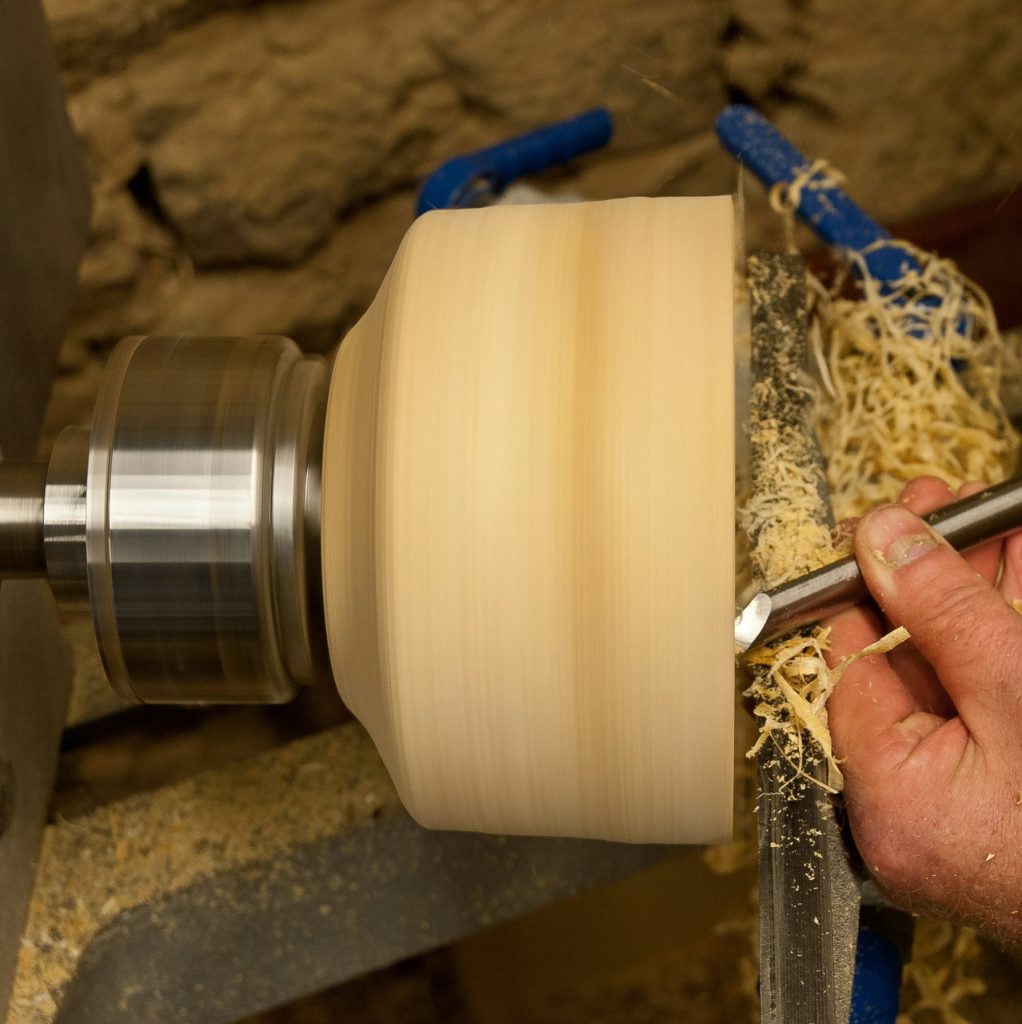
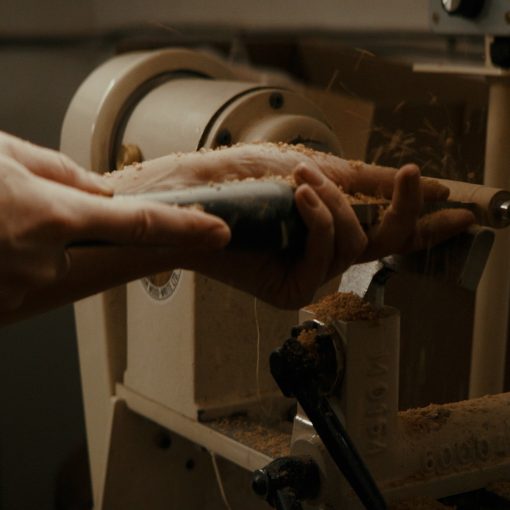
- Sand your pen barrel to 600 grit.
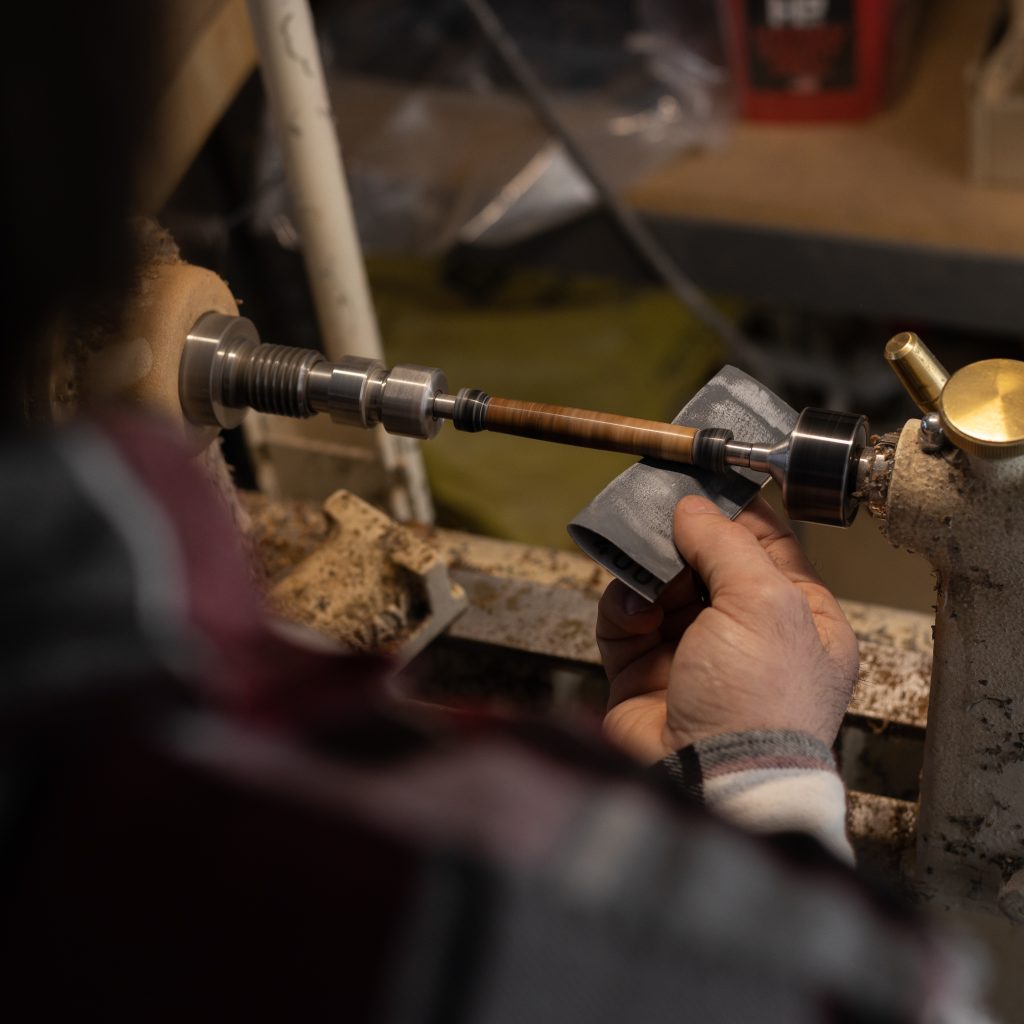
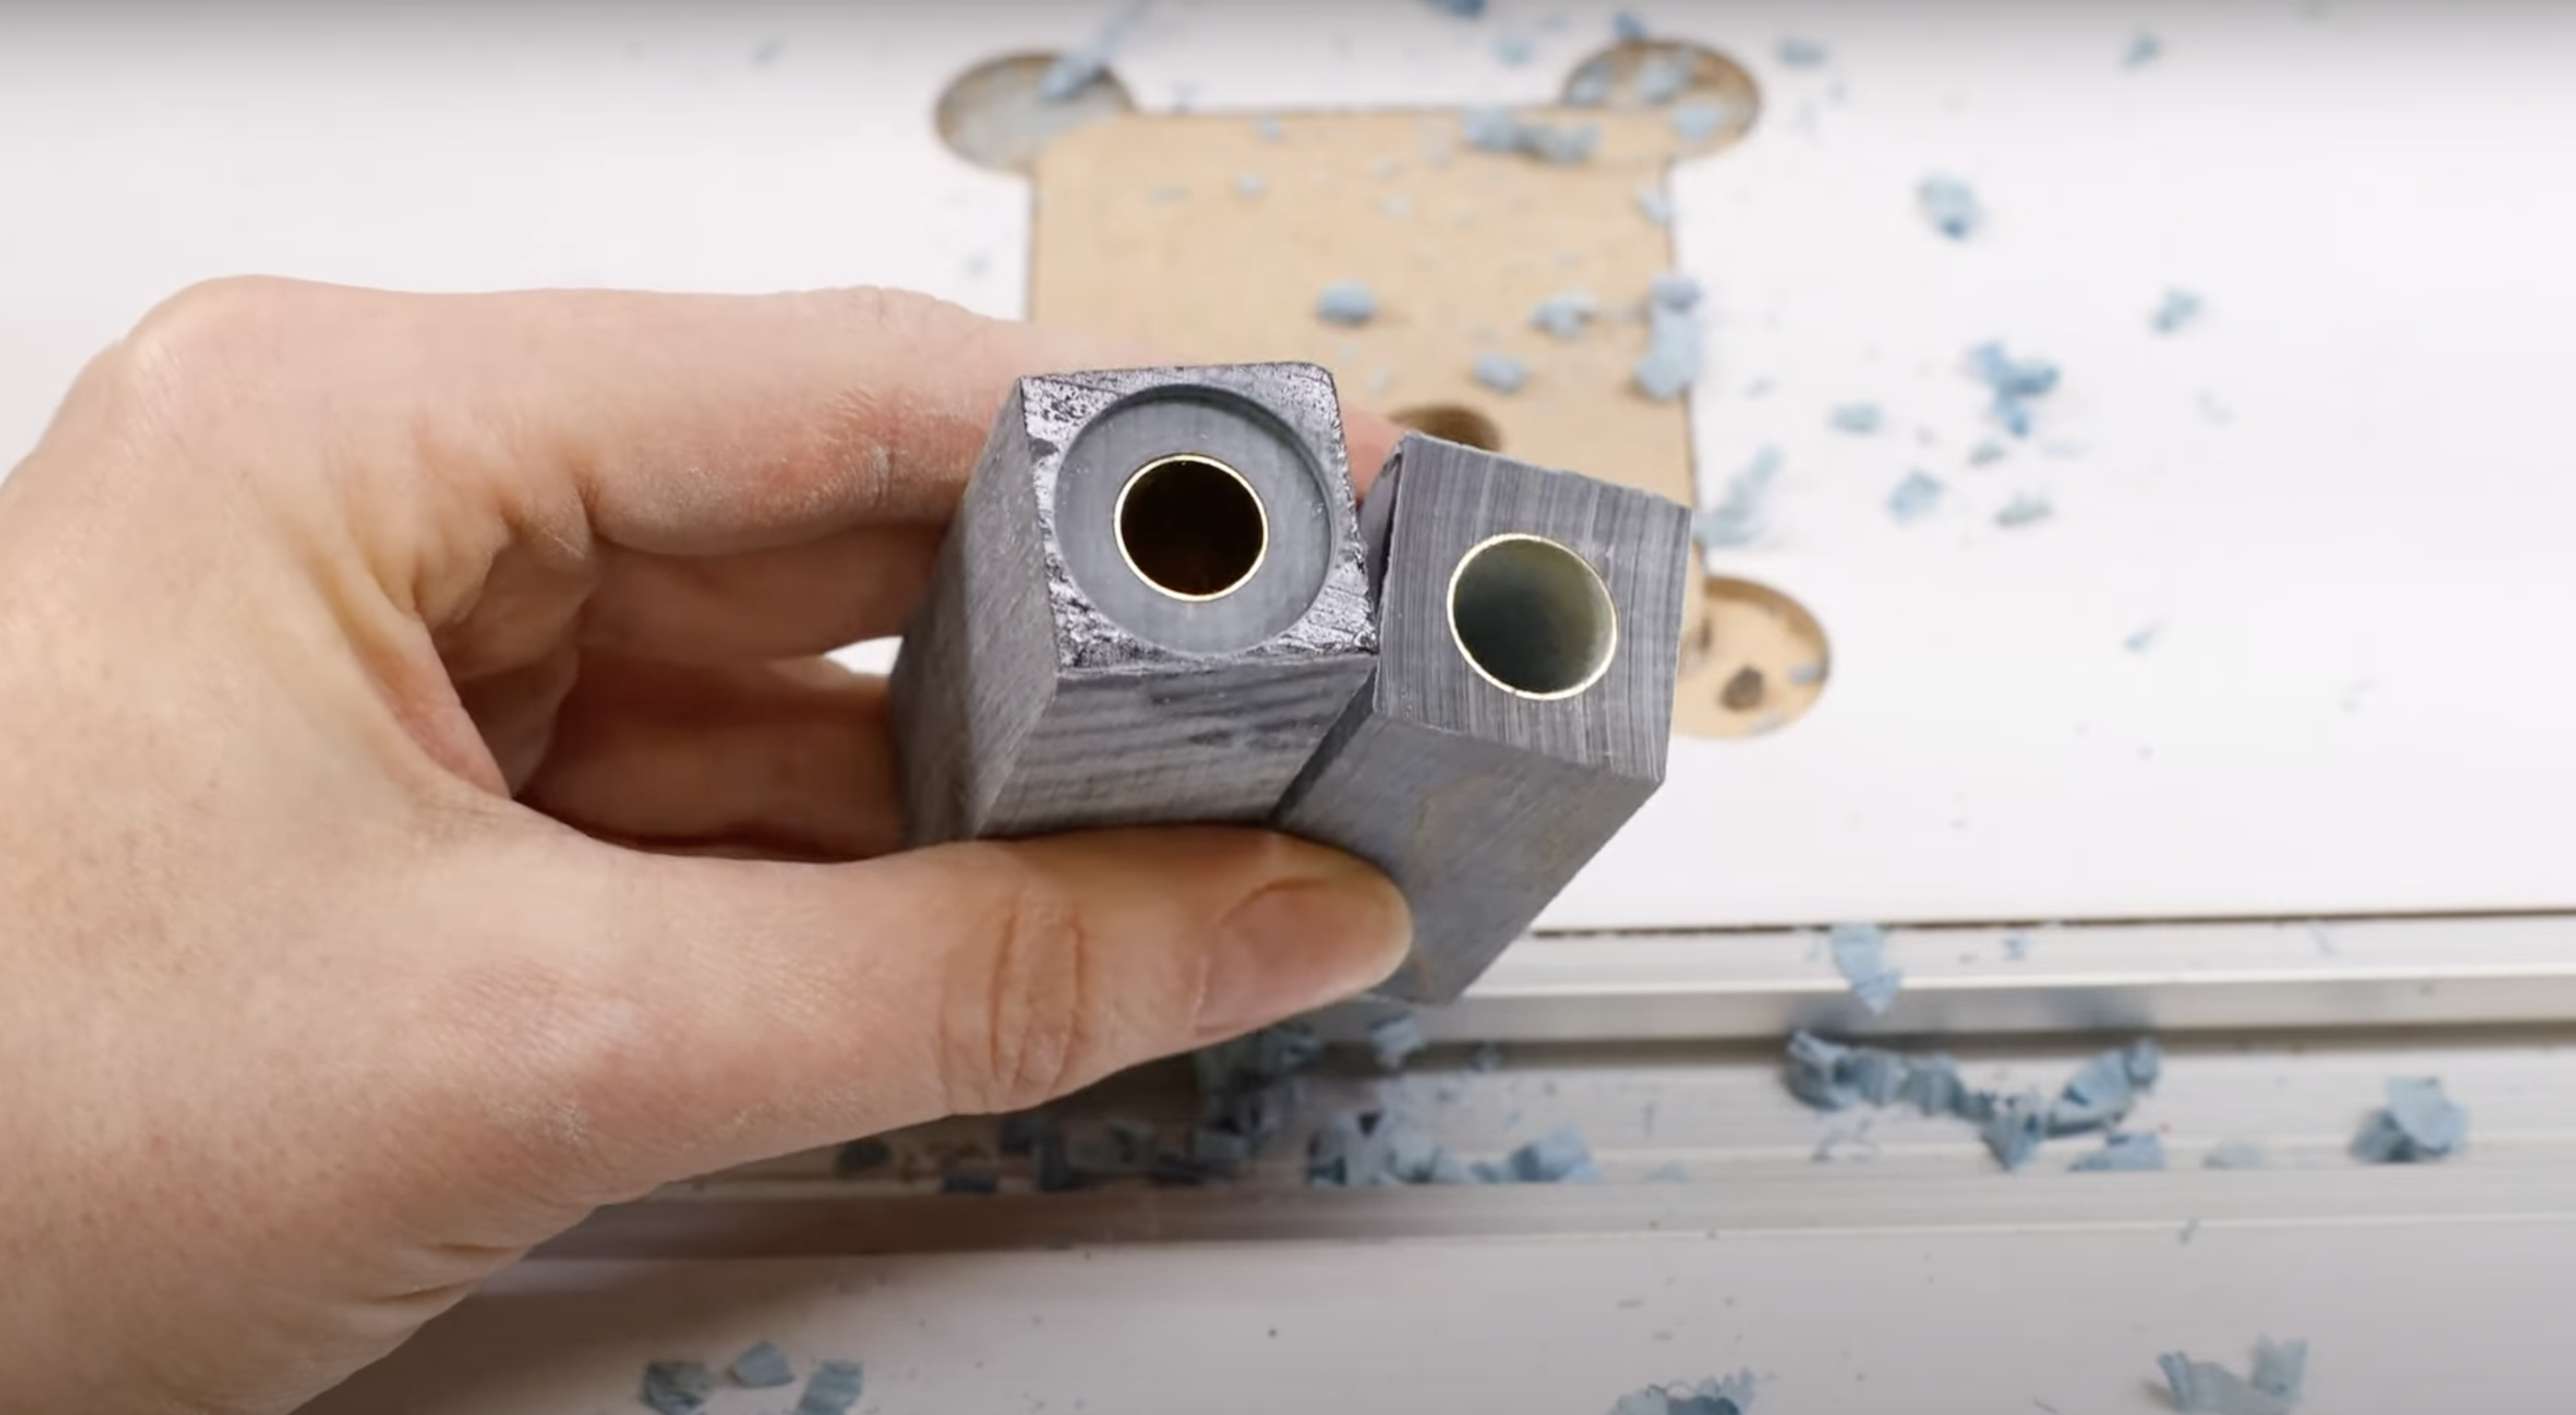
- Replace the regular bushings with the non-stick bushings and put your pen back on the lathe.
- Apply a small amount of thin CA glue to a lint-free paper towel (we recommend blue shop towels).
- Start the lathe on low speed and wipe the glue quickly and evenly over the blank.
- Spritz the blank with the accelerator while the lathe continues to run. Start with one or two pumps of spray and don’t overdo it. It should be dry to the touch after applying the accelerator.
- Add another coat of CA glue, followed by the accelerator.
- Repeat this process as many times as you’d like. The more layers you apply, the harder and shinier it will become. We usually do 10 coats.
- Afterwards, sand your wood with micromesh, starting with 1500 grit and working up to 12000.
CA glue tips for woodturners
Try micromesh: Micromesh creates an extra smooth, glossy finish. Let the micromesh do the work; pressing too hard can remove the CA finish you just worked so hard on.
Use non-stick bushings: Non-stick plastic bushings are angled to prevent the CA glue from creating a bond with your pen. They are super-easy to remove after finishing.
Apply accelerator: Accelerator spray speeds up the curing process of the glue. Use it sparingly; too much can cause the glue to cure too quickly, resulting in a frosty appearance. Ensure each layer is fully cured by checking if it’s completely dry to the touch before starting your next layer.
Watch for cloudiness: Cloudiness in a CA glue finish can occur if layers are applied too quickly without proper curing. Use accelerator spray between layers to help with curing but avoid overuse to prevent a frosty finish. Balance is key!
Try different viscosities: For a speedier finishing process, you can add medium CA glue to the mix. Start with thin CA glue for the first few layers so it soaks into the wood, then follow with medium CA glue to build your finish quicker with fewer layers.
Top with Hut Ultra Gloss: For extra shine, try adding a topcoat of Hut Ultra Gloss as a final step.
Getting started
To see this process in action, watch our YouTube video about finishing wooden pens with CA glue. William Wood-Write carries a variety of tried and true products made just for lathe projects. Check out our huge inventory of pen making supplies and our best wood turning kits.

