Come along with us as we turn a Budget Round Top European Pen Kit – Tenon and all!
If you’ve ever seen the words “turn a tenon” in the instructions of a pen kit you are about to turn and thought “Oh no!”, William Wood-Write is here to help!
Today we are going to be walking our loyal customers through the turning and assembly of The Budget Round Top European Pen Kit, including our best tips and tricks for getting that tenon just right.
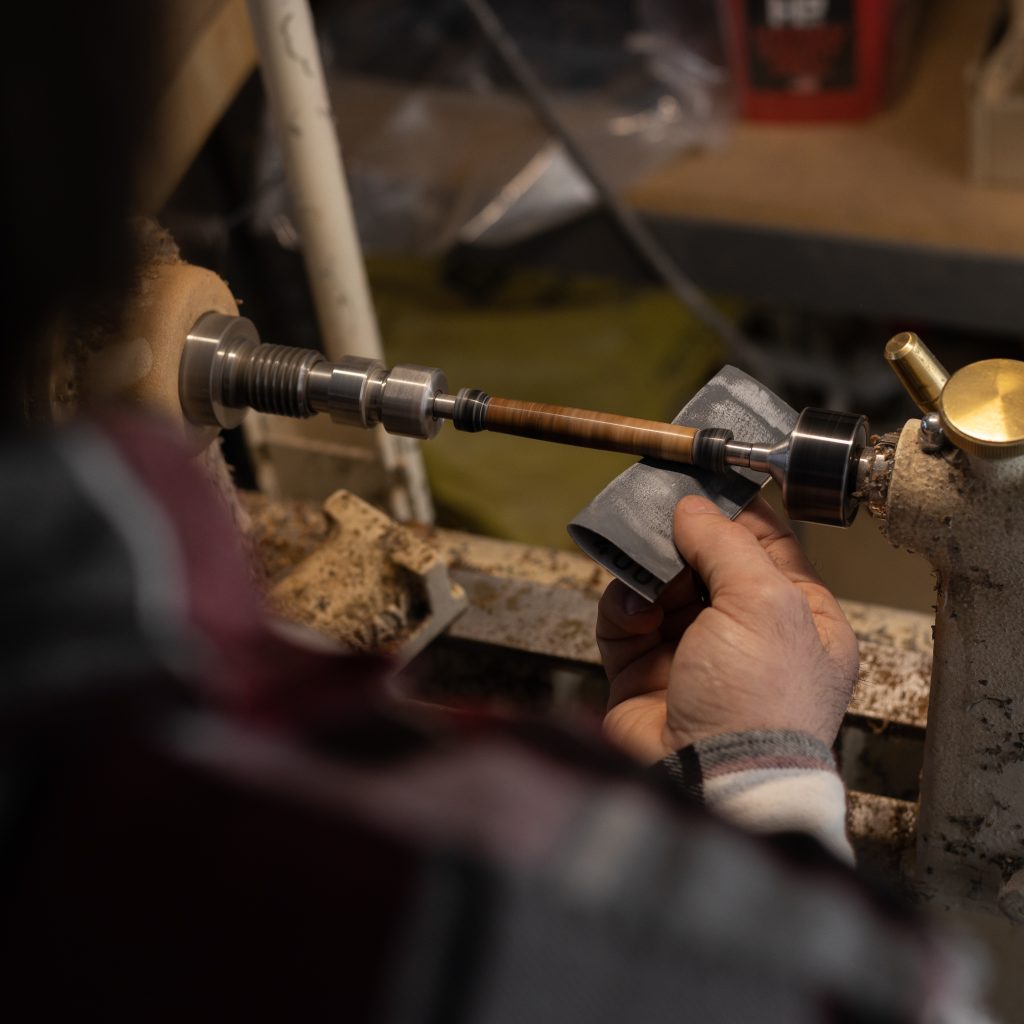
Step 1: Setting Up The Lathe
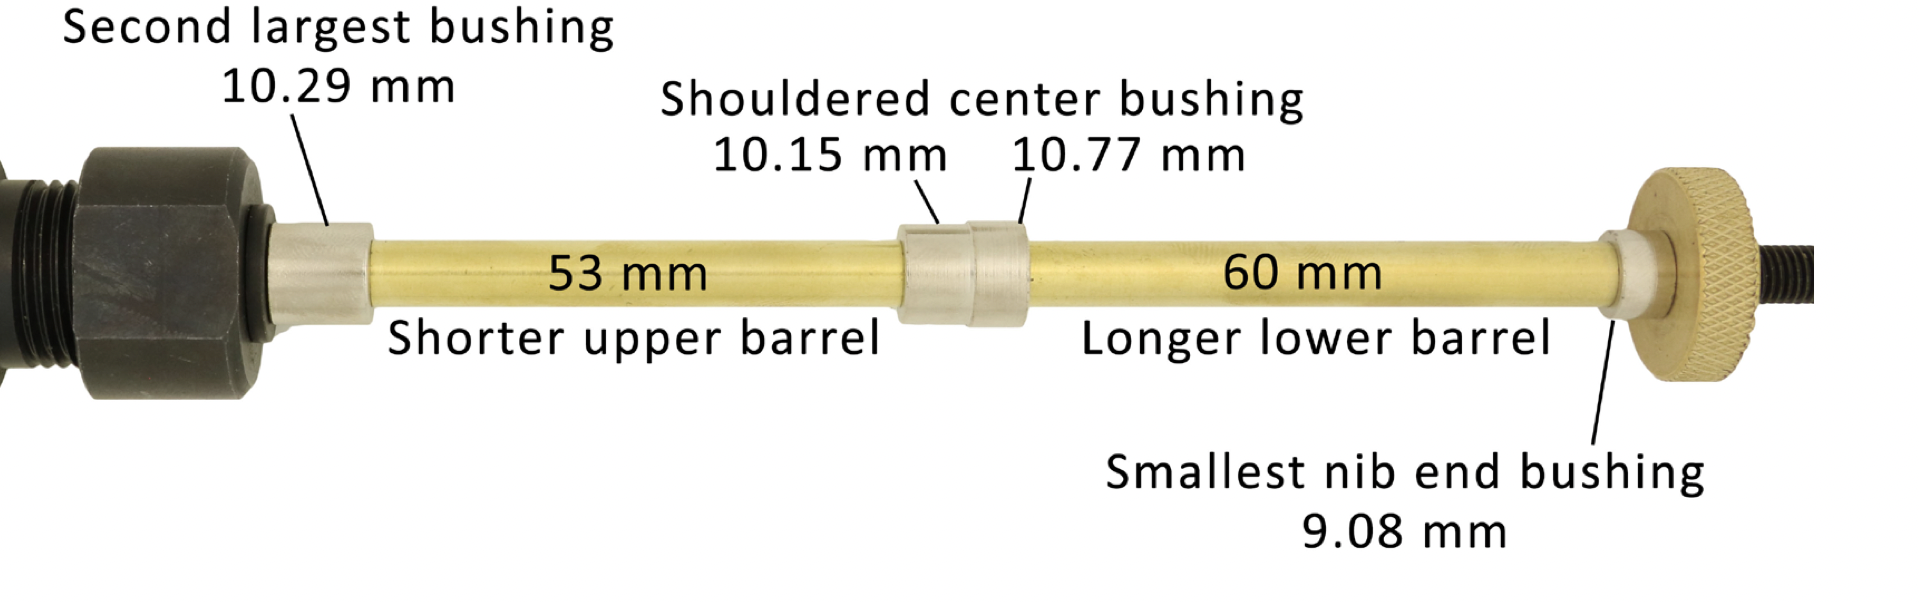
The Budget Round Top European Pen Kit is a little more complicated to turn than your traditional pen kit. The bushings required to turn this pen kit are the 107A Bushings, which include 3 individual bushings.
First things first, we need to assemble each of the three bushings and each of our two pen blanks on our pen mandrel as shown in the Budget Round Top European Pen Kit Instructions:
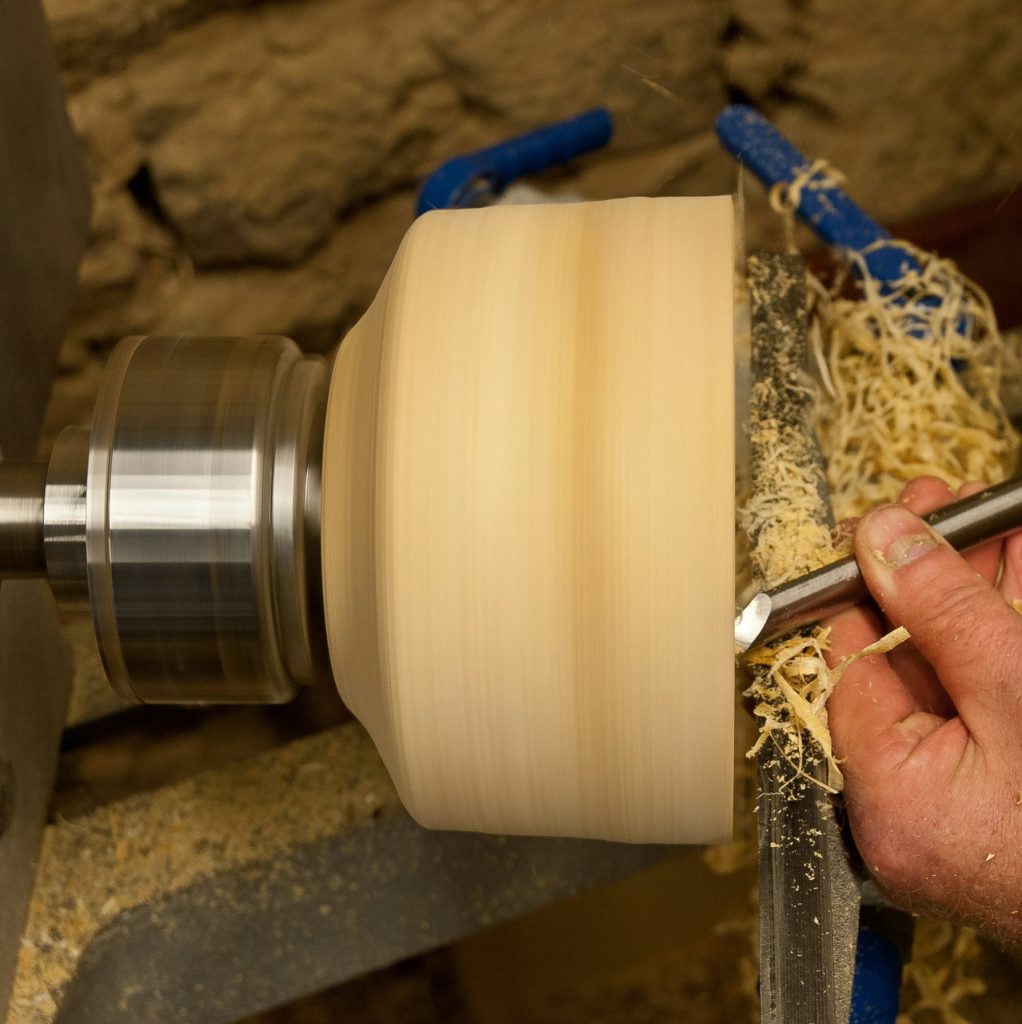
Step 2: Rounding Out Blanks
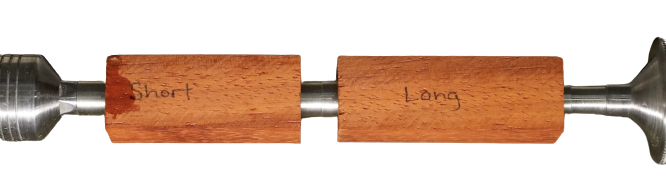
Next, we need to take a lot of the excess material off of our pen blanks by turning them round. This means, we are not turning all the way down to the bushings yet, but simply removing excess material and making the blank the same diameter down its length.
For steps 2 through 5, we chose to use the Pen Master ACCU-CUT Chisel equipped with a 11.9mm Round Carbide Cutter.
Now is the time to bring out our callipers, making sure to frequently check the diameter of our pen blanks to prevent over-turning.
We recommend turning just until your blanks are rounded out, as demonstrated in the photo on the left, so as not to remove too much material.
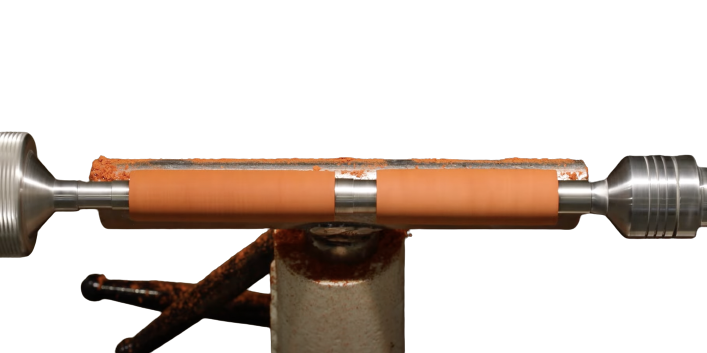
Step 3: Turn Lower Barrel
After rounding each of our barrels a bit, we can turn our lower barrel, the one with the longer brass tube, down to the bushings as they are assembled.
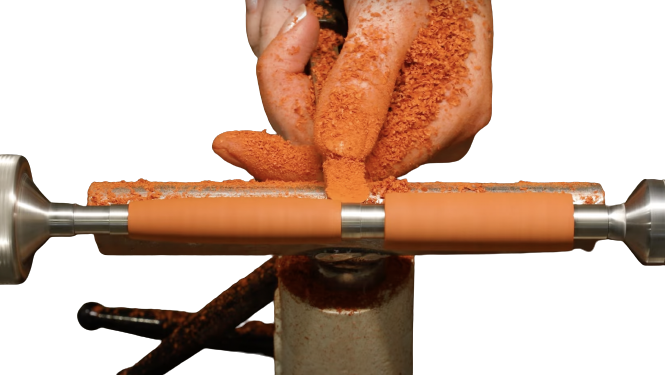
Step 4: Turn Upper Barrel to Diameter
The next step in turning the Budget Round Top European Pen is turning our upper barrel down to a diameter of 13.08mm.
Why 13.08mm, you may be asking?
13.08mm is the outside diameter (OD) of the centre band, which will slide over the tenon and sit flush with the turned barrel once your pen is turned and assembled.
Getting as close to this measurement as possible will enable your finished pen to be assembled correctly and ensure the components fit together perfectly.
Step 5: Turn Finial End of Upper Barrel to Bushing
The next thing we need to do is turn the finial end of the upper barrel down to the diameter of the finial bushing, but only on this end!
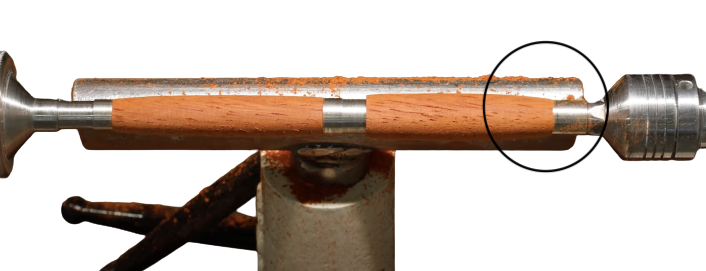
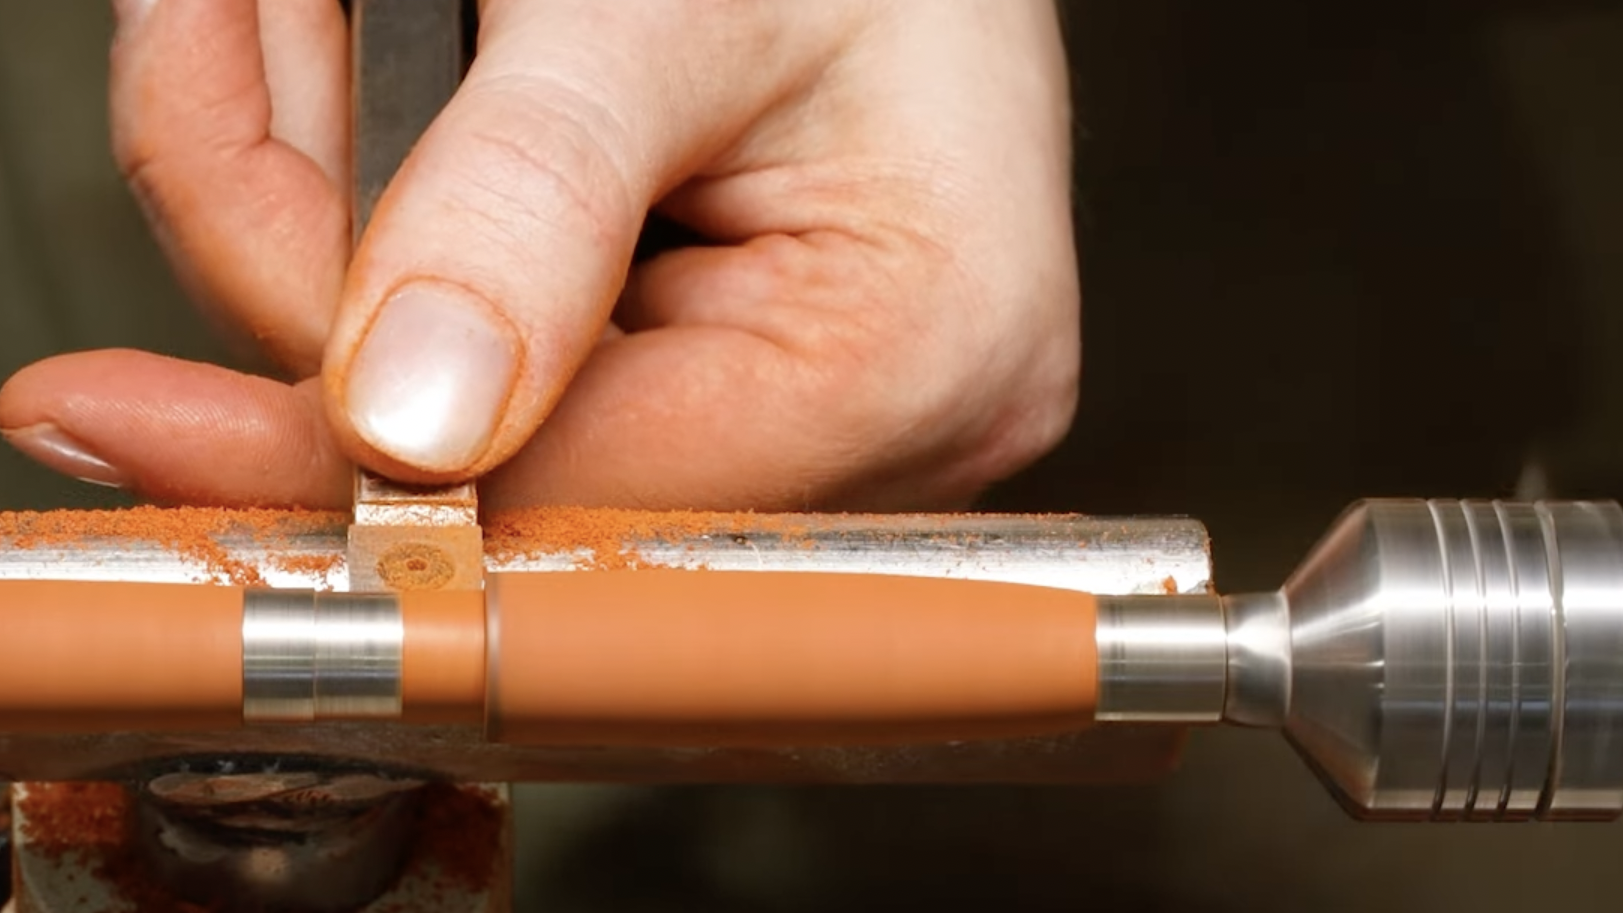
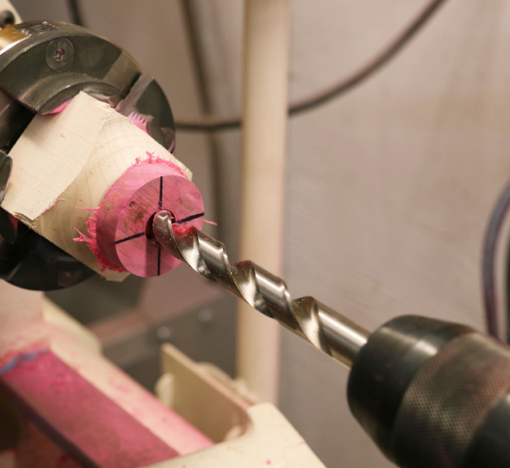
Step 6: Mark Length of Tenon
Before we can actually turn a tenon in our pen blank, we need to mark with a pencil exactly where we want our tenant to end.
We will do this using the centreband as a guide.
The length of the tenon should be no more than 6.09mm long (the length of the centreband).
Once the final pen is assembled, the centreband will slide over our tenon and sit flush against the turned barrel, meaning that making the tenon too short or too long will interfere with the final assembly of our pen kit.
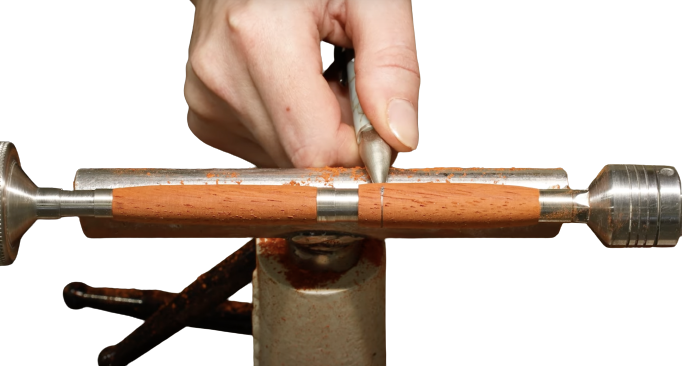
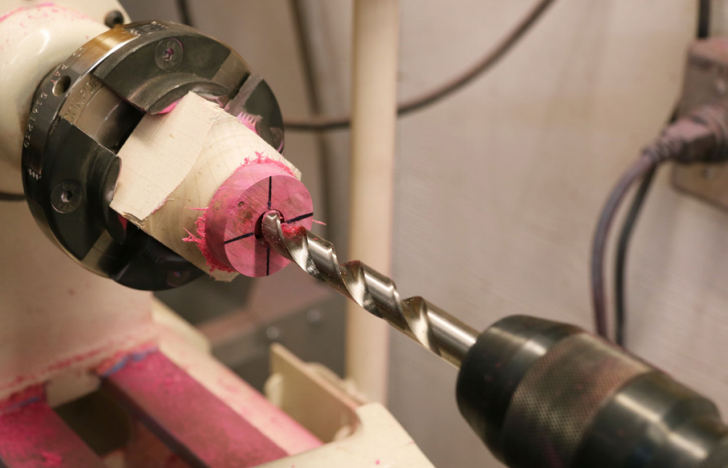
Step 7: Turning The Tenon
Now, time for the tenon!
For this particular technique, we prefer to use the Pen Master ACCU CUT Chisel equipped with a 10.5mm Square Carbide Cutter.
The diameter of your tenon should be turned to no smaller than 10.25mm, or the outer diameter (OD) of the bushing closest to the tenon.
When turning your tenon, be sure to note whether you measured the length of your tenon from the inner or outer edge of your pencil mark and turn accordingly, because the pencil mark itself adds a few millimeters onto your tenon length if measured inaccurately.
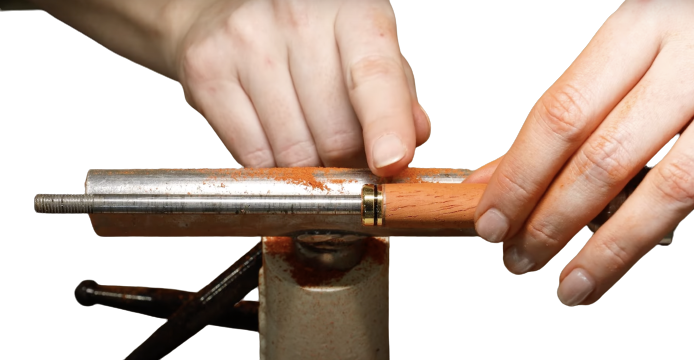
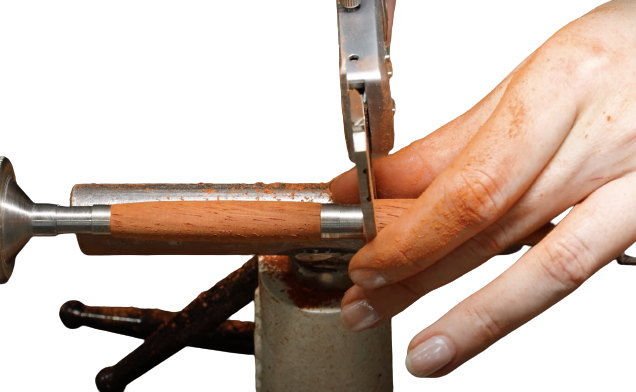
To test whether or not you’ve turned your tenon down enough, simply unlock your tailstock, remove the end bushing, lower barrel and middle bushing from your mandrel, and slide the centreband included with your Budget Round Top European Pen Kit onto your tenon.
If it doesn’t go on completely – you need to remove more material. The centreband should fit snuggly on your tenon, and should be flush with the OD of the upper barrel
Don’t worry if it is a tad loose-fitting, as we will be securing the centreband onto the tenon permanently using CA Glue.
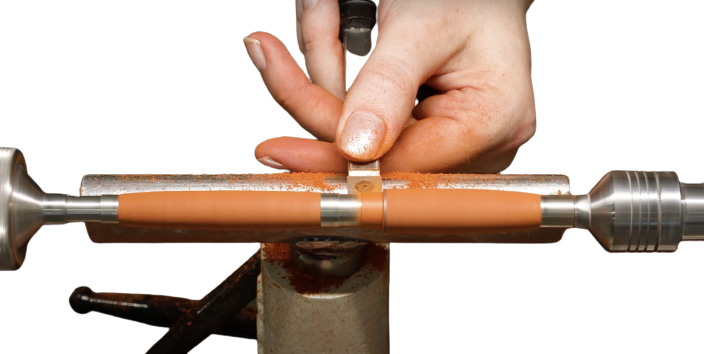
Step 8: Sanding and Finishing
The next step in making a Budget Round Top European Pen is the same as any other pen or project you may have done: We need to sand our blanks using first Abranet Mesh followed by Micro Mesh Sheets and apply a finish.
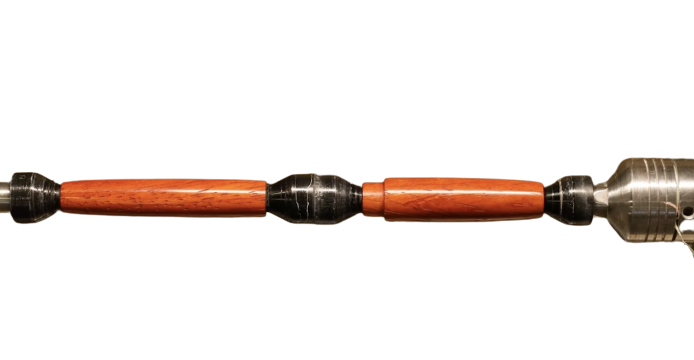
After sanding our blanks with 120 through 600 grit Abranet Mesh Sheets and 1500 through 120000 grit Micro Mesh Sheets, we chose to apply EEE Ultrashine Polish to provide our pen with a natural shine and damage/liquid protection.
Step 9: Assembly!
The trickiest part of assembling the Budget Round Top European Pen Kit is securing the centreband on the tenon.
We chose to use Starbond Medium CA Glue for this step, but we recommend using a two-part epoxy (C-Tough Two-Part Epoxy and C-POXY 15-Minute Two-Part Epoxy are great choices) if you feel that you need more working time than CA Glue provides.
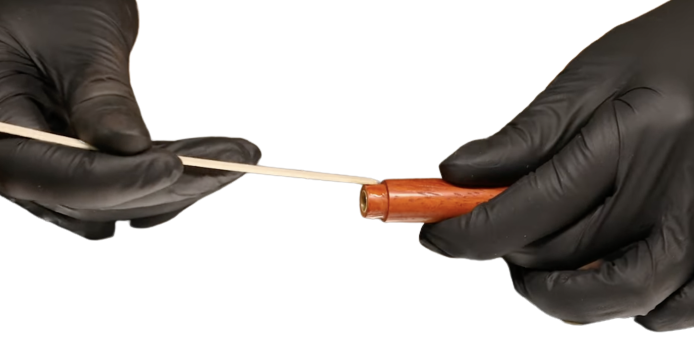
Simply apply a very small amount of CA Glue or Epoxy around the tenon, making sure to cover the entire surface of the tenon with a thin layer before sliding the centreband into place.
Once the centreband is securely attached to the upper barrel, it’s time to assemble the rest of our pen! The final steps in assembling the Budget Round Top European Pen Kit are as follows (as outlined in the Budget Round Top European Pen Kit Instructions):
- Unscrew the brass finial bushing from the finial. Press it into the other end of the short blank.
- Attach the clip to this end by threading the finial stud through the hole in the clip and into the bushing.
- Press the nib into the small end of the long barrel.
- Press the transmission into the other end until about 20.6 mm remain exposed. It is best to “sneak” up on this, trying the refill in the mechanism until the appropriate amount, about 3 mm, of the tip is showing when the transmission is twisted and when the tip is fully covered when the transmission is closed.
- Install the refill.
- Slide the cap over the transmission aligning the grain or pattern as desired.
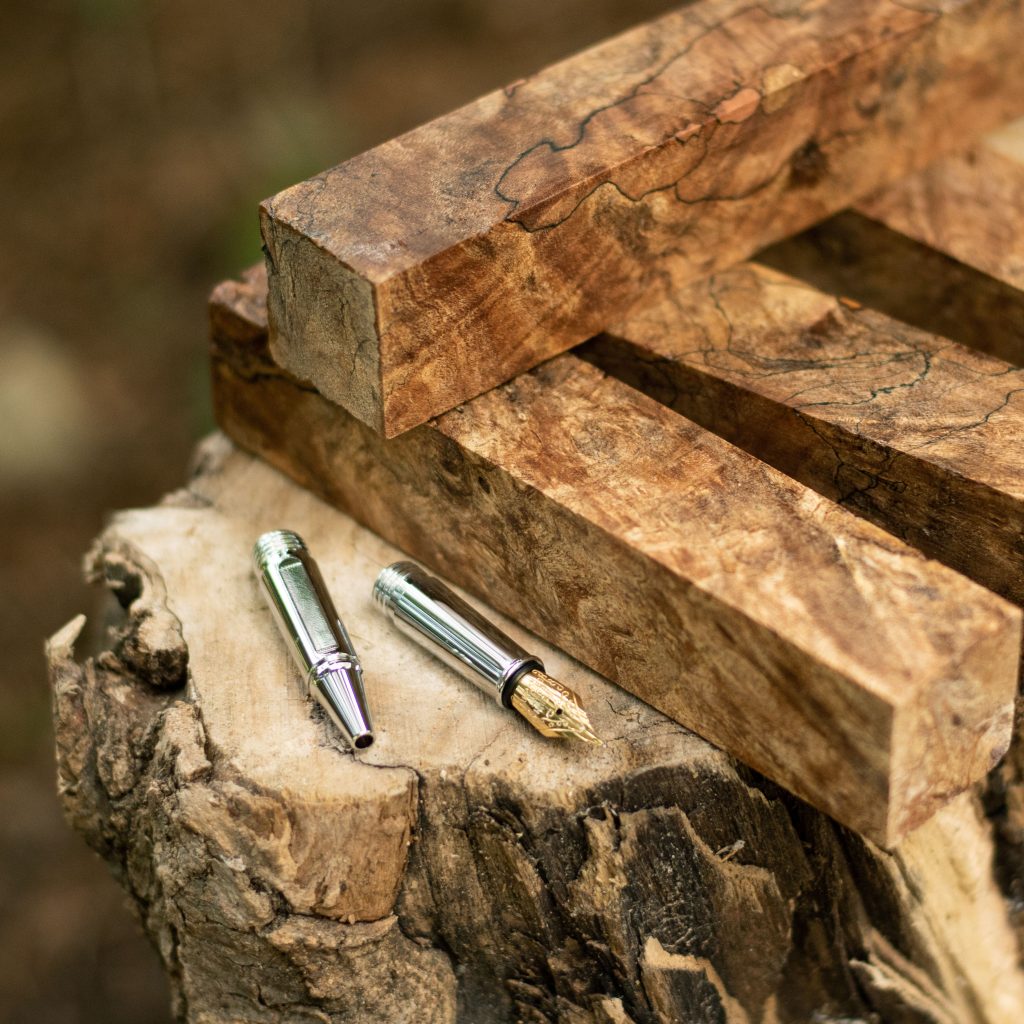
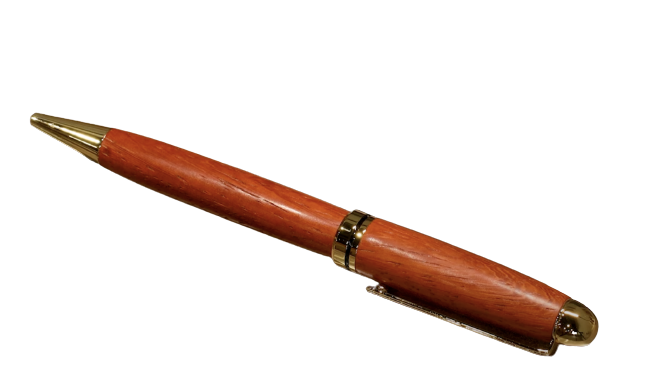
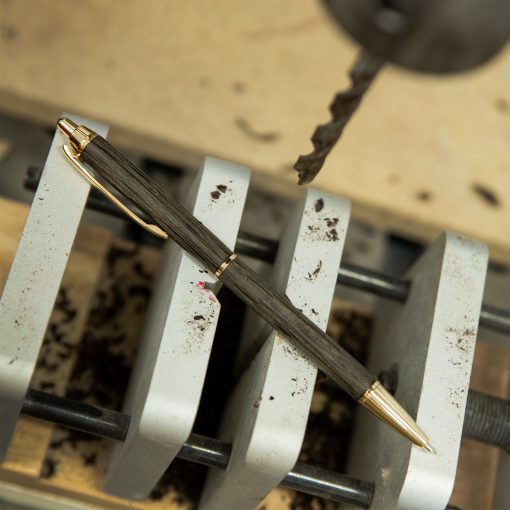
And Voilà! If you’ve been following along yourself, you’ve made your first Budget Round Top European Pen!
For our visual learners, check out our video on Turning a Budget Round Top European Pen Kit with Tenon on Youtube!
